M
Muckelroy
Member
Any tape machine that requires an oil change is a beast in and of itself. Good luck with this!
Any tape machine that requires an oil change is a beast in and of itself. Good luck with this!


")
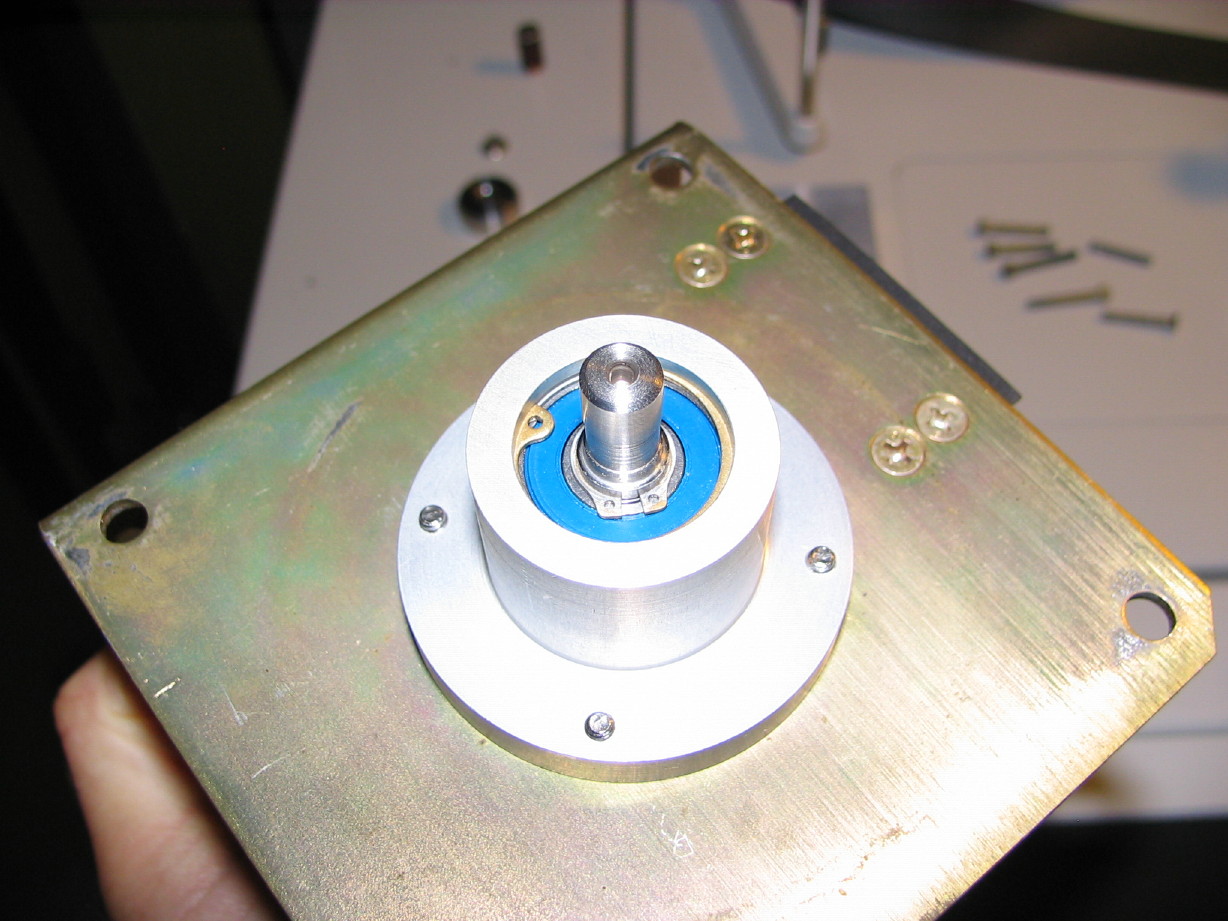
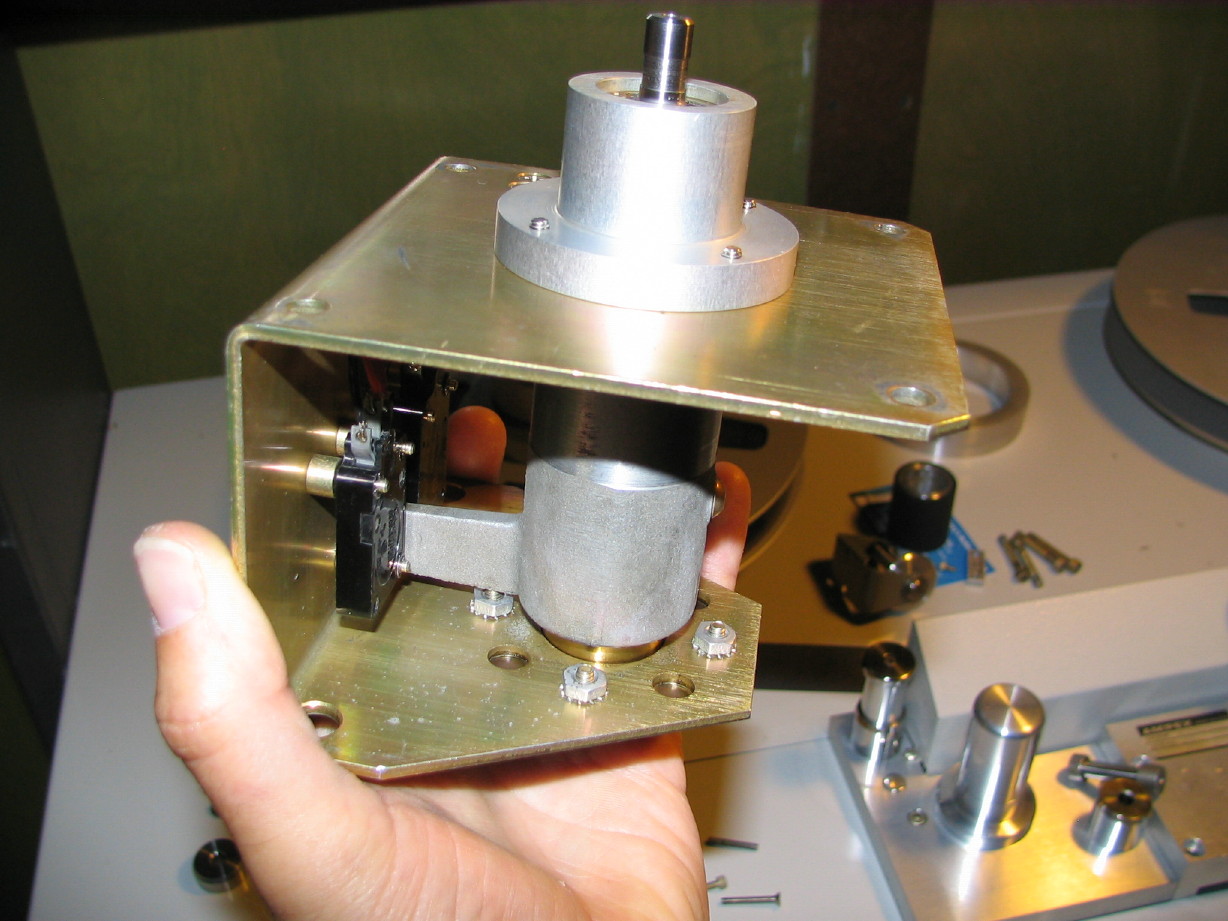
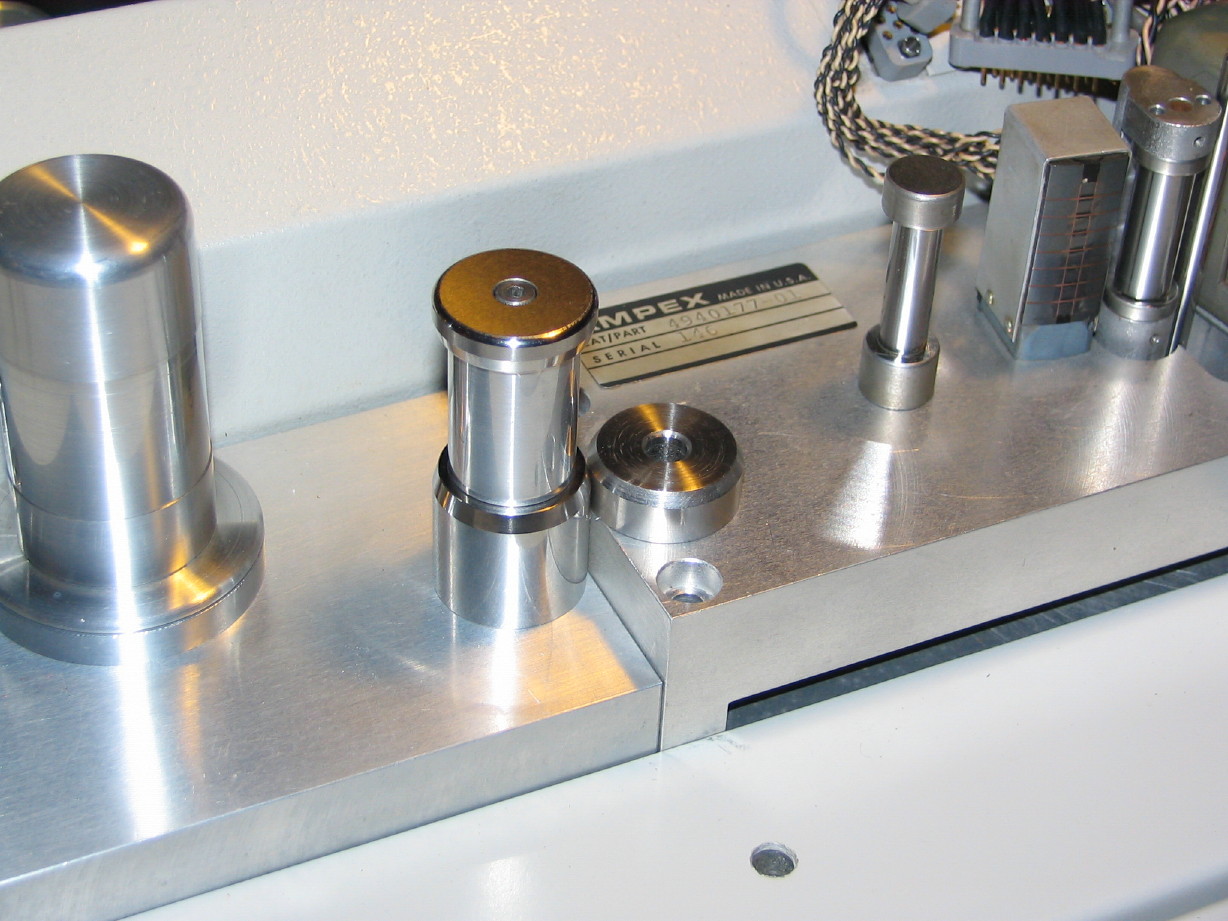
 ...springy-like and that's what its supposed to do. The viscous damped flywheel idea isn't really just to make it easier for the transport to start up as I've learned...maybe I said this already, but I read Jay McKinight's paper on these things and now understand that the relationship between the inner flywheel and the outer flywheel with the fluid in between creates a spring-like damping...like a shock absorber in a way, so tiny changes in tape speed and flutter vibrations are dampened by the "spring" connectod to the "mass" (the inner flywheel). So cool. It creates a feedback response mechanism which acts differently on the tape than a scrape flutter filter. The MM-1000 doesn't really have a "tension-arm" per se, like you'd find on most modern transports. You see things that look like tension arms on the MM-1000 and they are even called tension arms but their damping effect is really limited (I'm talking about the arms that have the dashpots attached) and one of their main functions really is as a "brake arm" since there is a switch on each that, when manually moved to the end of its travel hits a switch that releases the brakes for threading or editing...the reel idler flywheel is really the "tension arm", the damping device in the tape path...and now mine's gonna work right.
 ") ....................
....................
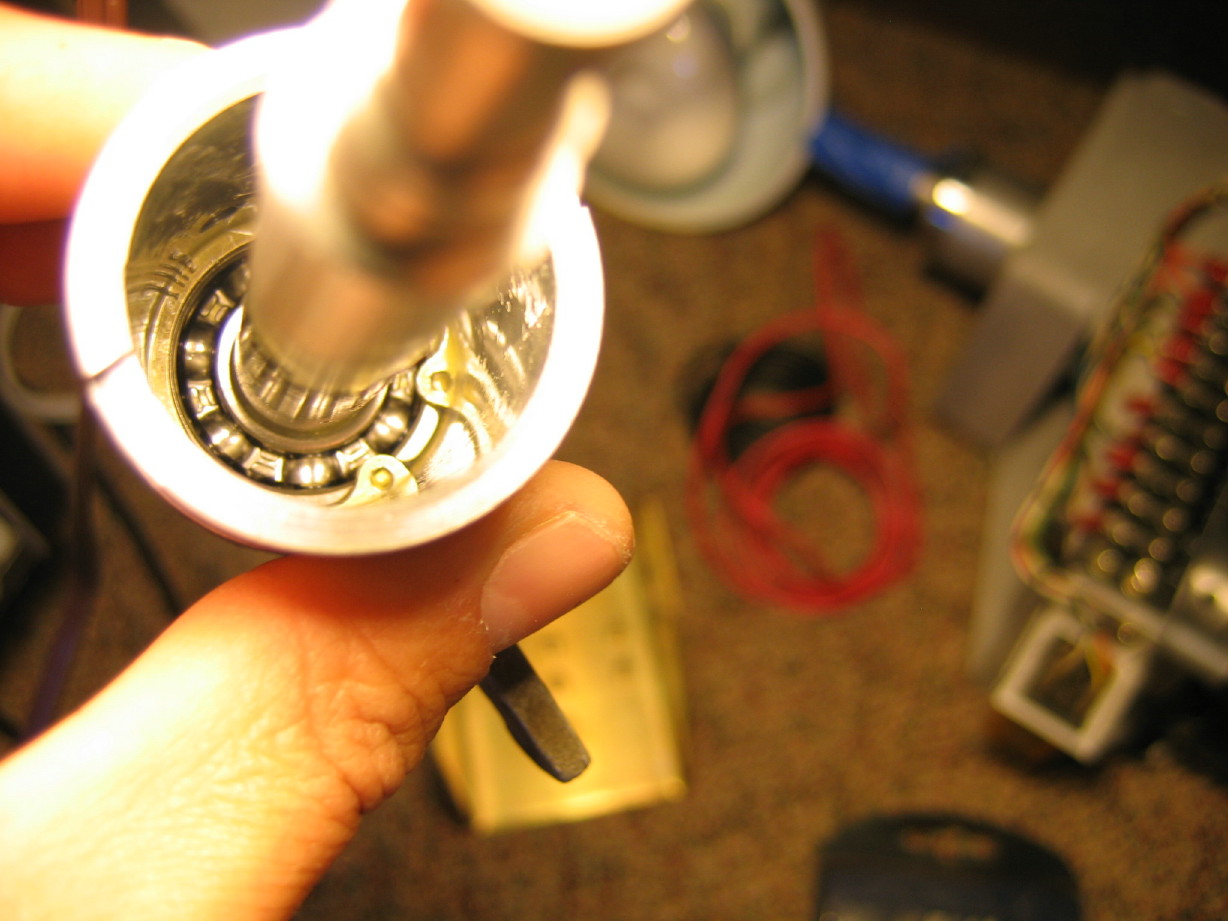
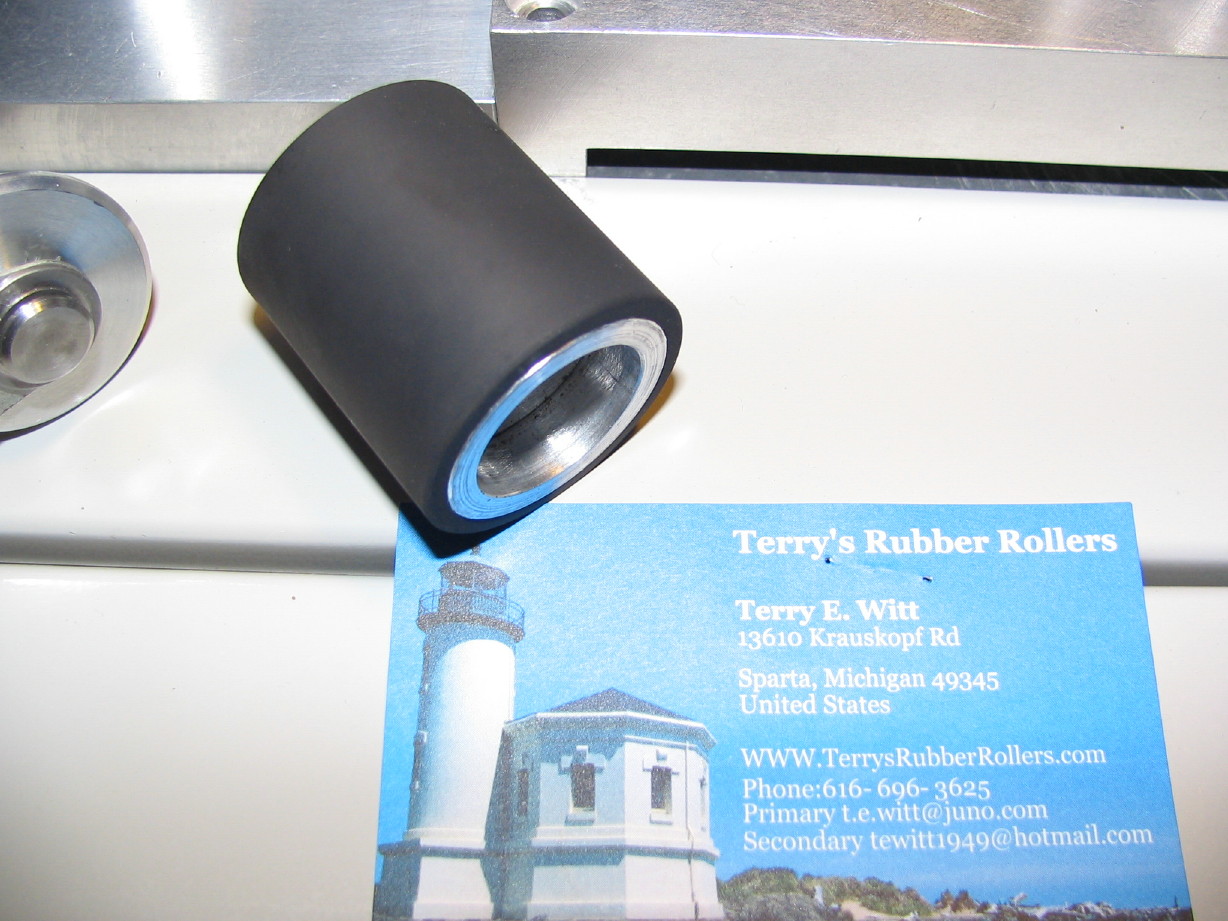 and because of the application I thought sealed was important. They were $13 each + $5 to ship, BUT there's a special this month and I got a free digital readout 0.001" scale dial caliper for free. Do I need one? Uh...no, and I like my analog dial unit better than the digital ones anyway, but hey...it makes me feel better getting something for "free" with my relatively expensive bearings. And the bearings will last and last and last.
Cory, be careful, 'cause you may not want to use this thing once it's in "museum condition".
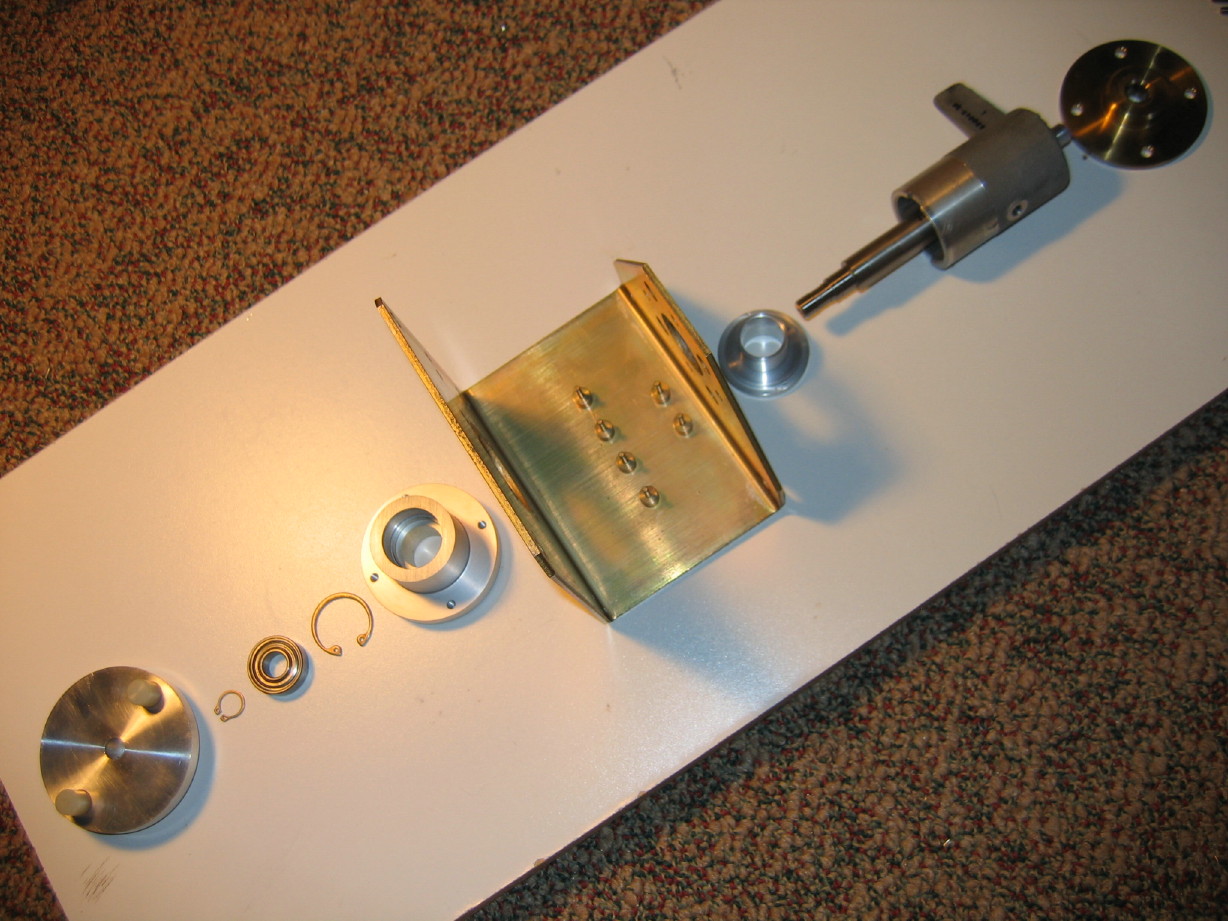
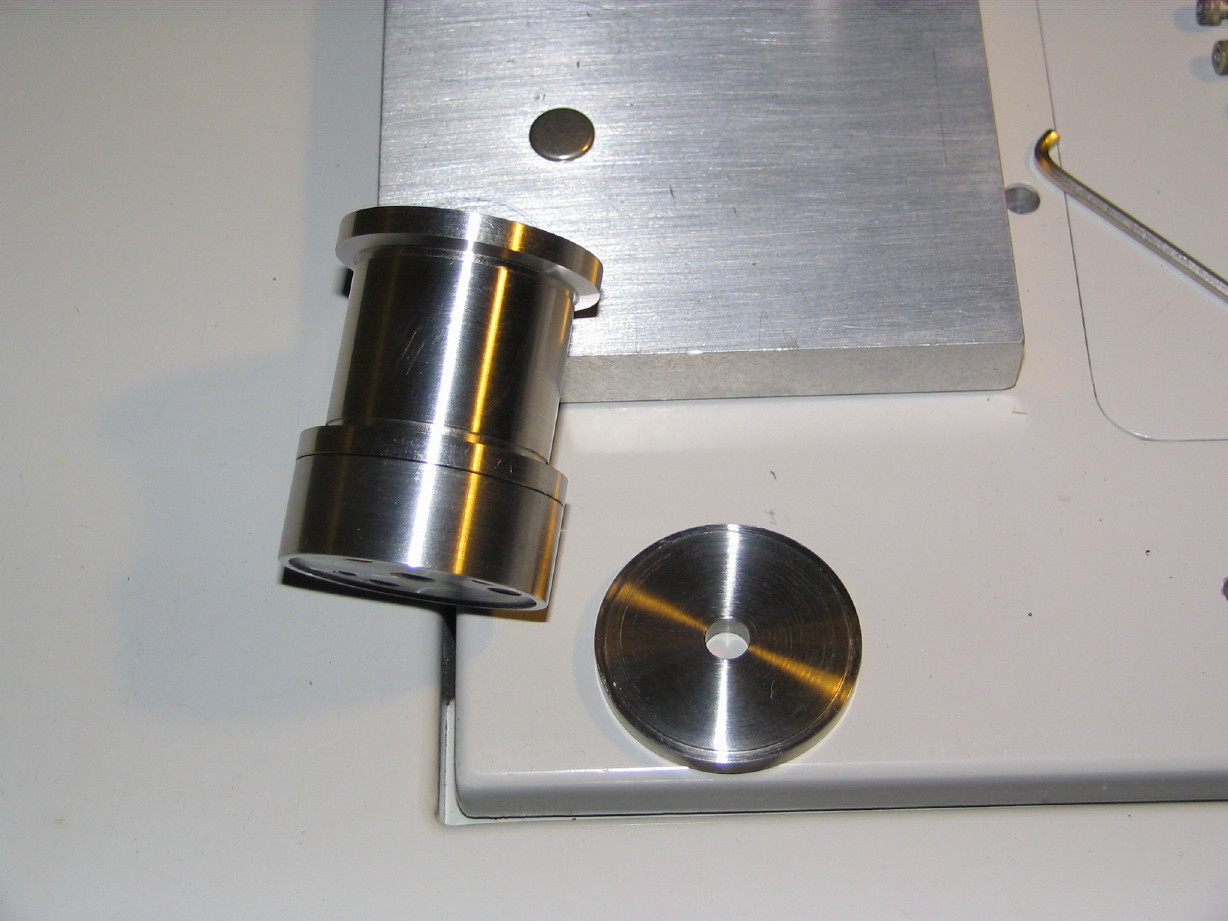
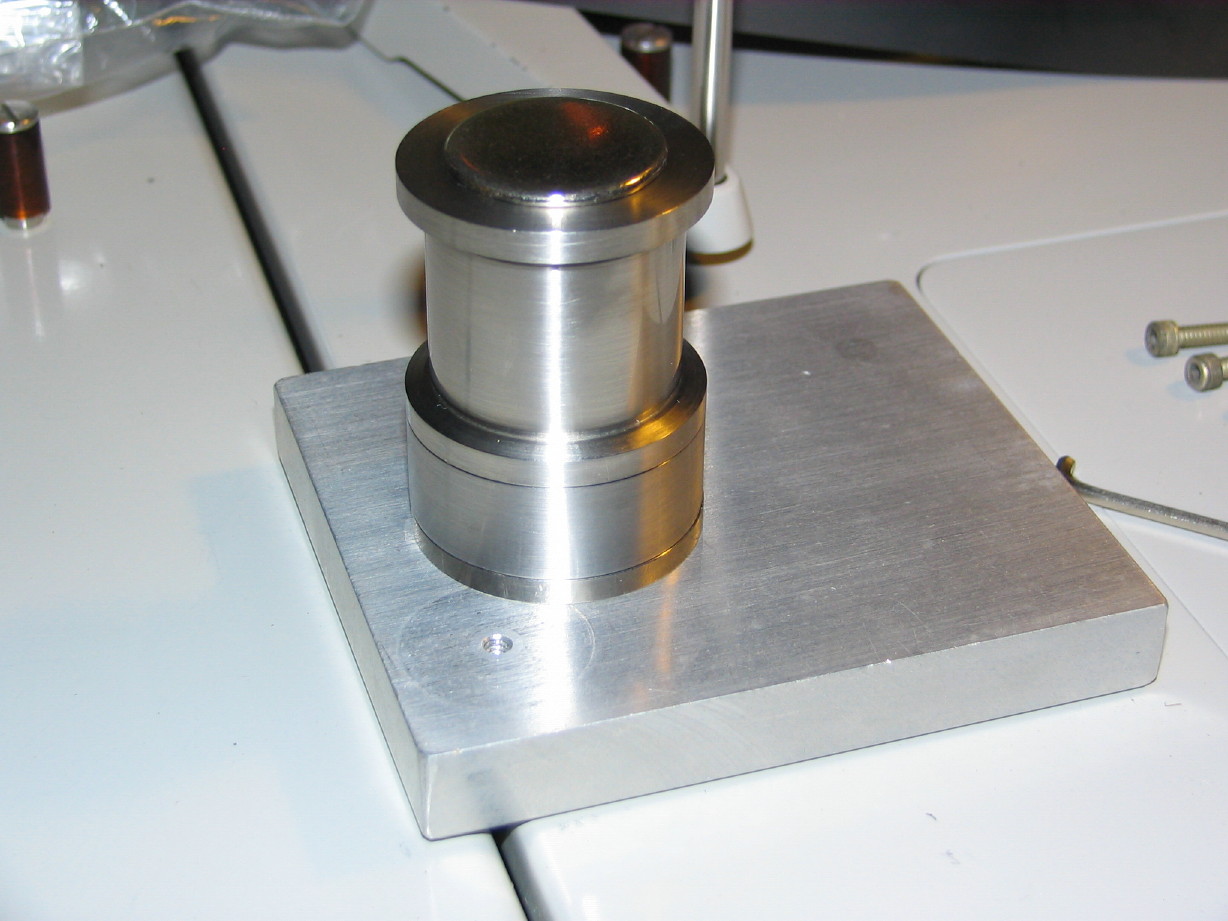
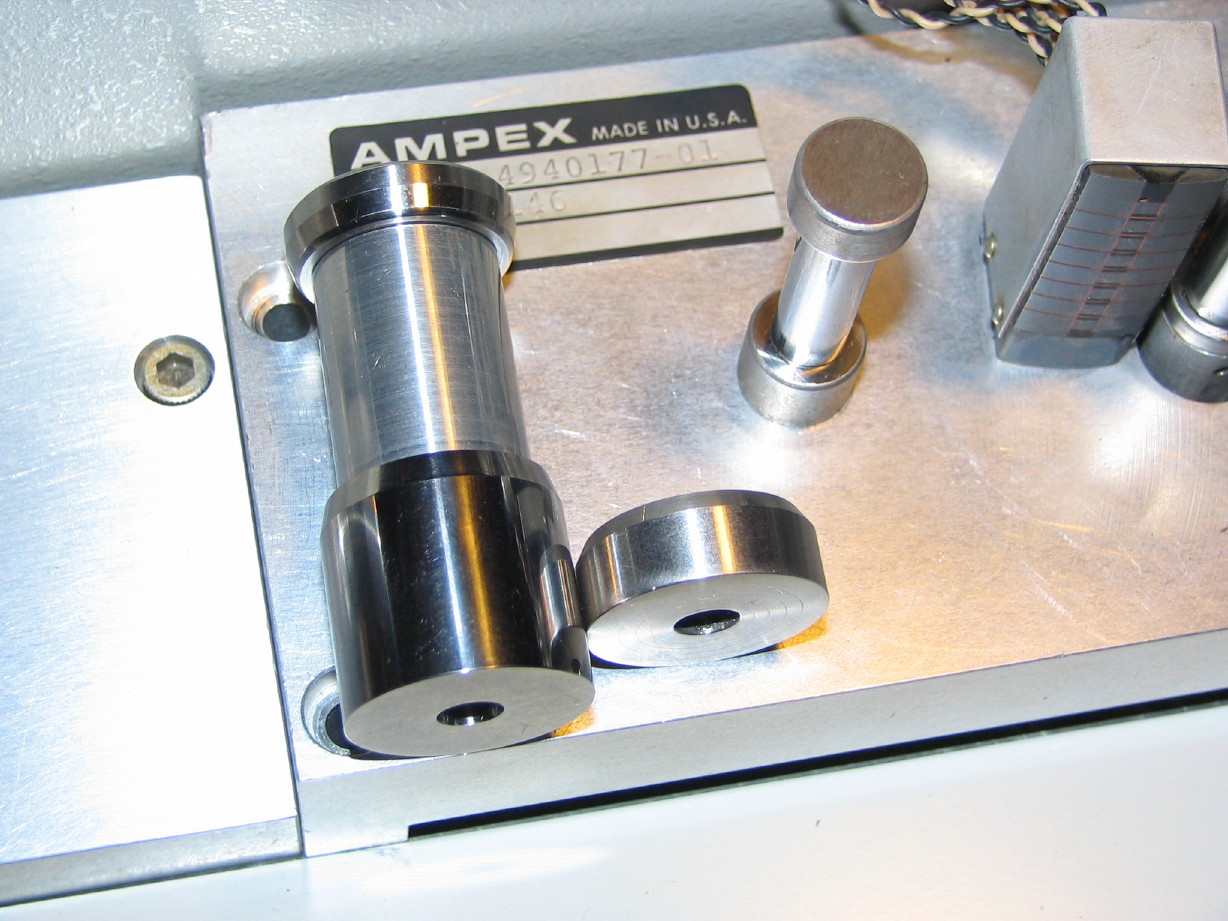
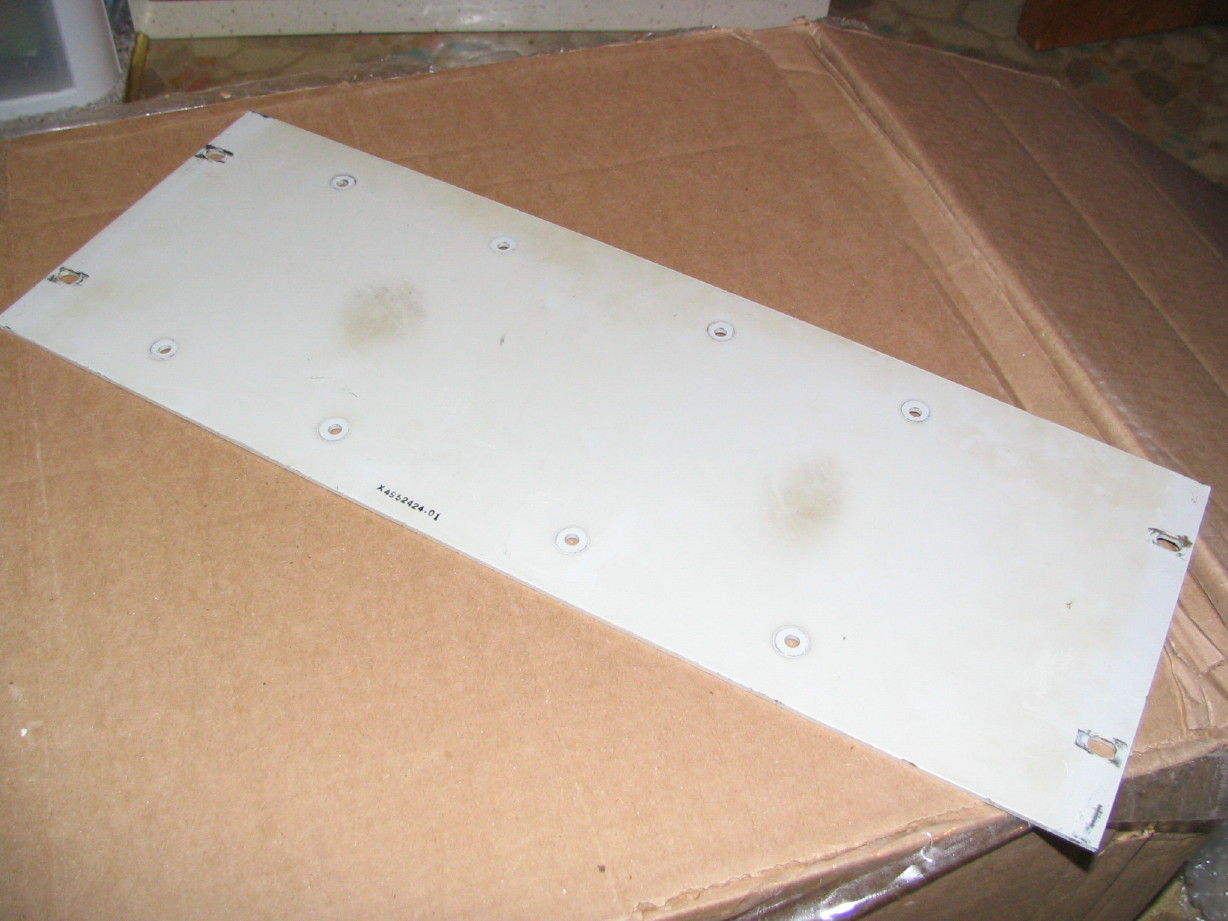
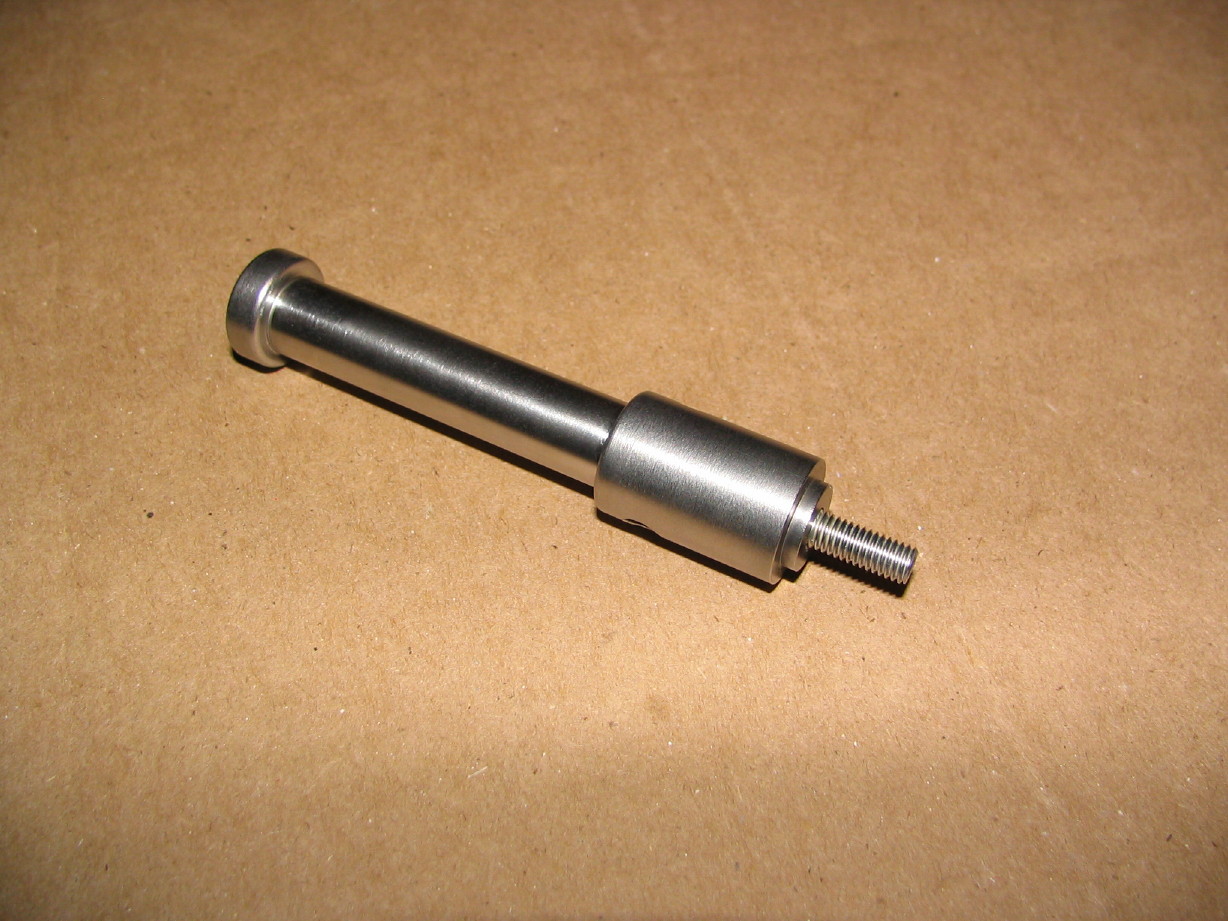
Got the parts back from my machinist friend.
so I had my friend make a shoulder washer to build it up.
So I had my friend make a shorter spacer.
a very helpful friend.
Corey, this friend of yours. Is a masterful machinist.
I get the impression that you are contracting a Gimli-type fellow in your workshop or in your barn?
http://www.rankopedia.com/CandidatePix/29339.gif
I used to work in an in-house machine shop in the factory I worked in so I got to know sheet forming, turning and milling as well as heat-treating, die making , surface grinding and welding. It was small because it was just for repairs as well as design and development of production line machines but we didn't have any CNC equipment and really nothing that did well with stainless. I HATED working with stainless but my friend can rattle off all sorts of reasons why he likes working with it and its because (IMO) he knows how to work with it.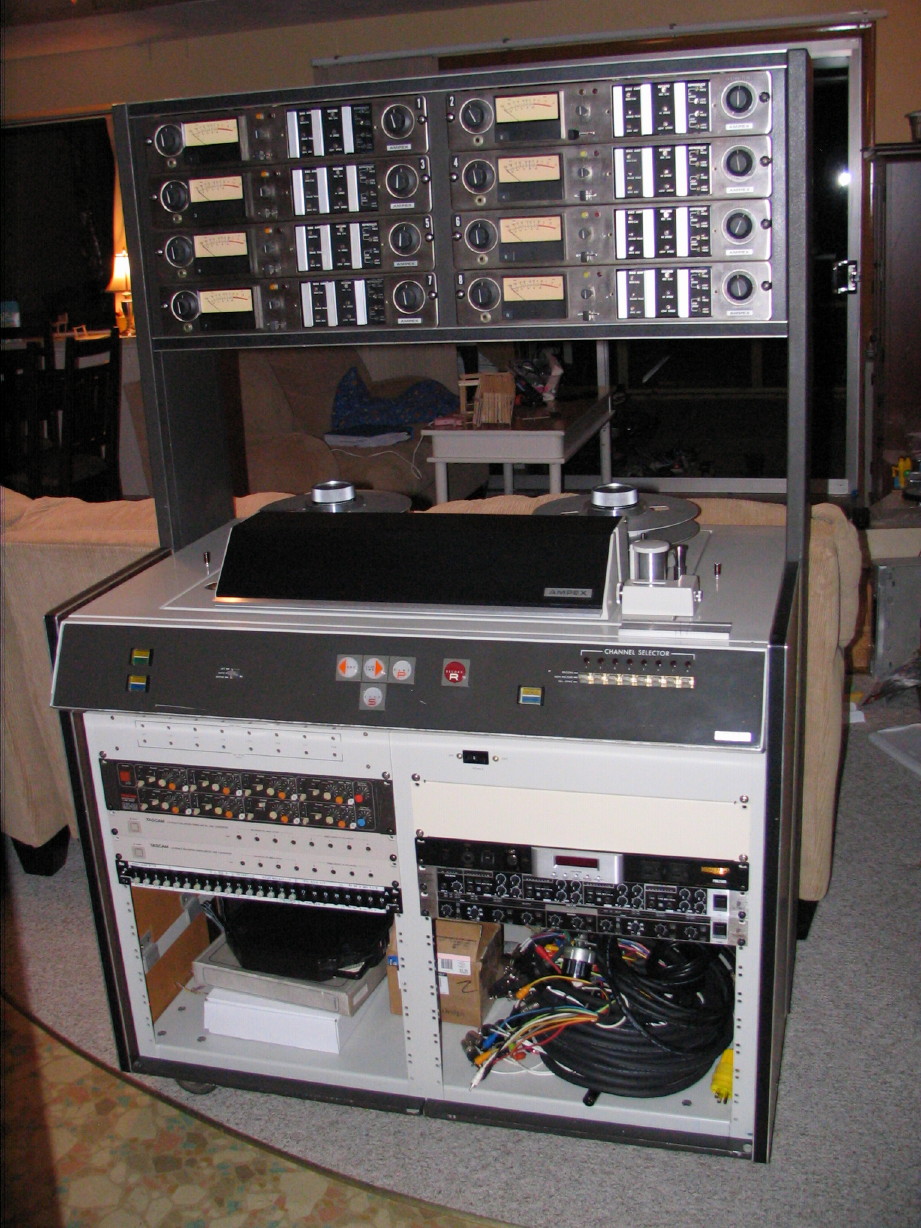
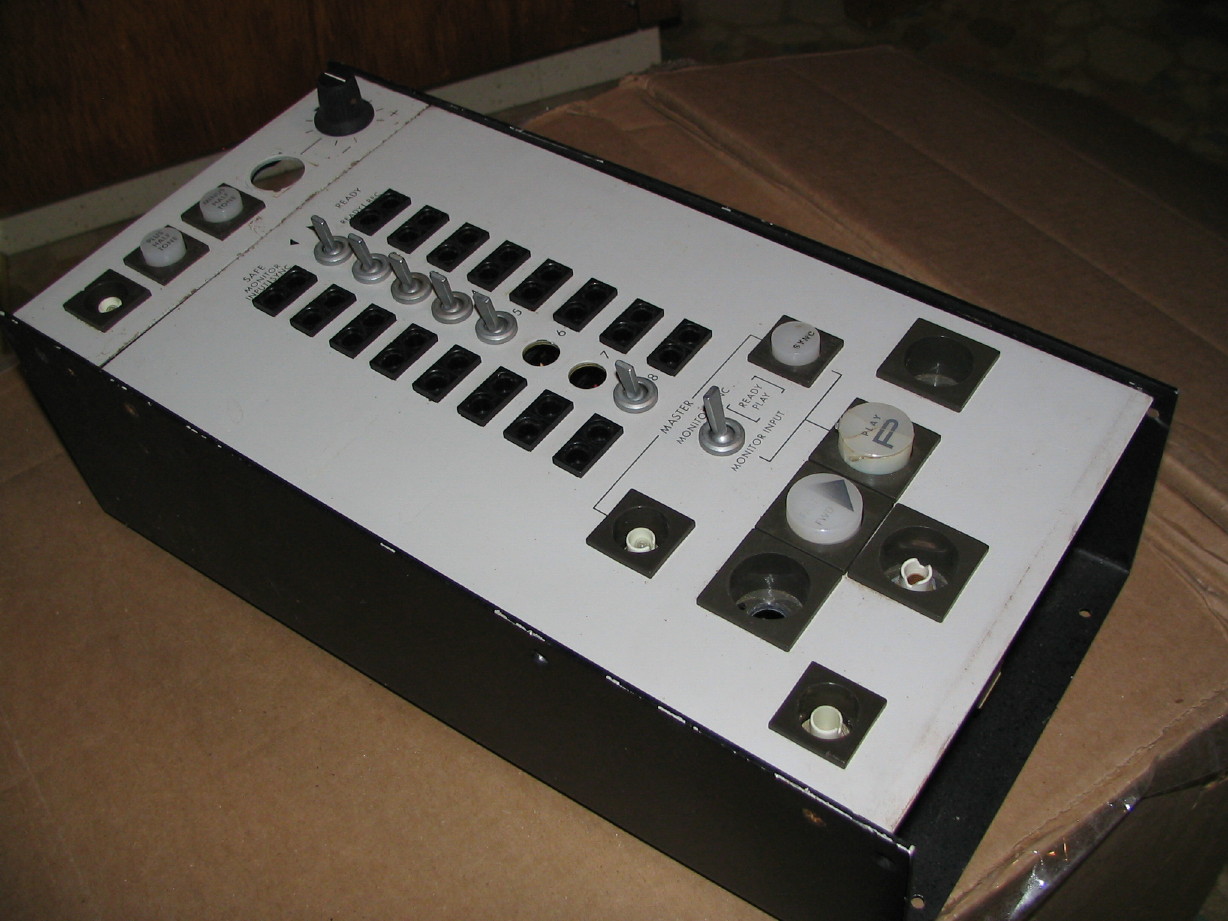
 After I repair the cable...and figure out how to retrofit the bigger winchester connector onto the consol chassis...and uh...ned to make some walnut trim panels for it...mmm...laterrrrr: