Biting the proverbial bullet...
Looks like there is some debate about the viscosity of the reel idler flywheel fluid...not going to worry about it as mine seems to be working good, but I definitely need to get something for the motion sensor switch actuator housing (the paddle). May see if I can get a sample of the 10,000cst fluid and see if it is similar to what came out...10,000cst is roughly equivalent to Karo Syrup which sounds about right for what I intuitively think should be in there. I did find a source of small quantities of Dow Corning 200 fluid...
Brief sidenote...the mounting panel for the two additional 39V regulated power supplies for channel 9~16 electronics will be on its way here in the near future as well as another remote carcass. Between my exisiting carcass and the second one soon coming I hope to make a complete remote...noticed recently that the remote cable and connector on the remote
are not the same as the one on the MM-1000 chassis. 
This supports that my MM-1000 may have originally been an 8-track. The one on the console is smaller...not sure what I'm going to do about this but I can't really be concerned about it at this point. Anyway, all that's needed for conversion to 16-track after those parts arrive is the missing harnessing. Hoping a source for that will come to my attention.
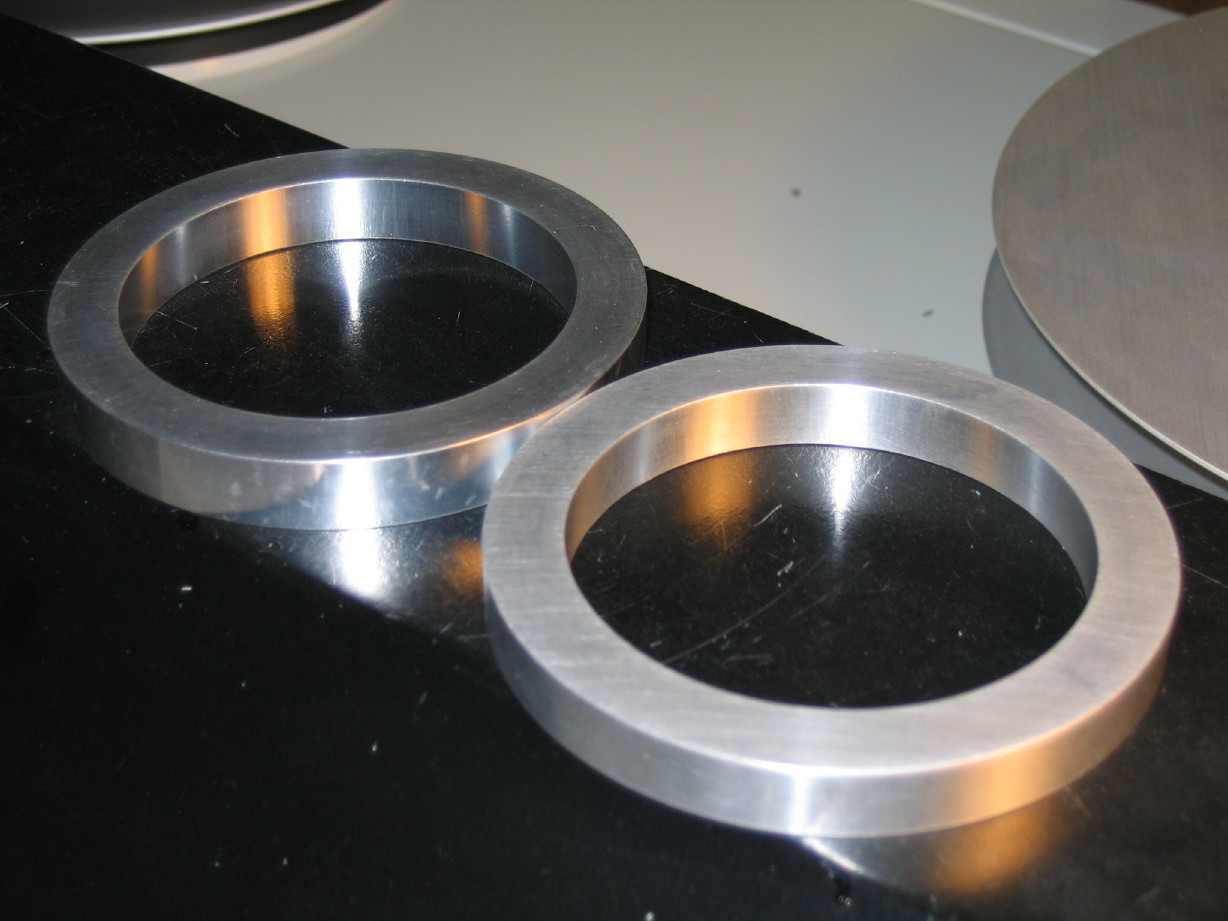
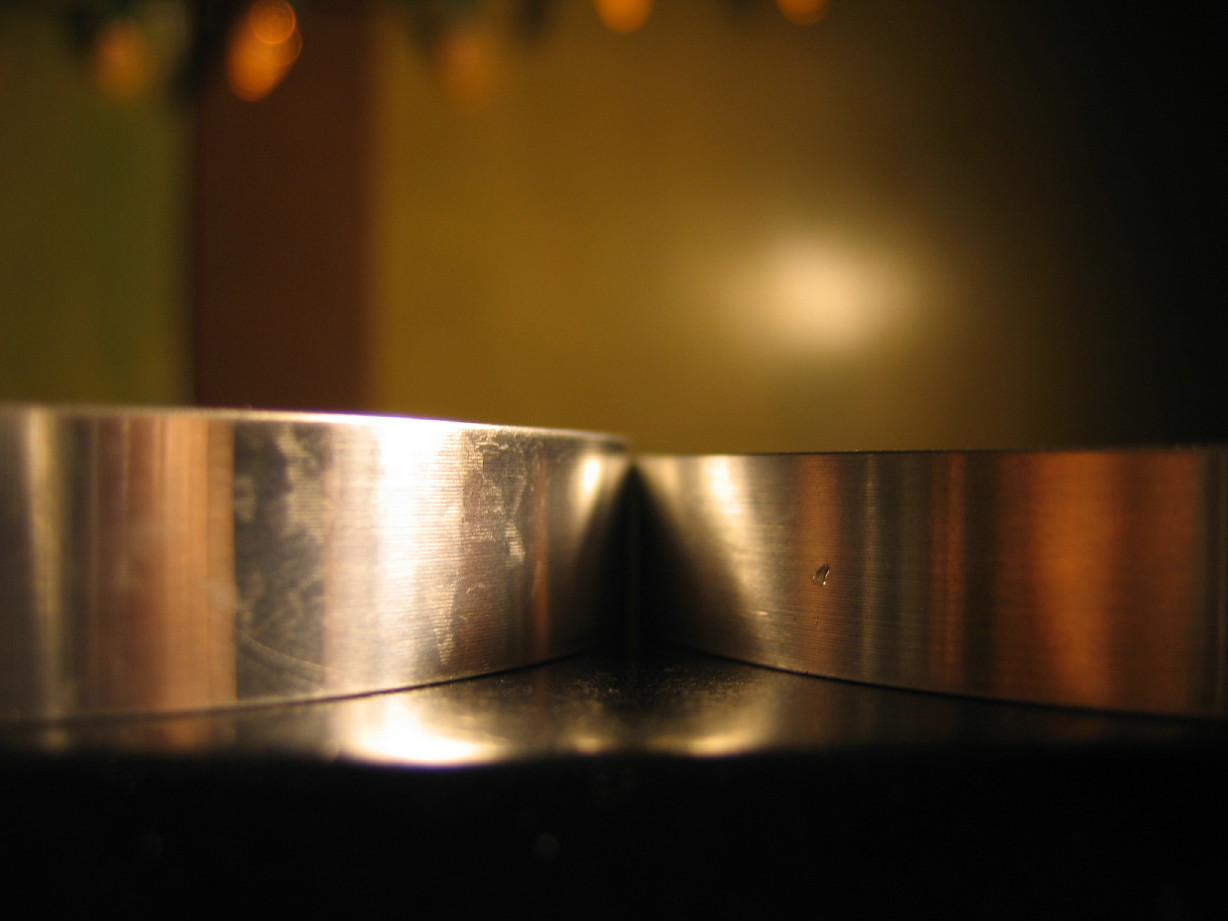
I had my machinist friend make up a set of reel spacers for precision reels. They are identical to the four I have but are 0.050" thinner. This is what I calculated would be needed in order to have the lower inside flange surface of a precision reel at the same height as a standard reel. Here is a standard spacer on the left and the new special ones on the right. This will take care of my problem of tape rubbing on the lower flange when using precision reels:
I'm
also having my machinist friend make up a spacer so I can use the rotary guide off of a 440-8 as the incoming guide to the headcover, and a special base for a standard 1" guide so I can replace the static guide just ahead of the erase head with a rolling guide. I'll have to drill the headblock platform for the guide but that'll be easy, and it should reduce flutter.
Got the pinch roller off again tonight to prep it for shipment to Terry Witt to have it rebuilt.
Also I...
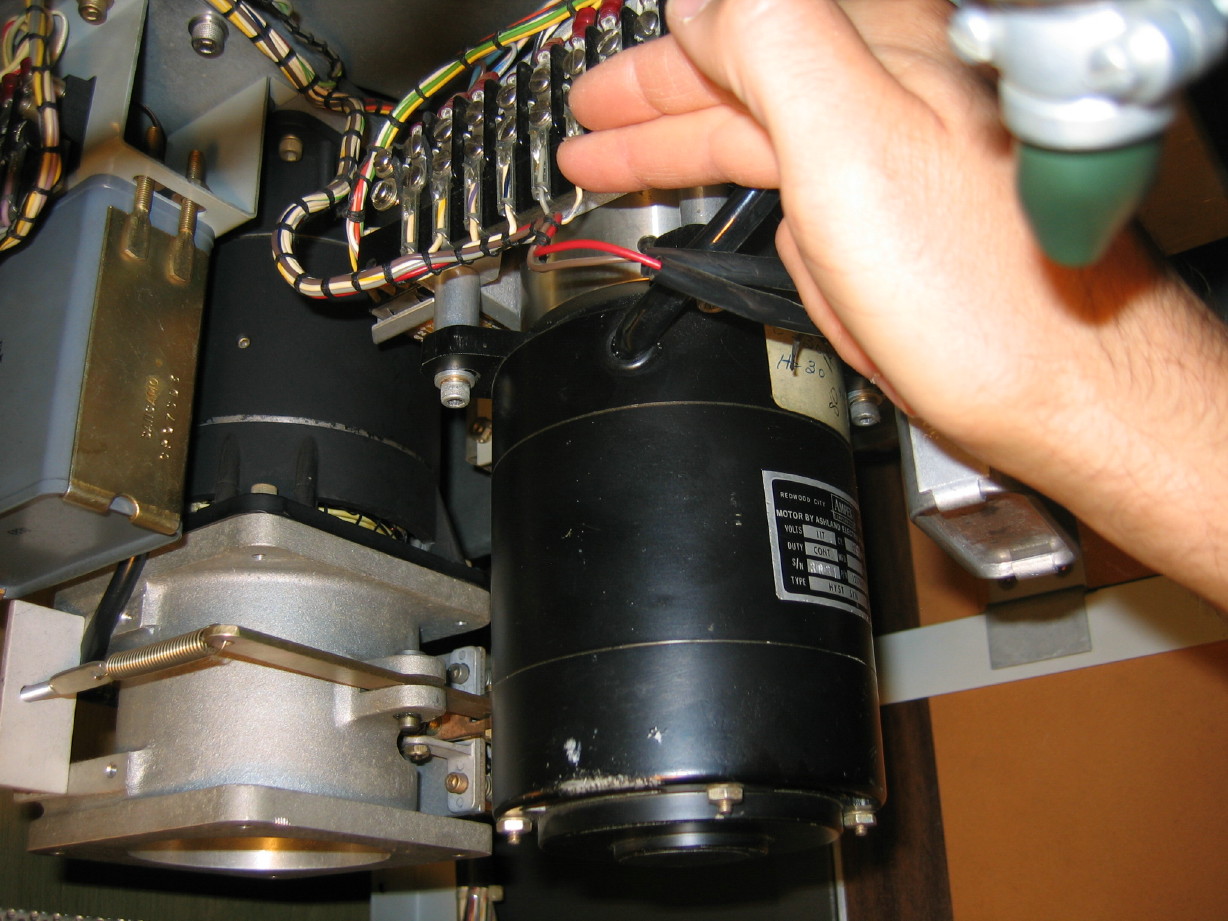
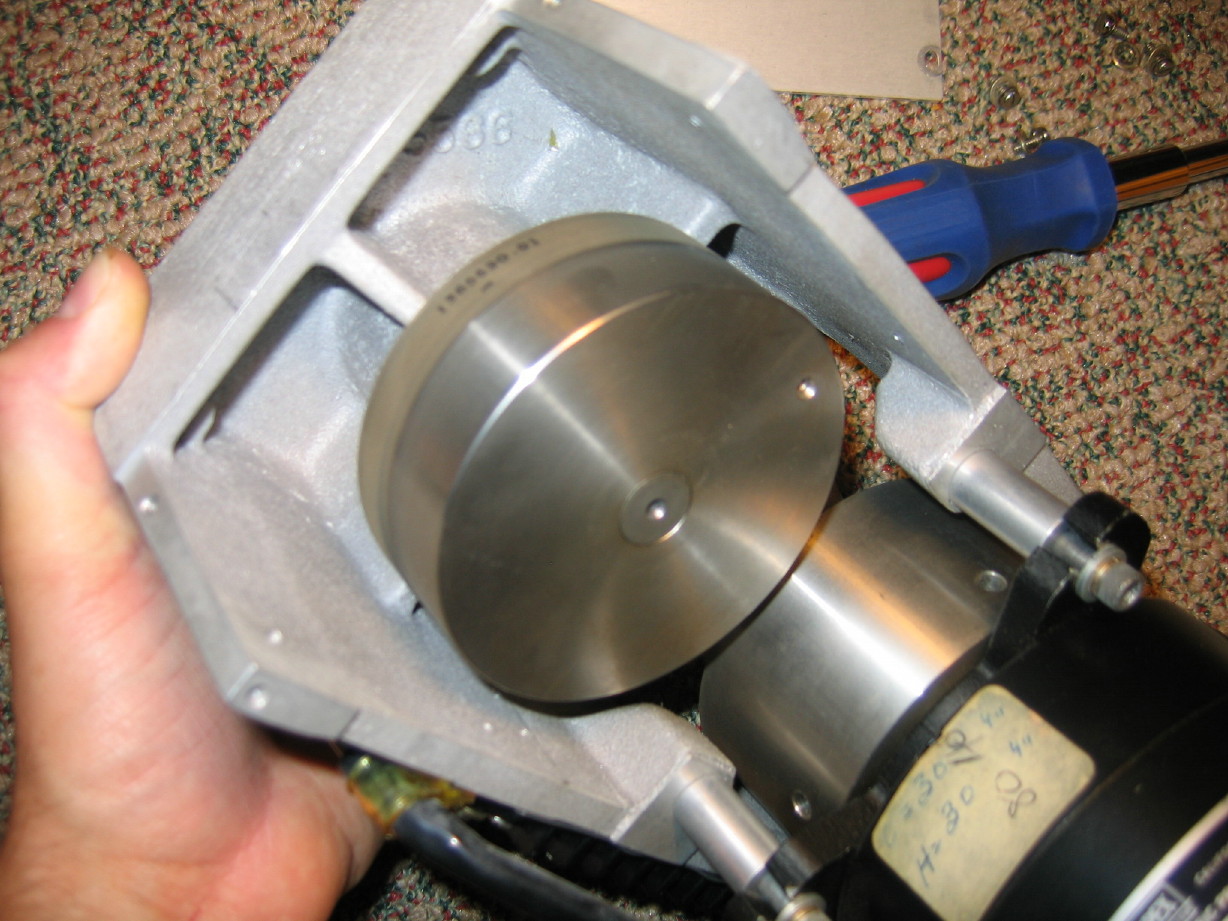
...removed the capstan motor and shaft assembly. Wowwww is what I have to say first. Second, it was pretty easy to remove. My wife helped with the last part so I could just hold the assembly and she removed the last two bolts so I could keep the assembly steady in case there were any shims installed. There weren't, but better safe than sorry.
It took less than 20 minutes to remove the assembly.
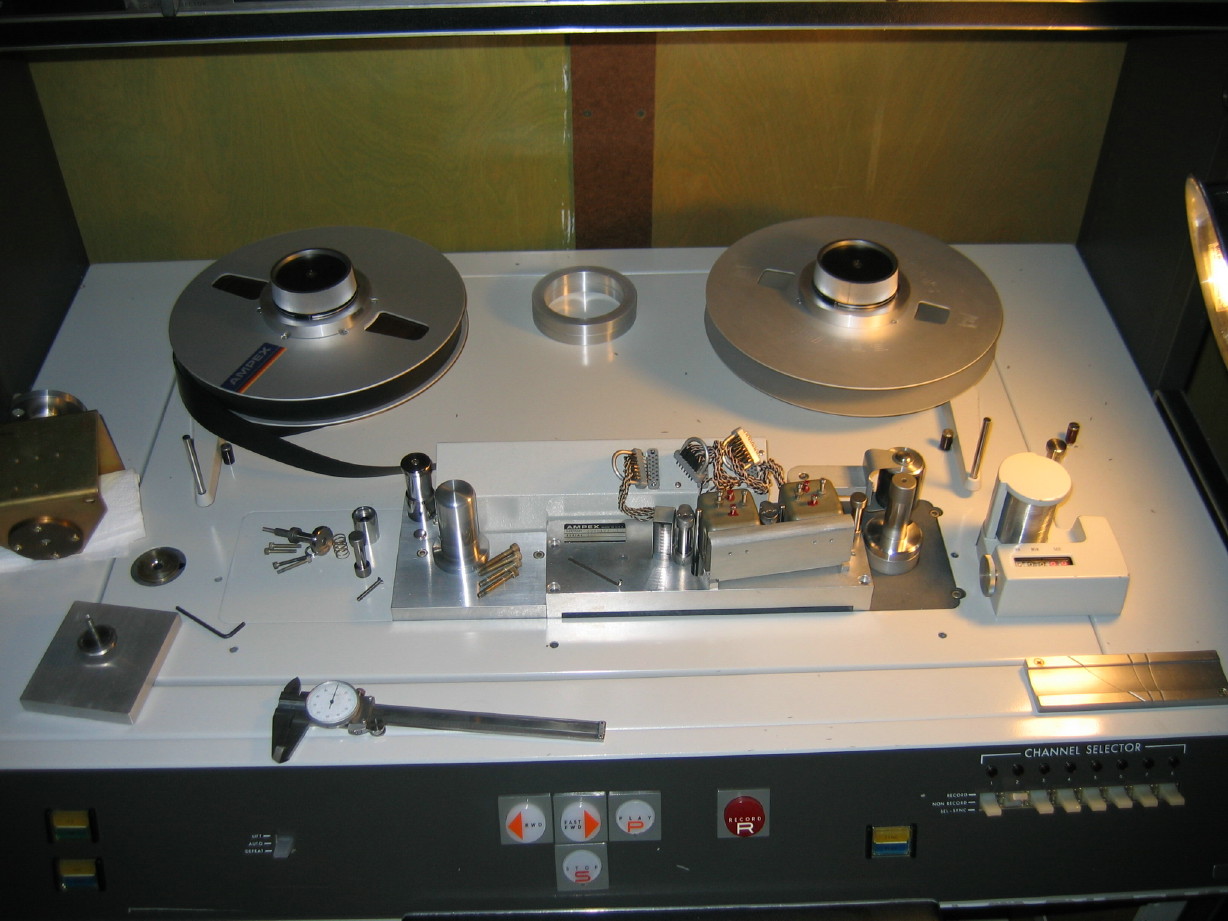
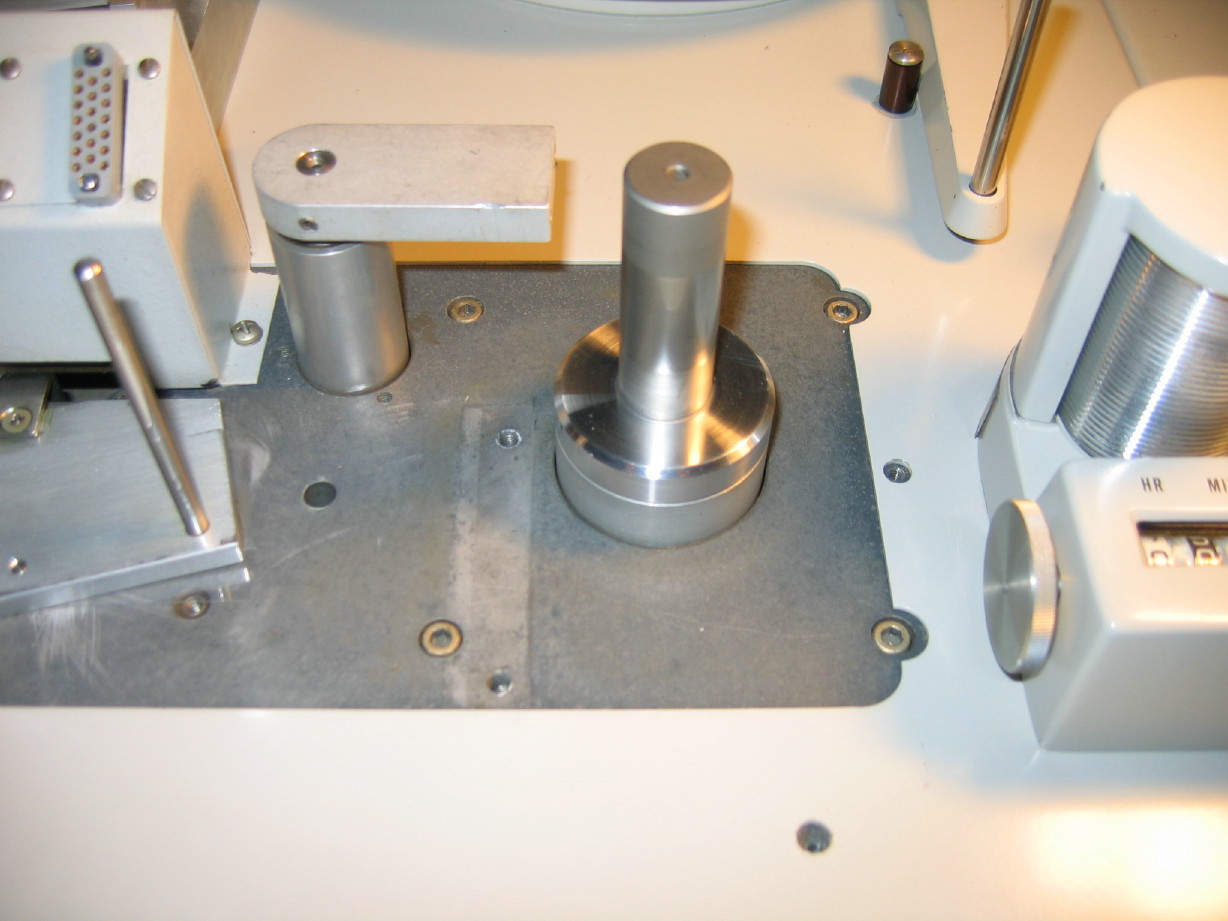
First you remove the headcover which requires a 7/64" hex-socket wrench (or allen wrench) for 5 hex socket head cap screws. Here it is without the head cover:
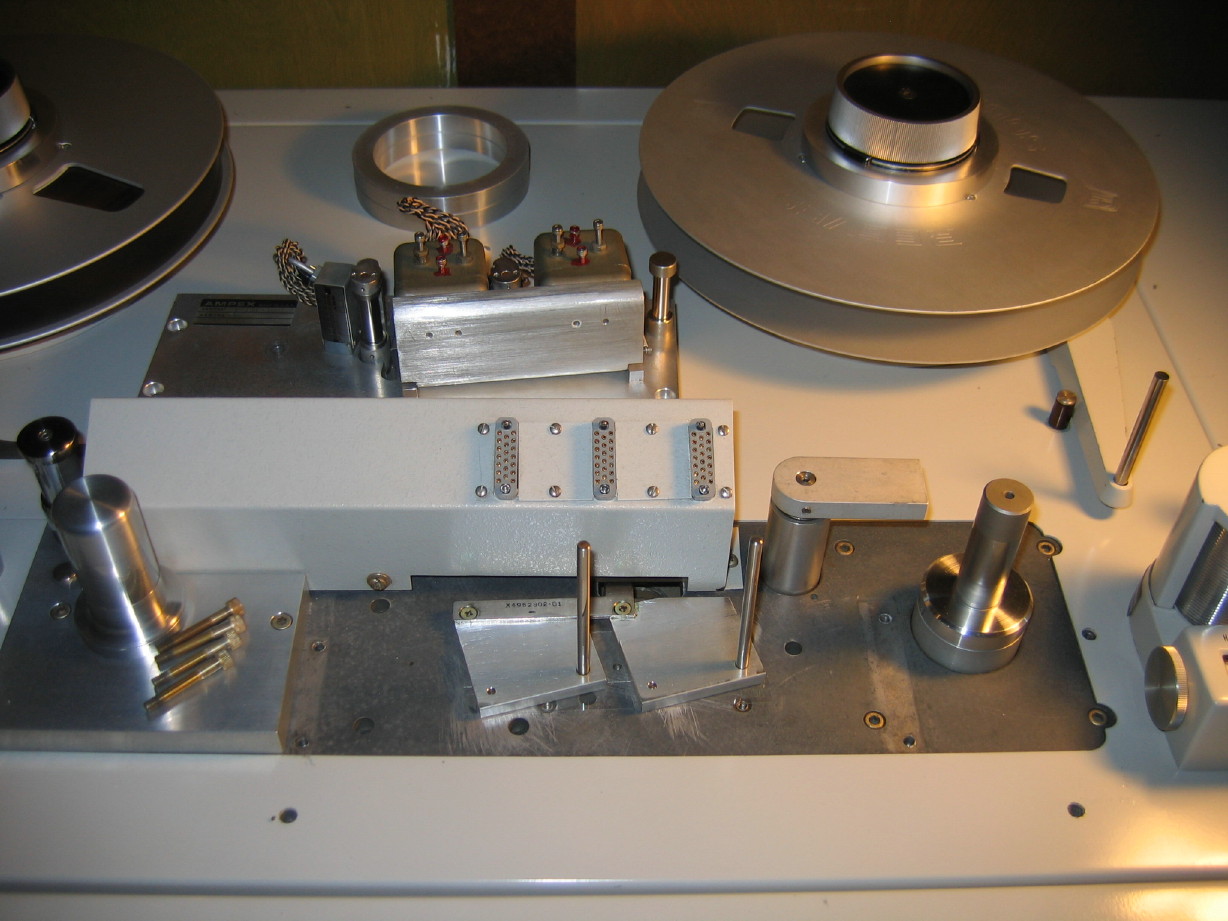
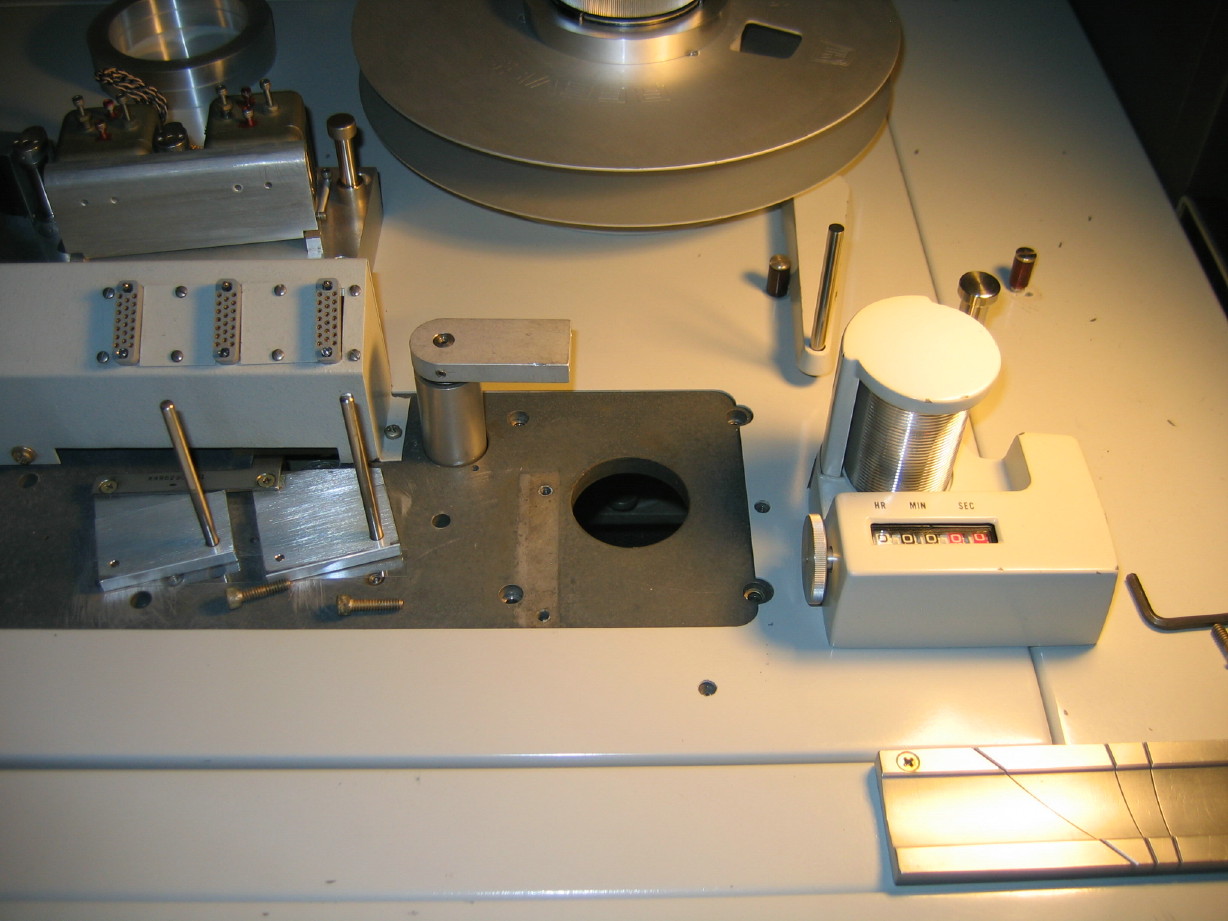
Then you remove the headblock which just requires a 5/32" hex-socket wrench for four bolts...and of course don't forget to unplug the heads!

Then go underneath and remove the captive barrier strip wire terminal from the terminal block as well as the two wires going to the start capacitor:
That leaves the four 5/32" hex socket cap screws for the capstan assembly exposed. You can remove two and then get your helper to remove the other two while you hold the assembly steady from below...
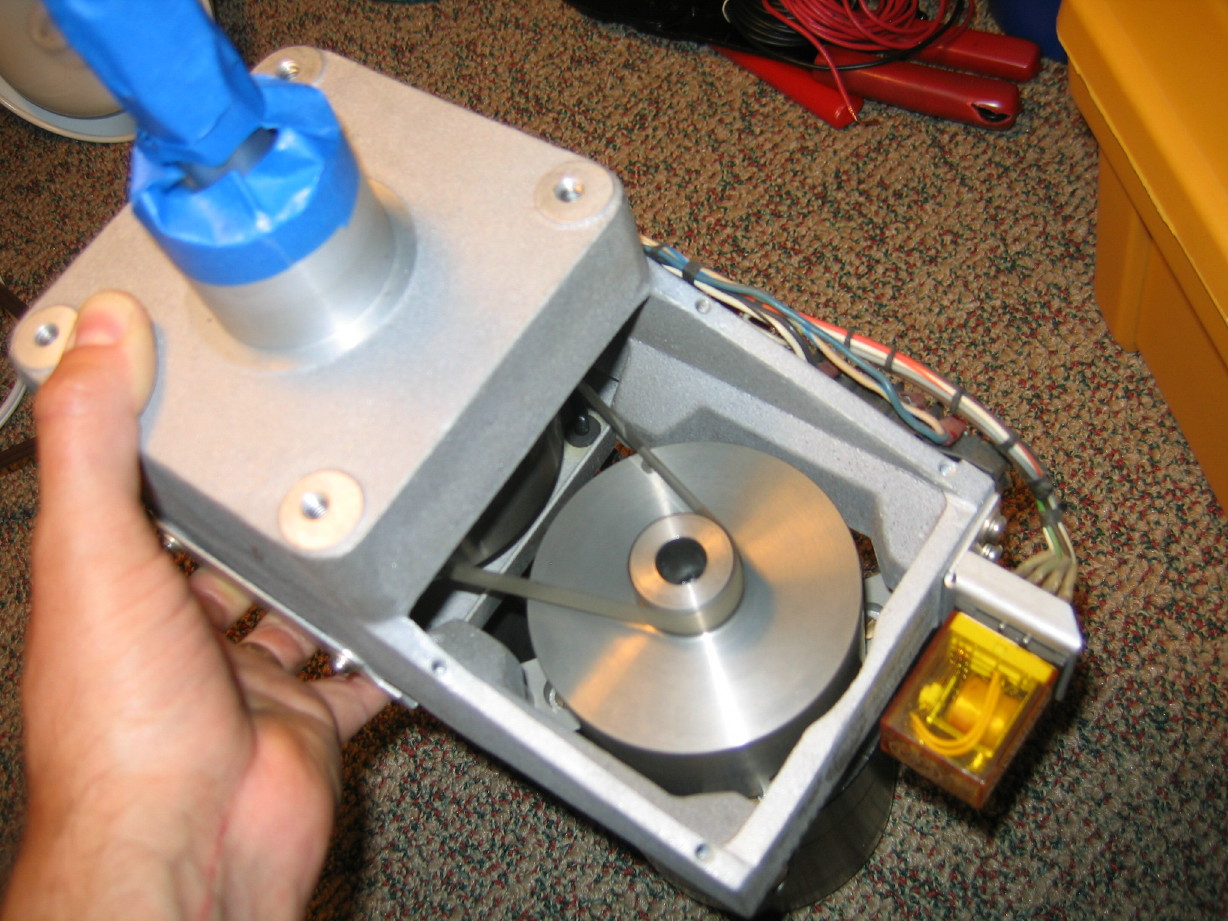
and don't forget to wrap the capstan shaft with masking tape or similar to protect it! Here it is ready to be removed:
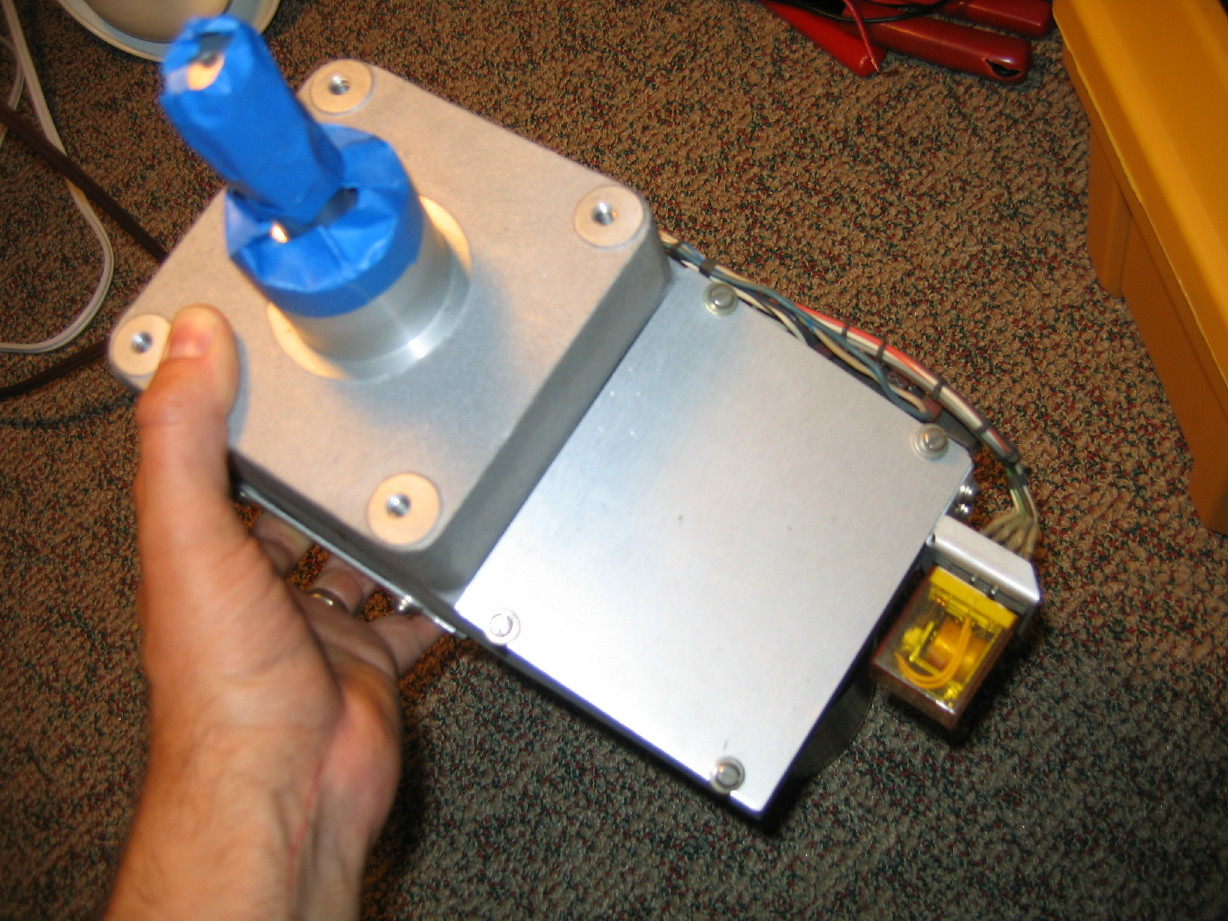
Poof! Its out...
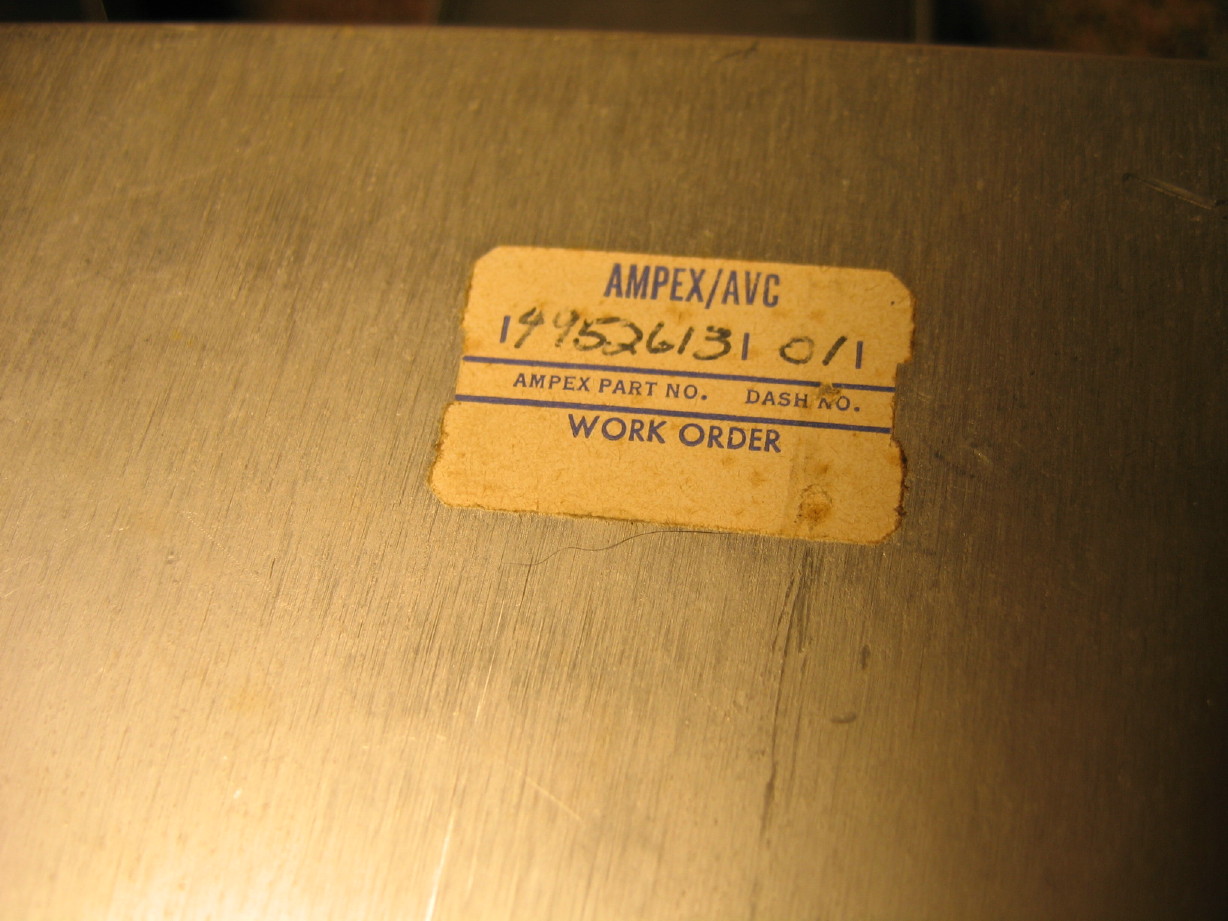
And here it is...I put an AA battery on it for scale. When't the last time you saw one of these?
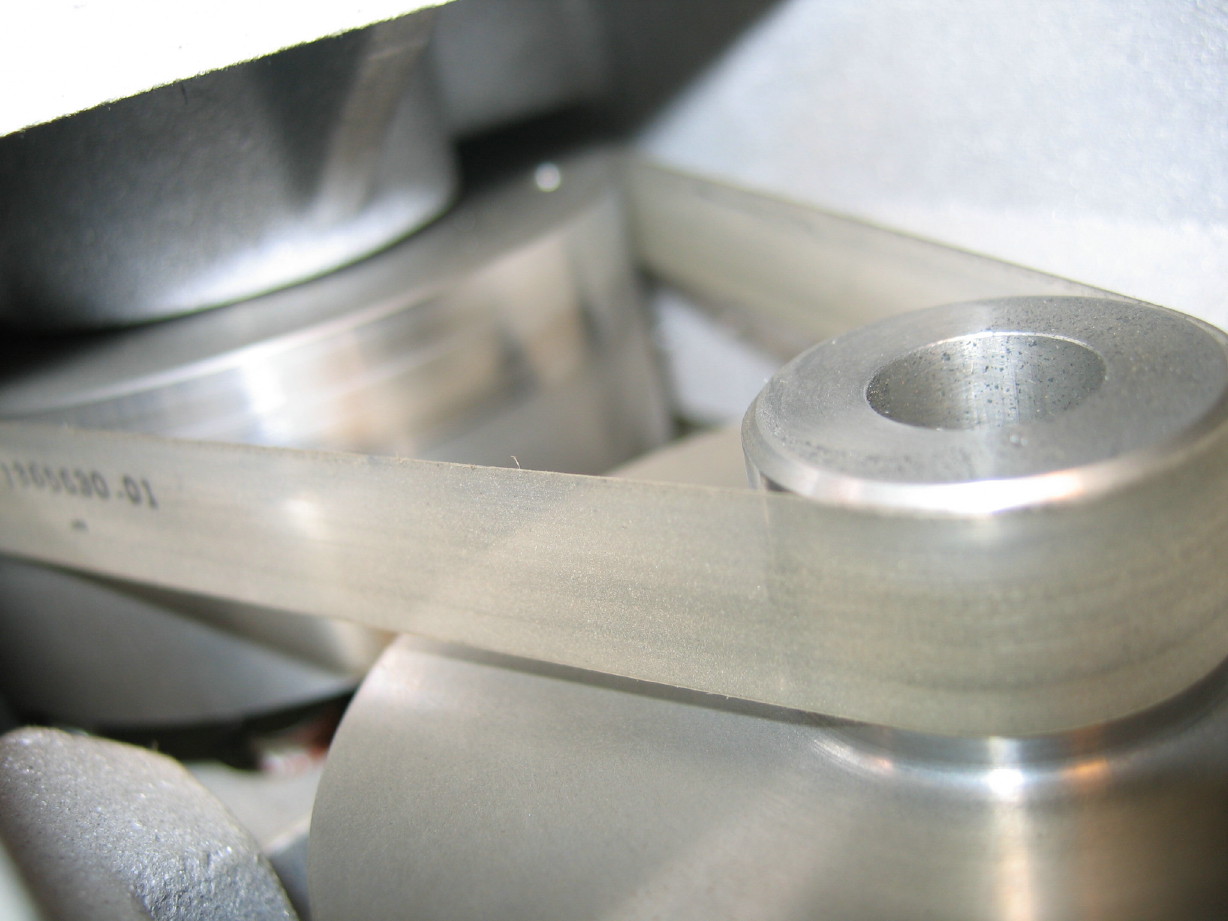
That aluminum plate with the four screws covers the motor pulley and the belt...its been a big mystery to me what that mylar belt actually looks like...do I open it up???
OF COURSE!!
Check this out...indeed it is a mylar belt. I had always pictured it as a composite but nope...just...mylar. Amazing.
The main reason I wanted to take this assembly out is to assess the bearings, but you know what? Even though the thing makes a racket in the machine when powered up, it is smooth as velvet when out of the machine...I've heard Ampex quad VTR's in a couple of youtube videos and their capstans sound the same, so I'm likely to leave it alone...I do want to check the belt tension and clean up what I can get to, but I'm thinking I shall leave well enough alone since it really is easy to get this assembly out and back in should something arise in the future.
 :rolleyes:")


")

") It's all good tho 'cause it all comes from a burning passion that you have for those things and it shows. Your explanations are intriguing and eye opening. Good stuff.
It's all good tho 'cause it all comes from a burning passion that you have for those things and it shows. Your explanations are intriguing and eye opening. Good stuff.