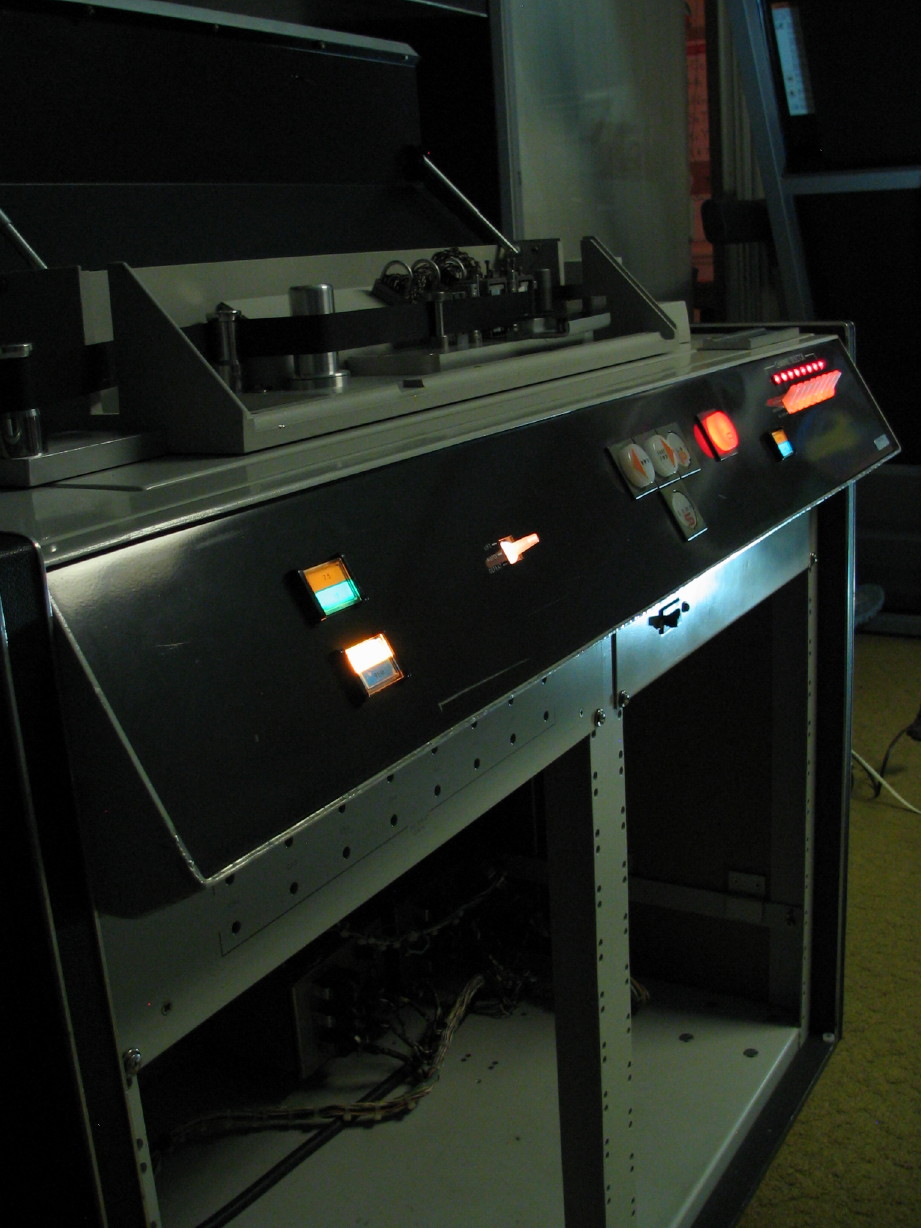
Some more detail regarding the control panel refurb...
The control panel refurb was pretty involved. The model control assembly is easy to remove, and the push switches for the remote enable and transport are easy to pull, but the transport control switches are a challenge. Actually the switches themselves are easy but their housings are not. I wanted to remove those housings to allow easier and more thorough polishing of the dress panel.
Things were pretty filthy. Many rags, a toothbrush, window cleaner, iso alcohol and an air duster and things are better.
I did switch the color gels around for the lifter control.
I also realized that there was a strain relief clip missing for the mode control harness, which is why one of the record status lights was unplugged...that big Amphenol plug hanging down pulled the plug right off.
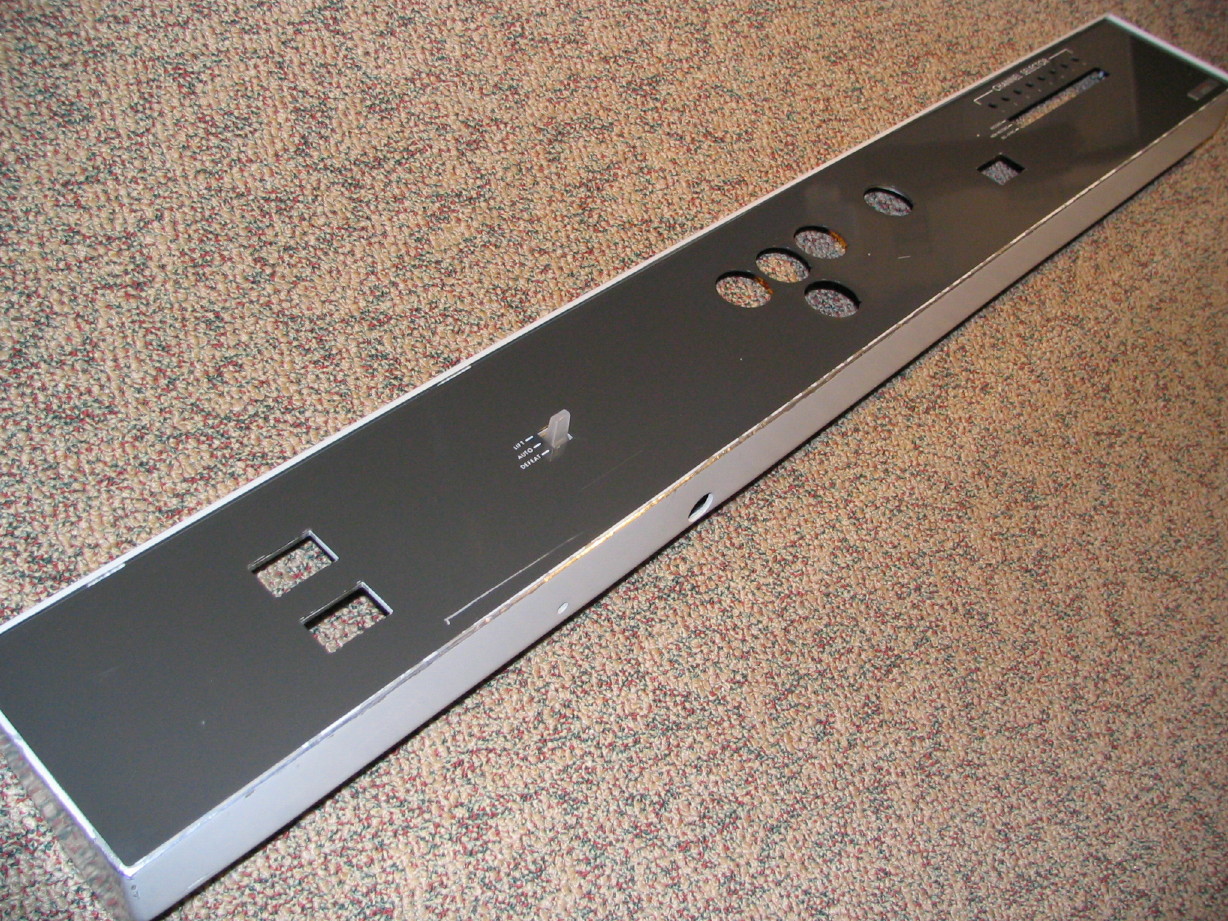
Here is the control panel housing with dress panel after cleaning and before reinstalling the components:
You can see the lifter switch is still there...the dress panel is adhered to the control panel housing and nigh impossible to safely remove...I tried. Of course there is still a lot of gouged and scraped edges and such on the control panel housing itself. This is not a minty machine, but I am comfortable with that. It shows the years of wear and tear from Universal Studios and wherever else. My goal here is to get it clean, not a full-on restoration.
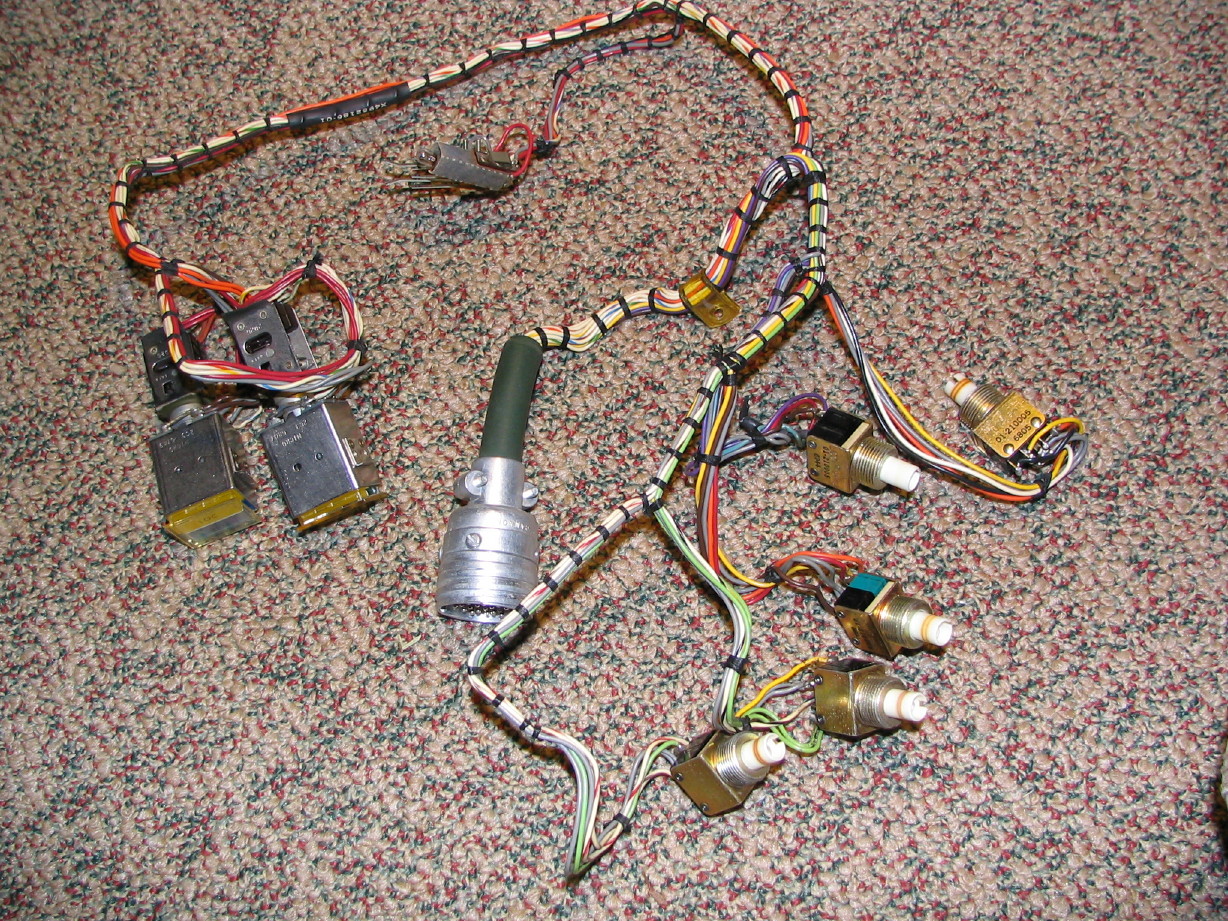
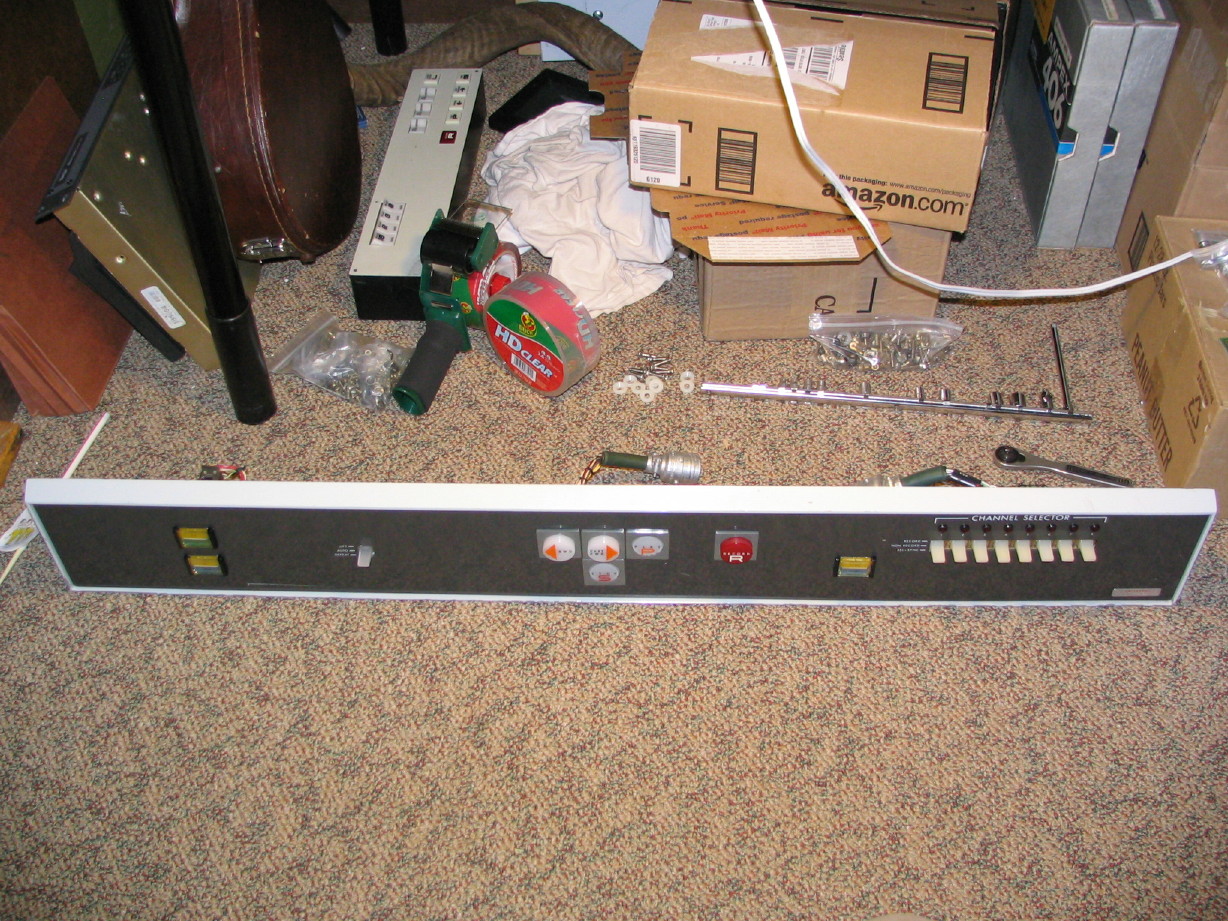
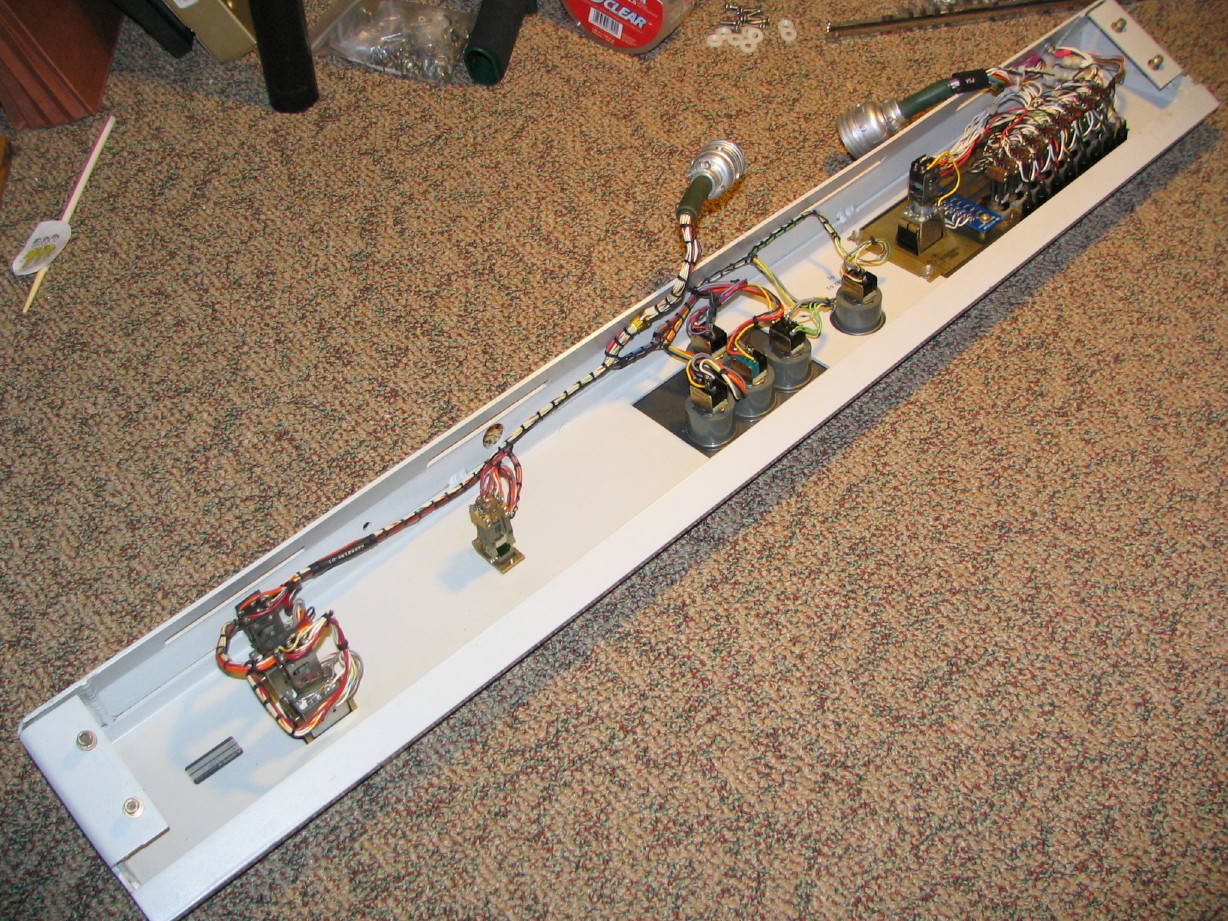
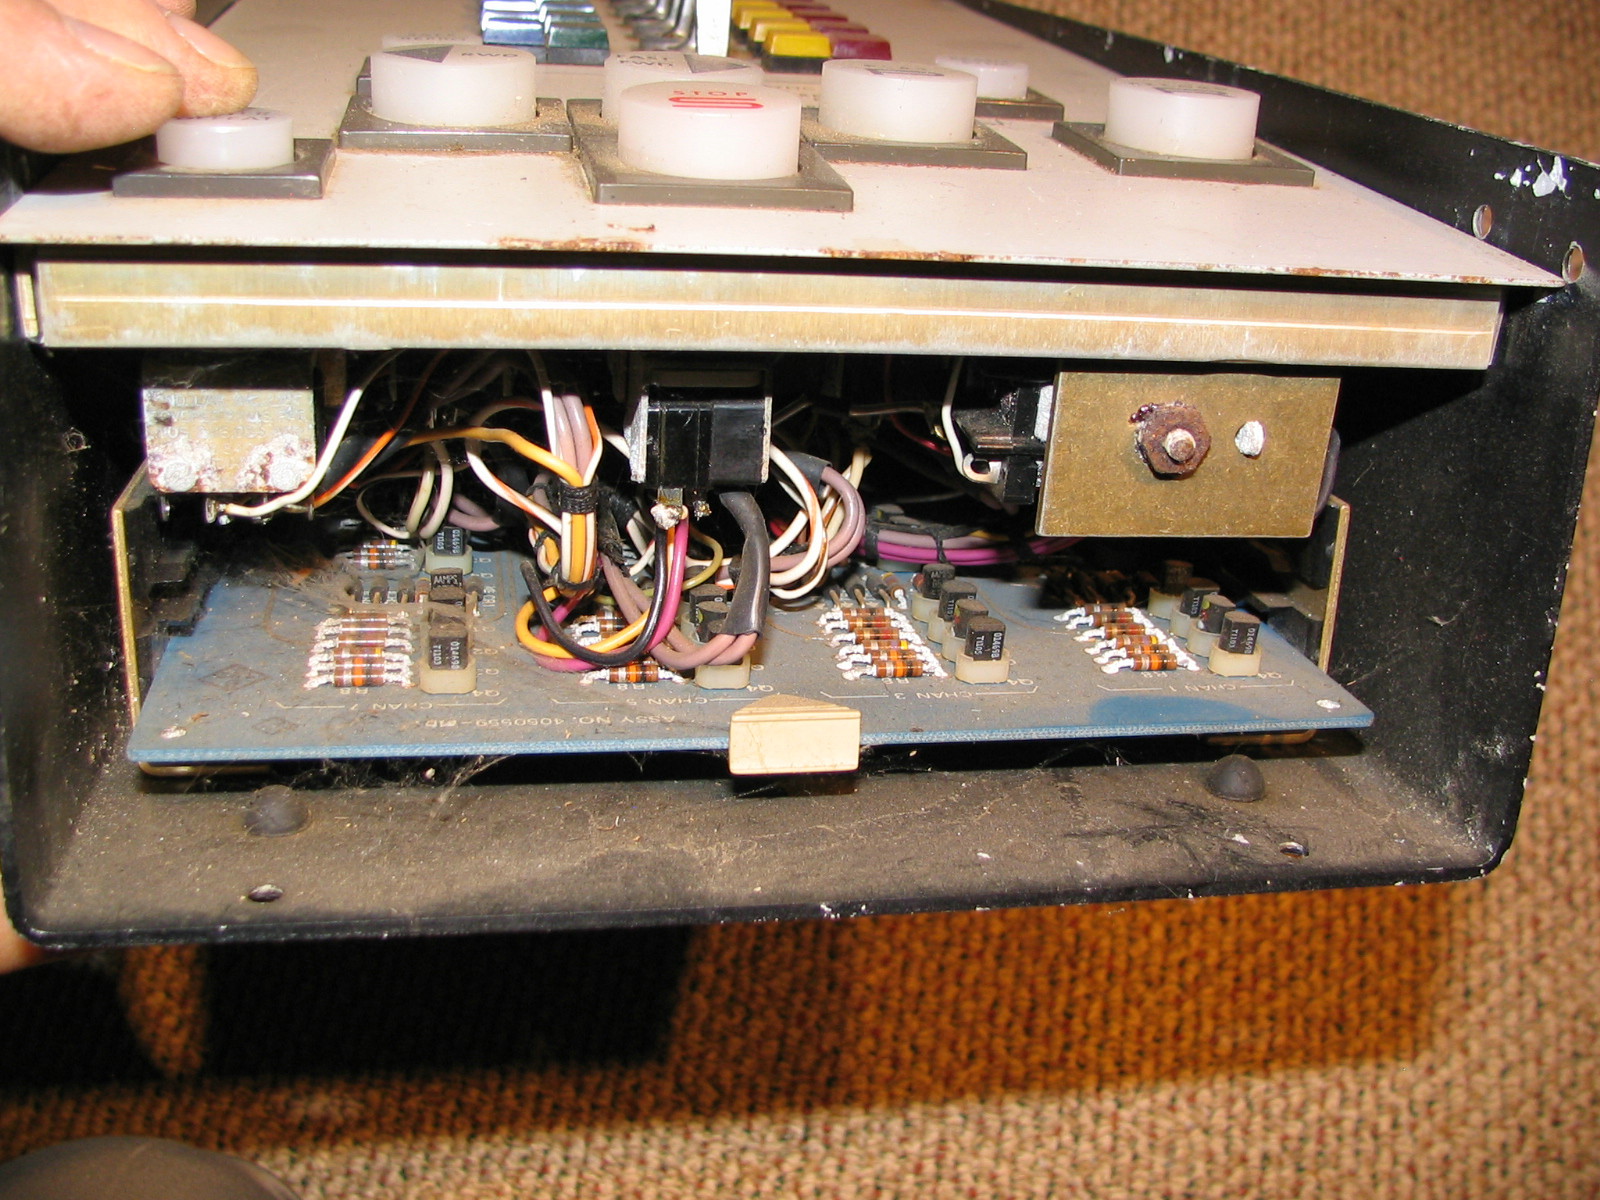
Here is the transport control harness cleaned up and inspected. All is well with this harness, though some bulbs on the push switches were burned out.
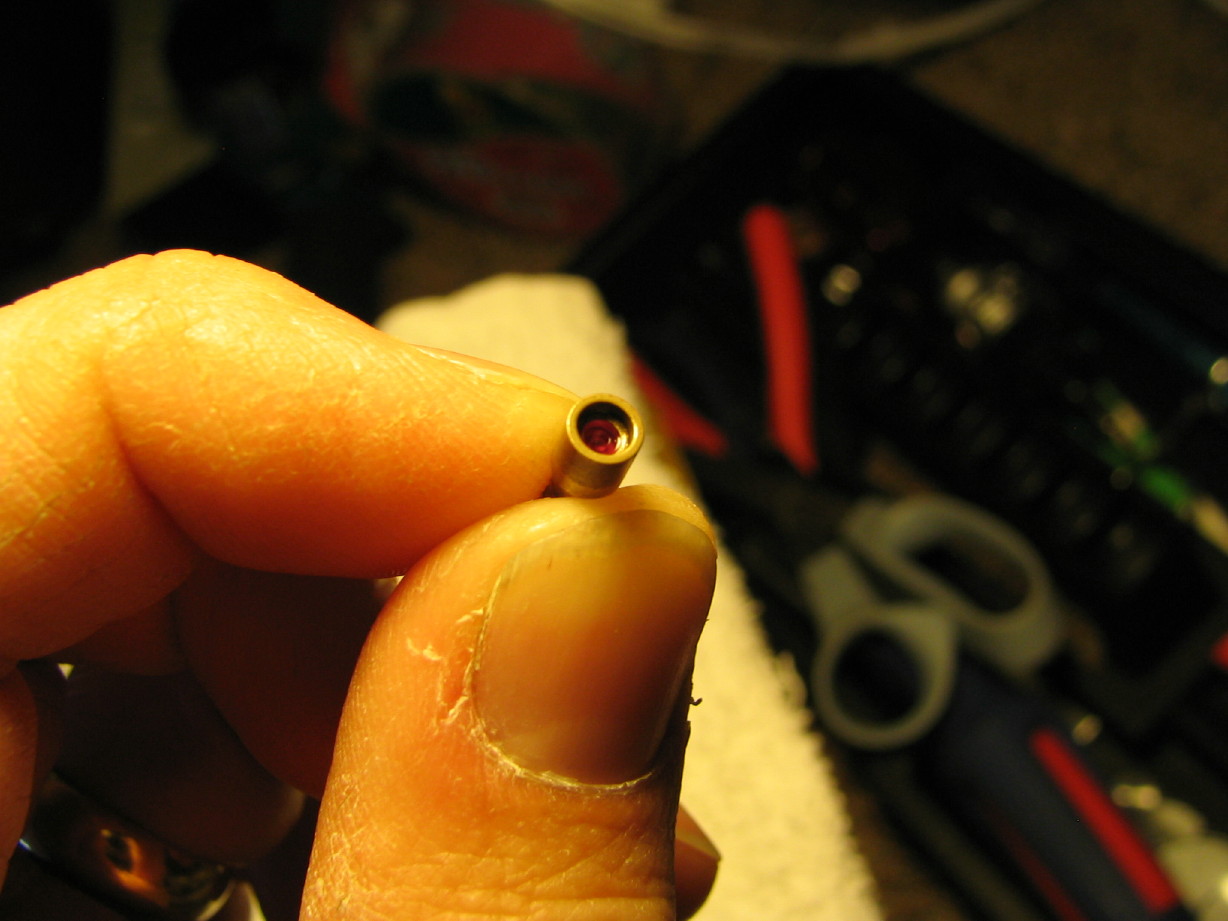
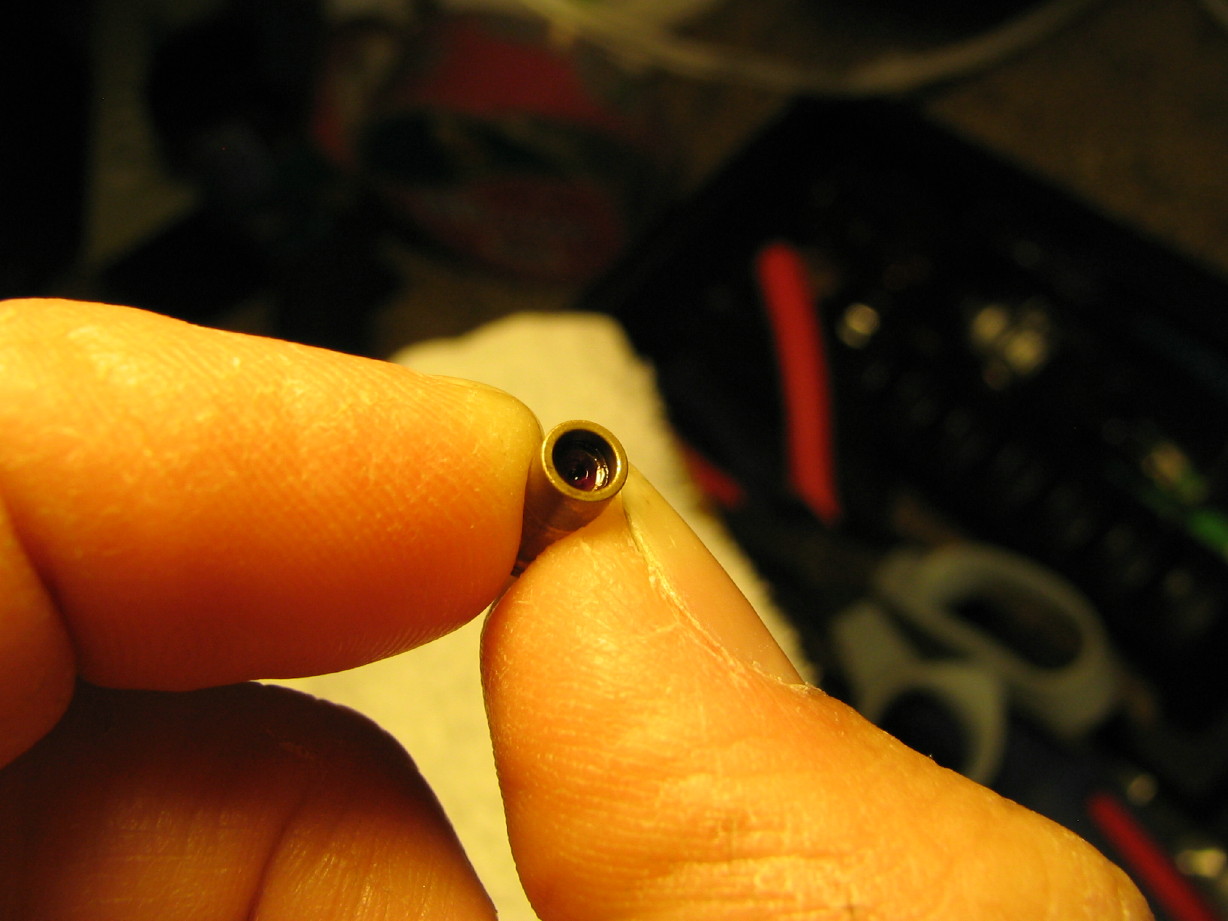
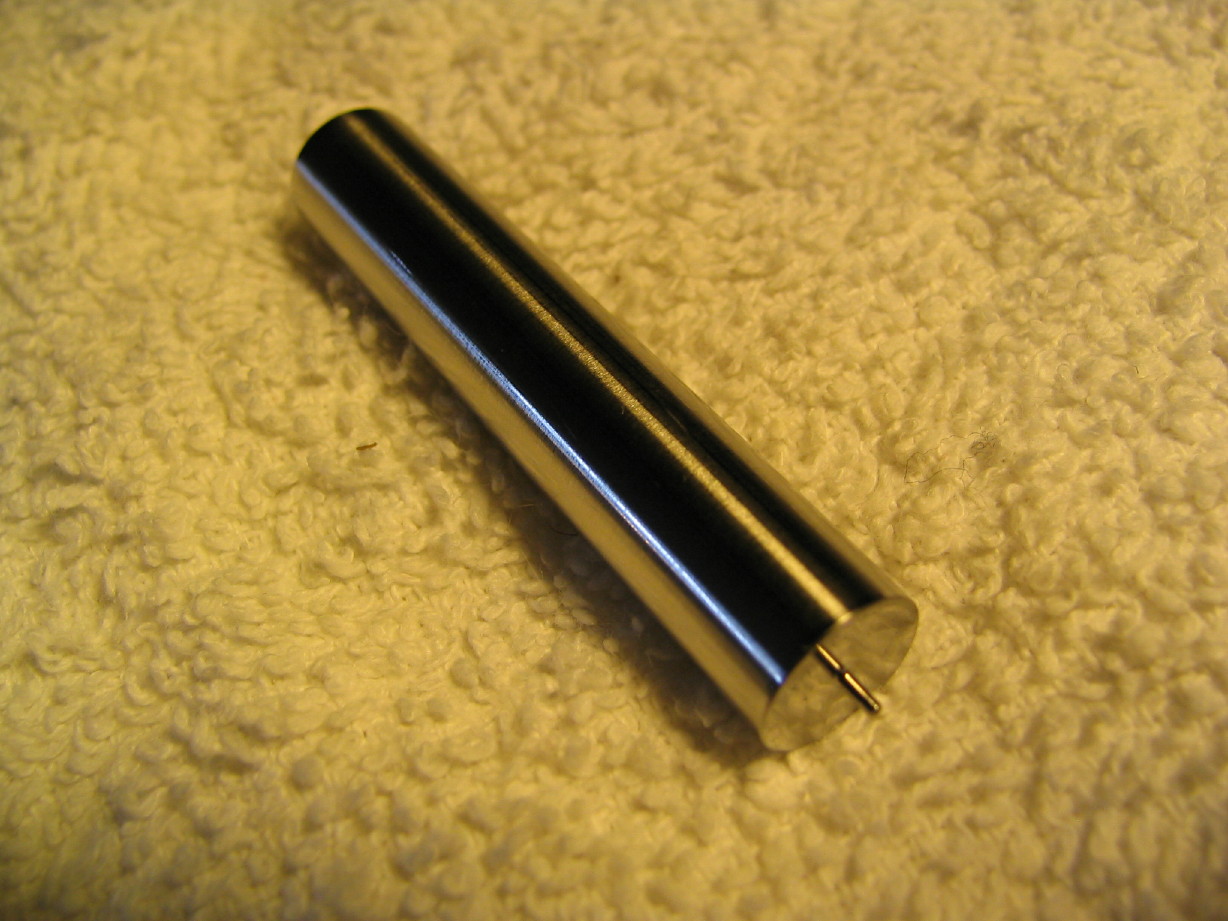
It was a minor miracle that I figured out how to remove the bulbs...they are not a threaded bulb. They are completely recessed and clip in. They are retained by four prongs. Plus, there is a flange at the base of each bulb. Oy. Even if it was possible to effectively grab the small part of the glass bulb that is exposed, I don't think there is any way that the bulb could be pulled without breaking the glass...And evidence shows that I'm probably right as I've found bits of glass down inside the switch. I think maybe the way others got the bulbs out is just to break the glass and try to grab the metal base. Well, a drinking straw is big enough to fit around the bulb, but small enough to fit through the bulb access hole. Plus, the straw ID is just slight smaller than the bulb flange so it grabs the bulb base by stretching over the flange. So it grabs the bulb and with the straw over the flange it slides right past the retaining prongs. I actually shot a video of this. Probably of little interest to anybody but who knows if a fellow MM-1000 owner will come across this thread and finally be able to replace those burned out bulbs:
YouTube
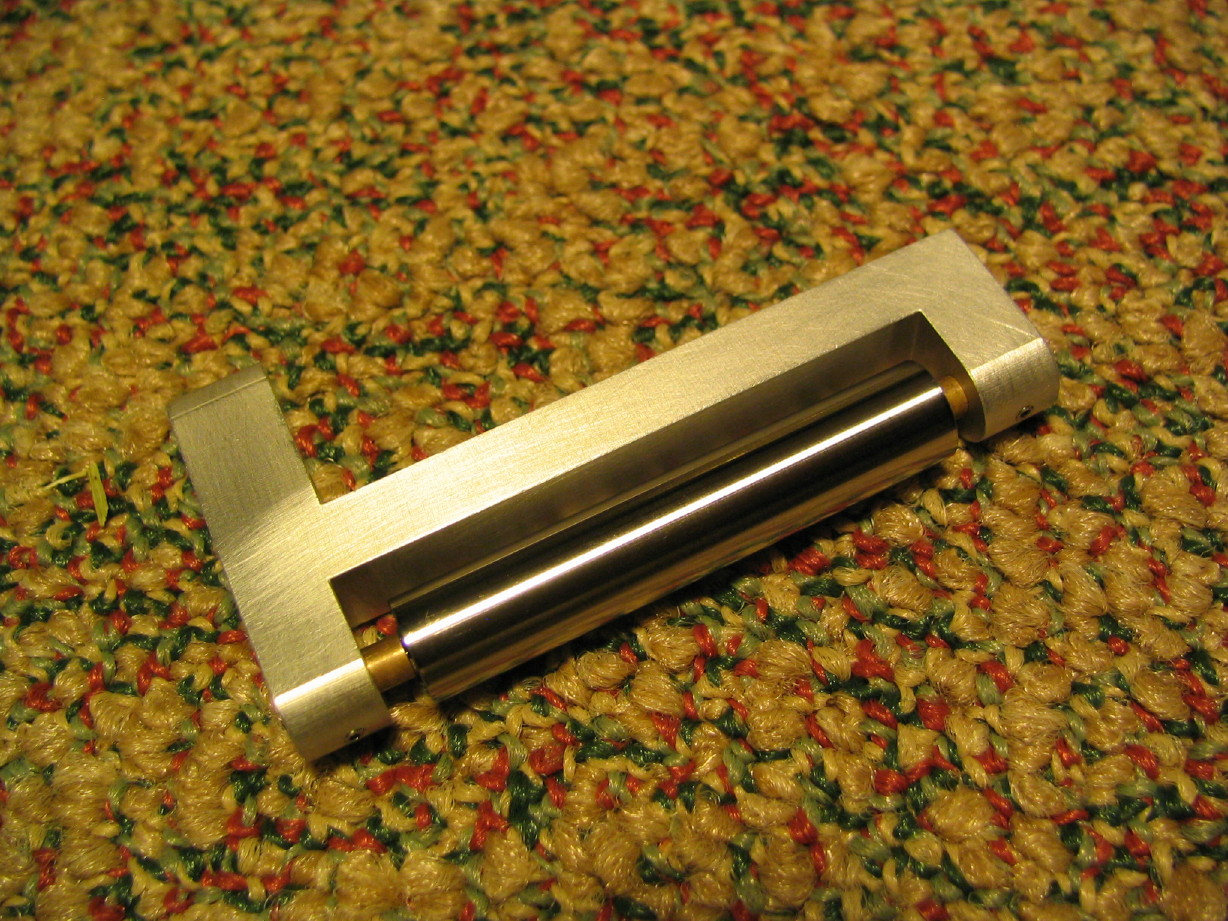
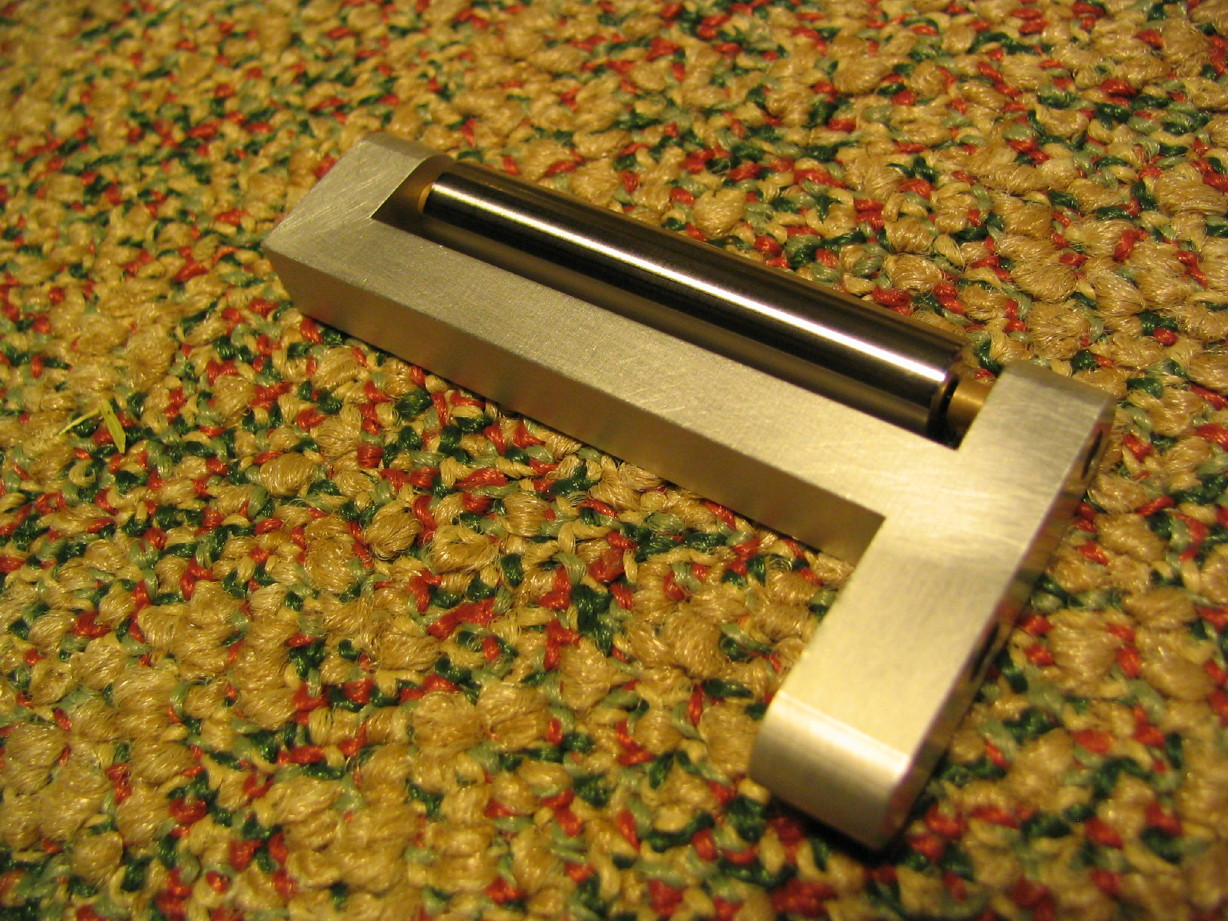
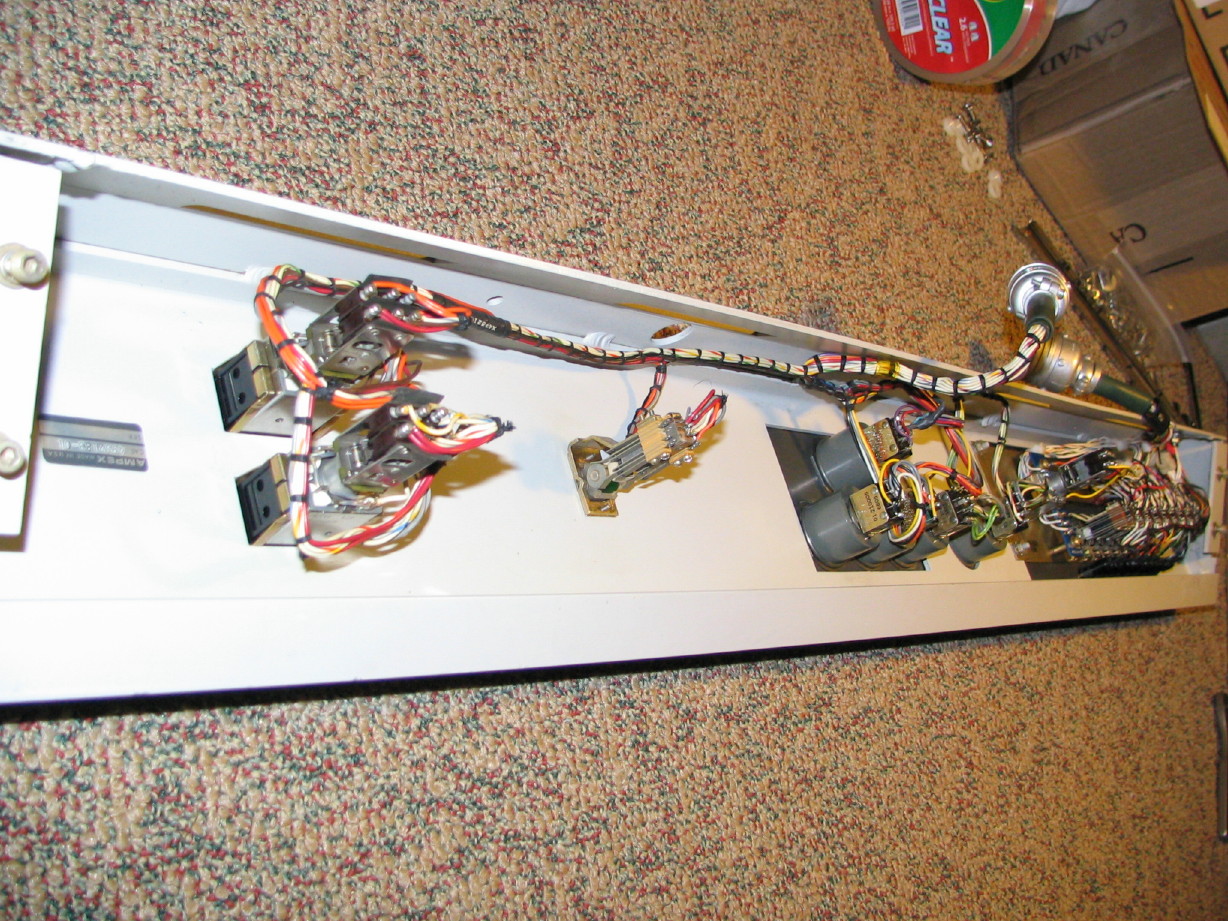
Here are a few more pictures of the assembly:
Oh yeah...I also had to come up with a repair for one of the threaded inserts that facilitates the mounting of the control panel to the console. There are supposed to be four press-fit 10-32 threaded inserts at the edges of the back of the control panel housing, but one was missing. I was able to remove one of the threaded inserts off of a damaged clip-on rack rail nut. I just used a 10-32 screw to "suck" the insert into the hole in the bracket on the housing. Worked like a charm.
So in the end, even after checking everything out, there were five bulbs that were still burned out. Got those taken care of...Guess that's not bad for a 40+ year old machine, and there are 34 bulbs total on the control panel.
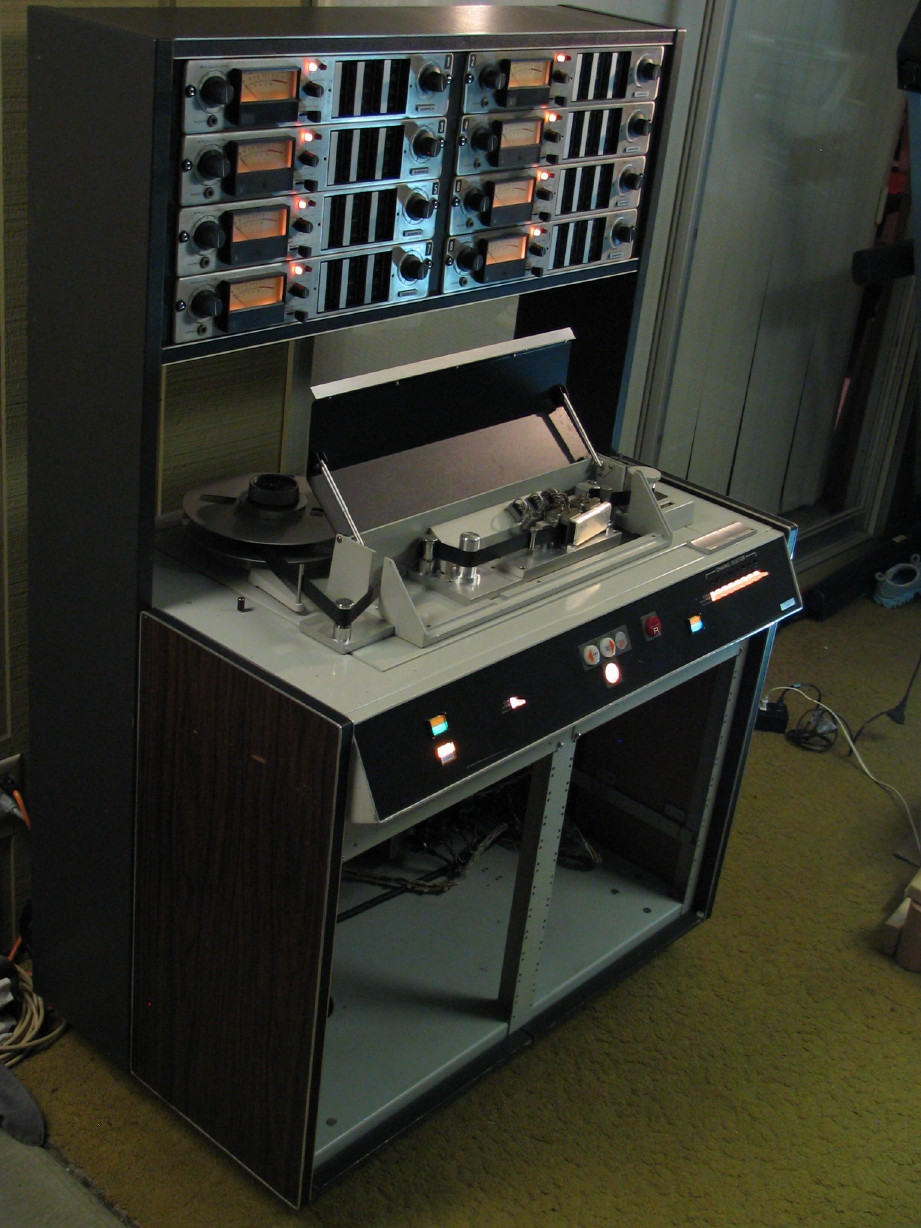
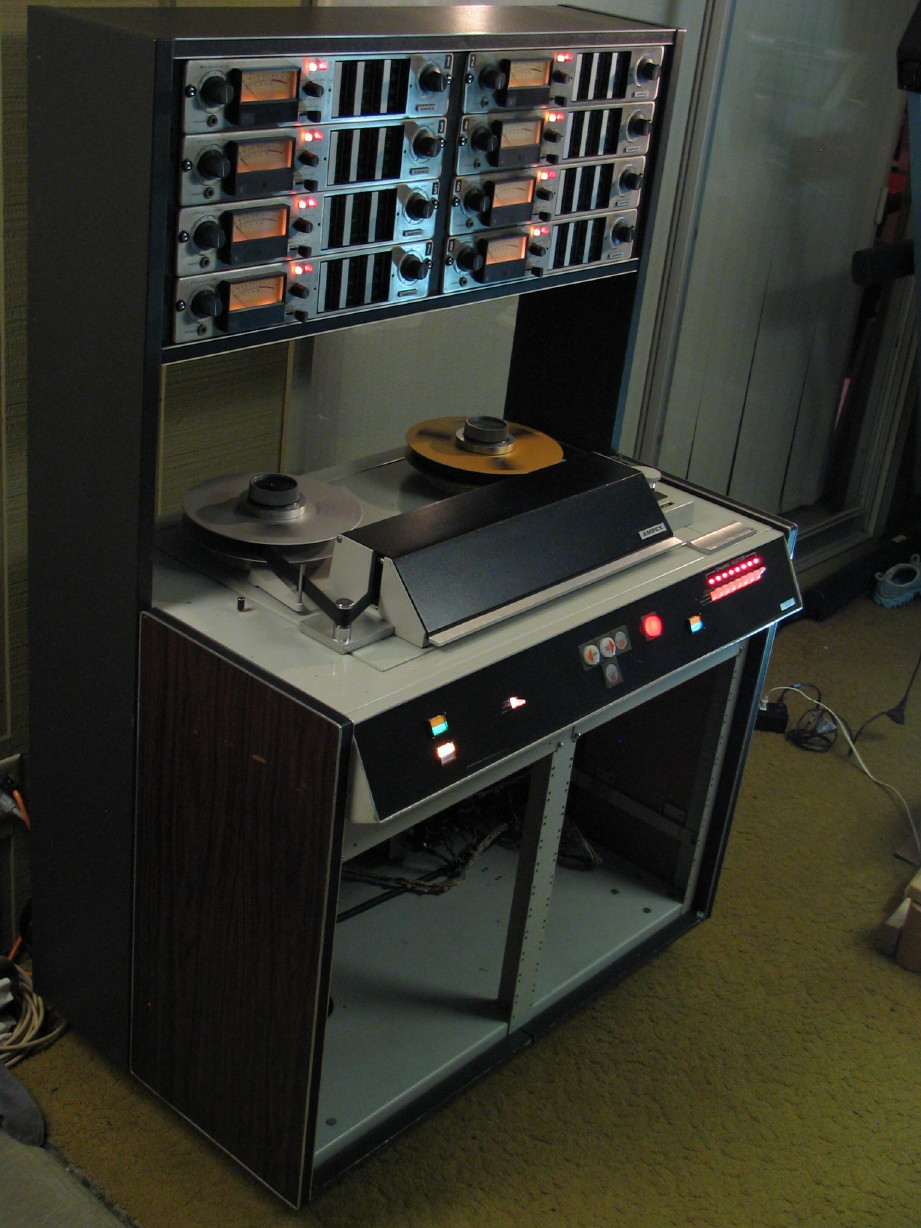
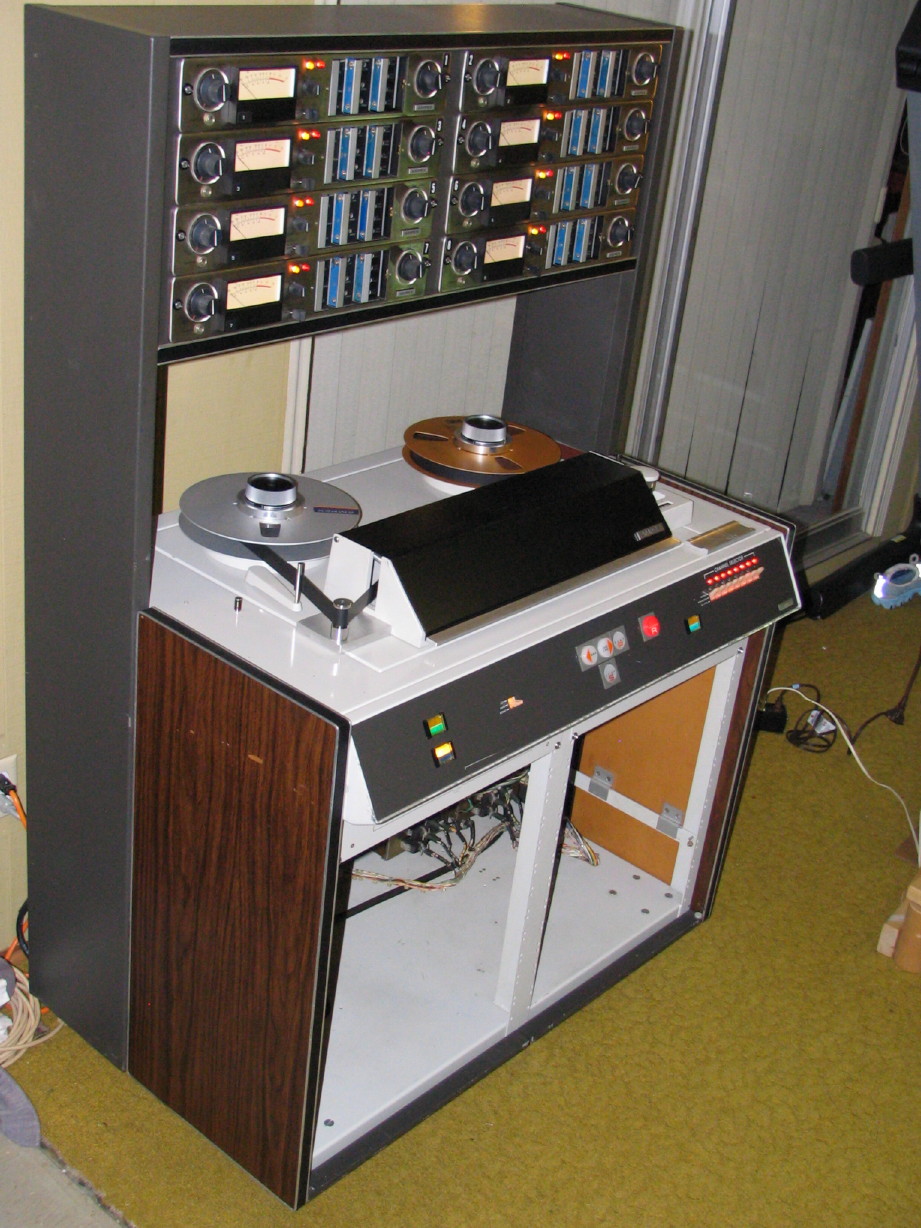
Everything works great! It is 100% fully-functional.

")
 ...so THAT will be quite a project too, but whatever I come up with the remove the pins from the MM-1000 connector will SURELY come in handy for the remote cable repair. THEN...the remote itself...the one that came with the MM-1000 has moisture damage and is missing a number of parts...saying its condition is rough would be kind. Steve Puntolillo has a parts carcass 8-track remote we've settled on exchanging for some parts I have, so at some point I'll have that here and then I can tear the two down and do my thing and make one good one. I'll have to fashion the front and back panels out of walnut stock I have here but other than that I should have everything once the carcass is here.
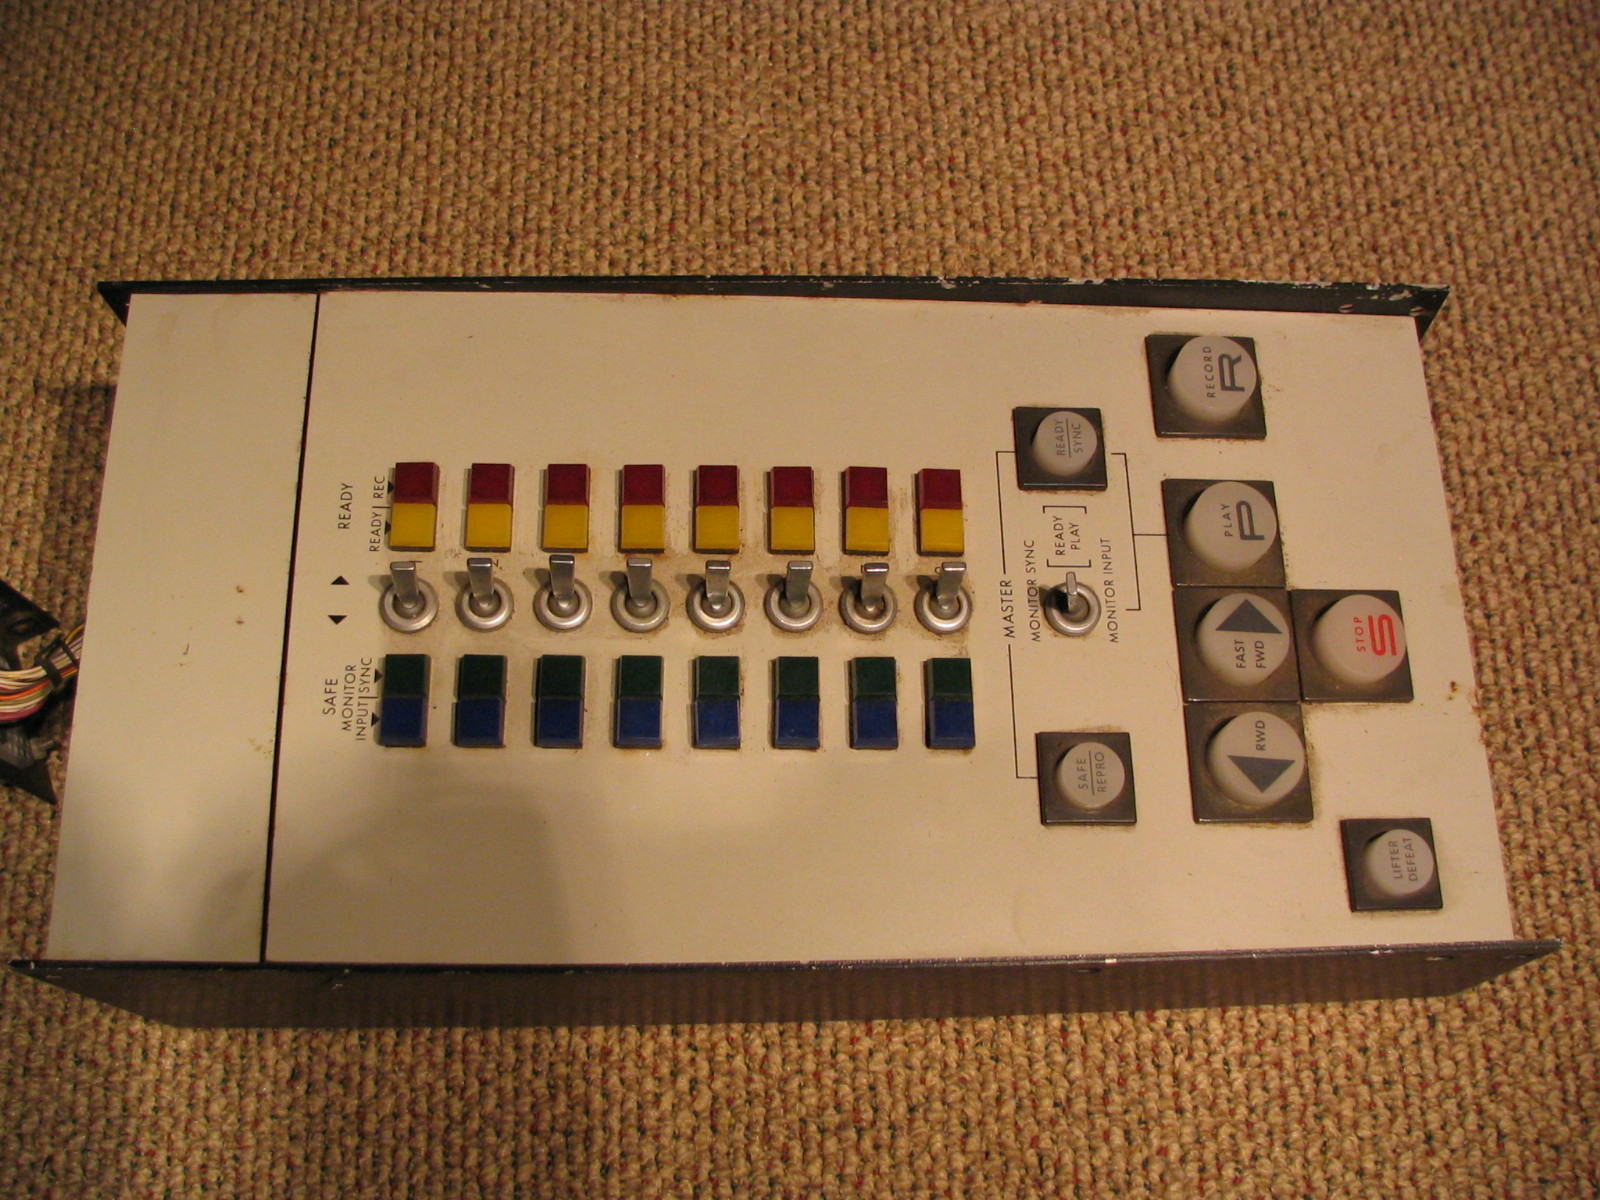

")


