Reel Motor Adventures...
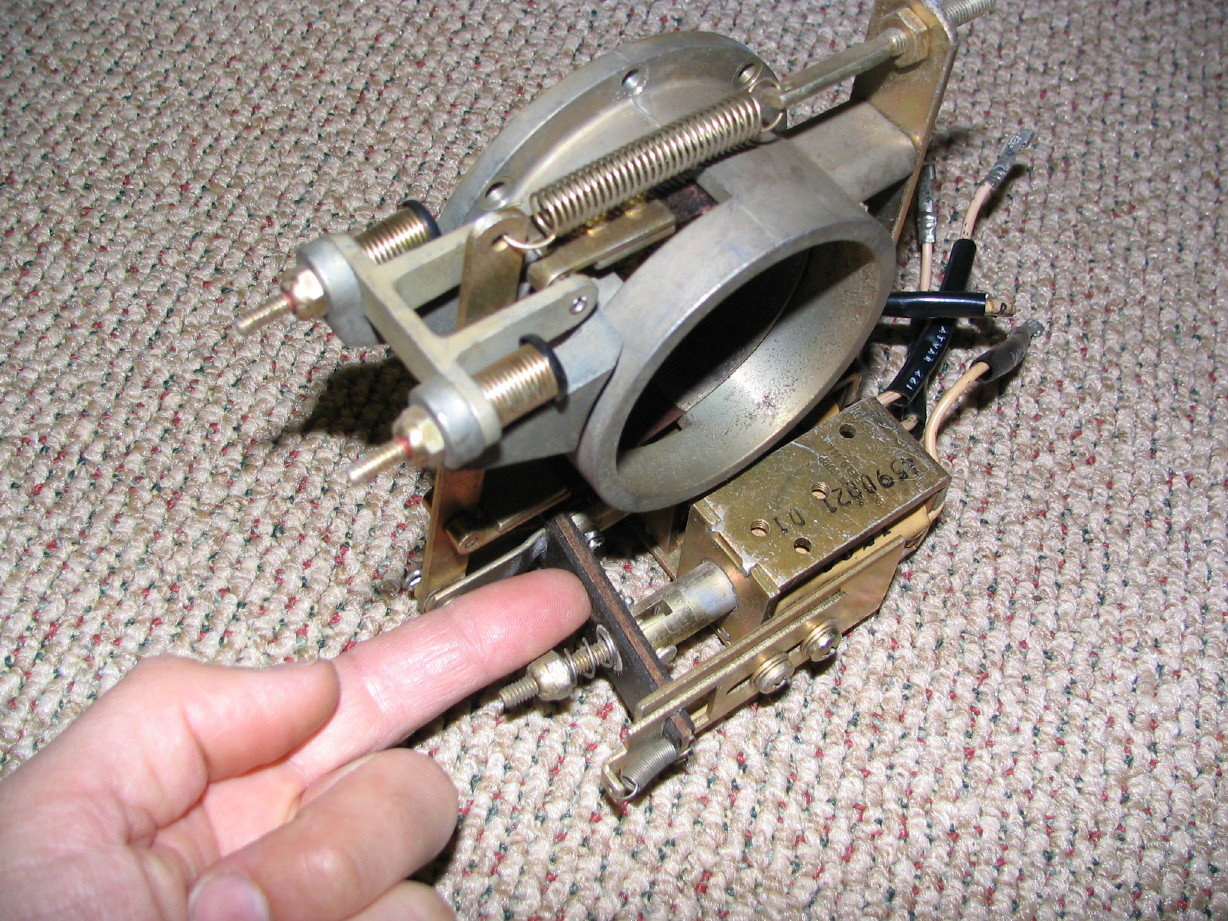
Well I'm pretty excited because the reel motor I tore apart some time ago is coming back together nicely. When I got the 440-8, for the first few weeks anyway, I was just so curious about its anatomy that I pulled stuff apart to see how it goes together. Fascinating to me. Anyway, simple logic would tell you the result of that...parts everywhere, so I'm trying to get those things cleaned up and bagged and ready for reinstallation when the transport is ready. So the reel motor assembly is completely reassembled with the exception of the brake assembley, and that's because I have a question about that for which I'm awaiting a response on the Ampex List. There are two solenoids on each brake assembly: one for EDIT mode and one for STOP mode...I
think the EDIT solenoid actually holds the band away from the drum as much as possible to ensure complete freewheel...I
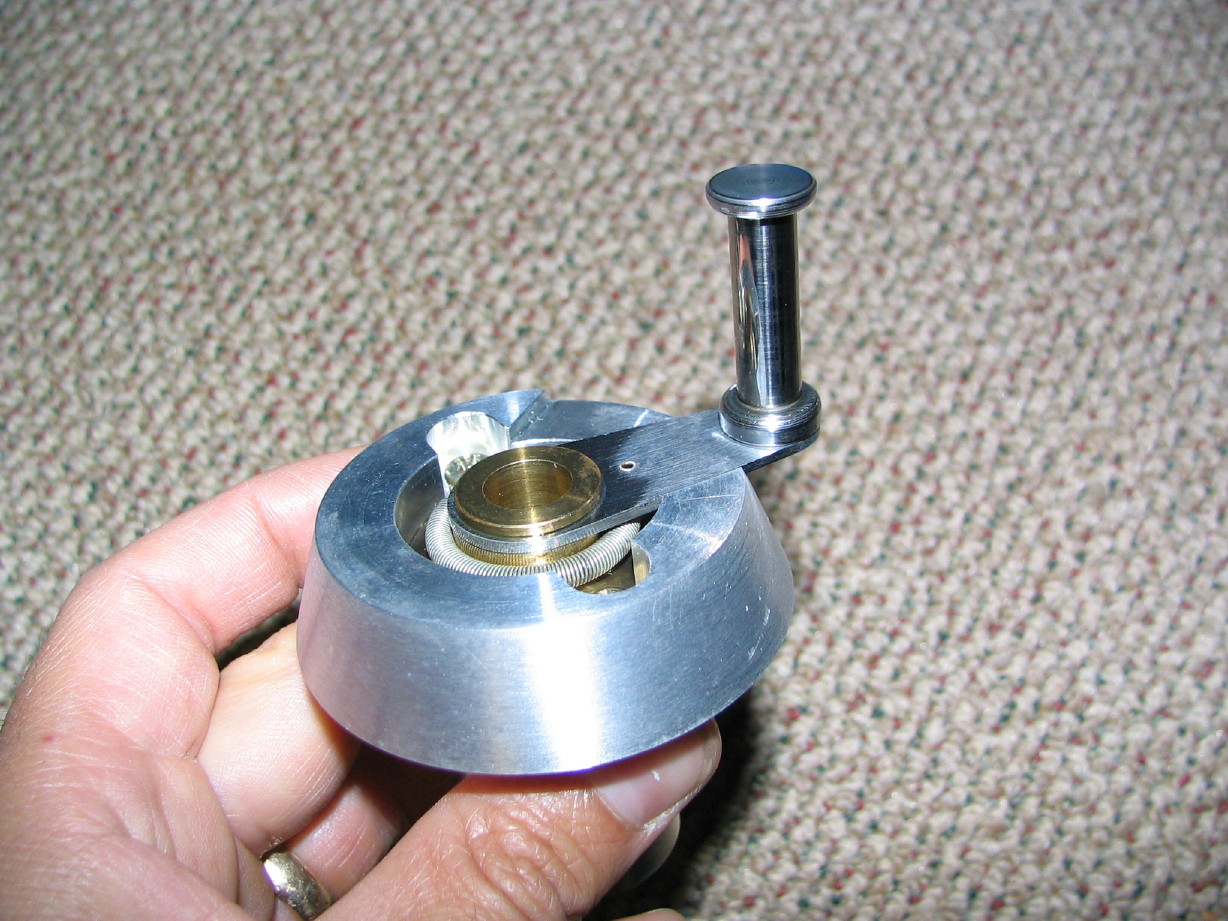
think. It'll make more sense when I get to adjusting the brakes. Anway, on the original 440 transports (what we now call the "A" version) the linkage bar that interconnects the two solenoids was zinc-plated steel. Too noisy for some I guess so they installed a rubber-fiberboard-rubber sandwiched linkage bar for the "B" and "C" transports. Quieter, but makes adjustments much more difficult and they get soft after time...mine are actually a bit tacky which
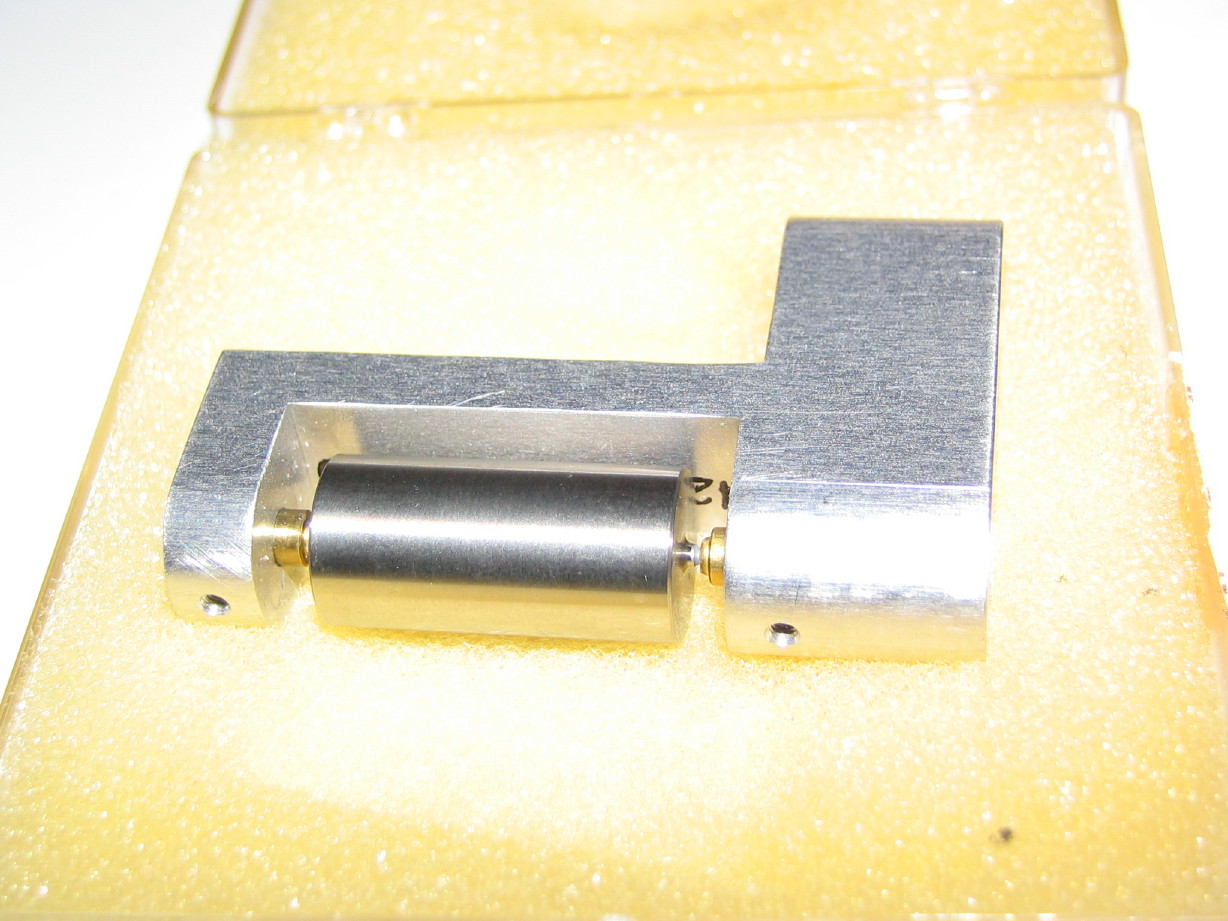
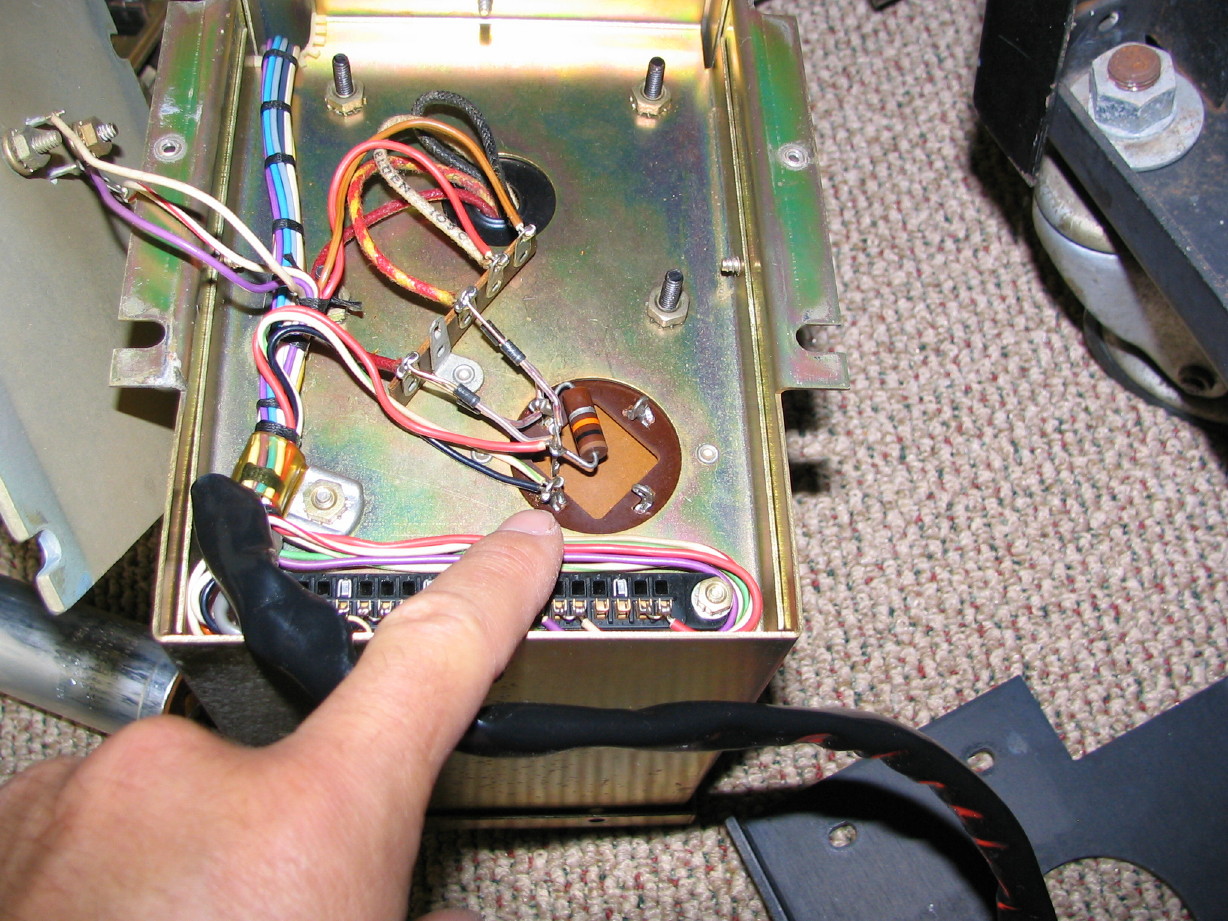
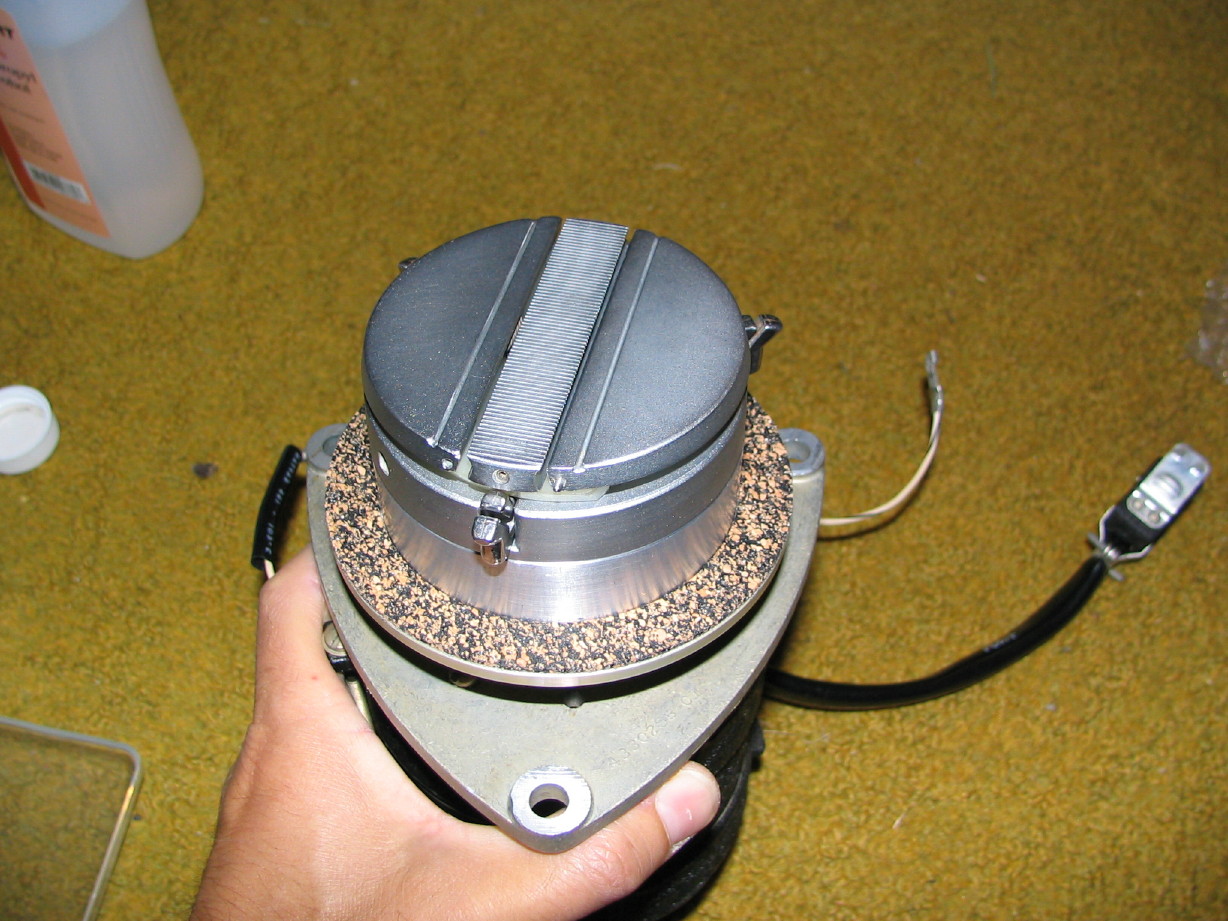
really doesn't help things. So I'm trying to source some of the metal bars. Here is the brake assembly...I'm pointing to the linkage bar:
So enough about brakes but that's why the brake assembly has yet to be mated to the rest of the reel motor assembly.
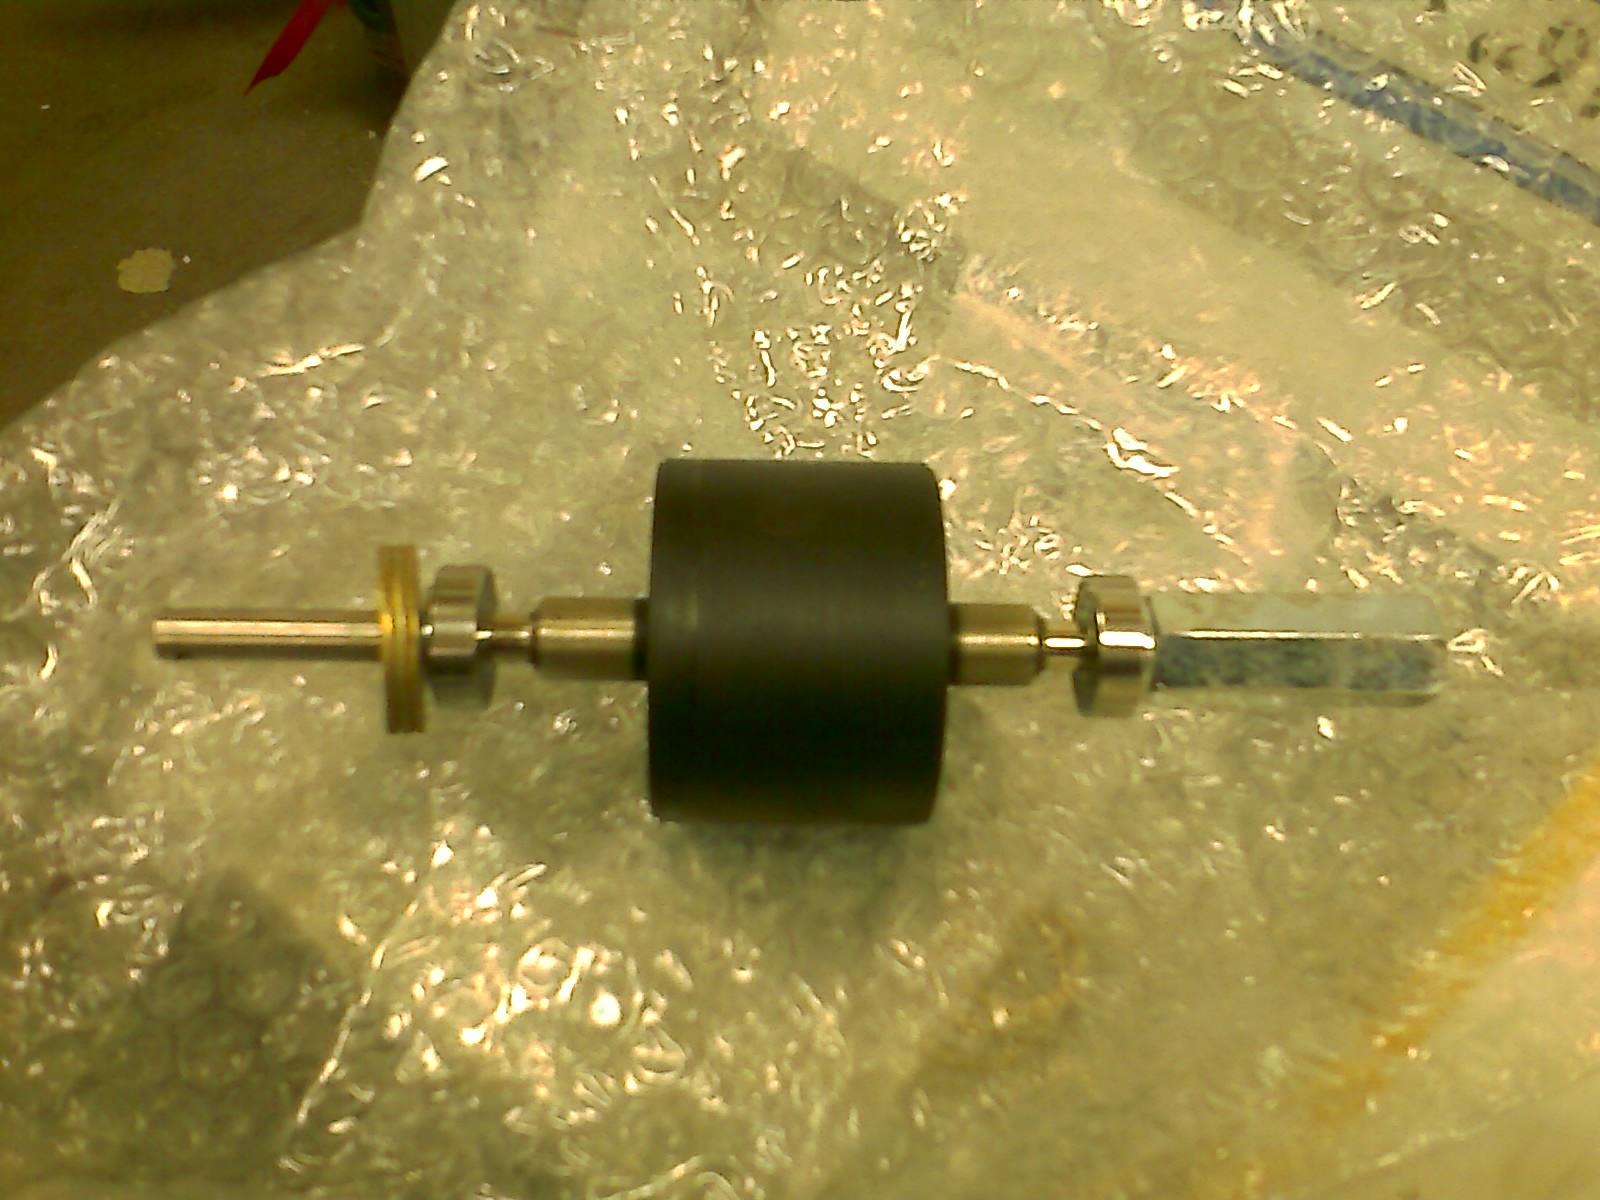
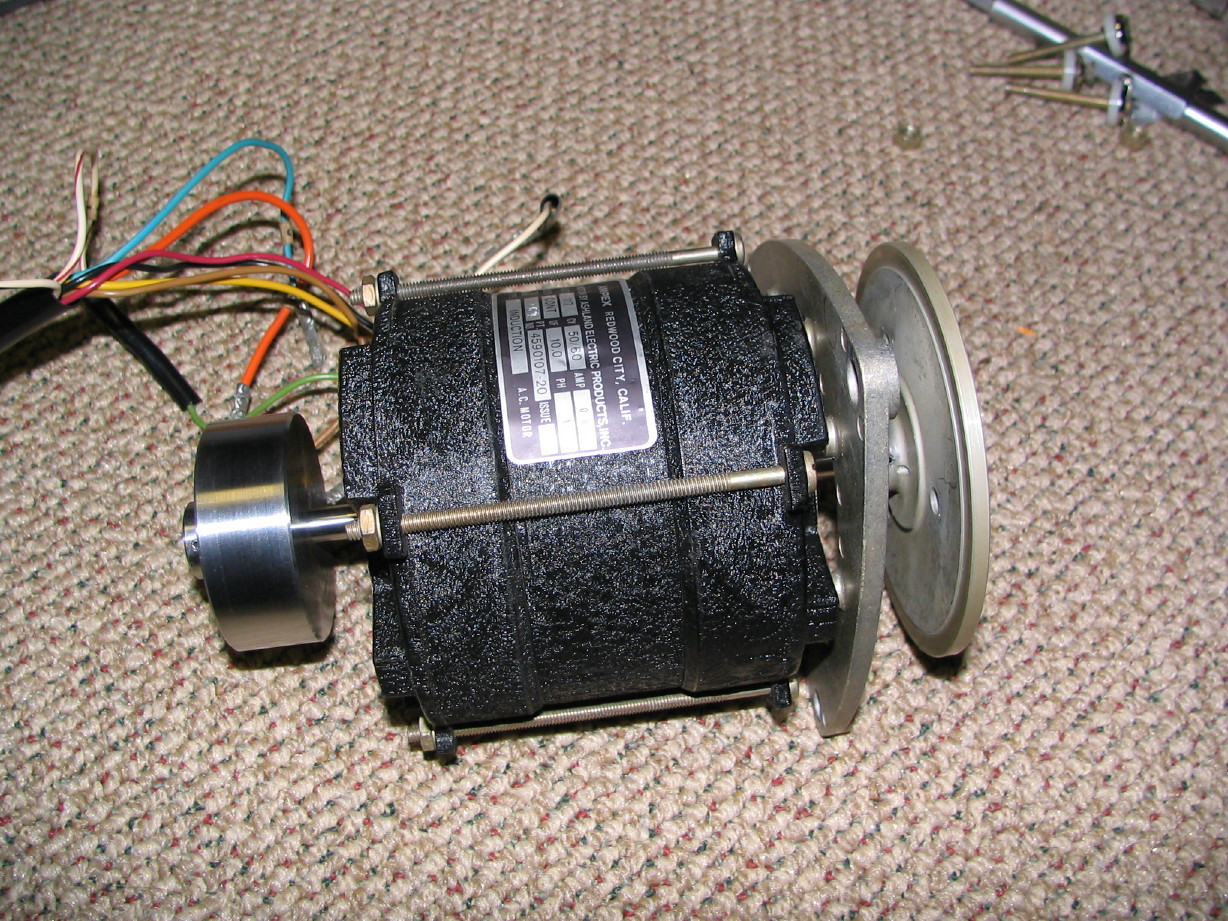
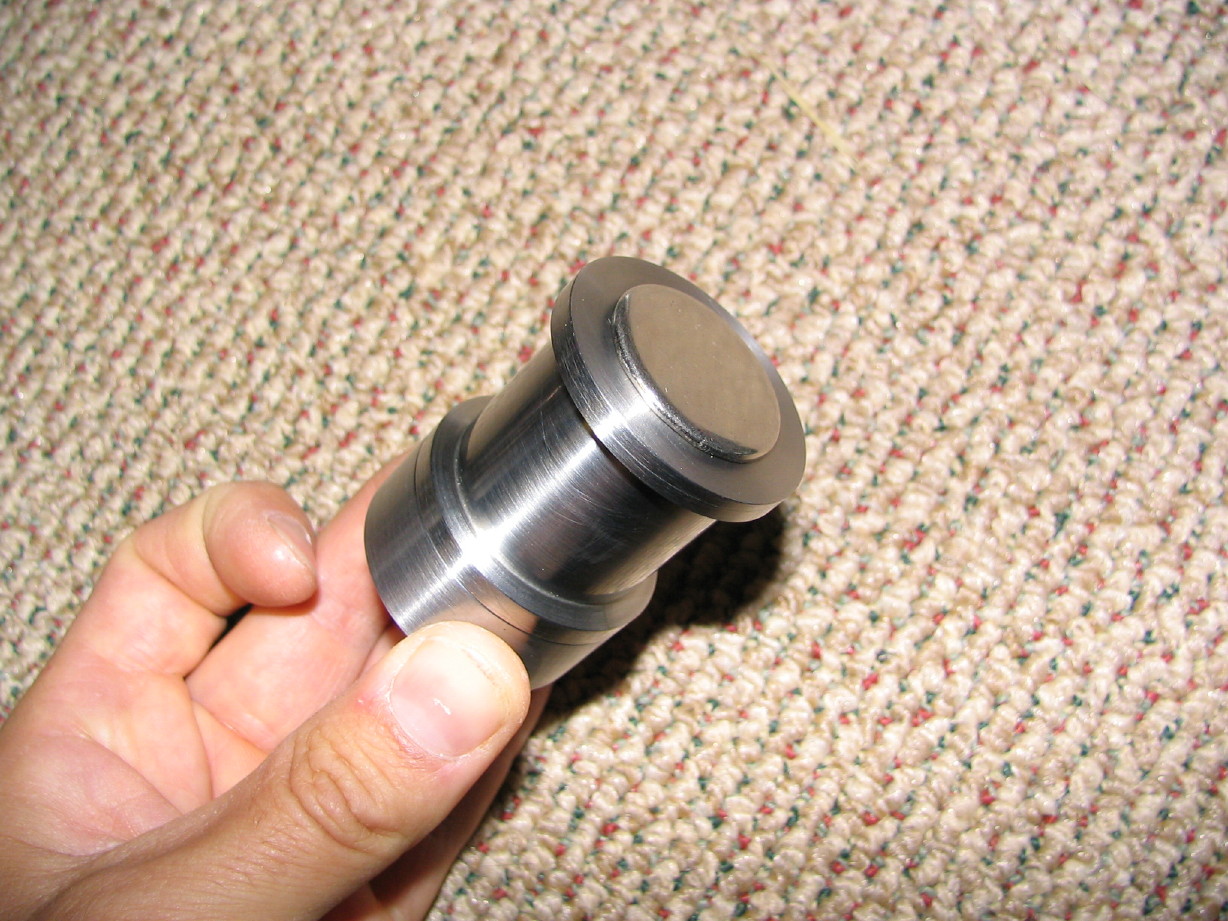
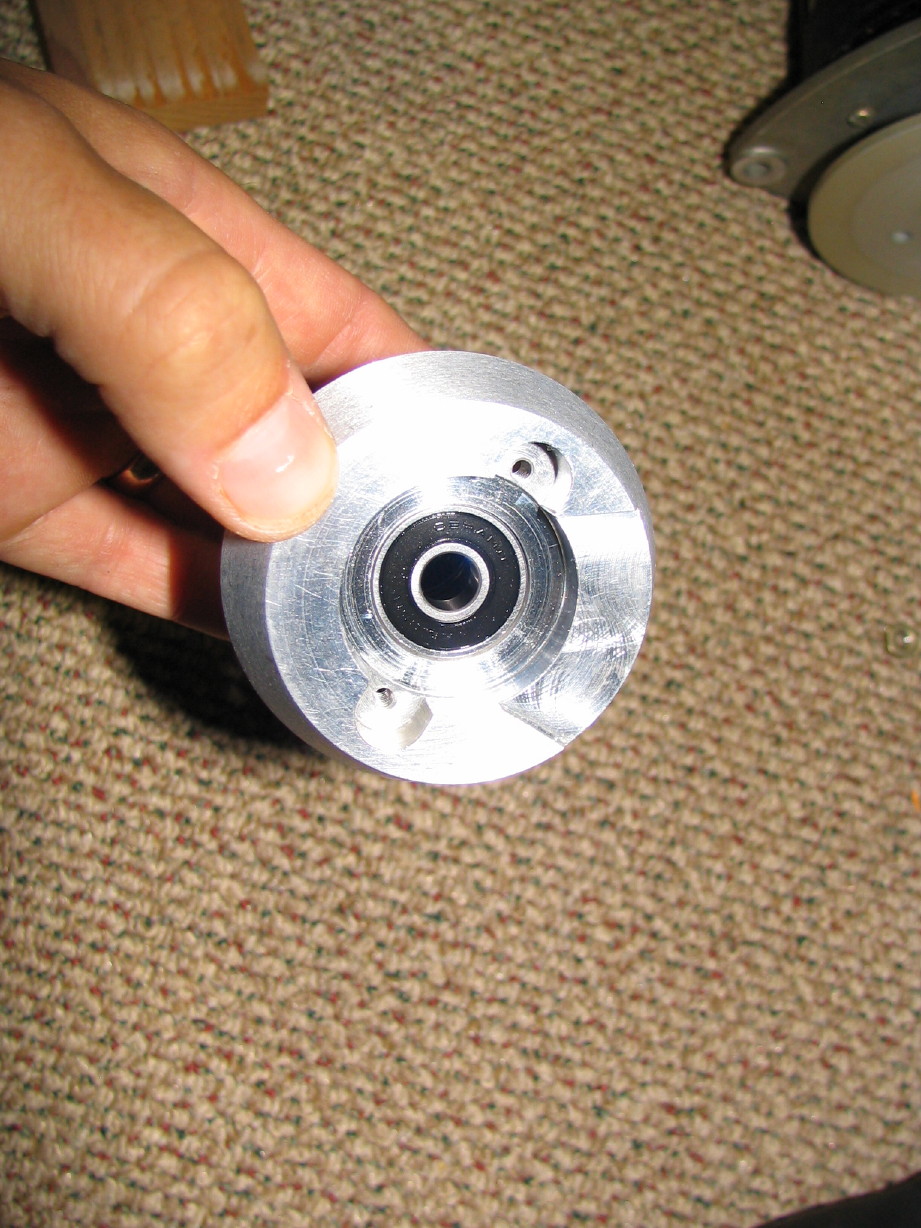
So I got the rotor shaft straightened out again...the shaft wobble is now <0.0005". Unfortunately the reel table is about 0.005" out (when measured from the face of the table)...no way around that really as the reel table goes back on only one way since it is pinned in place. Hopefully it won't be a problem. Looks like my parts transport is worse and I don't believe those motor shafts are/were bent so maybe that was just the way it was.
Here is the motor with the reel table and brake drum in place:
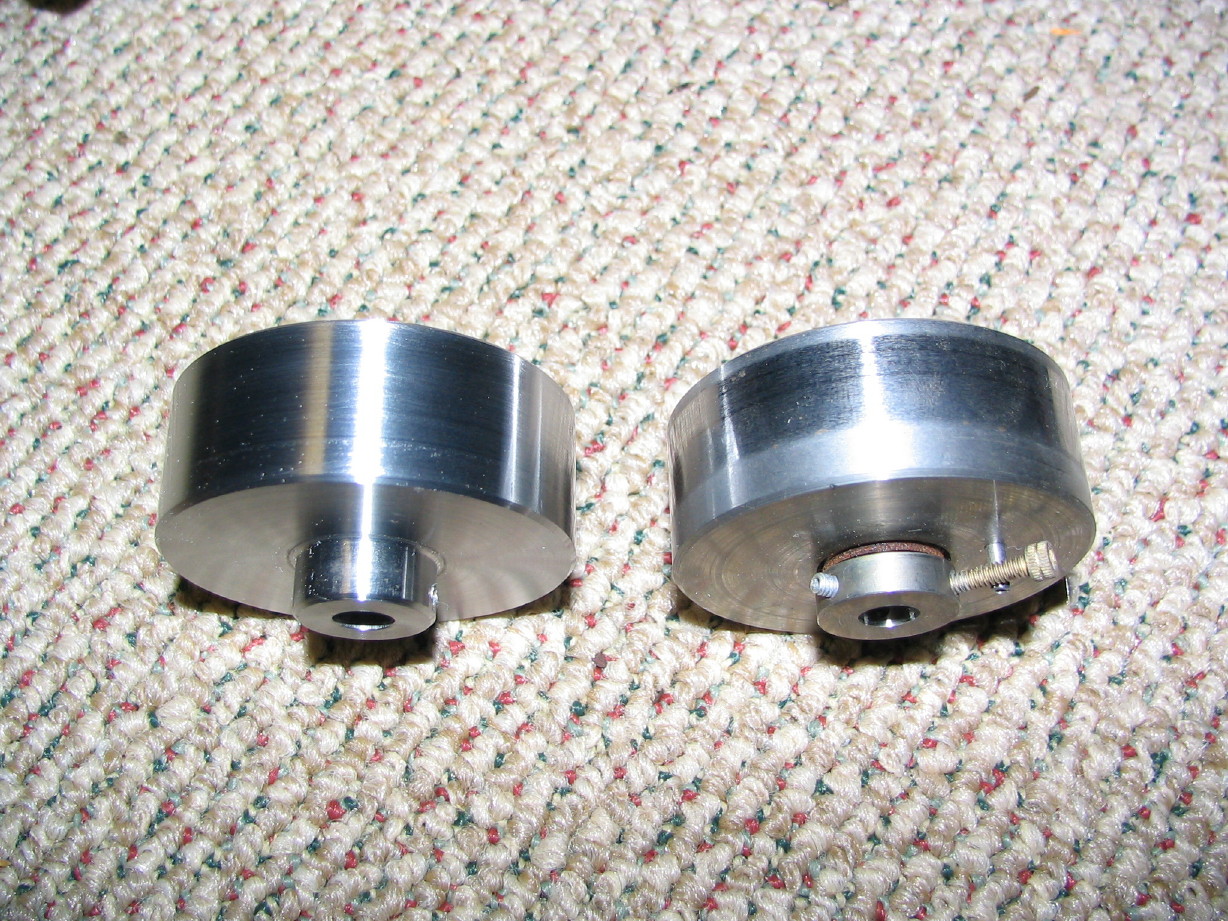
Here is an idea of what the drums used to look like...cleaned up 440-8 brake drum on the left, original unclean drum from my parts transport on the right:
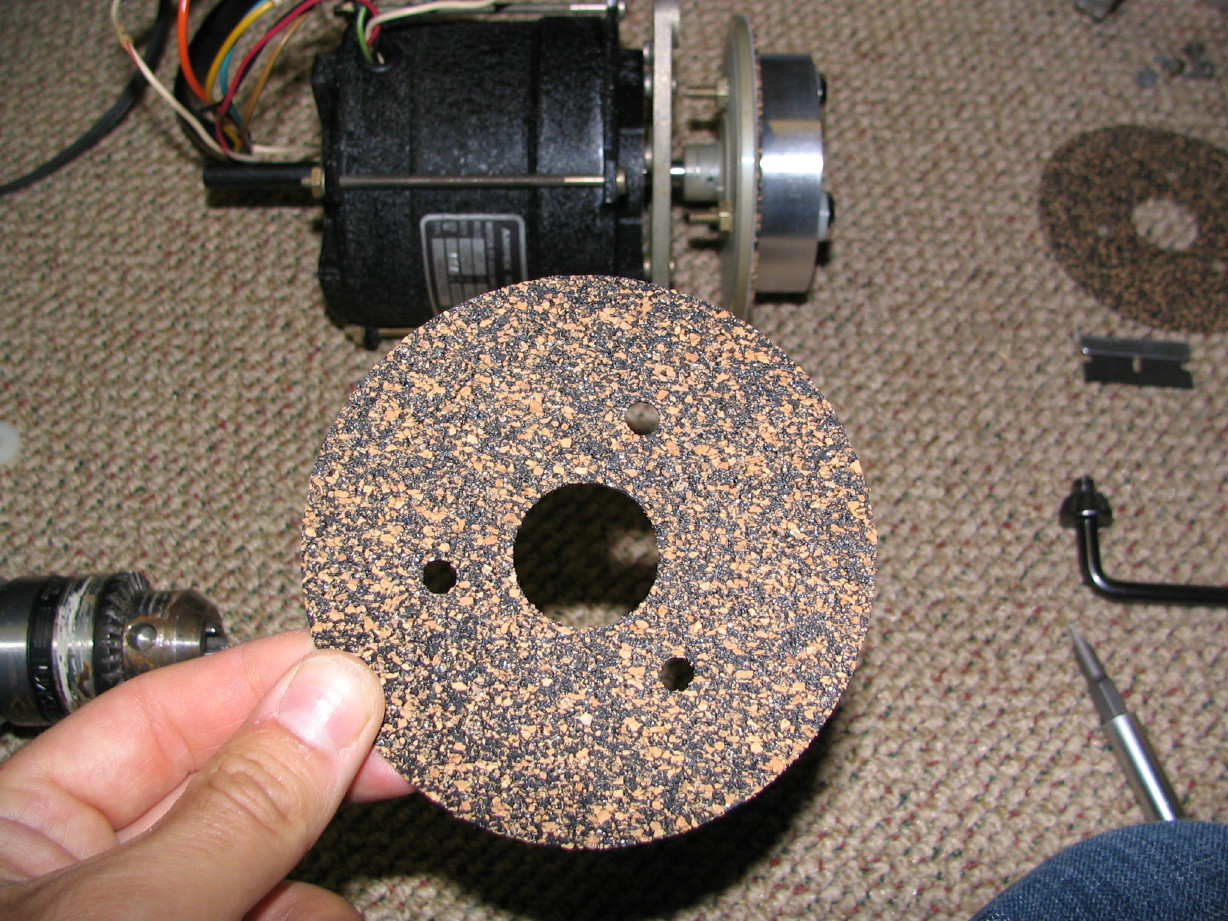
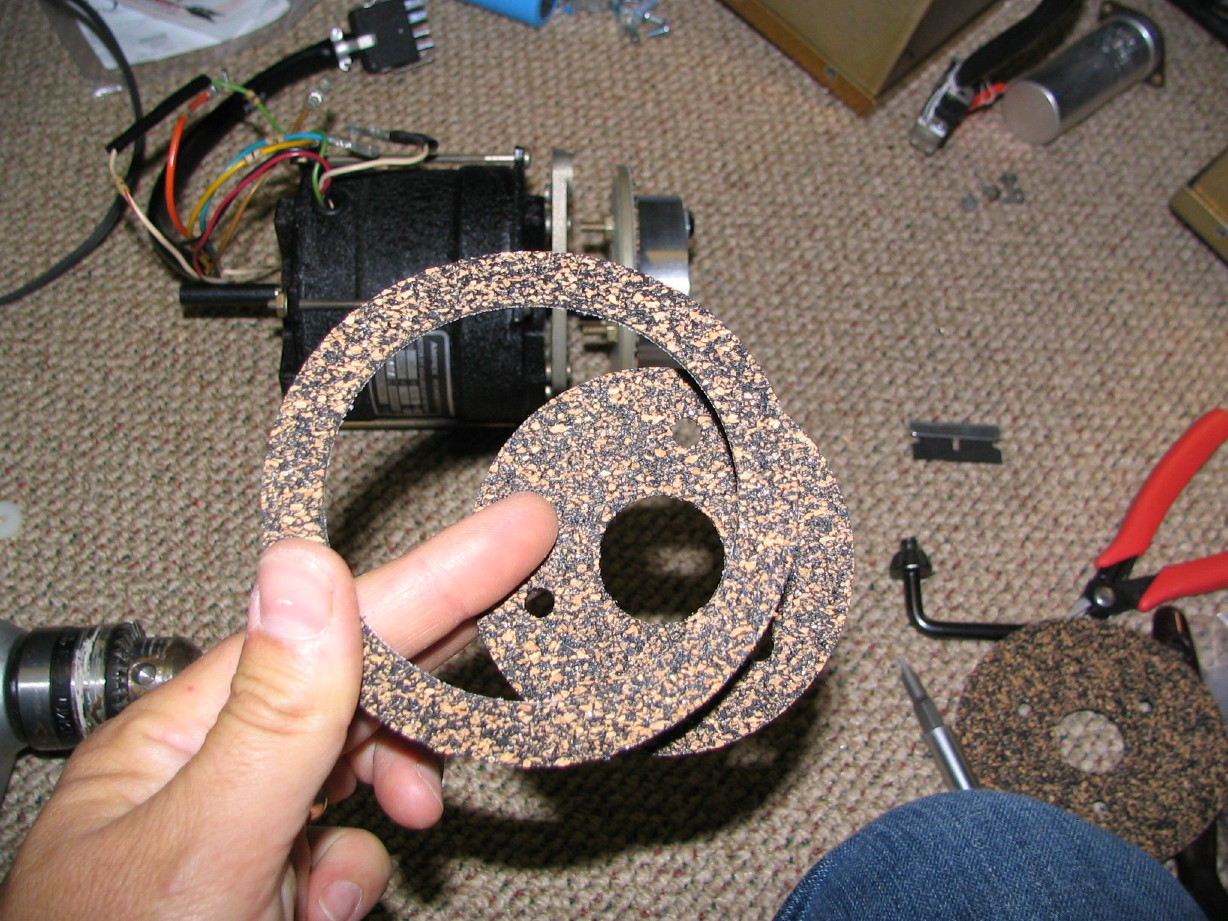
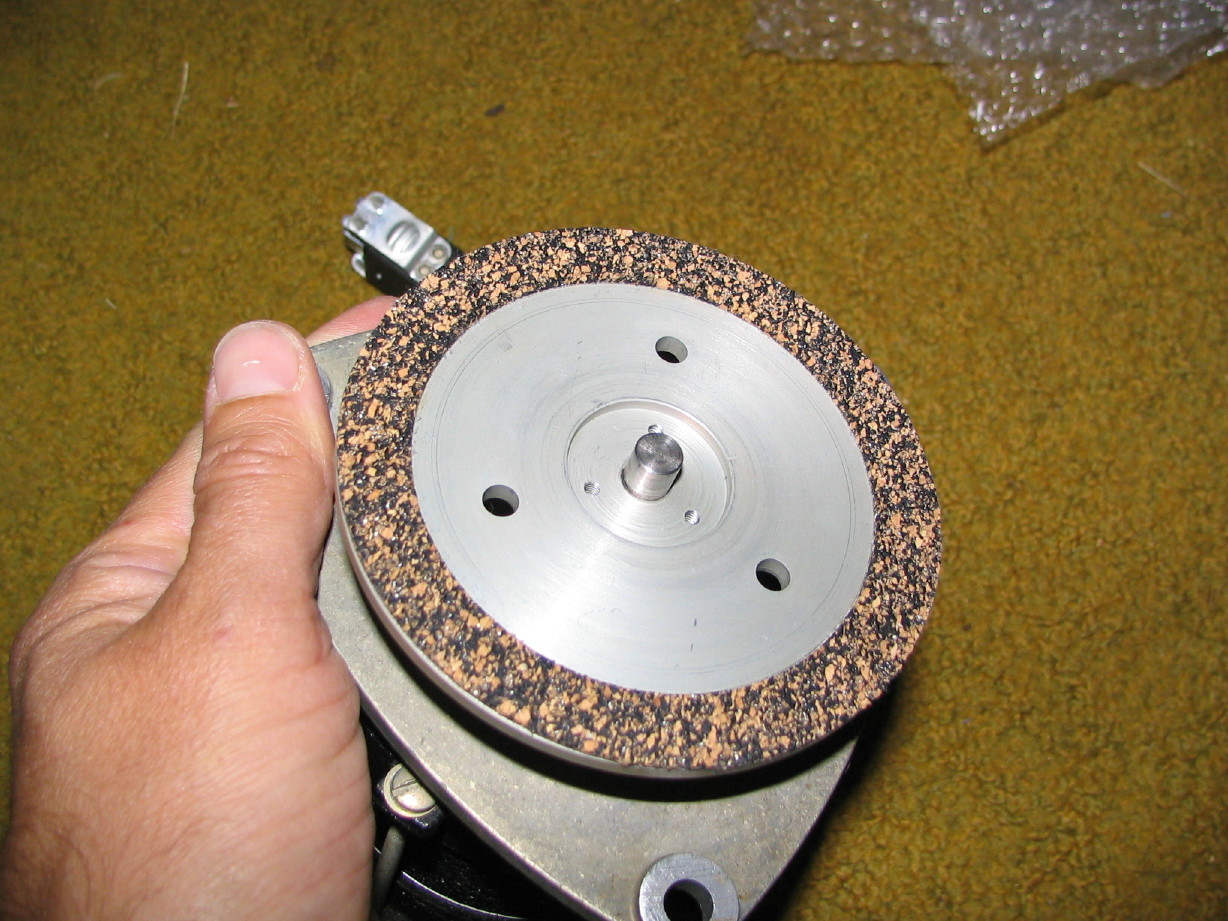
Reel Table Corks:
Now this was a fun little process...the 440 uses a layer of fabric-backed cork to provide the soft grippy surface on the reel table face, not rubber. The 440-8 corks are unique since the 8 uses the instrumentation reel clampers. The non-8 transports had corks that covered the whole face of the table whereas the 8 cork is just a ring. Guess what? You can't get the 8 corks new anywhere. I bought a couple sets of corks from Dave Dintenfass. His parts use the proper type of cork with the proper mesh fabric backing. So now I'm going to show you how I went from
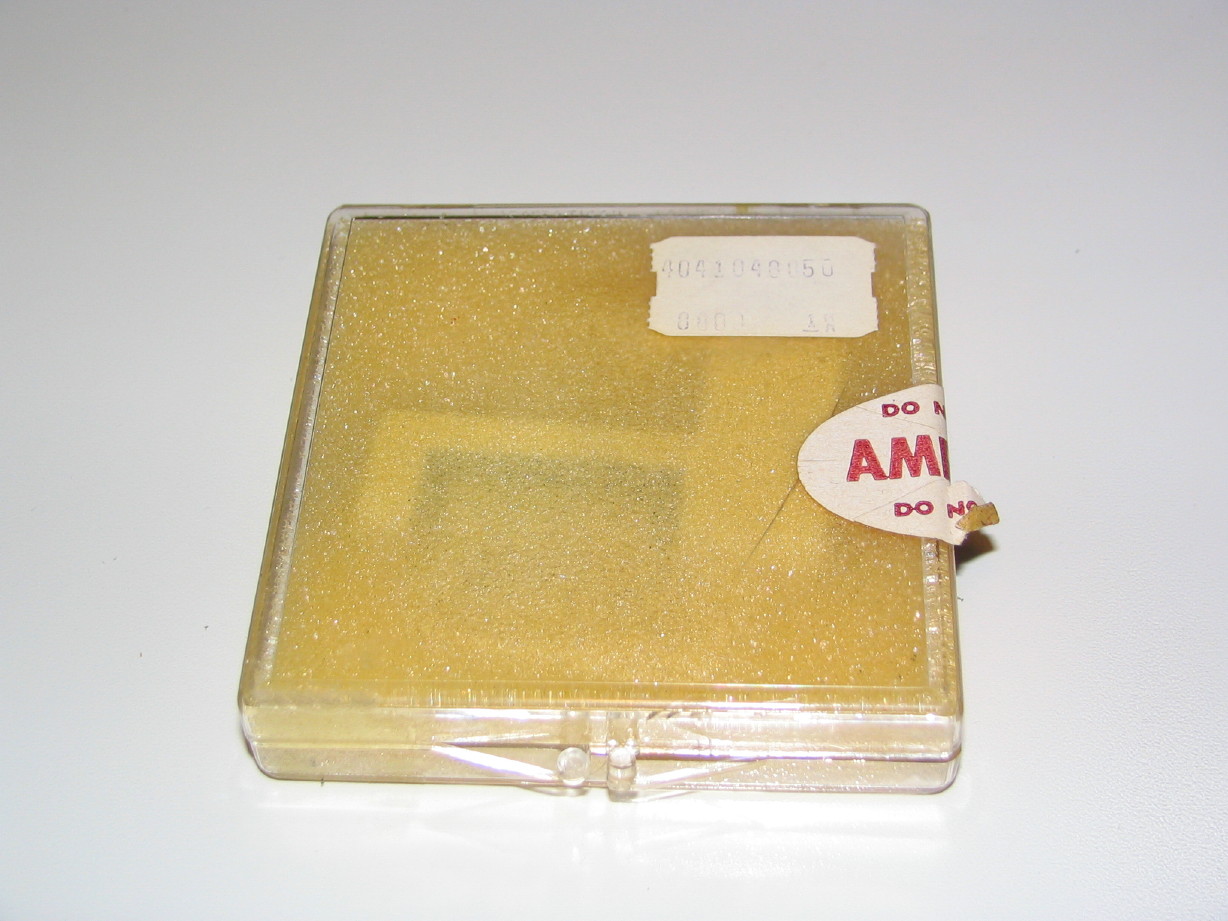
this:
to
this:
Step 1 was to lay the standard cork on the reel table and then hold it there using part of the reel clamper, the spacer:
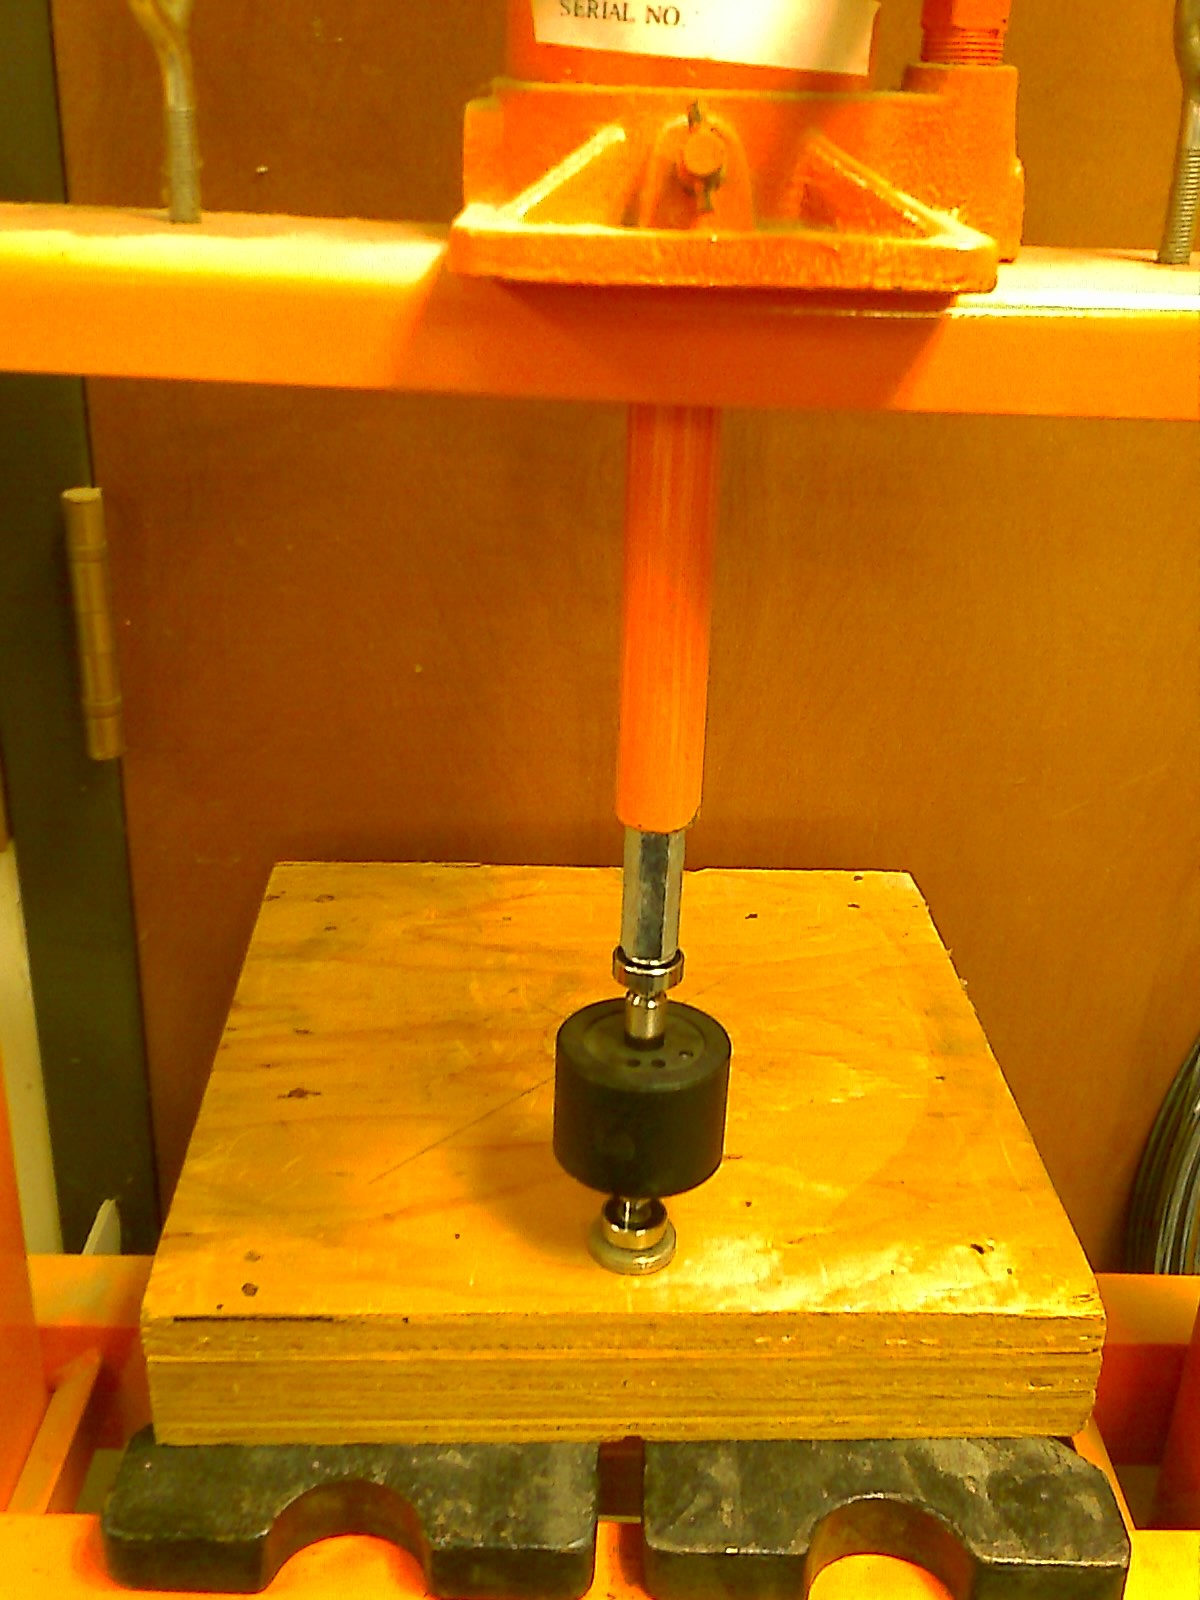
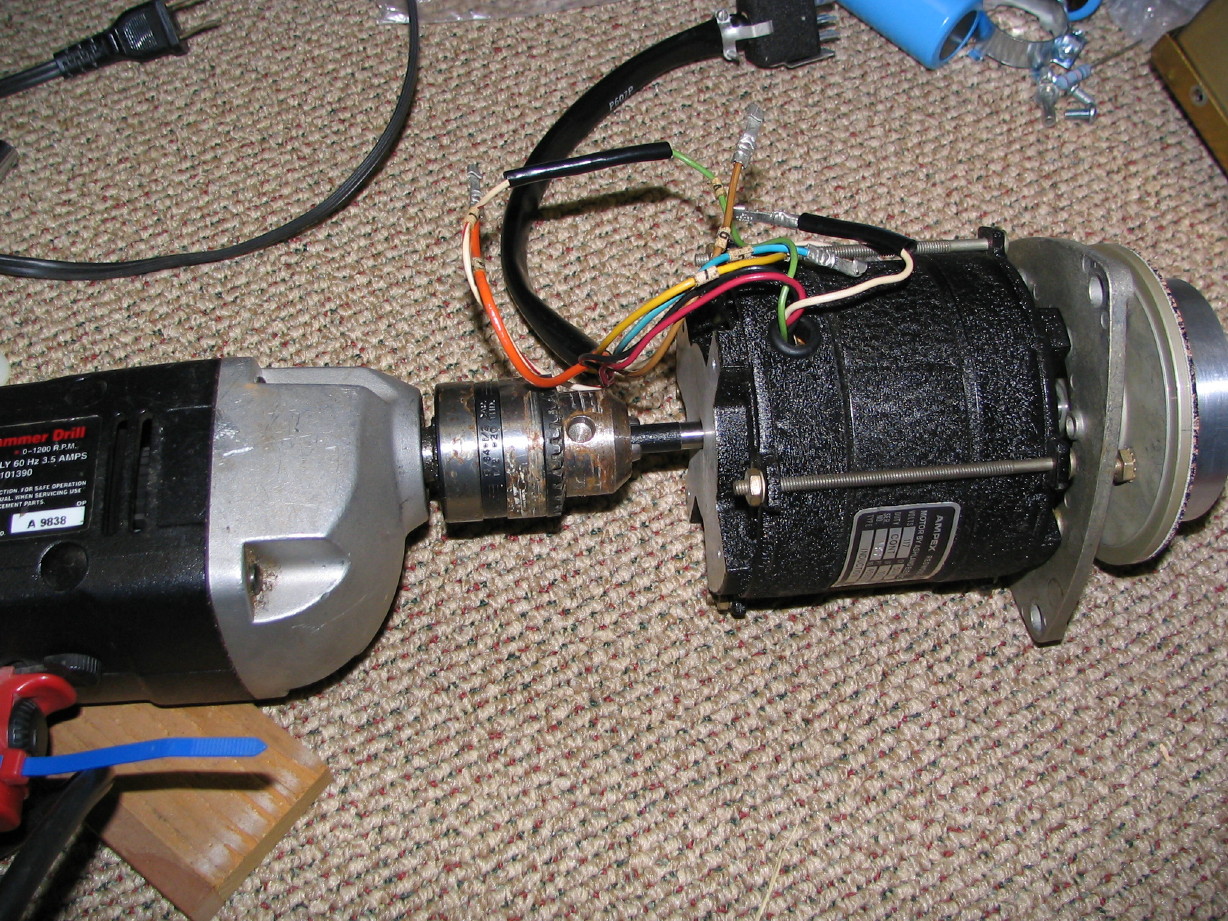
Then, step 2 was (after wrapping tape around the tail of the rotor shaft) to chuck a hand-drill on to the tail of the motor:
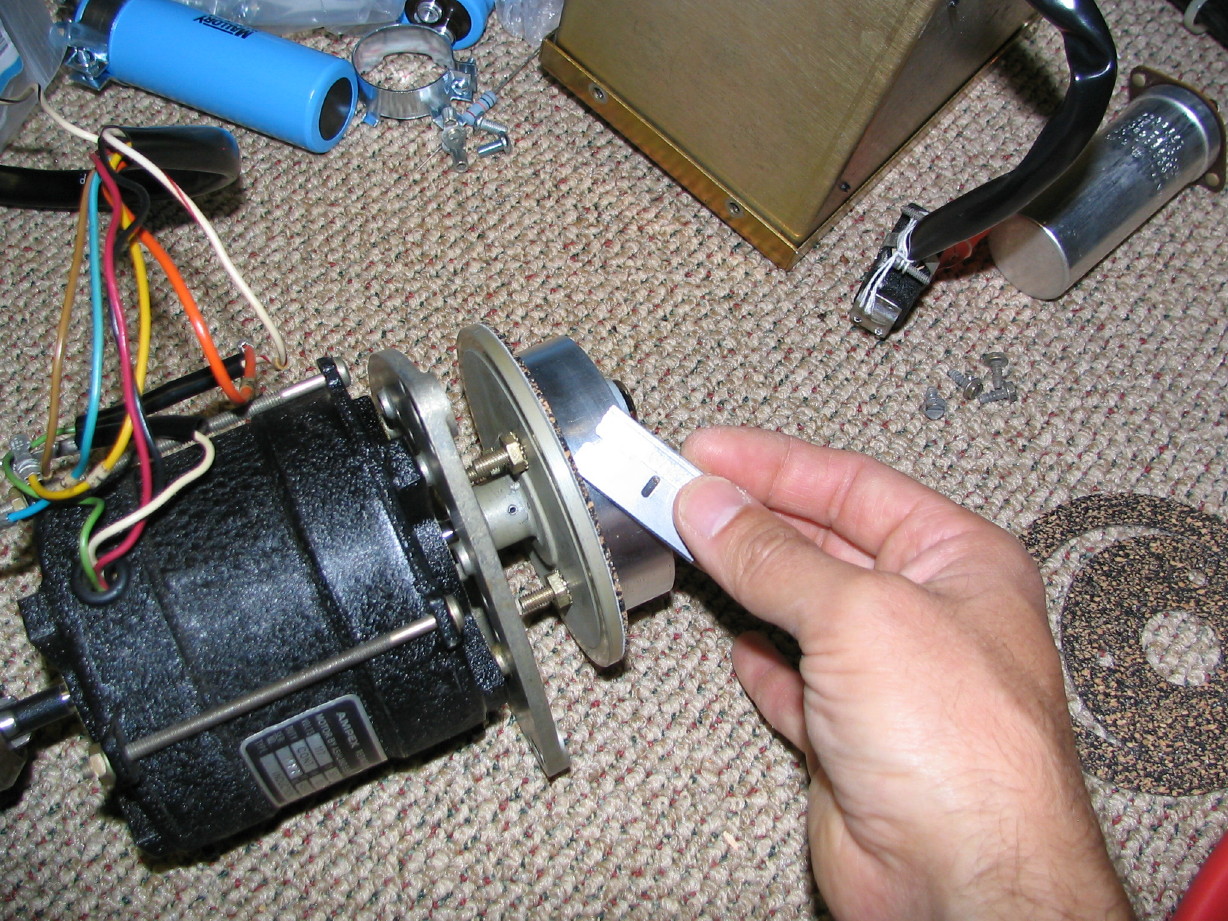
Yup. Get the drill going at a good speed and hold the trigger there with zip-ties, and then lay a razor blade on the side of the now rotating reel clamper spacer:
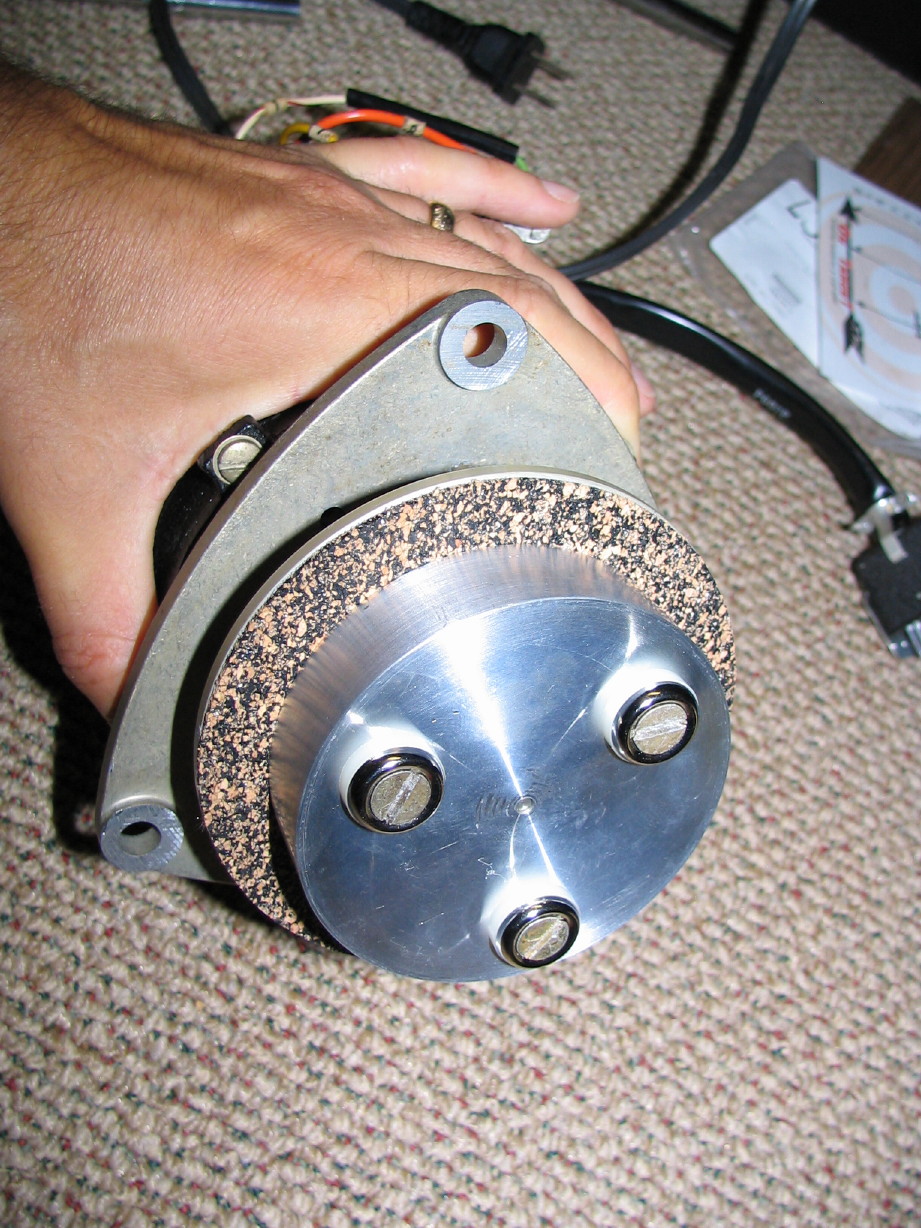
It worked very well. Here is the finished cork on the reel table (after adhering it with 3M 77 spray adhesive...I masked the reel clamper spacer and left that installed on the reel table to keep the spray limited to the surface to which the cork is to adhere):
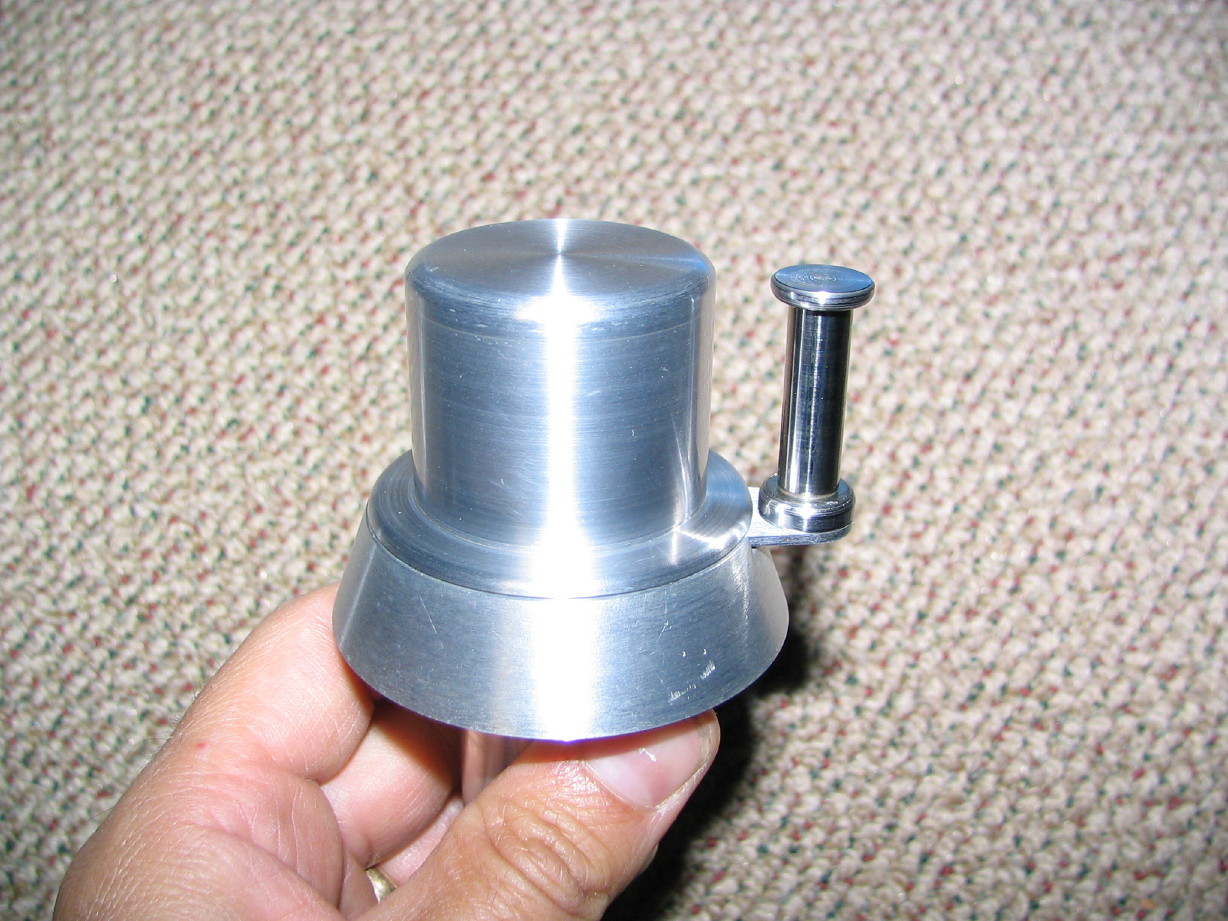
And here it is with the reel clamper installed:
I
really like the clamper assembly...unlike my Teac/Tascam clampers, precision reels fit like a glove onto these assemblies.
BTW, I shot a short video comparing the self-noise of the reel motors before and after bearing replacement:
YouTube
") Not that we aren't here...its just...really laid back.
Not that we aren't here...its just...really laid back.")