Ohhhhhhhkay
So I've been busy on "Bessie" here and there but haven't posted up because I wanted to get new links to previous posts put up first. Now that that's done, here we go, in no particular order:
Caps...
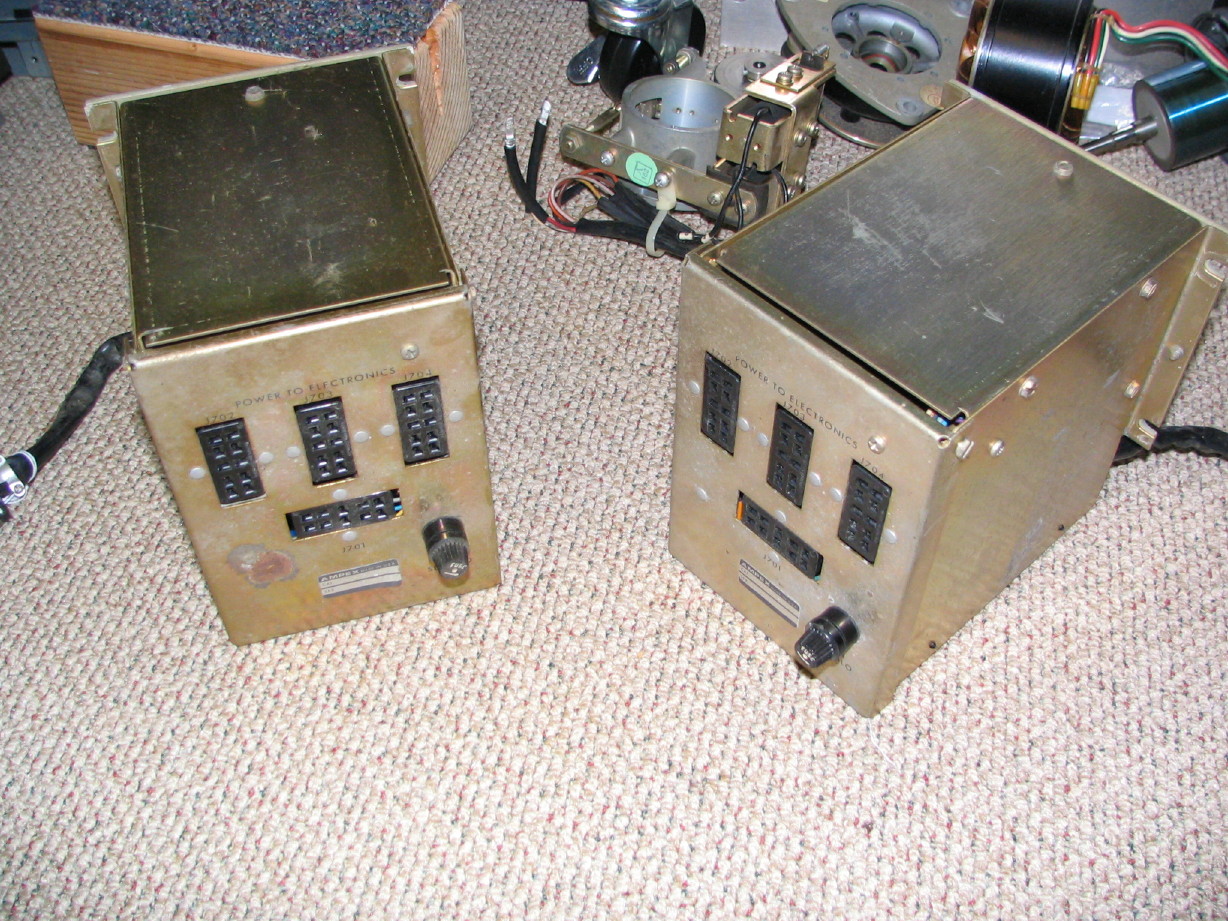
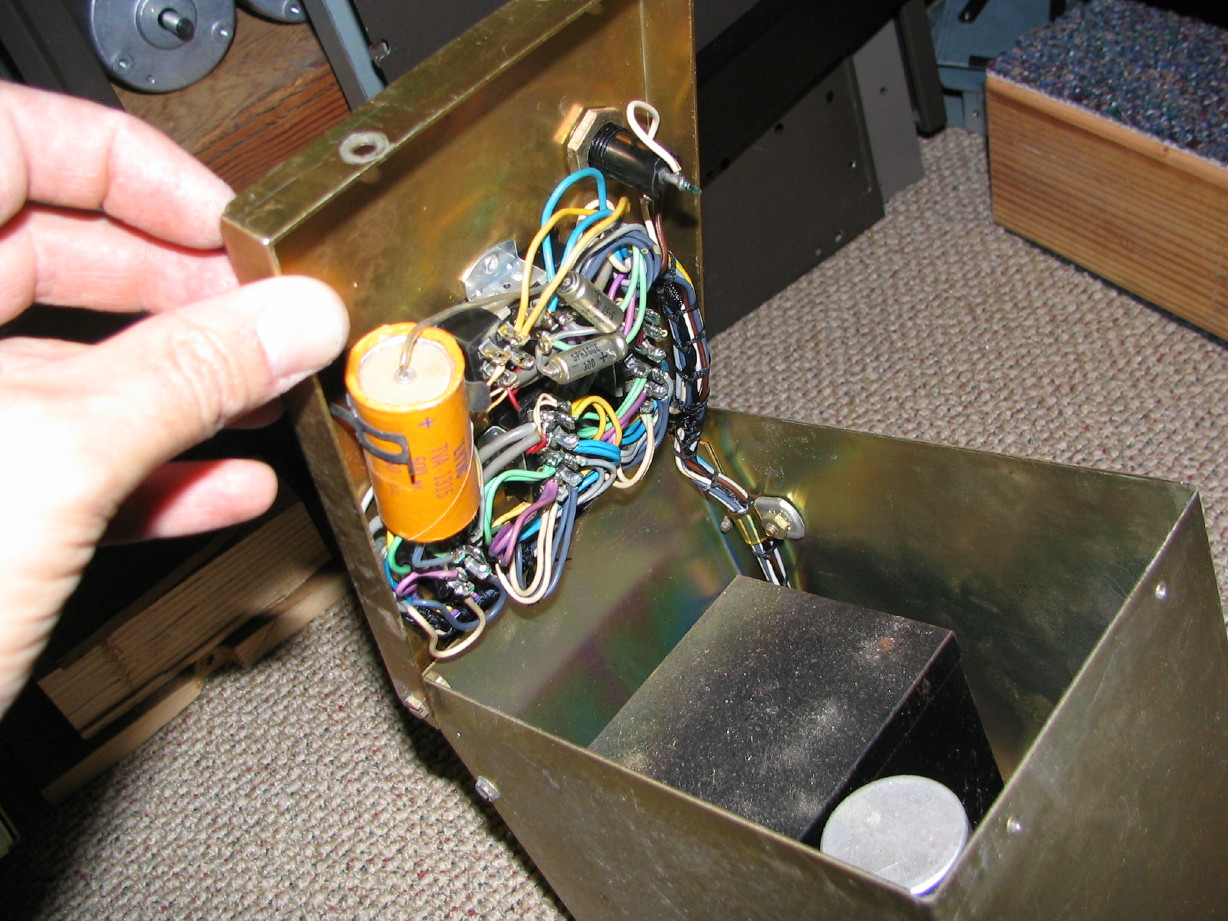
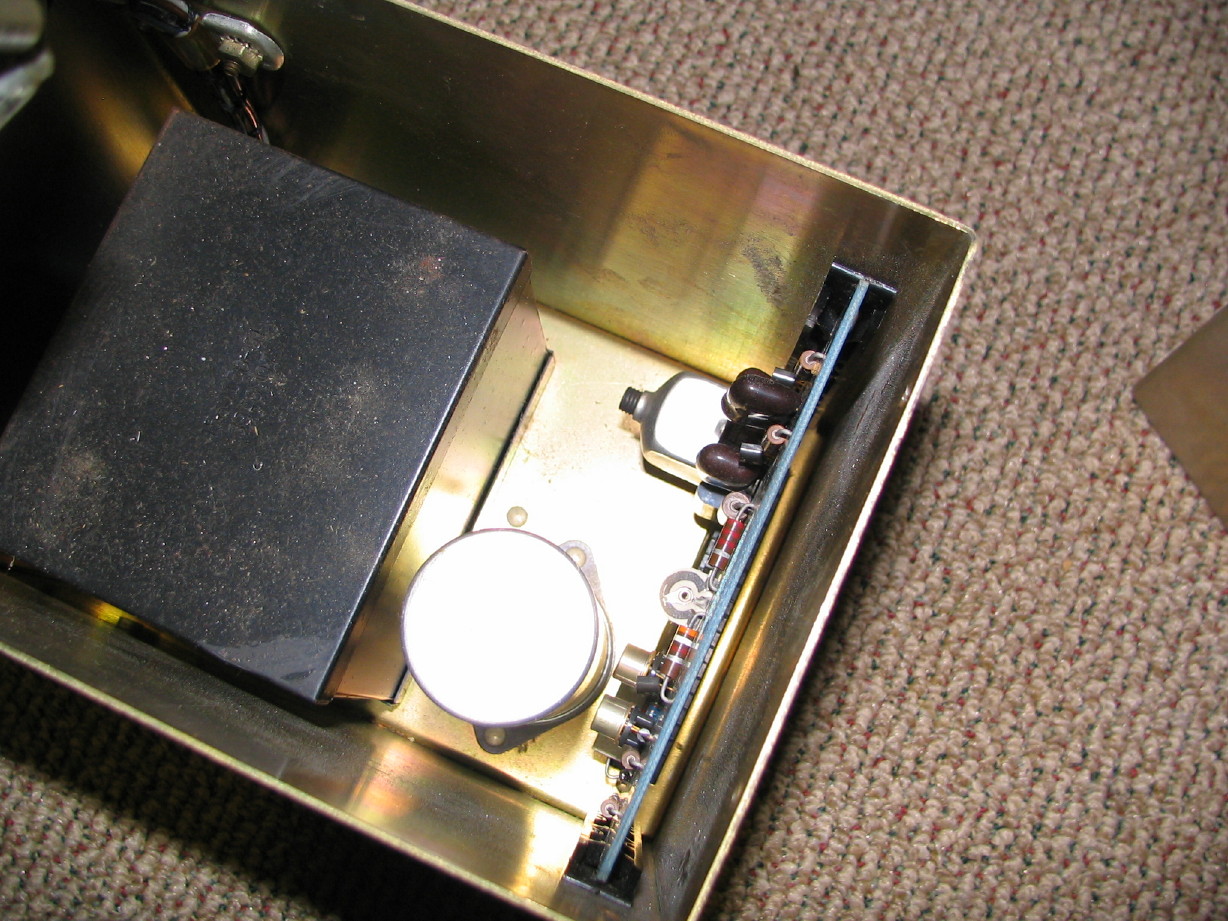
I have almost all the caps on hand now to recap the PSU's, and transport related electronics. Where I could substitute radial caps for axial I did as they are cheaper, but in a number of cases I had to purchase axial. It is more expensive to recap a piece of gear like this...The main filter cap in each PSU is about $20 apiece and about the size of a small shampoo bottle. Electrolytic capacitors in units like the AG-440 are less prone to failure as in more contemporary electronics because the caps were better quality and the ripple filtering was relatively well done which stesses caps downstream of the PSU's less...plus there is more room inside everything and many of the caps are oversize so temp was less of an issue. Nevertheless, it has been 40 years. Its a good idea to "shotgun" them at this point. As far as the record/repro electronics modules go I'm being a bit more strategic. All the bias, record and reproduce cards will have all the electrolytics replaced as well as a tantalum cap on the record cards (the infamous C32 for those that read above). As far as the modules go I'm only replacing 2 of the 10 electrolytics. This is a cost and time issue. One cap is being removed (only needed if using the plug in mic transformer which I won't be using), one is critical (the output coupling capacitor), and all the rest are non-audio. I'm doing one of them which is easier to deal with and is the filter cap for the non-audio section of the module. All the rest of the caps are contained in two multi-section cans and will be more of a project to replace since they aren't on PCB's...there will be some rewiring to do. Since they aren't in the audio path I'm going to leave them for now, but eventually I'll replace them too, and sooner if there are problems switching monitoring sources for example.
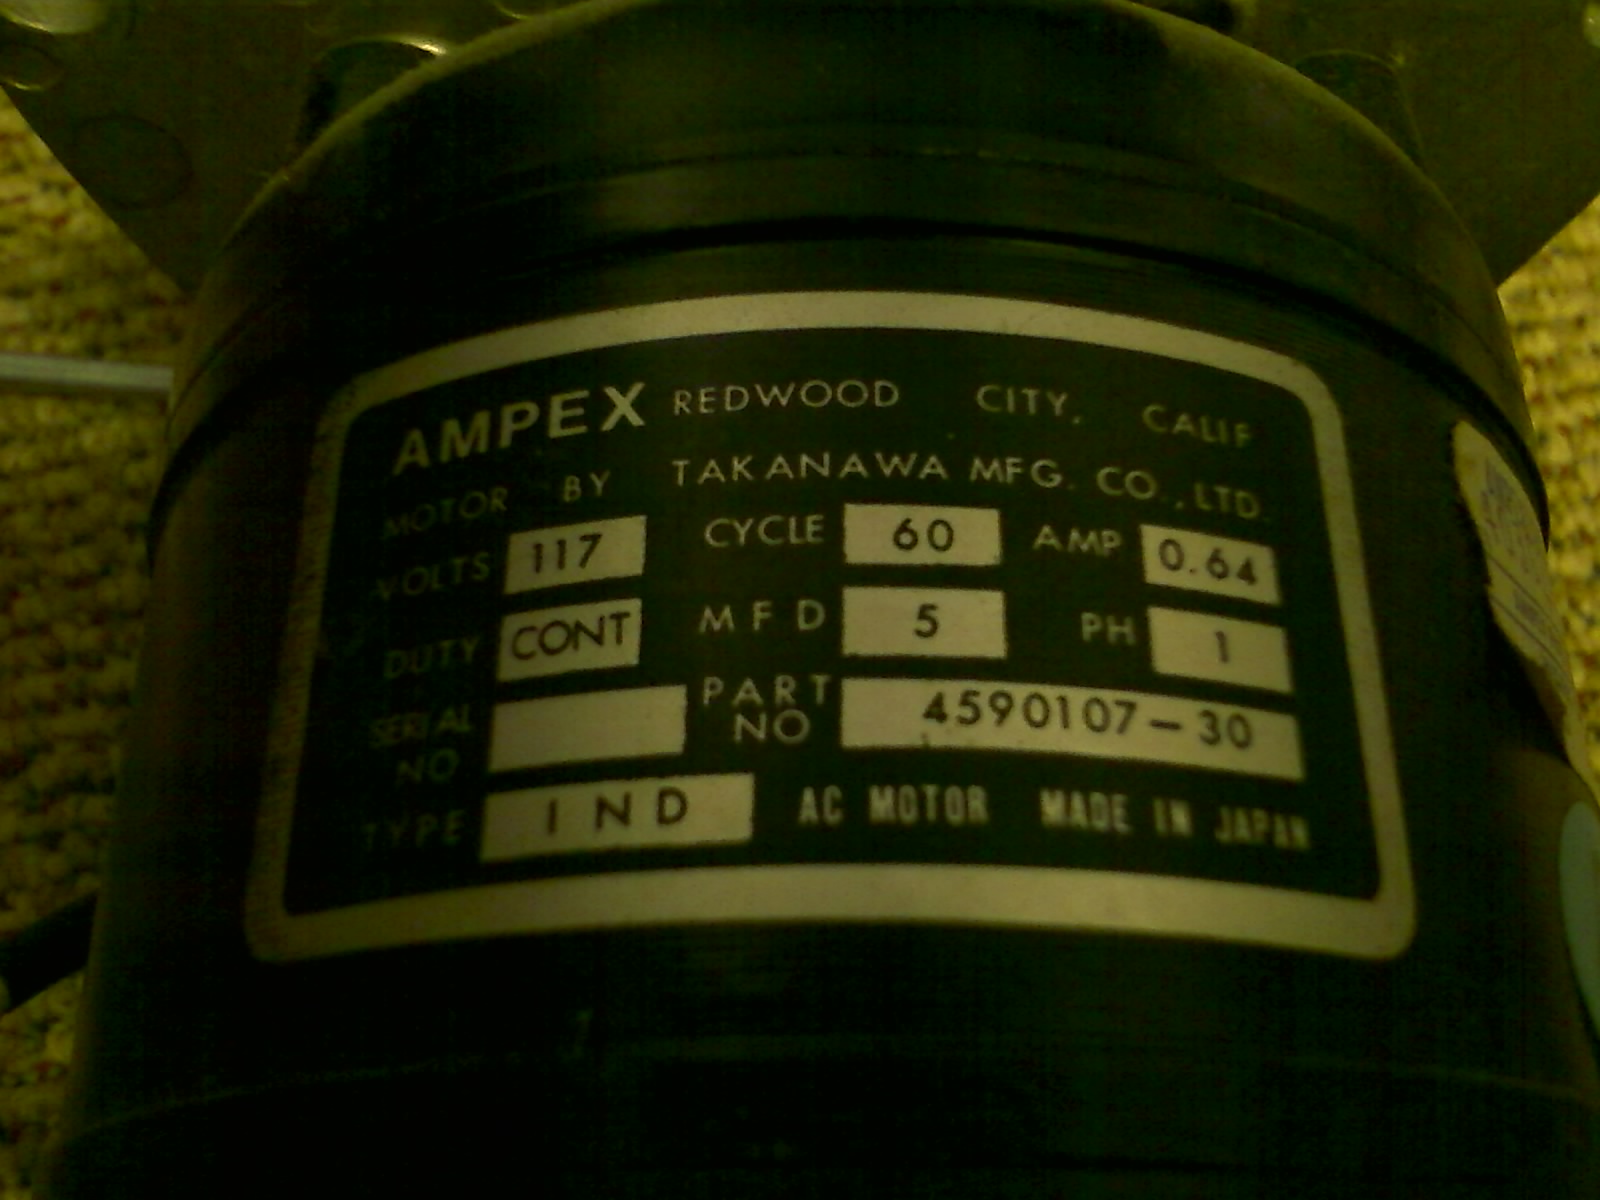
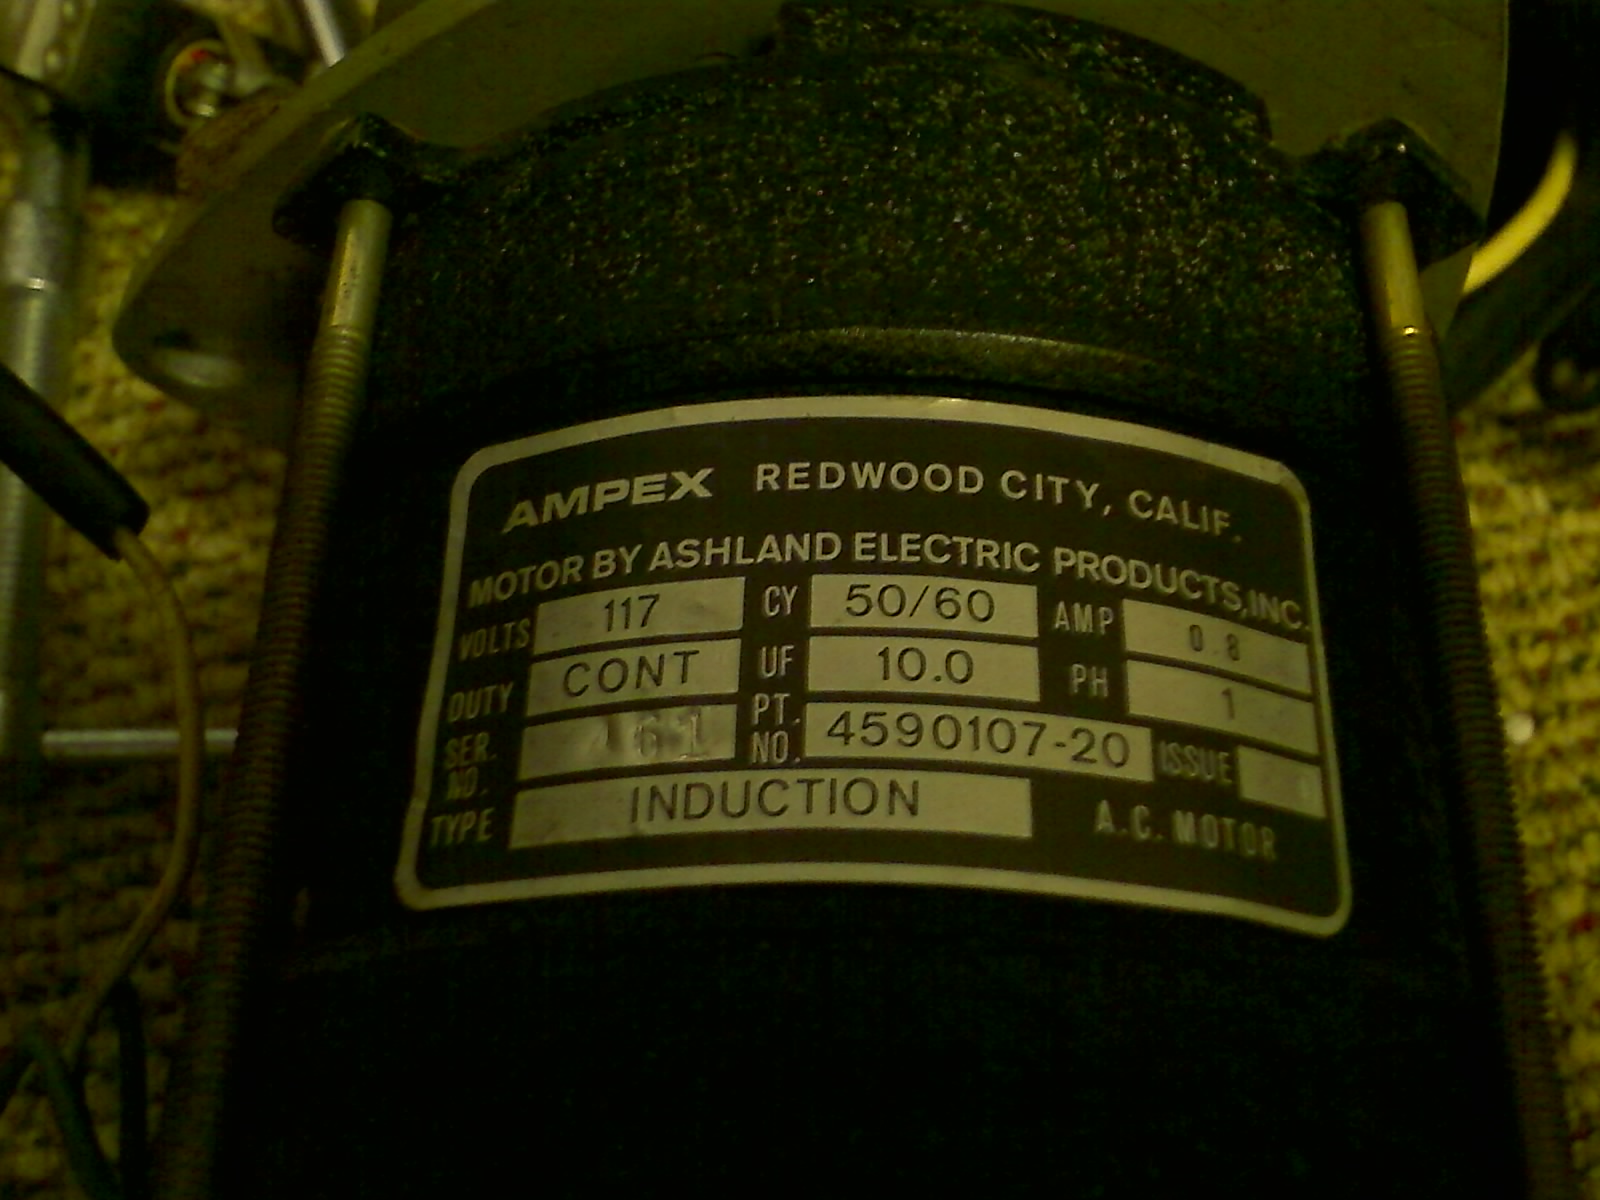
Reel Motors...
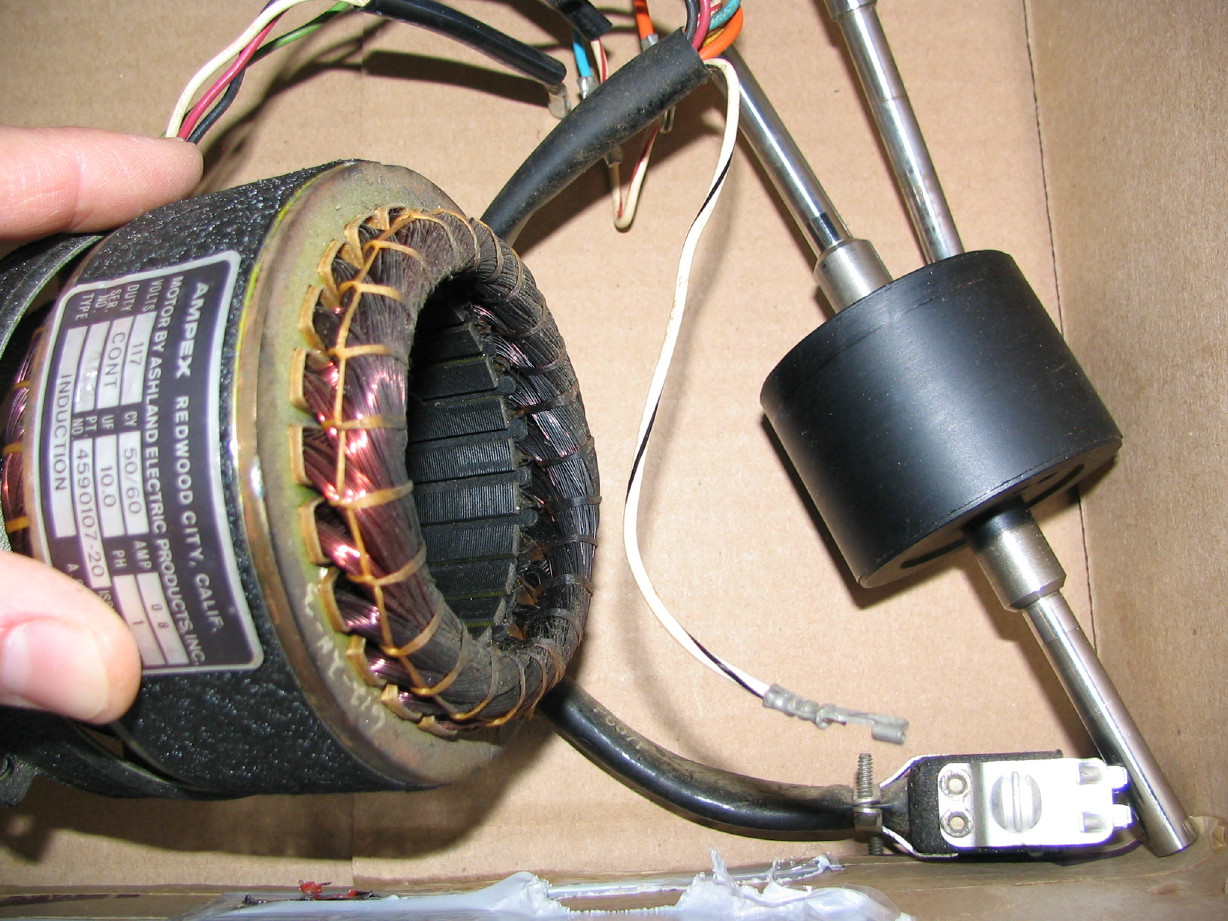
I mentioned earlier that I pulled a reel motor from my parts transport as well as the 440-8. I figured out how to safely disassemble them. There are roll pins involved that have to be driven out to do it and to do it safely you have to use the proper kind of punch and have some sort of a jig to hold the motor and to support the shaft where the pin is to avoid bending or damaging the shaft or other components. I was able to do this and
I also was able to straighten one of the 440-8 motor shafts! It was presenting about 0.020" of runout at the shaft tip...bad. I've got it down to under 0.001" for the entire shaft length. I'll do the same with the other one when it comes off. I slipped the reel table back on temporarily and measured the runout of the face of the reel table and it is less than 0.002". May shift when the roll pin is put back in. Regardless, I can handle 0.002". I think that is likely less than any of my Tascam gear. I was debating if the motor off the parts deck was stronger but some correspondence with Ampex List folks led me to decide to stay with the original motors. There is a possibility that they do indeed have a better torque potential (but maybe not), but even if they don't they aren't worse than the other motors and the rotor shafts (both ends) on the other motors would have to be modded to work...the nose shaft would have to be cut as guitarmaker mentioned, and the tail shaft would have to be drilled for a roll-pin to mount the brake drum...the 440-8 (thankfully) utilizes the original 440 brake drums which are solid, while the 440B and 440C 1 ~ 4 track machines use a one-way clutch-type drum and the pawl-type roller bearings in the clutch drums fail and are difficult to repair. SO...dusting the original motors out, cleaning them up, used the same bearing puller I built for Teac reel motor rebuilding on the Ampex motors and I have replacement bearings on the way. BTW, the original bearings were just
nasty/shot/dead. I splurged and spent about $3 each for the new bearings...sealed electric motor quality ABEC-7 (high-precision) bearings.
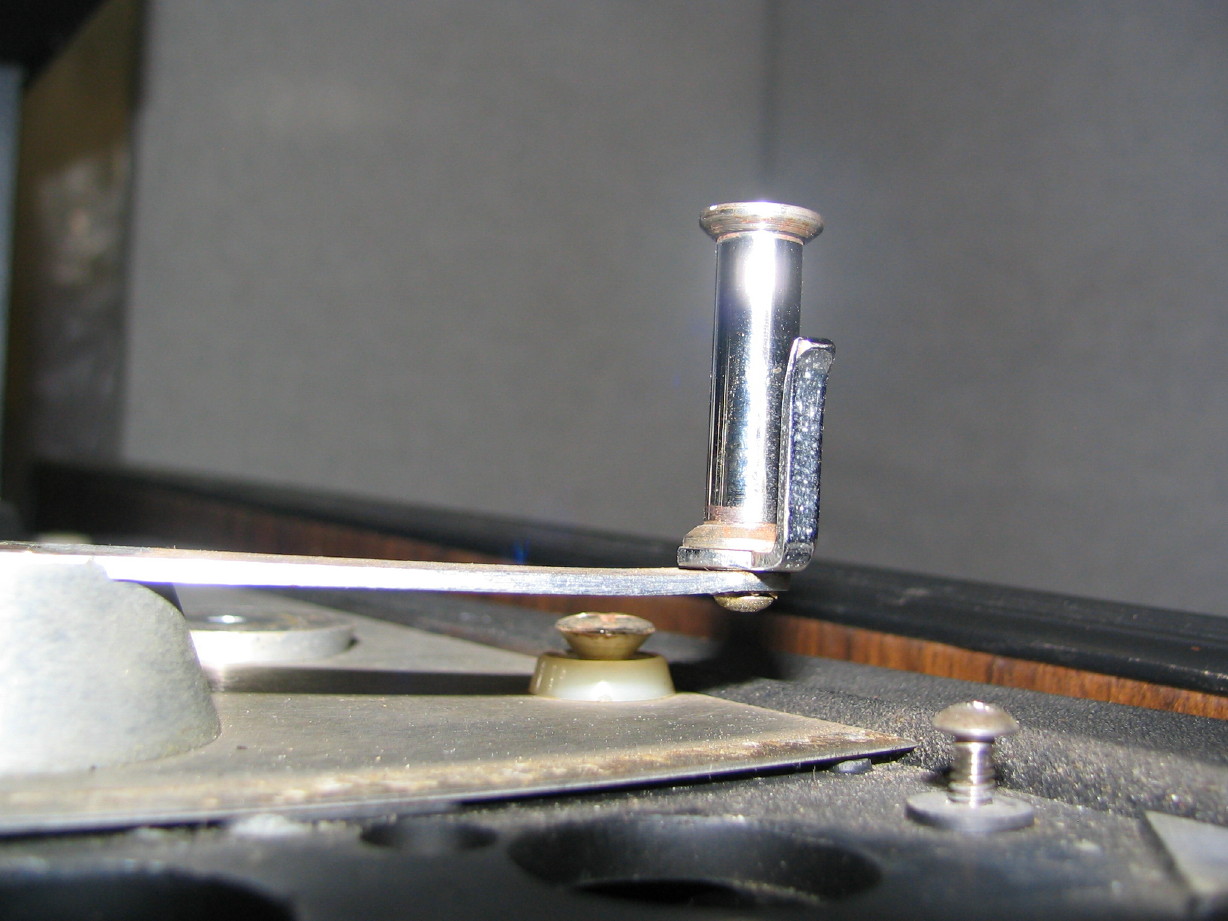
The brake assemblies are just hurky:
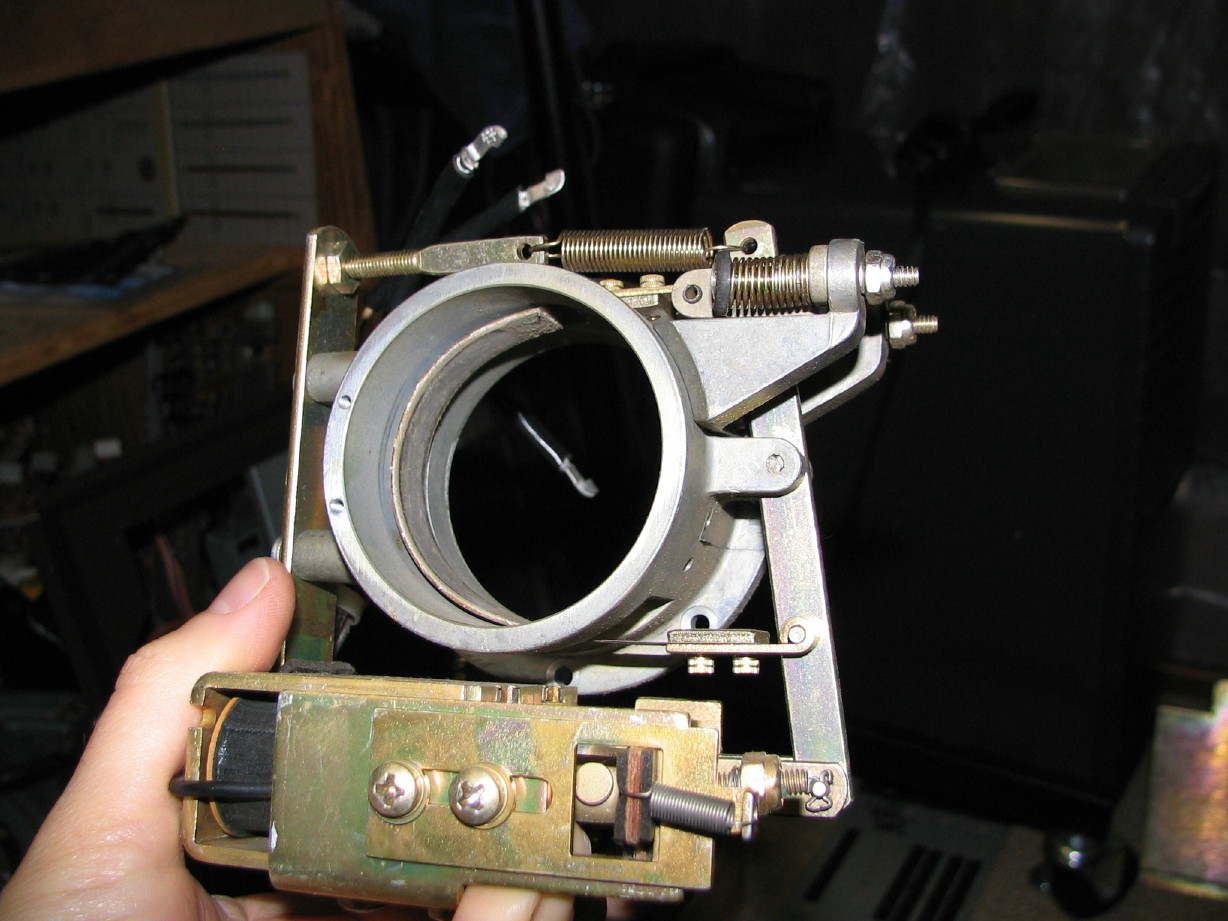
Here's an original motor opened up:
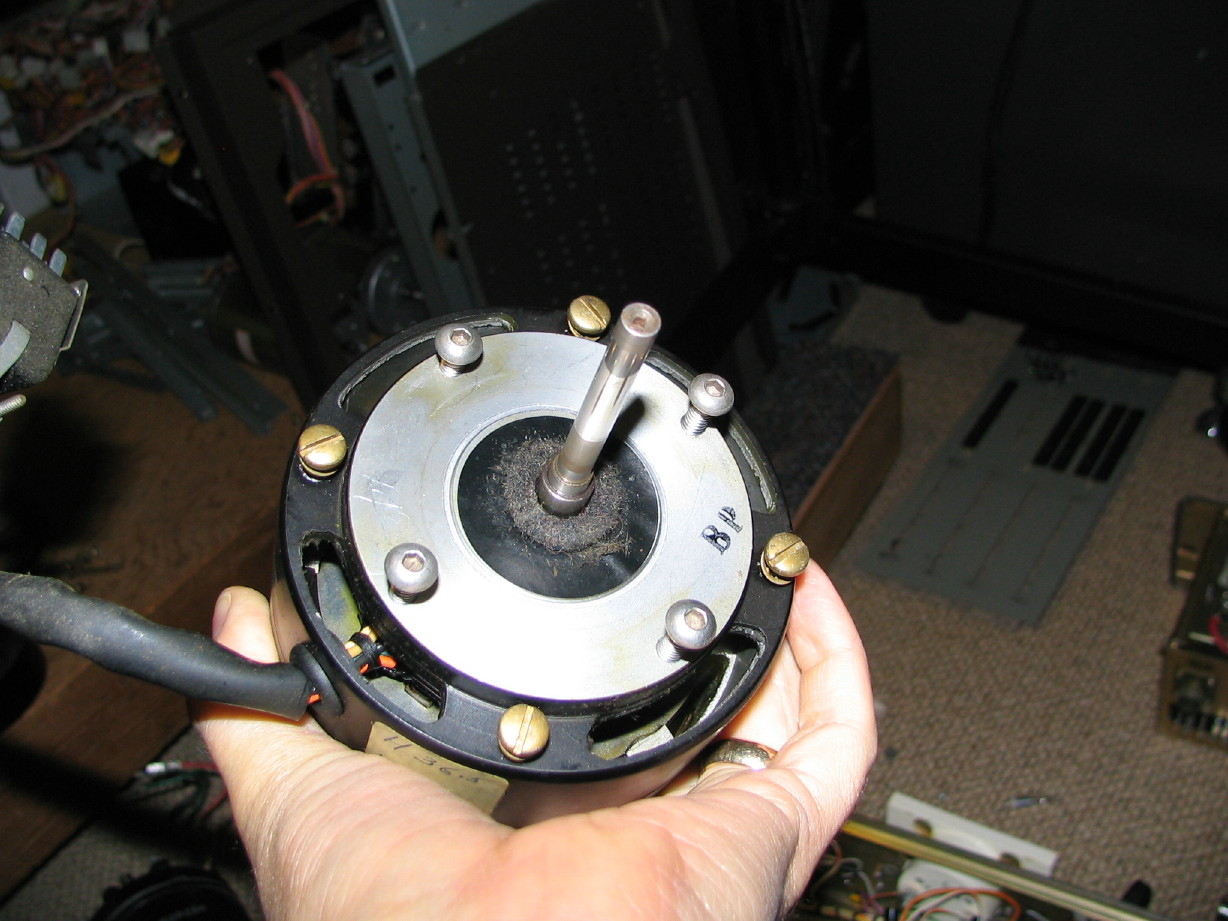
Capstan Motor...
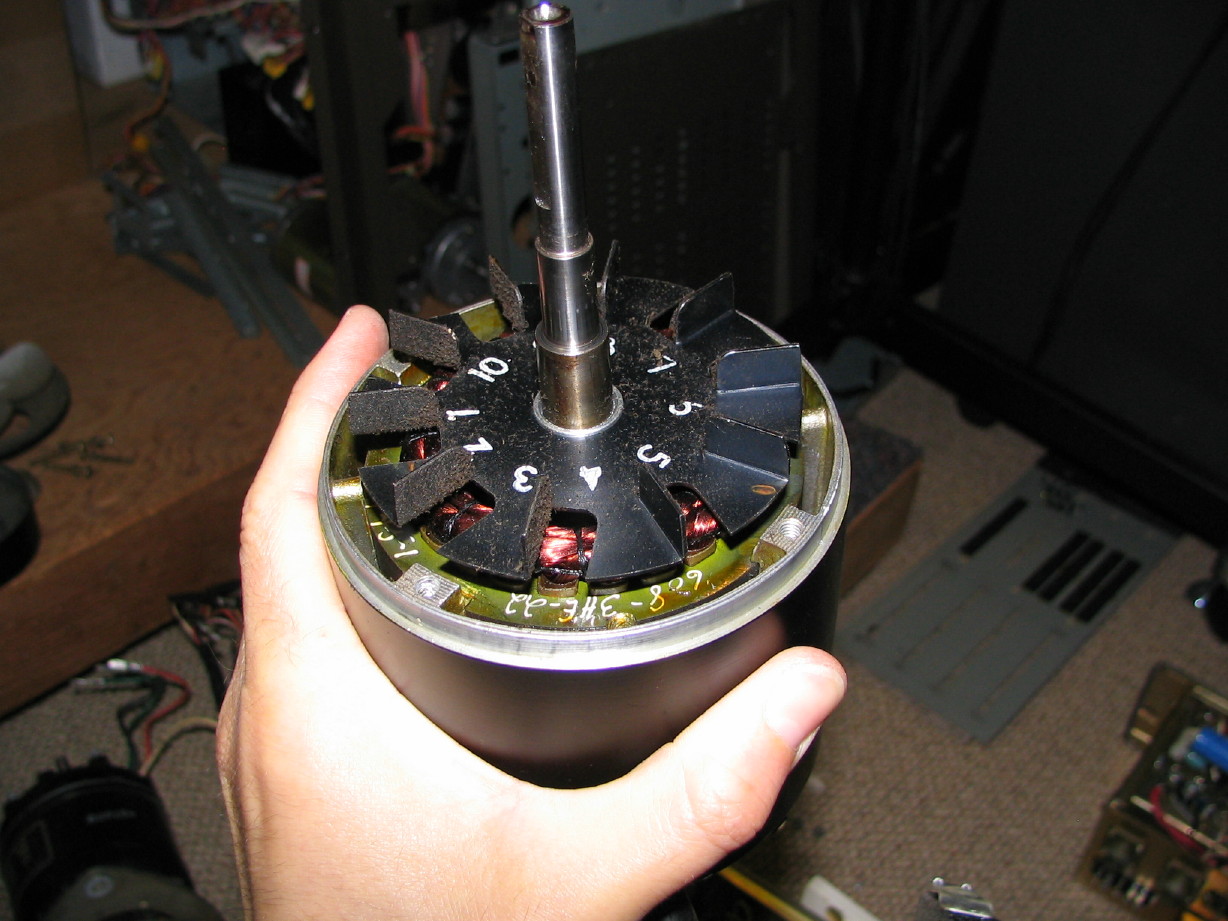
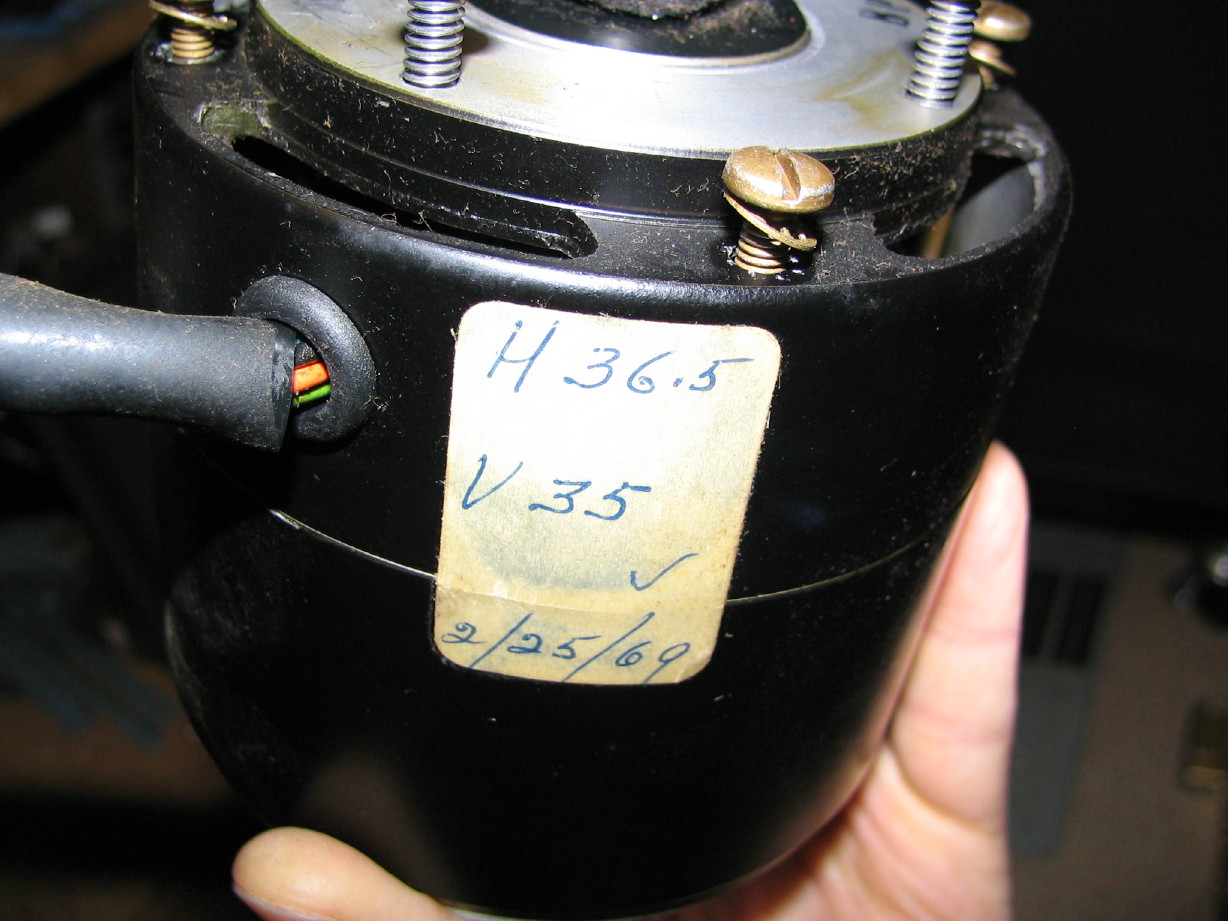
It looks so antiquated from the outside, but it is a heavy precision beast on the inside...Got it all apart and working on cleaning it up...got a replacement tail bearing ordered (again EMQ ABEC-7). The nose bearing is a fixed bronze bushing...kind of wish it was a roller bearing...that may be the source of my 0.001" wiggle room as I discovered there are no spring washers between the transport plate and the capstan motor after all. BTW, the capstan motor at least has a "2/25/69" sticker on it...looks original, hand-written and so I think it is safe to assume that this is indeed a 'B' transport but a very early one. Pictures:
Nose
Tail (open)
Date label
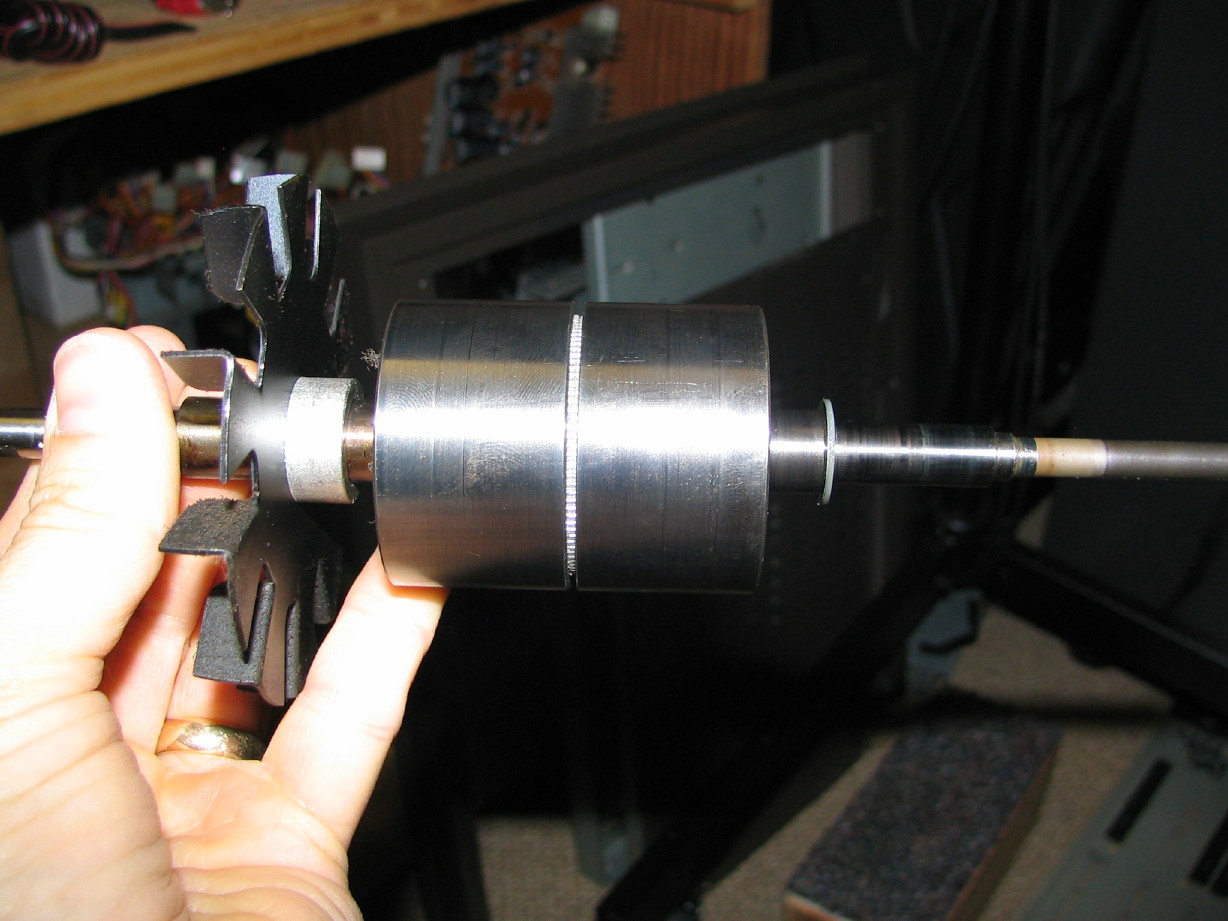
Rotor
Center Guide...
Even though I have a possible lead on a NOS secondary scrape flutter filter (the primary goes between the record and repro heads and the optional secondary goes between the erase and record heads), which replaces the static center guide, I cleaned it up.
Before
After
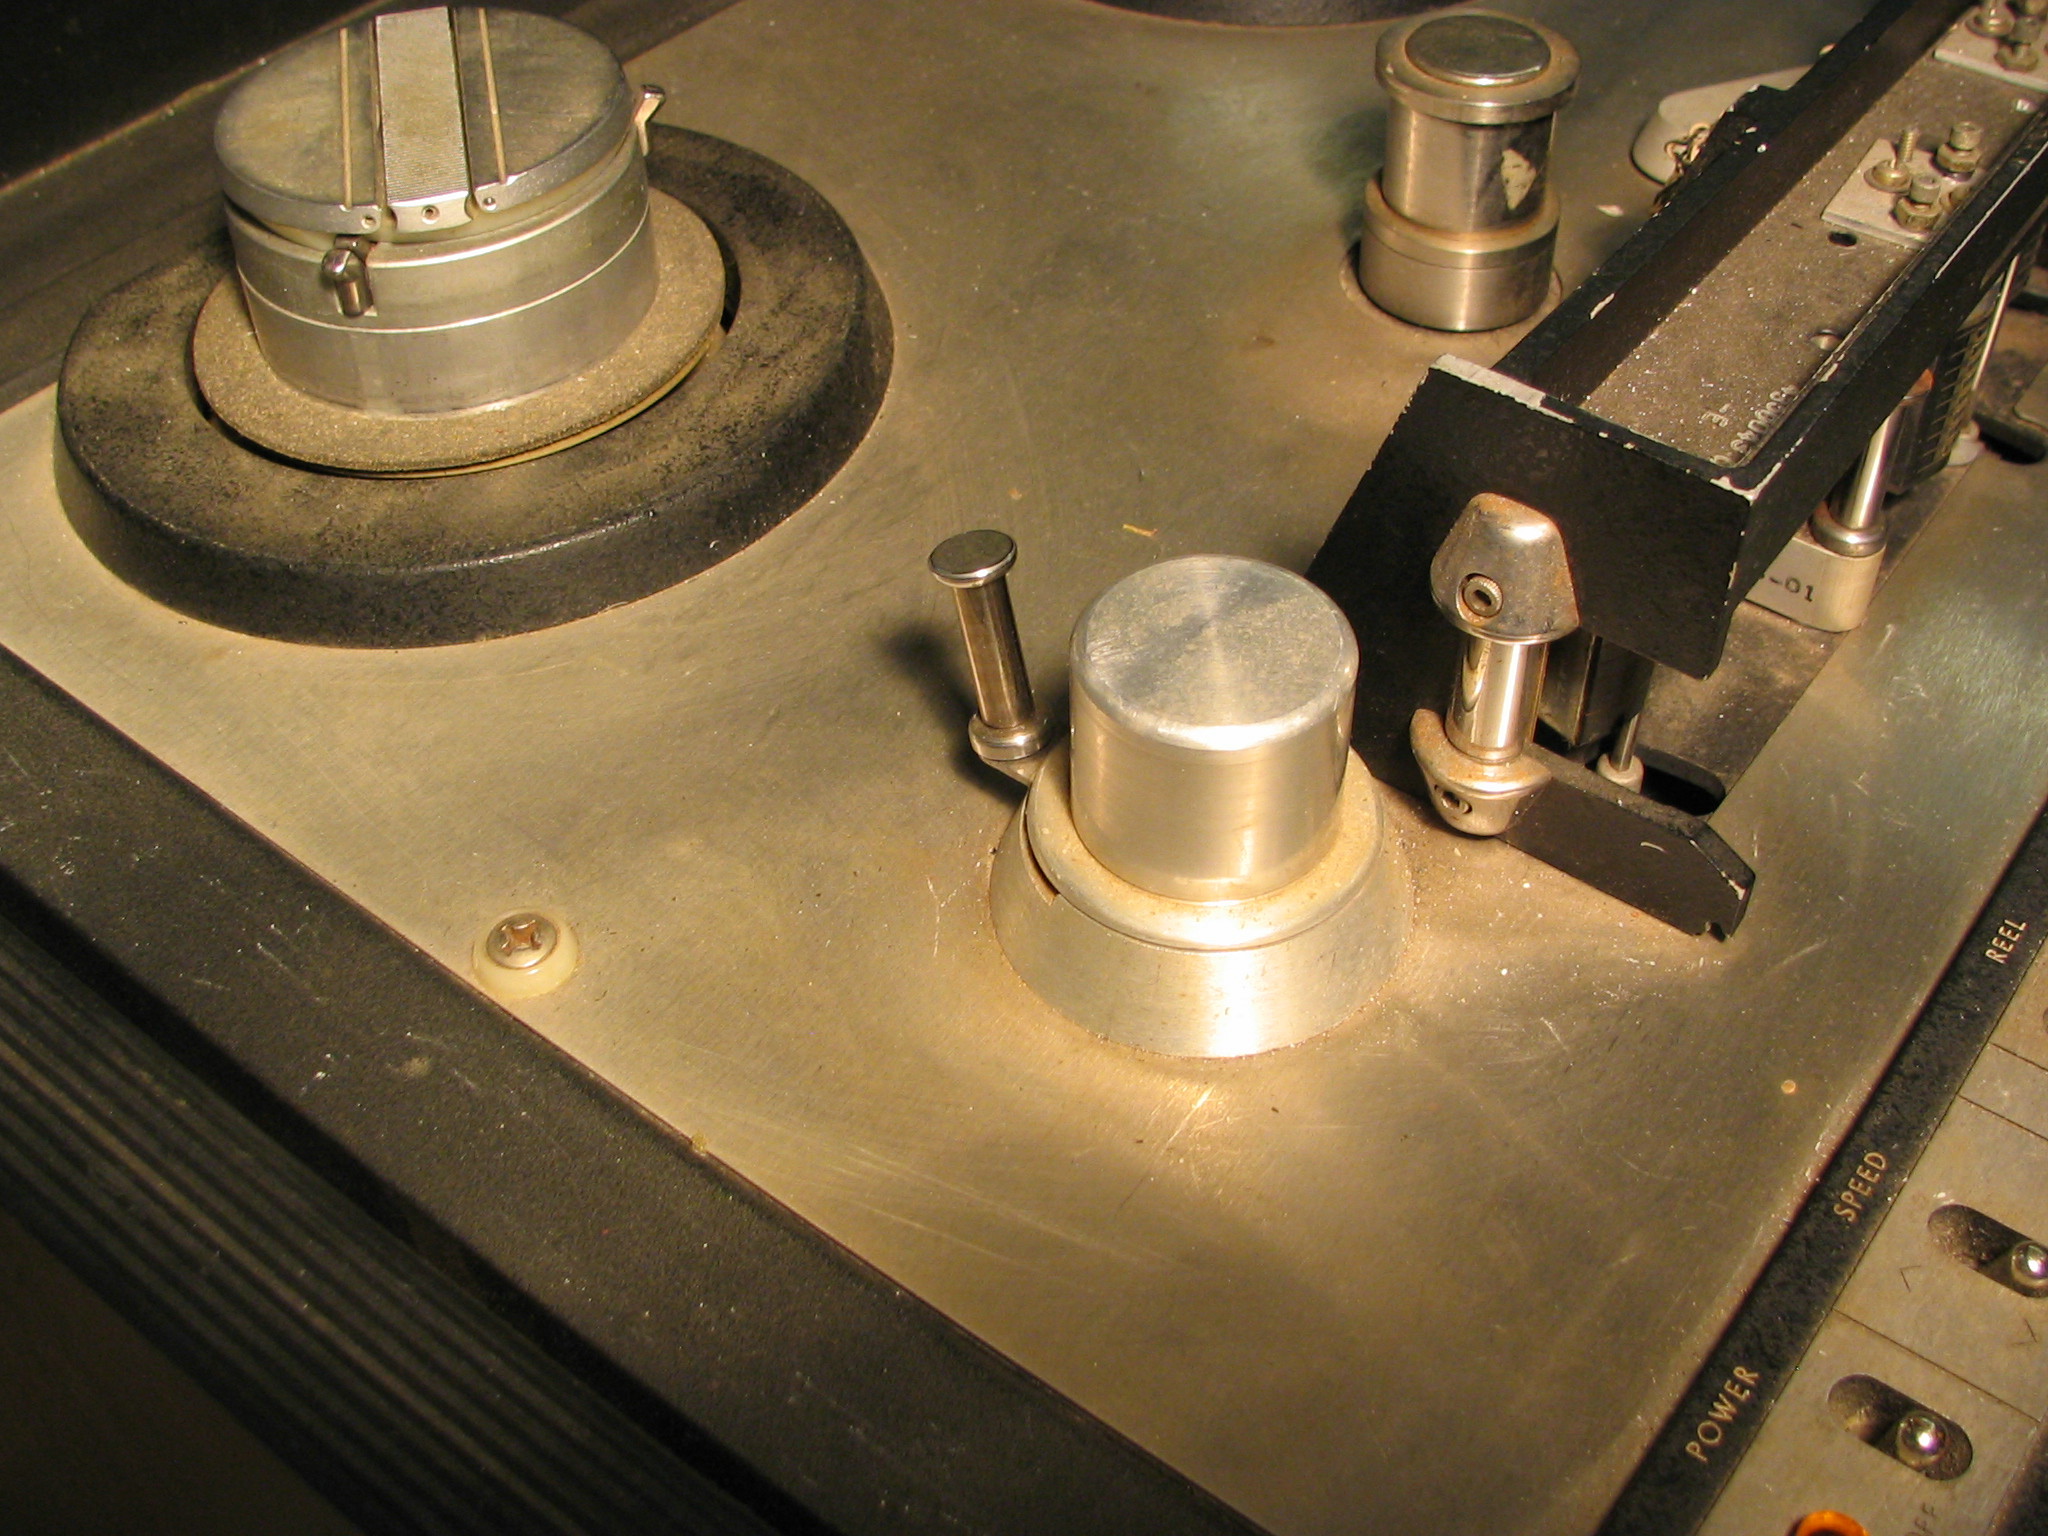
Rotary Guide...
I've done some work cleaning this up. This is the rotating guide that is the first thing that the tape sees in the tape path. Its in the center of the transport face above the headblock. Its heavy. I removed it, totally disassembled it, cleaned it, and am awaiting fresh bearings. Got the same bearings as for the reel motors. In fact, the entire transport (except for the capstan motor tail bearing) utilizes the same cartridges.
Here is sort of before shot of the rotary guide when I first got Bessie home...it is the round thingy at the very top center-ish of the picture:
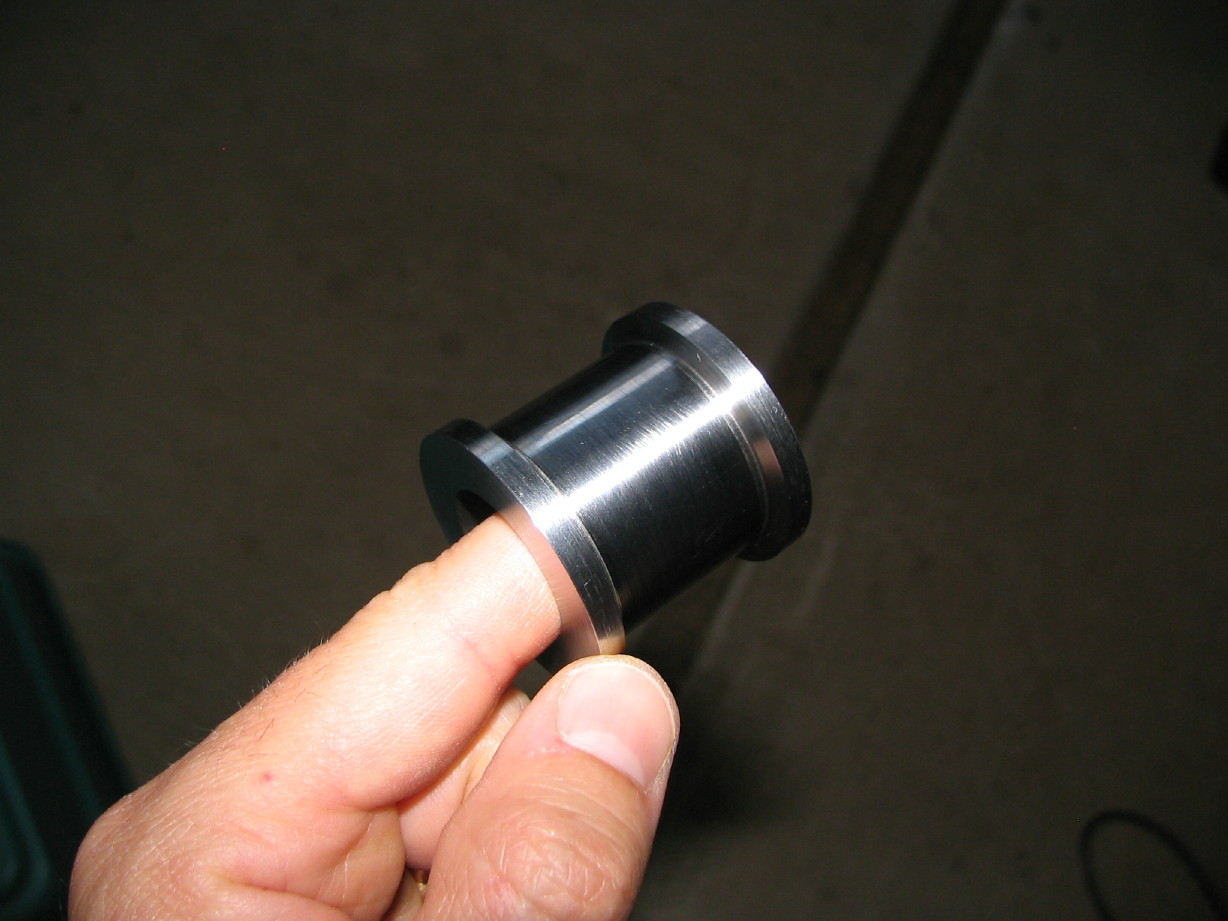
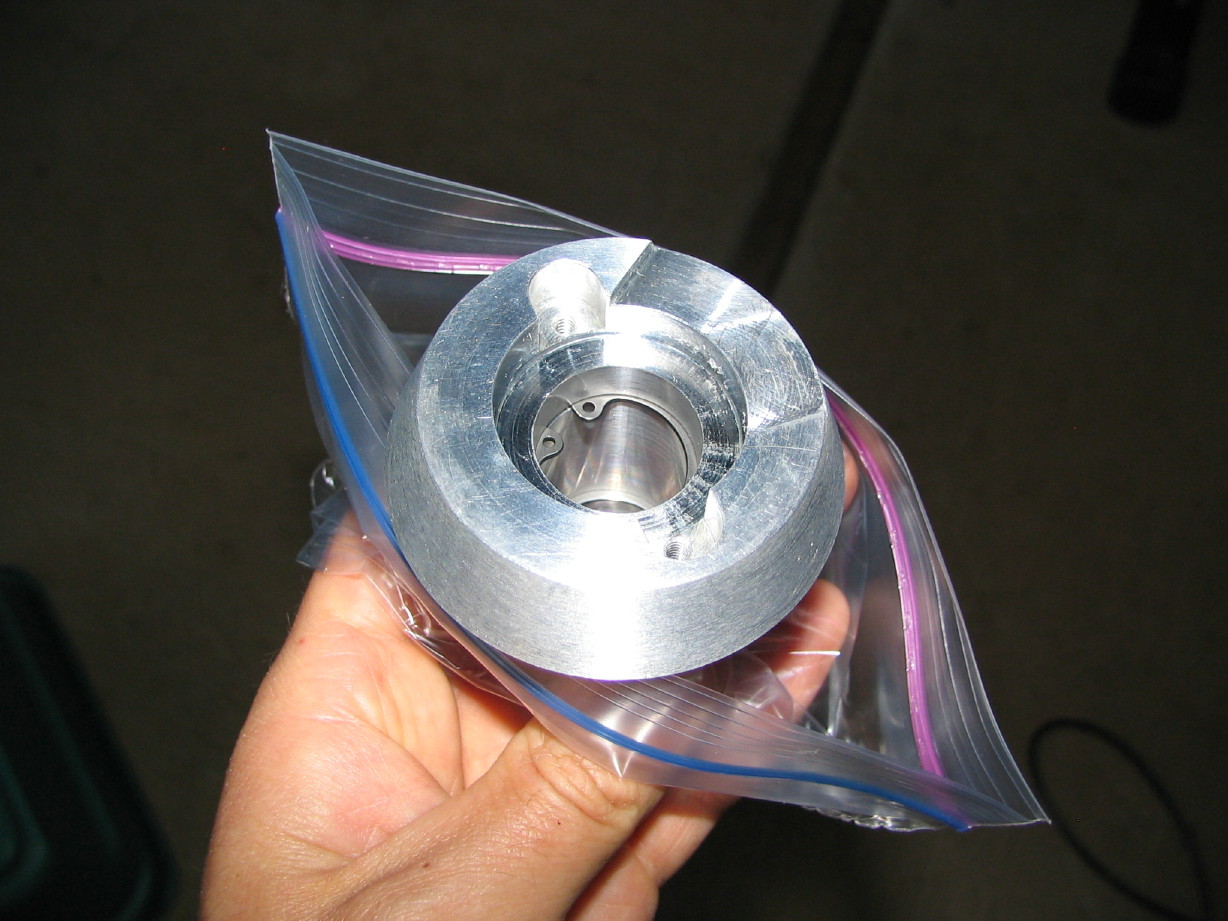
Here is an after shot of the 1.25" diameter roller:
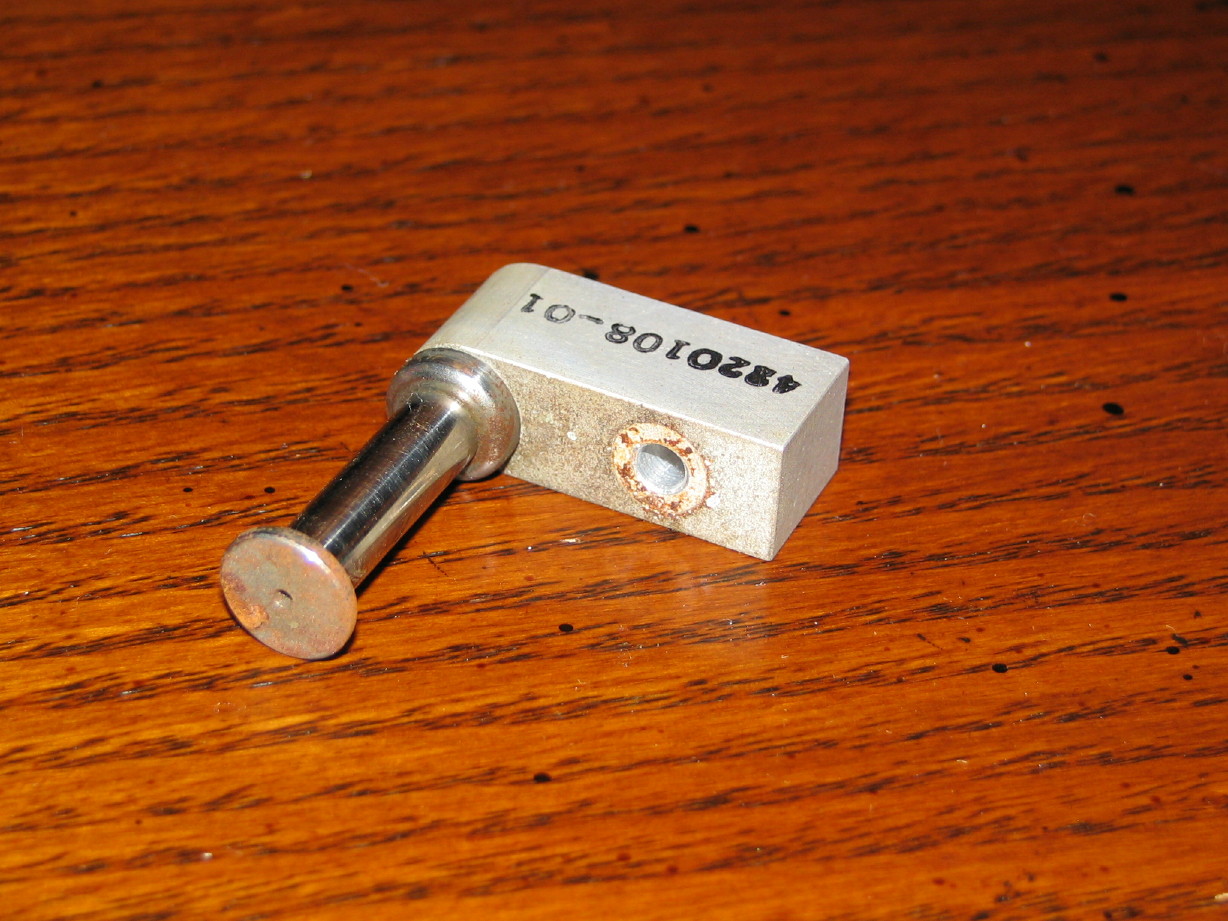
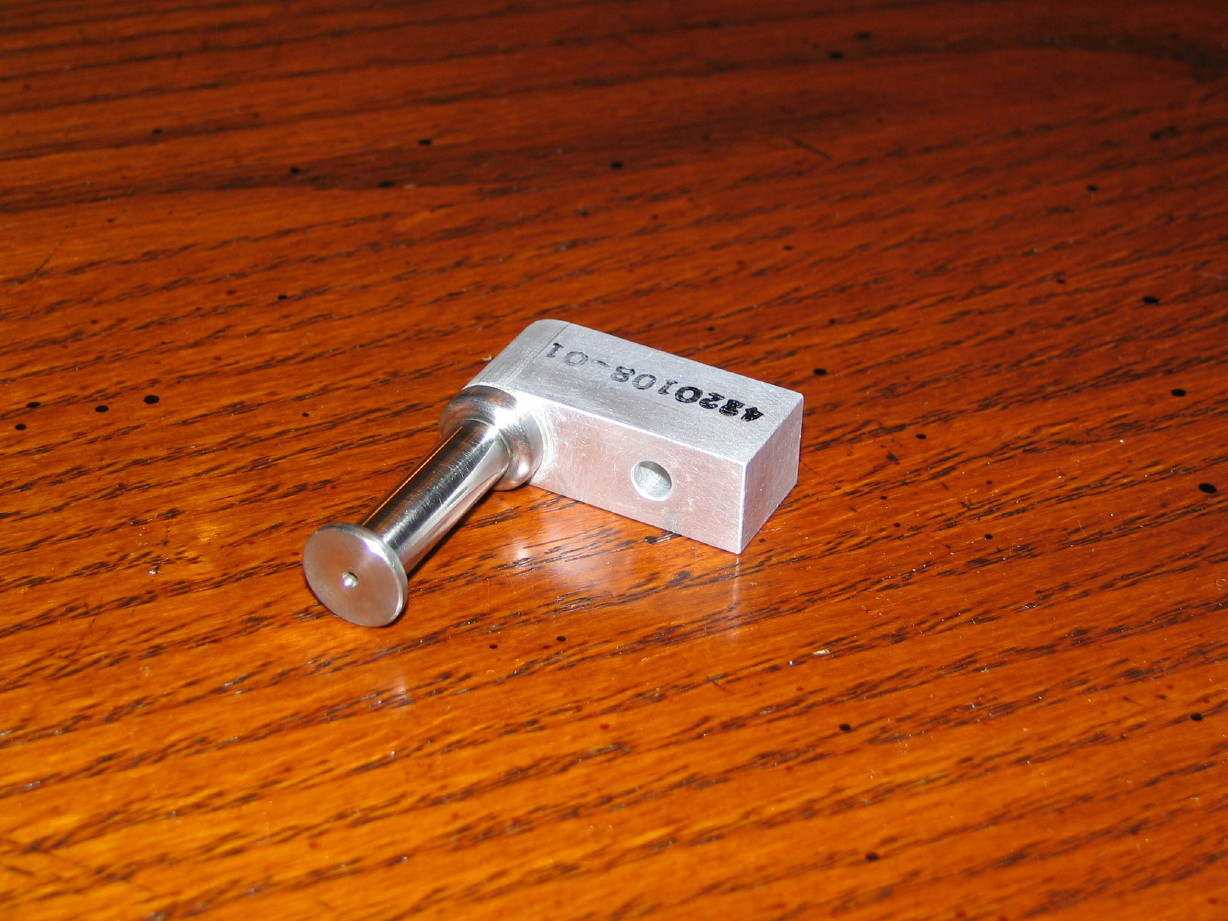
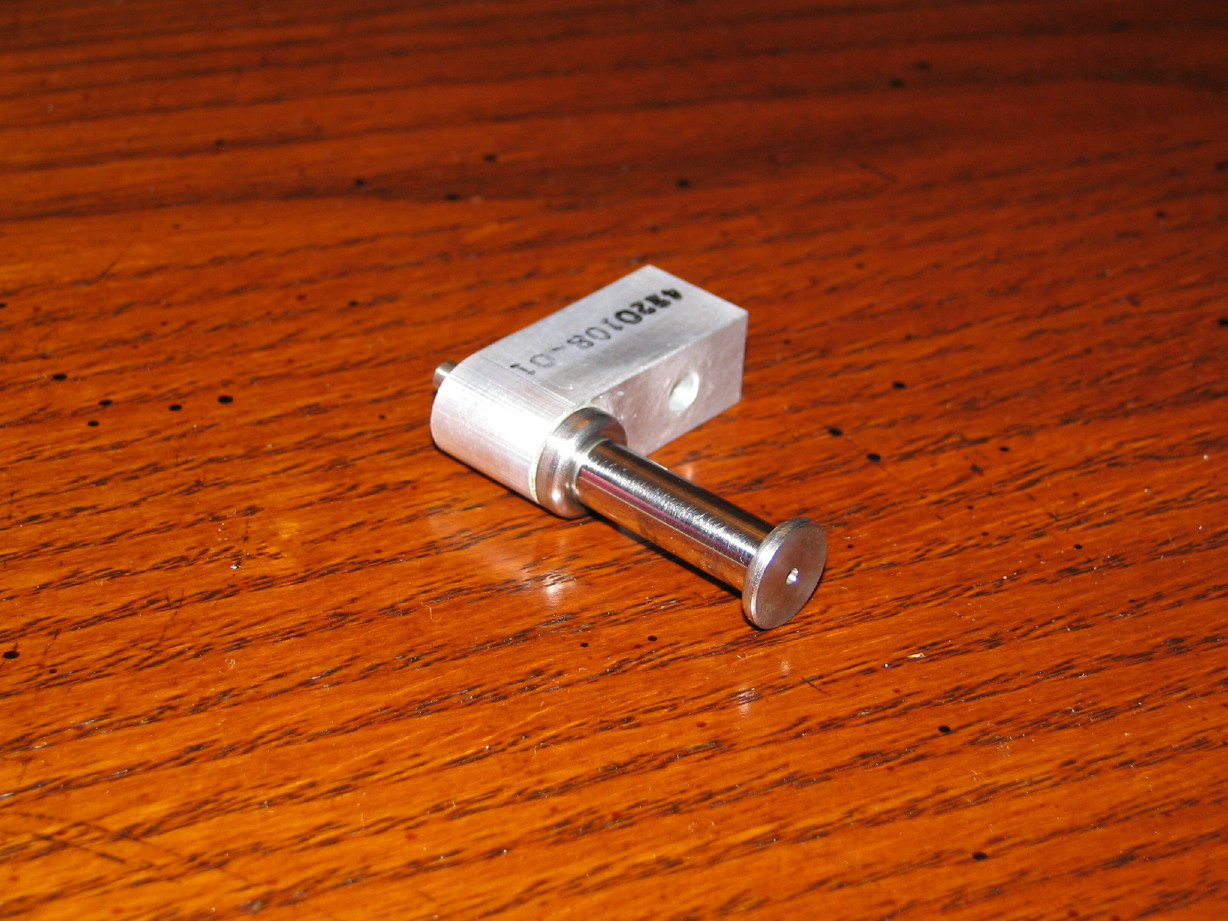
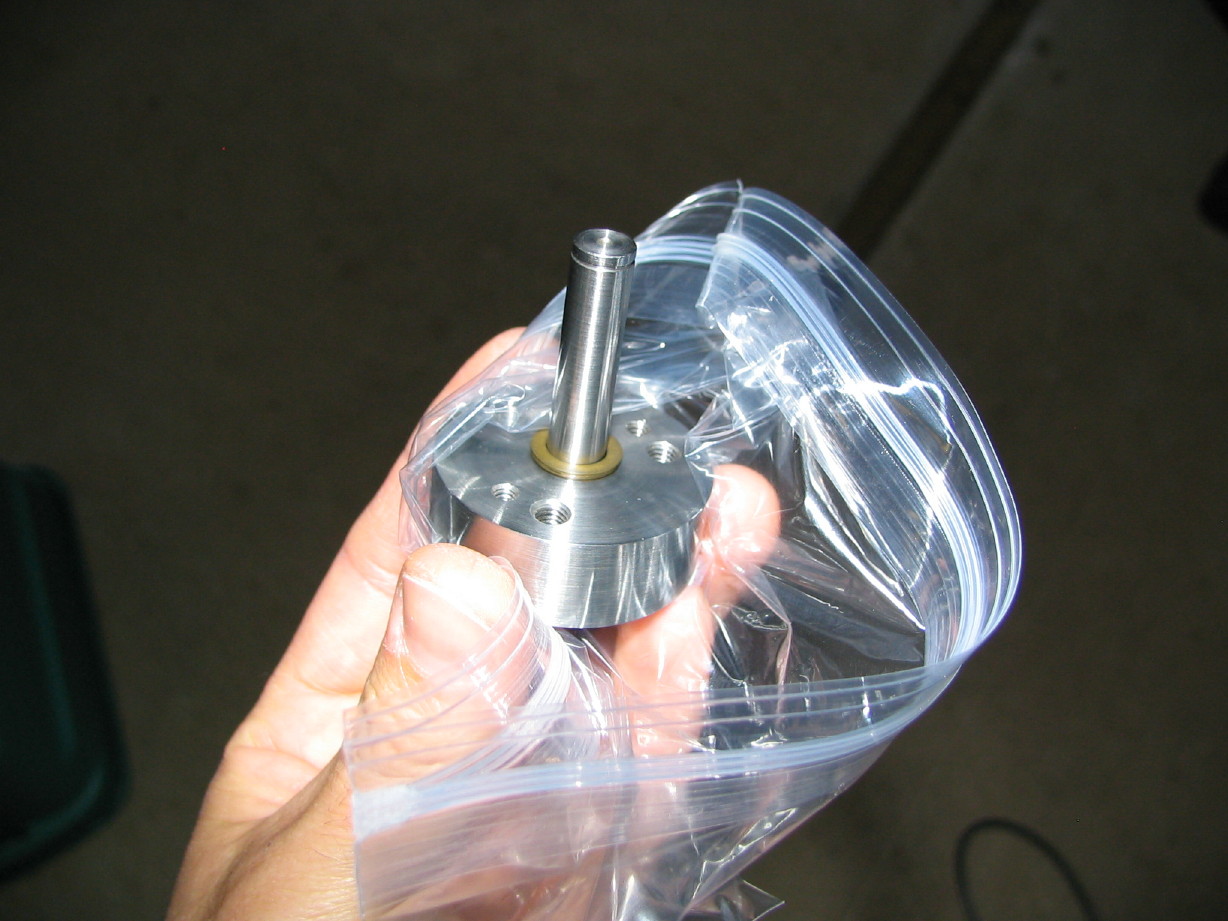
And the mounting base and shaft:
Reel Idler...
Look at the "before" picture above of the rotary guide and in the foreground of that picture you see the reel idler with the bent tensioner. I disassembled the thing and was able to see how the tensioner arm from my parts deck will drop right in. Also I had mentioned earlier (I think) about the bearings being good or at least okay in the parts idler housing compared to the one on the 440-8...well, I'm replacing other bearings so I may as well do these two. The idler housing is aluminum and the bearings are a tighter fit as compared to the rotary guide...put the whole thing in the oven on warm for a couple minutes to expand the aluminum and the bearings popped out no problem.
Here is the tensioner arm assembly that will be used...yet to be cleaned but nice and straight:
Here is the housing all cleaned up:
BTW, I may have a lead on an original viscous-type flywheel for the idler. I'll know more next week.
Electronics...
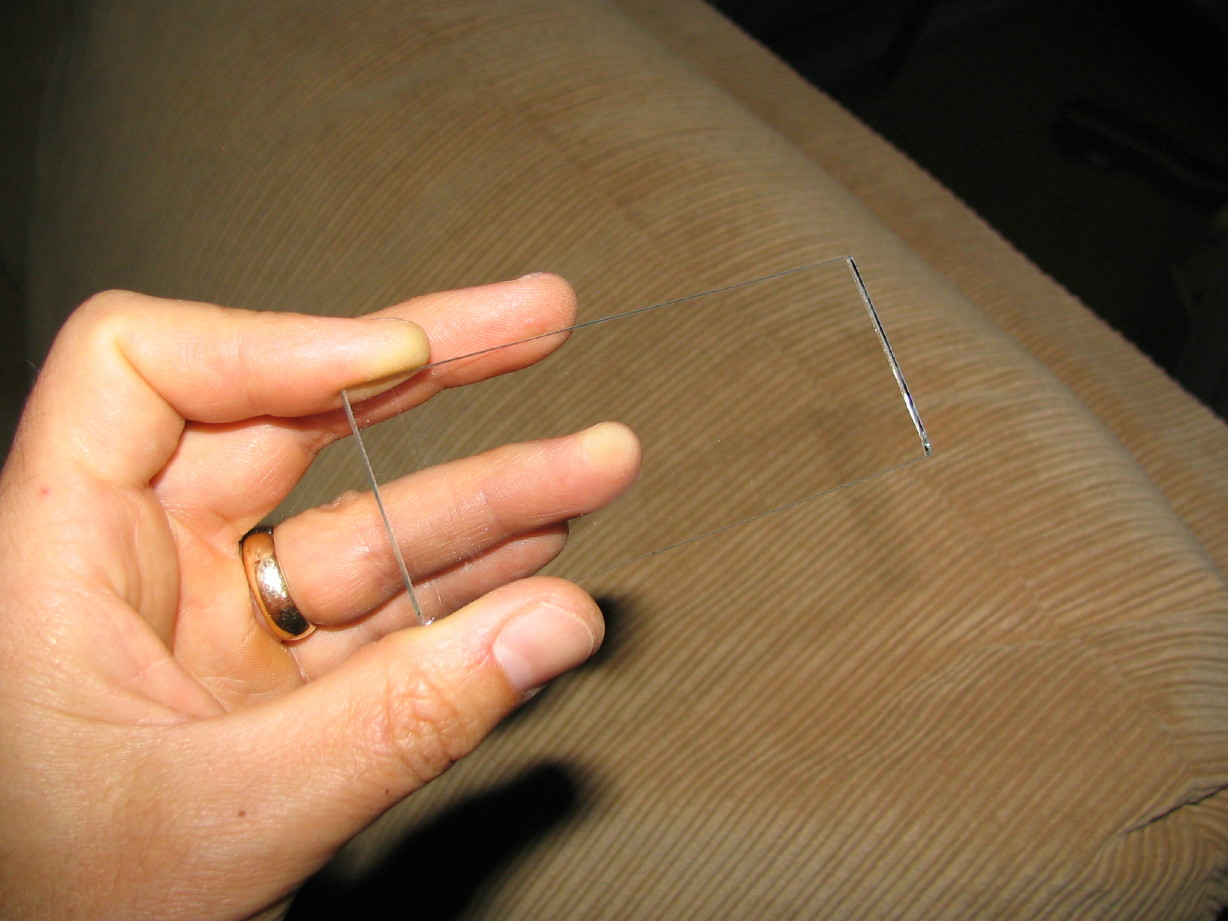
Been picking away at these...mentioned the recapping above. Partially disassembled one module to try and figure out VU meter lense issues. Figured out how to get the lense out. This is important because my 440-8 has a mix of original glass, busted glass, no glass, and plexi-glass for the lenses and I want to replace them all with new glass. I got some appropriately thin glass and bought a $5 glass cutter from the hardware store. It took a little doing but I figured out how to cut the glass and smooth the edges. I have 6 done so far.
Here is the first one:
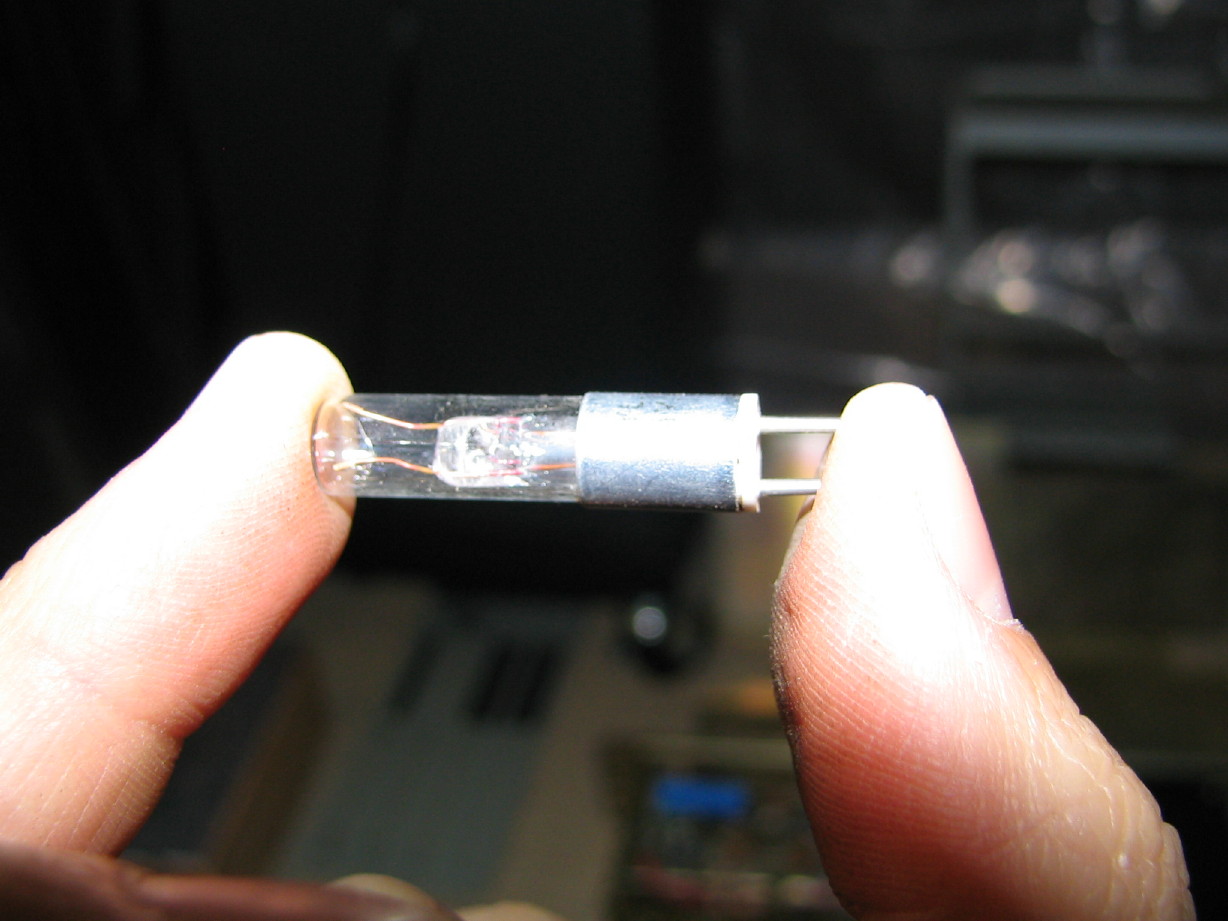
I have also been working with trying to source new meter lamps. The replacement product is a Sylvania 24PC bulb...not cheap and apparently don't illuminate the meter face in the same way as the original bulbs, but the originals have been out of production for years and years. Unobtanium as they say.
Here is an original bulb:
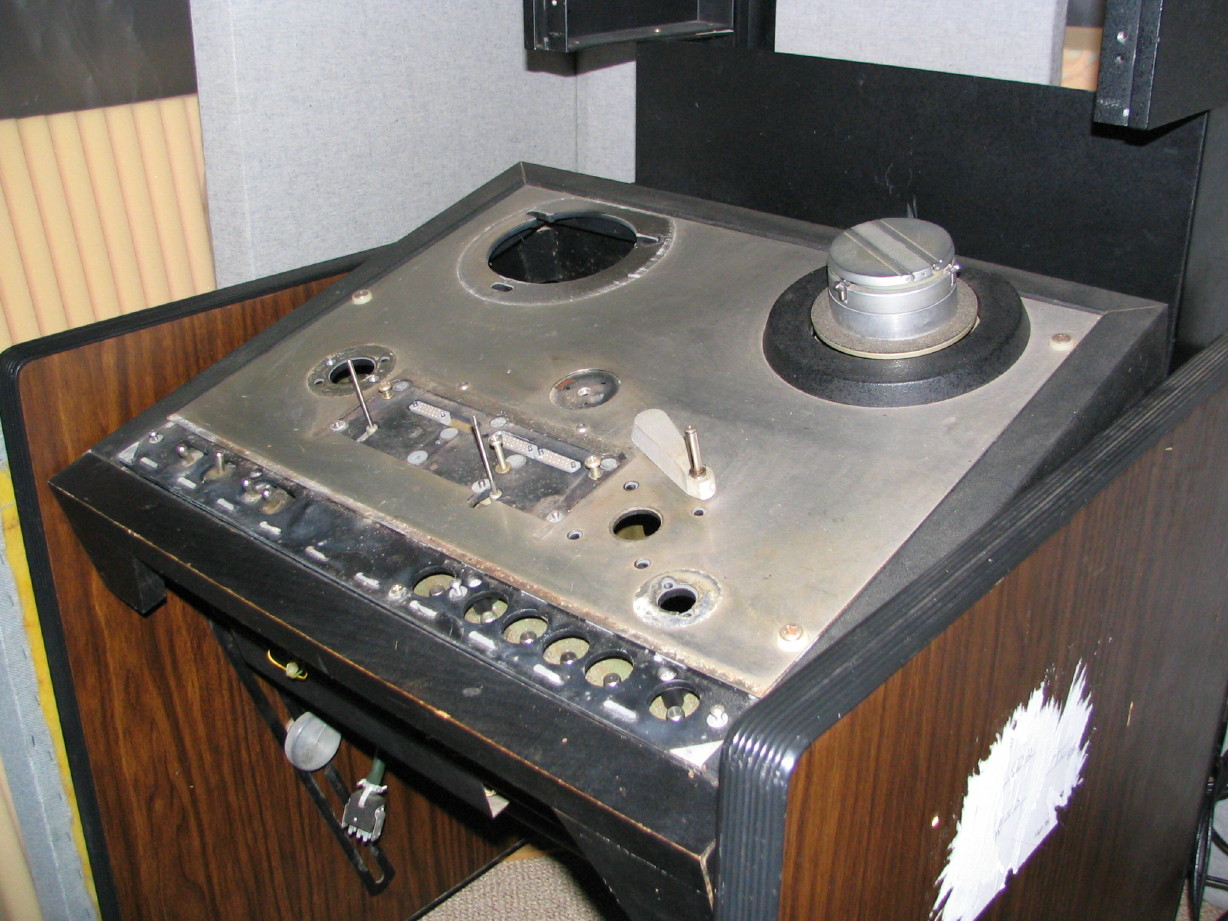
There's more but those are the highlights. Might seem like a lot but I realize it is just scratching the surface...it fun though. I'll leave you with Bessie's appearance as of late:


 Was it dropped?? MAN! The dent, bent reel motor shafts, tension arms bent, the original record head knocked off its plate, the wheels...GAH!
 :rolleyes:") ...I just need to keep telling myself that..."self, repeat after yourself..." Now I'm talking to myself...
...I just need to keep telling myself that..."self, repeat after yourself..." Now I'm talking to myself...
")
")

 There's a long road ahead.