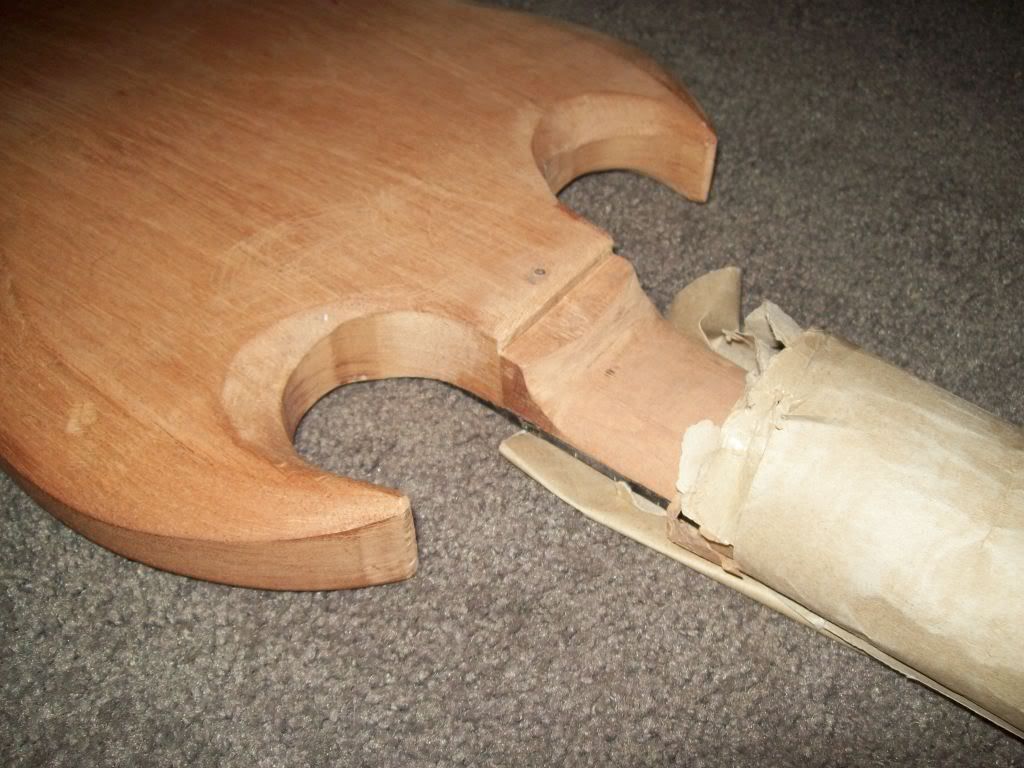
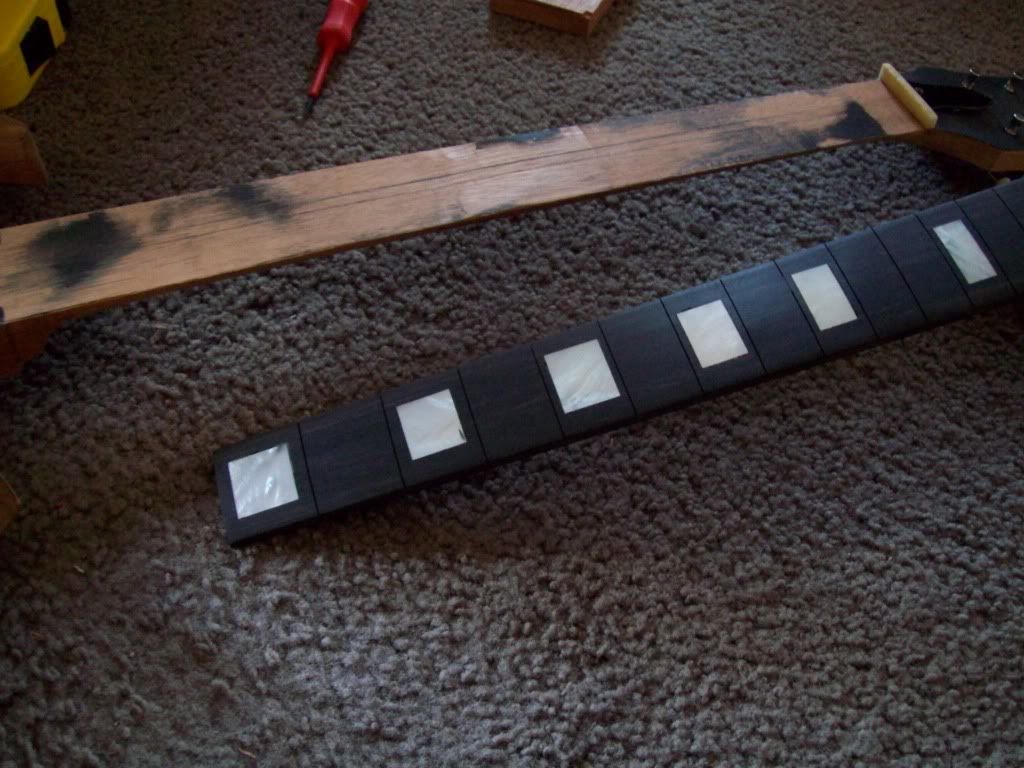
You are jumping ahead a little bit....
I have a few ideas:
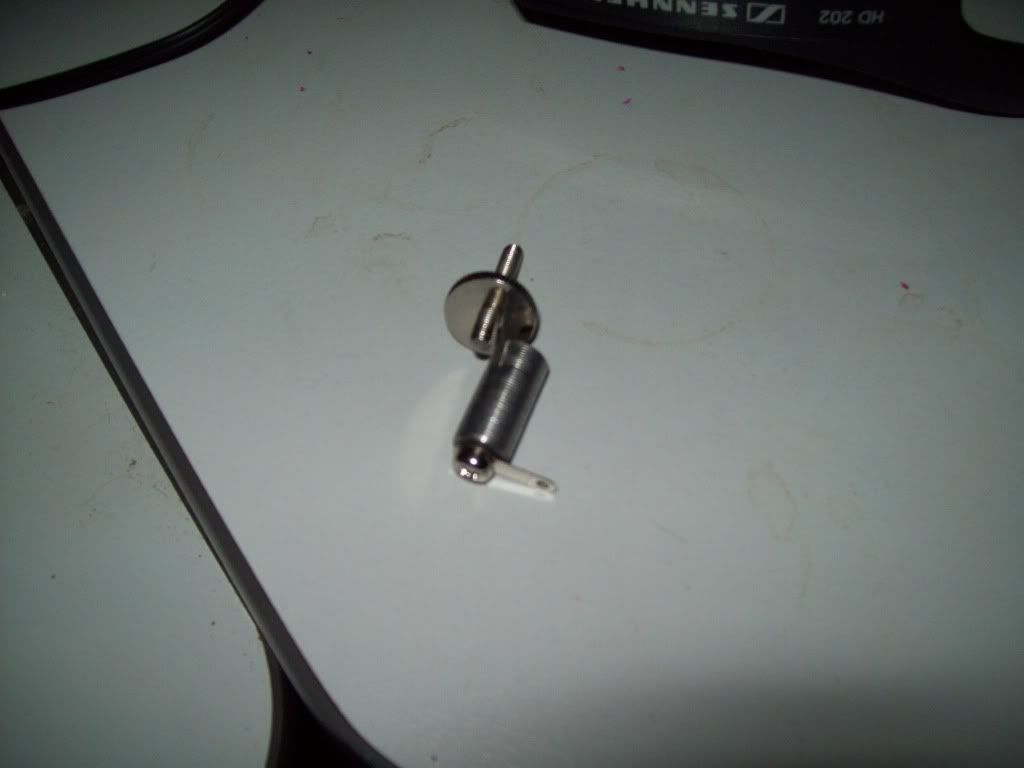
1. I have copper under the RH tunomatic bushing that it sits on. May give enough earthing, not my preference.
2. I will screw a wire onto the bottom of the RH tunomatic bushing and countersink the screwhead.
3. Or both approaches (most likely)
The RH bushing is not that tight, though I should have probably done the wire insert before I pushed it in.
I will cut the tab down quite a bit and solder wire to the tab and also the screw to the bushing.
If this approach is not good enough, then I will drill across from the electronics cavity into the tailpiece bushing hole and feed a stripped wire underneath the bushing as I press it in.


")

")
