Making a Gibson SG Clone

  • Thread starter Thread starter Neve1073lover
  • Start date Start date
More Neck and Head Shaping

I like to do a bit of woodworking every night after work.

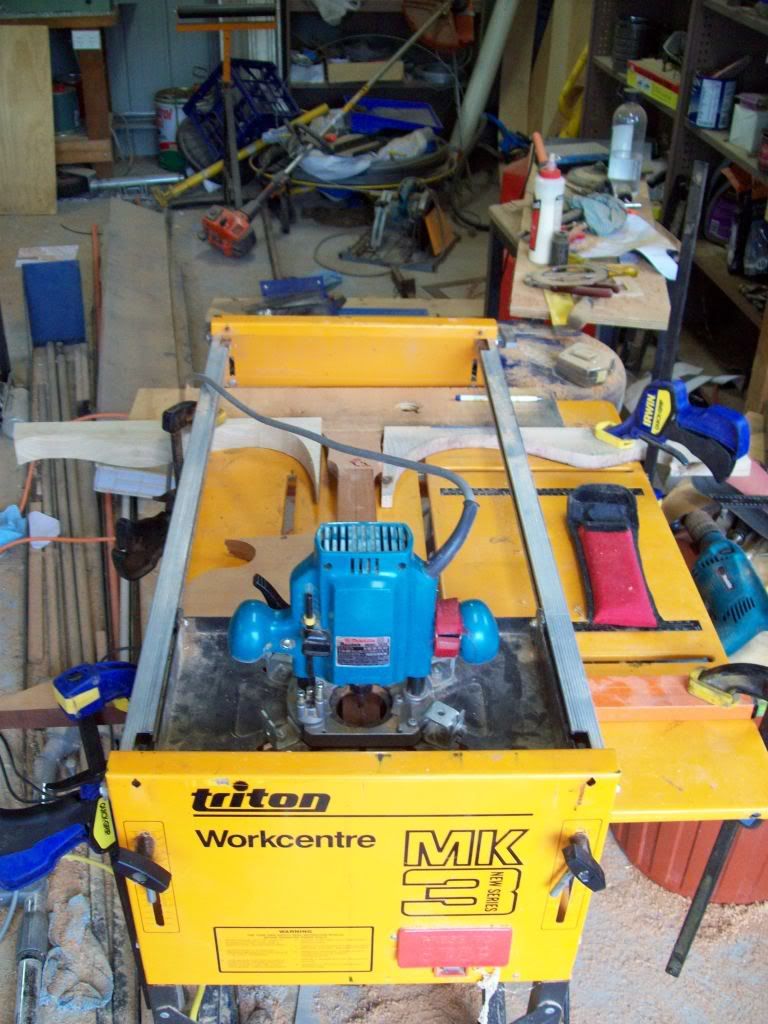
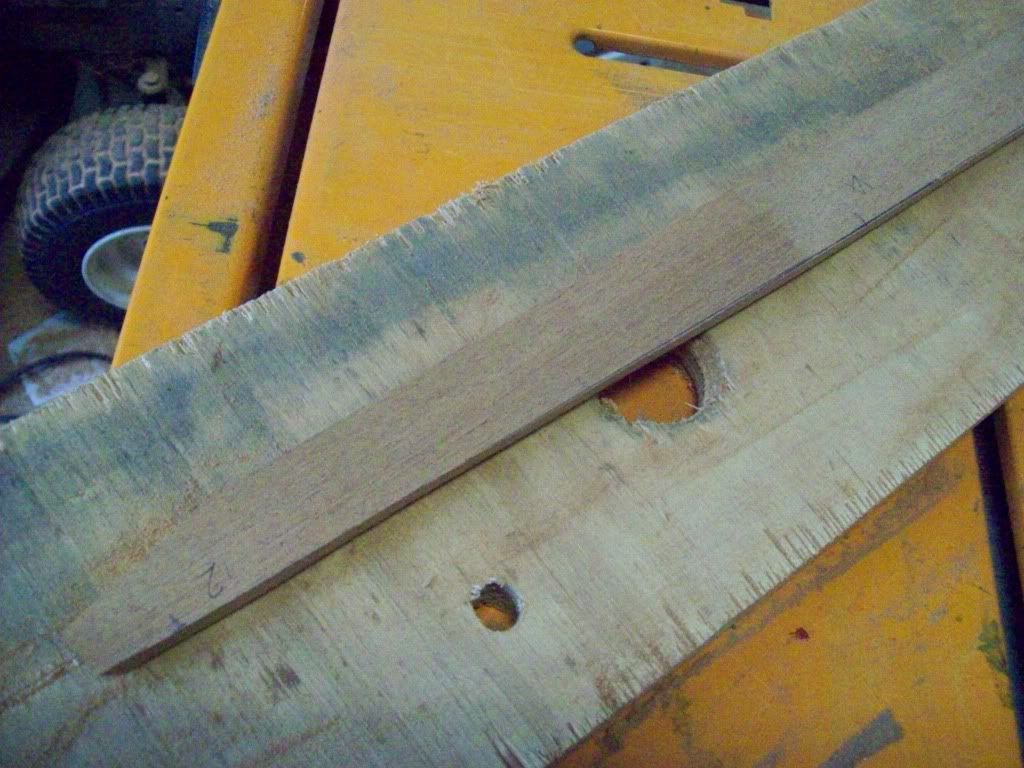
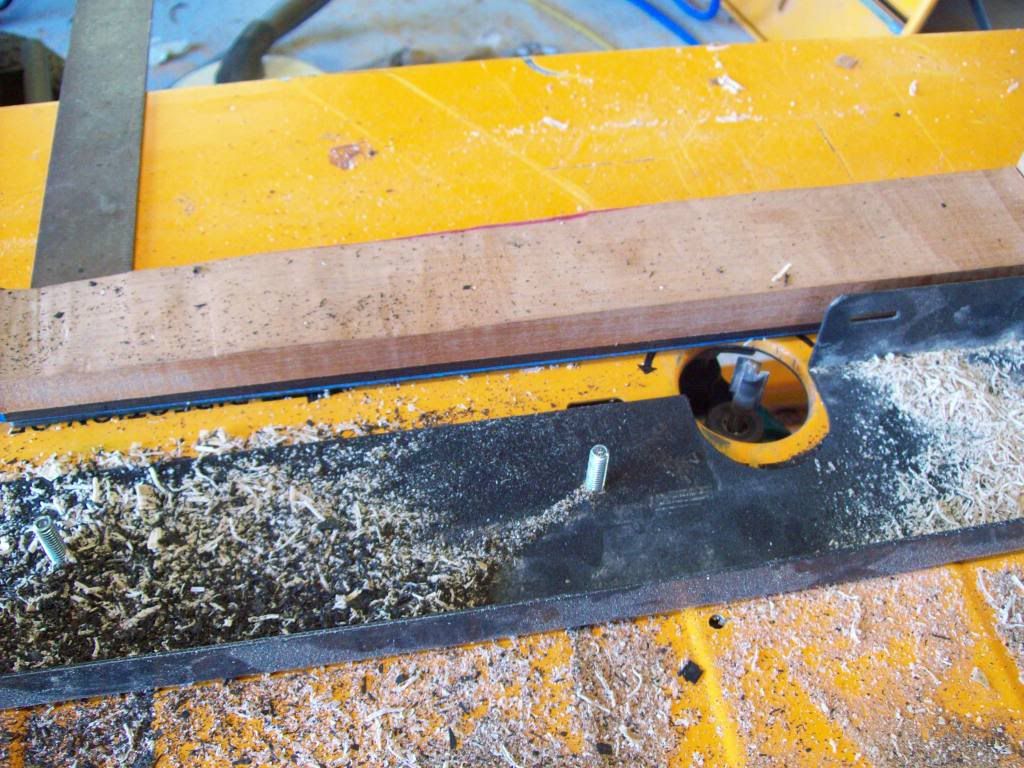
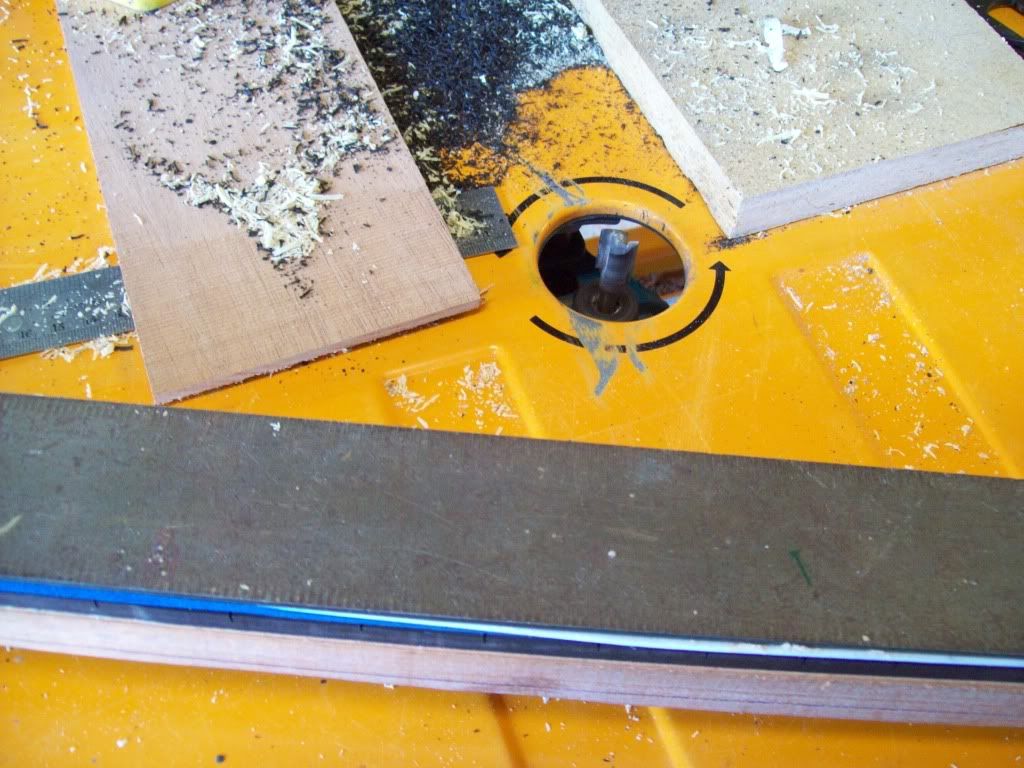
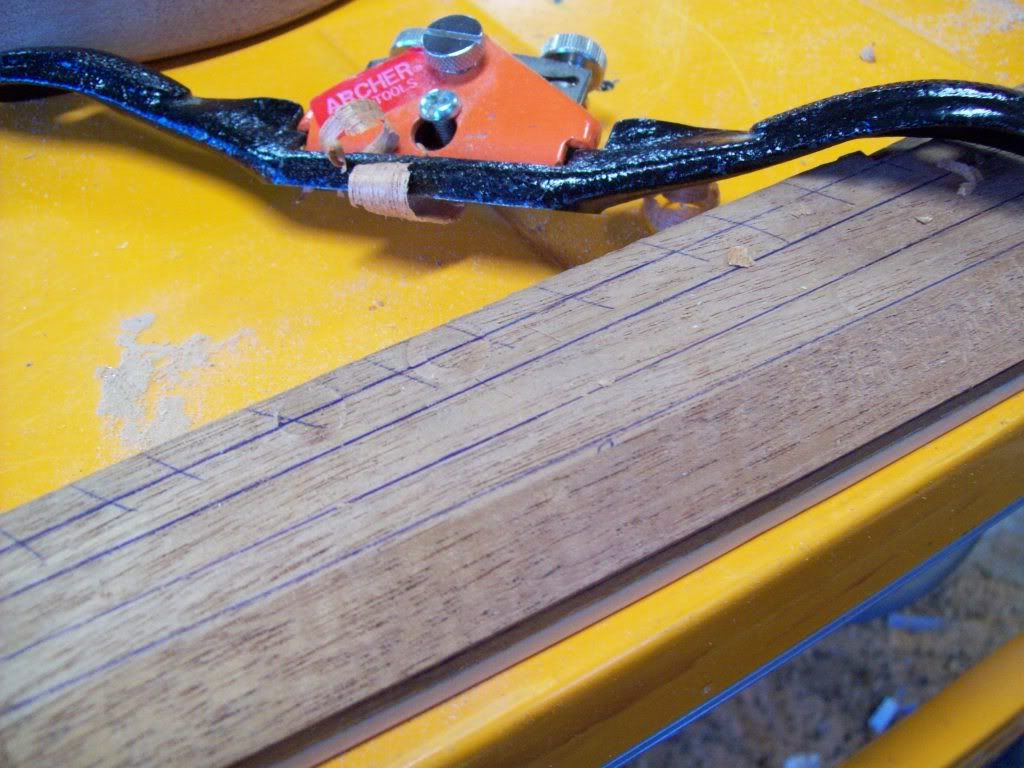
I set up the belt sander on its side and took the head face close to flat and just above the finished depth.

Then marked the 15 mm thickness again and did the bottom.

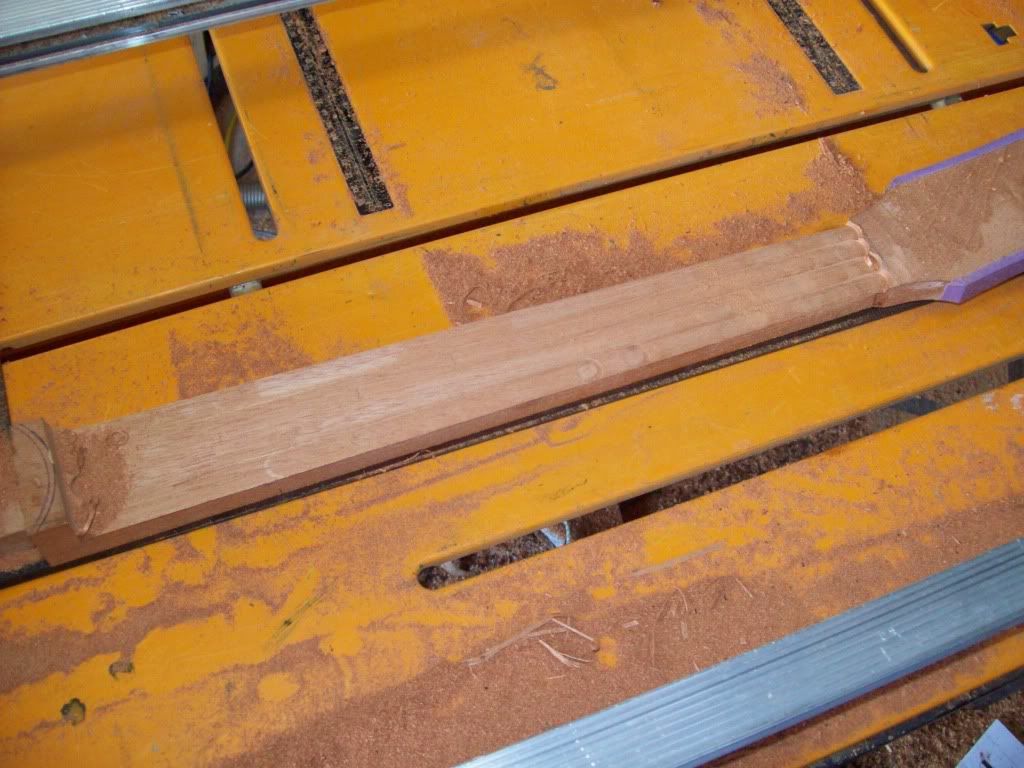
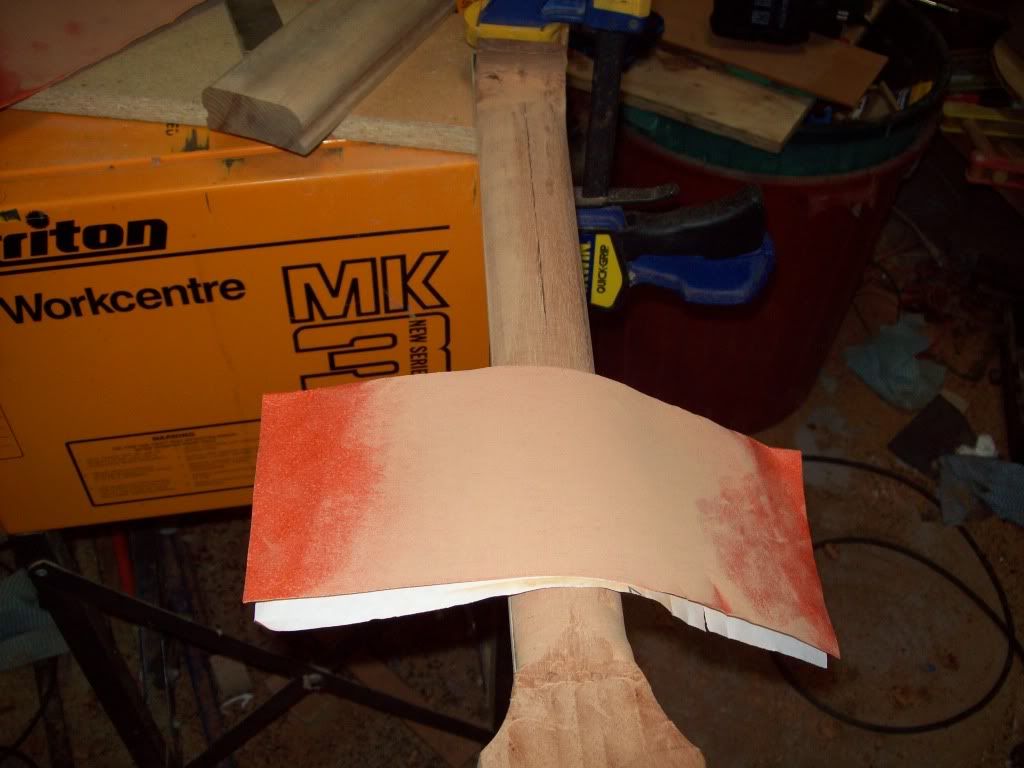
Also did the neck sides and bottom.

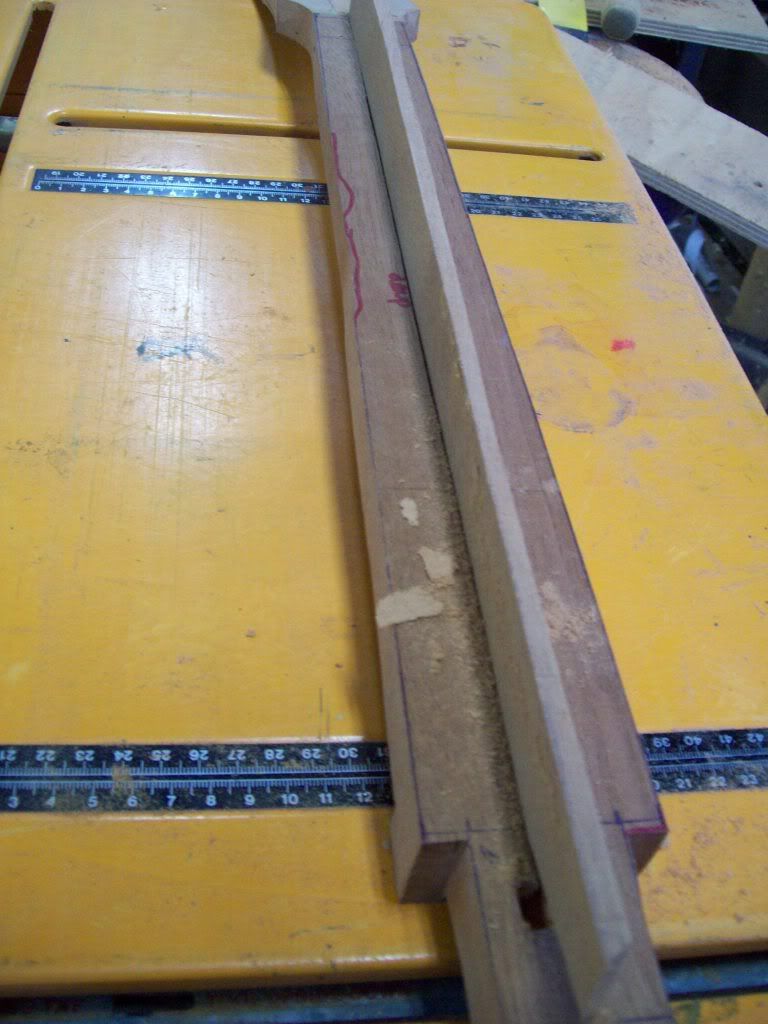
I left everything slightly oversize, including the length and body insertion point. This allows me to fine tune later.
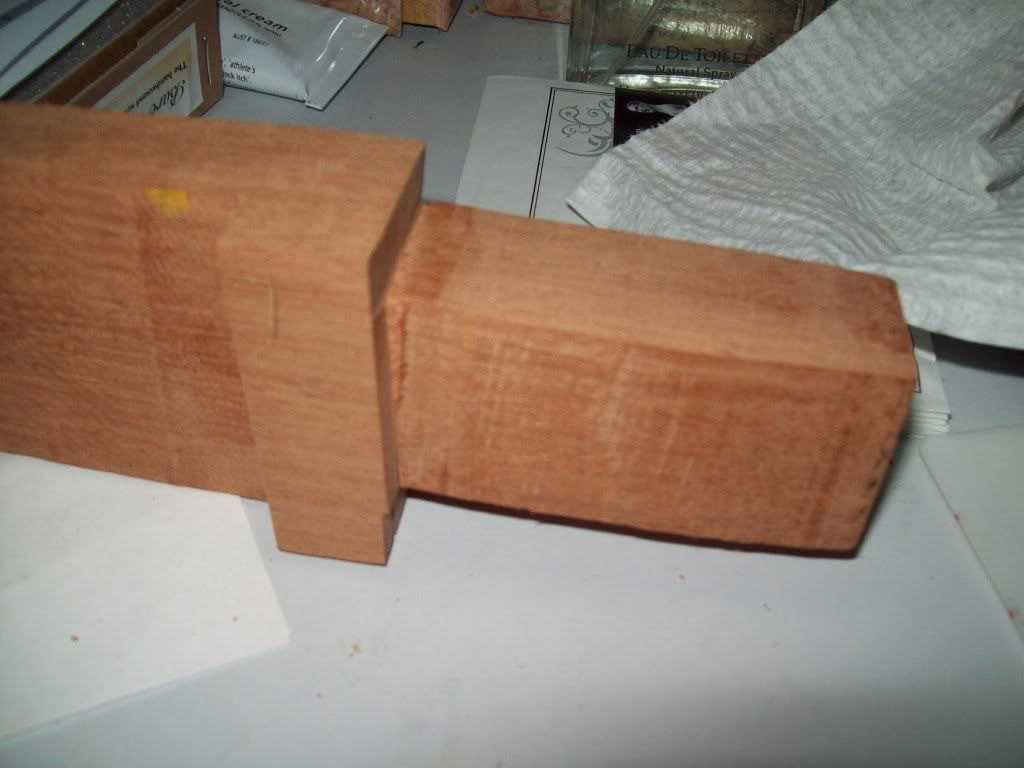
Neck Joint:

100_1225.jpg


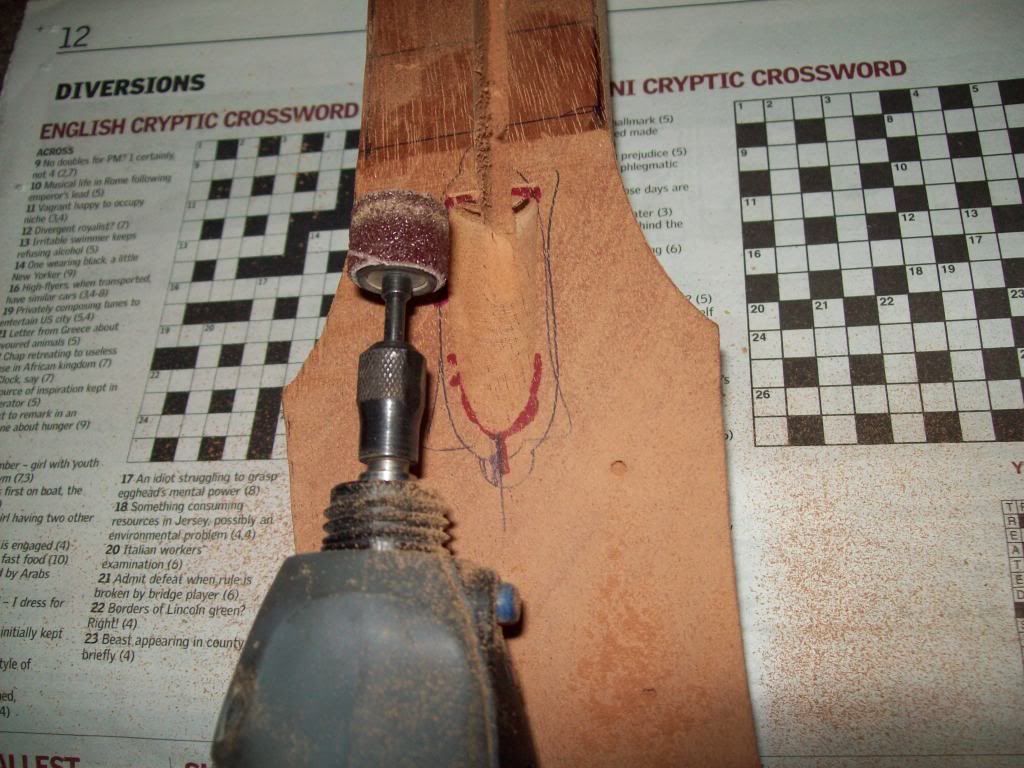
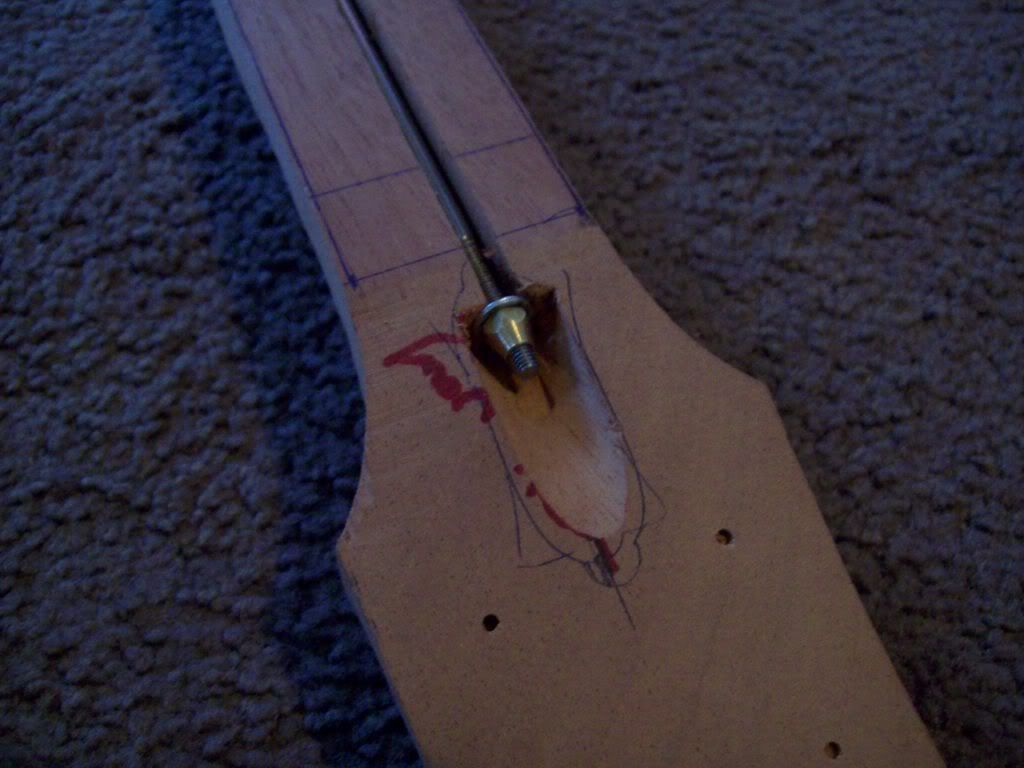
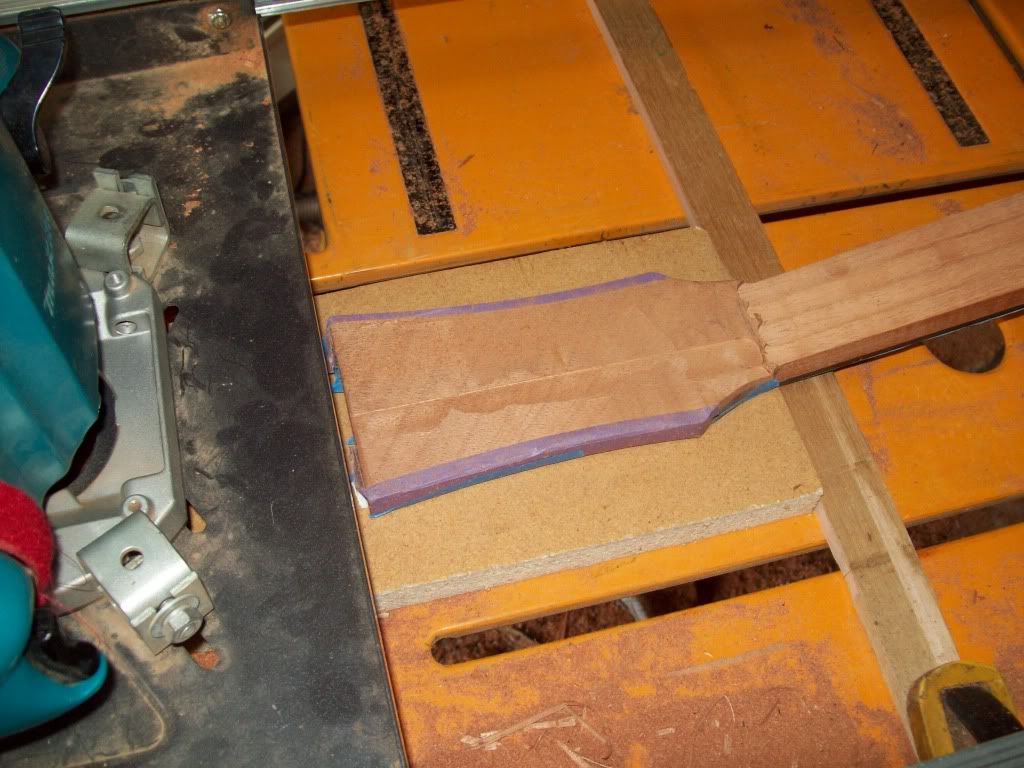
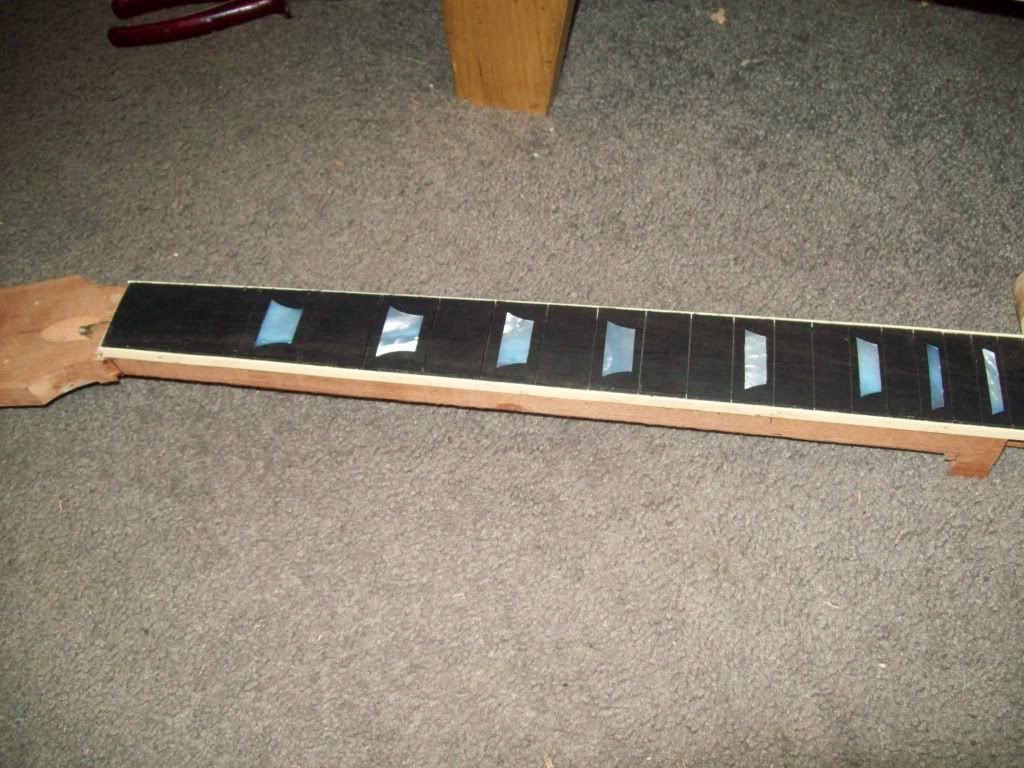
Head closer to shape:

100_1223.jpg


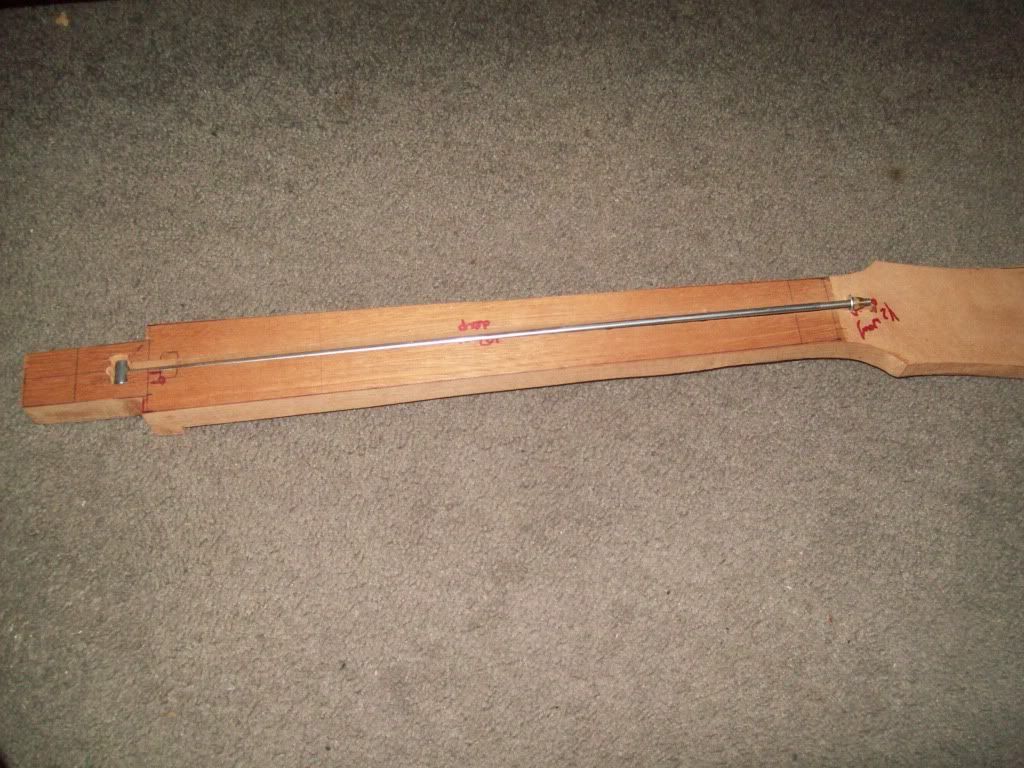
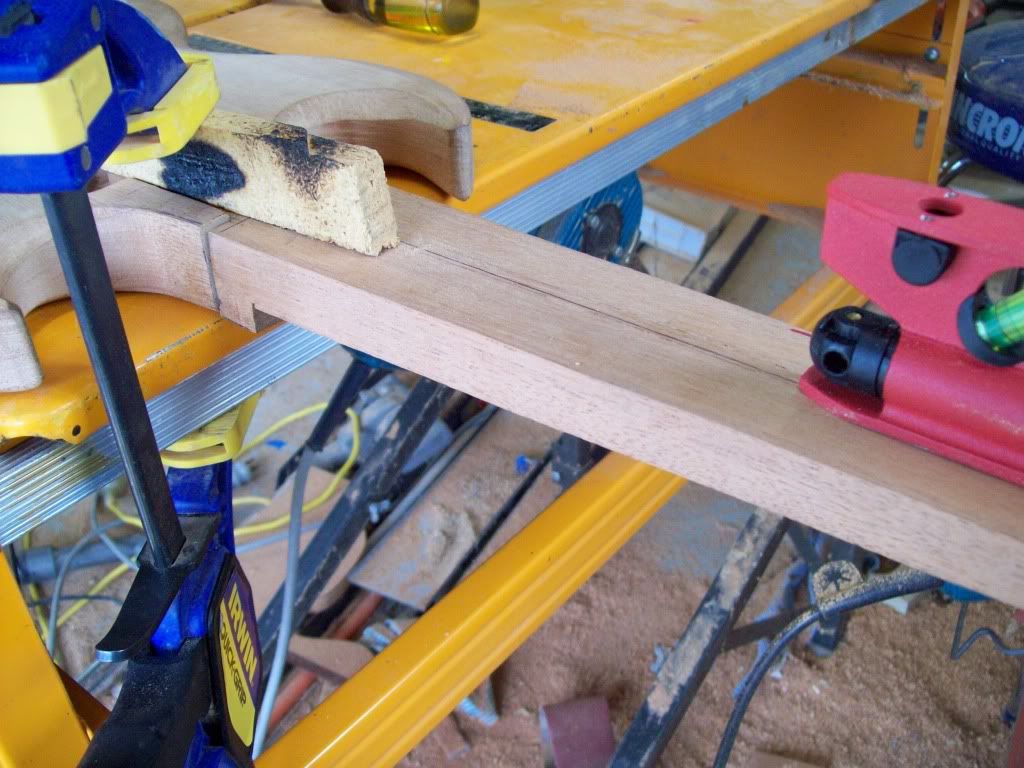
I will be using the 'tangent' technique to shape the neck. I will explain this later, but you need to get everything as close to straight and flat as possible.

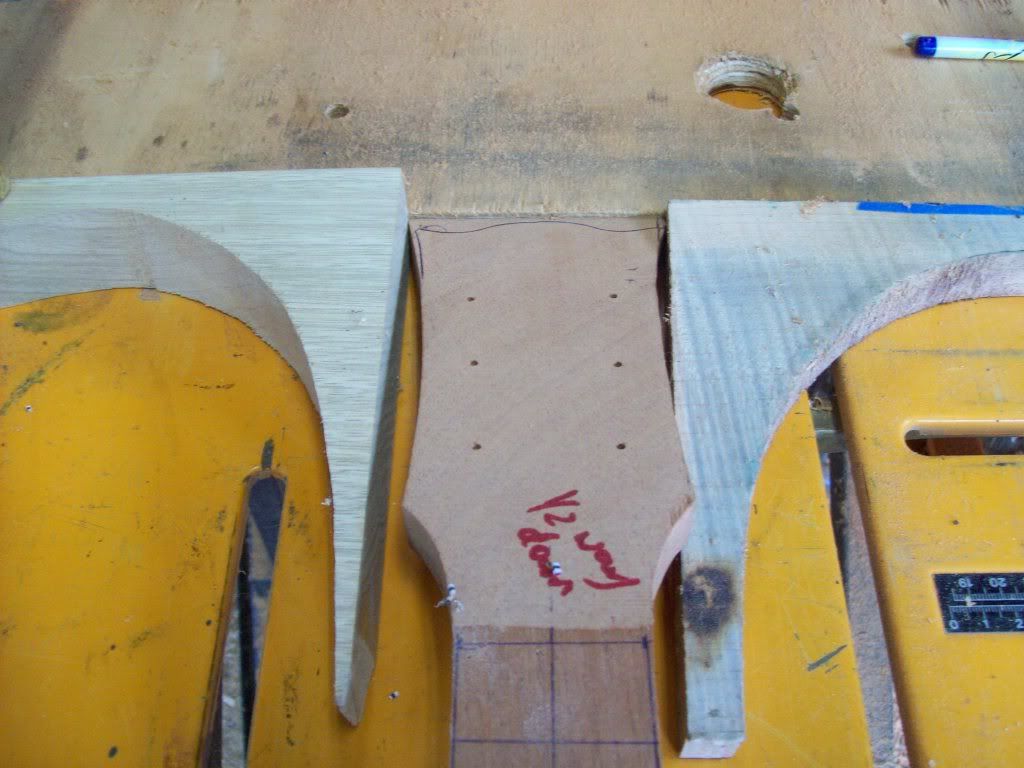
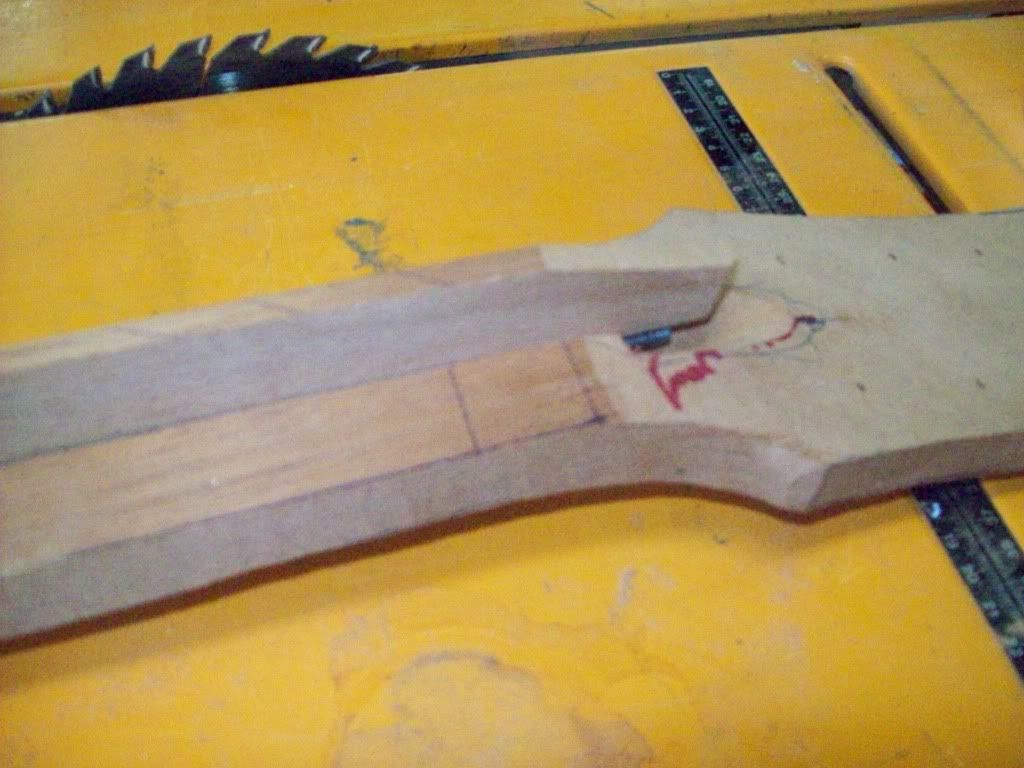
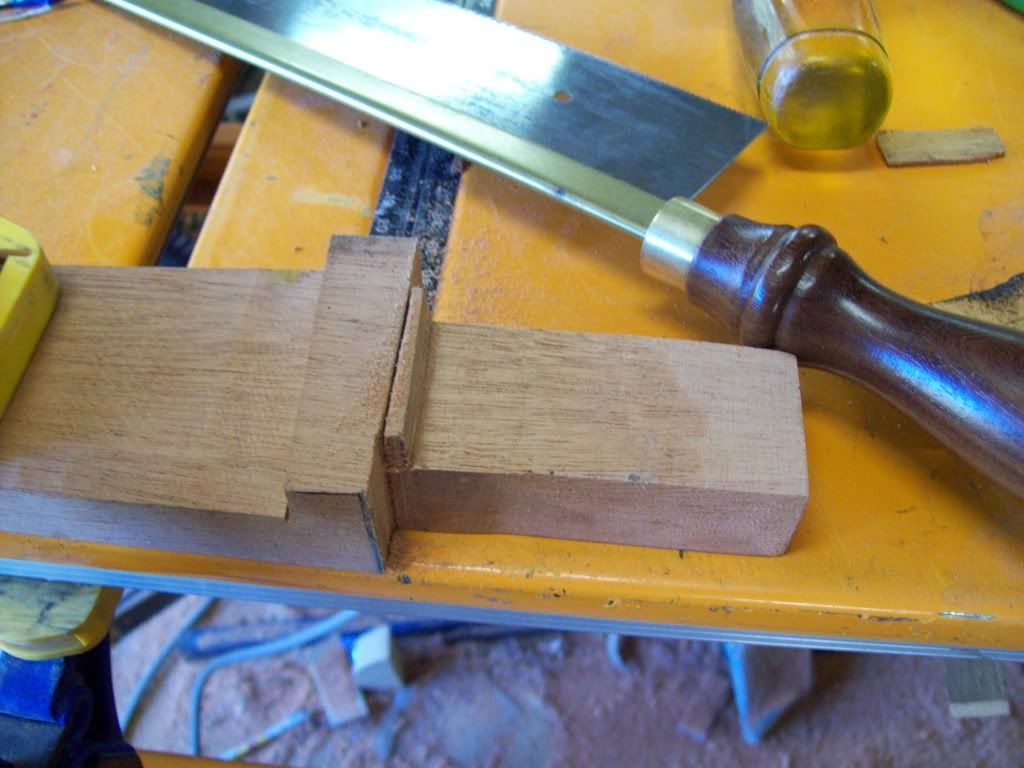
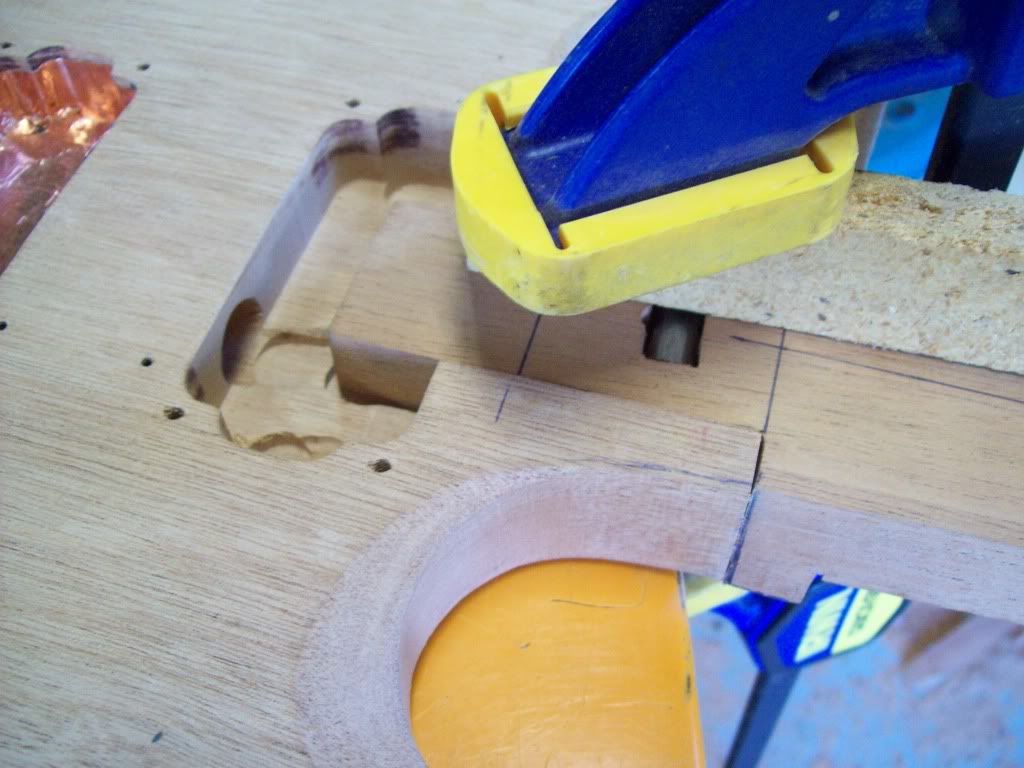
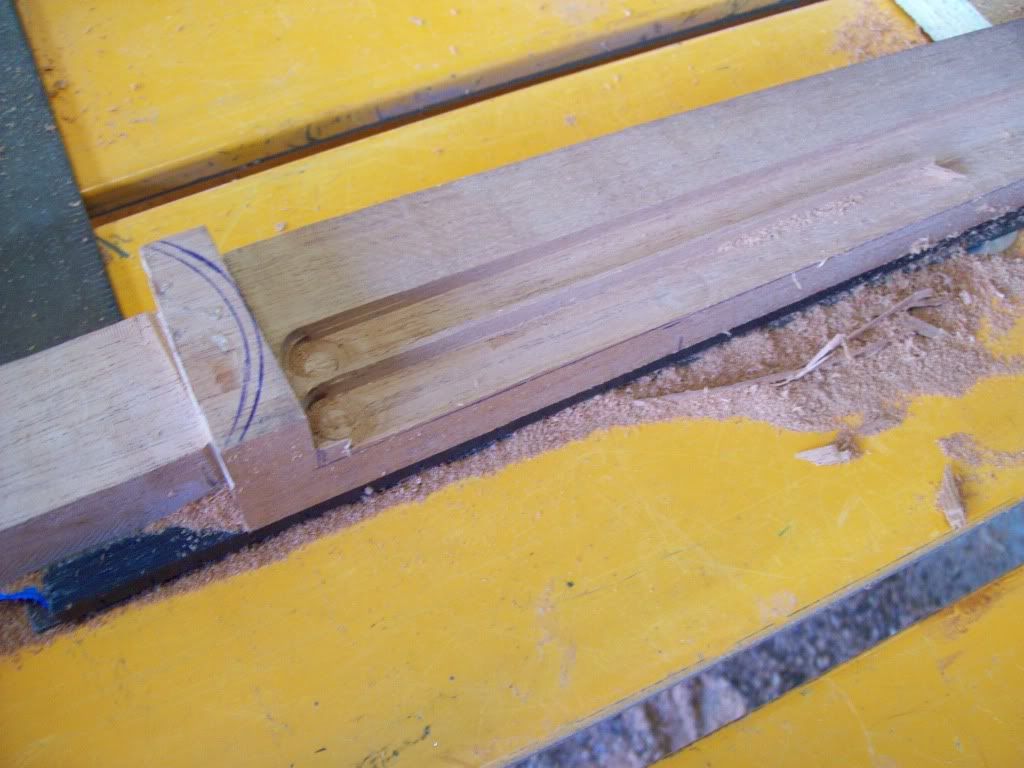
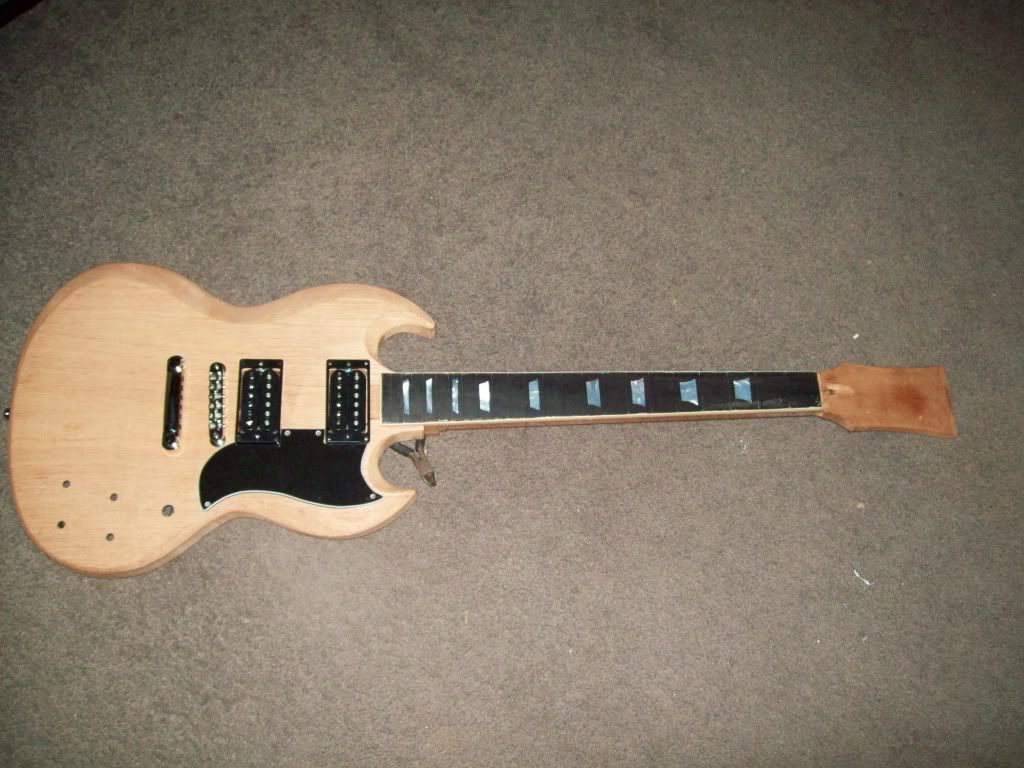
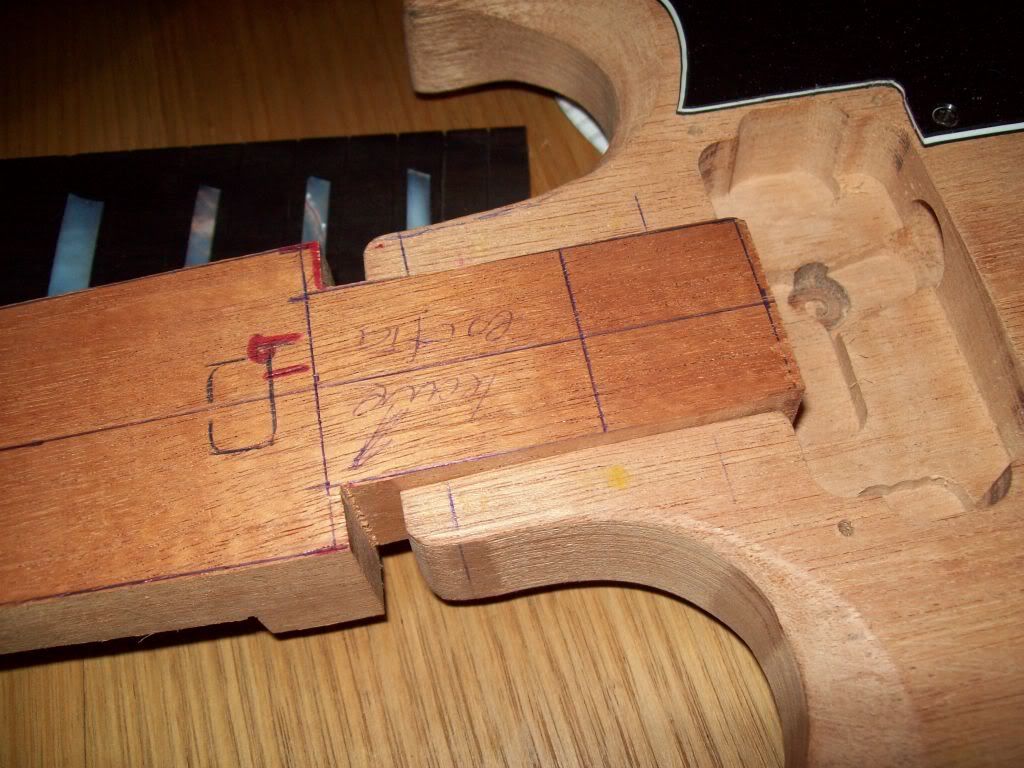
Here's a picture of the neck joint. The line on the body is the 19th fret position. There is a similar line on the neck.

Remember that the body joint needs to slope at 2 degrees, so the body and front edge of the joint must also slope at 2 degrees. Leave enough wood to adjust.

100_1229.jpg
 
Last edited:
Routing in the Truss Rod

I should have routed the truss rod in before I did the sides. You could then use a router with an edge follower to get a straight cut. Less tools needed...

I have a work table that can be used for sawing and routing, so I set it up as an overhead router, set the top of the neck level by lowering one end of the table, and clamped it in:

100_1230.jpg


100_1232.jpg


I then routed the truss rod to the shallowest depth required. After that, I routed a bit deeper from about 1/4 to 3/4 of its length. Then I did a middle bit about a 1/4 of the length a bit deeper.

This will allow me to have a curve in the truss rod where the centre is deeper. I will glue infill above it that pushes the rod down into a 'curve'. The truss rod will then pull the head back as I tighten it to take up the tension of the strings.

I manually cut the stop end with a 4mm wide chisel and cleaned up the steps in the truss rod cavity:

100_1233.jpg


The router pulled the cut slightly off centre. I will either fix it later or leave it as is (the most likely option).
 
Dremelling the Truss Rod Adjustment Slot

The sanding barrels on dremels are the perfect diameter for the truss rod adjustment slot. Get the line, hold it firm and sand straight down. Remember to leave some space at the top before the nut:

100_1234.jpg


Finished:

100_1235.jpg
 
Installing the Truss Rod

I was 2mm deeper in the centre of the truss rod slot than at the ends. I used some cut off and marked the ends and middle and sanded to a slight curve:

100_1237.jpg


Put silicon along the bottom and glued the infill in. Clamped near the centre:

100_1238.jpg


100_1236.jpg
 
Routing the 2 Degree Slope for the Neck

I forgot to take a picture, but I set up my router overhead with the template following bit.

My table is 875mm long and I wanted a 2 degree slope.

Sin 2 degree = opposite divided by hypotenuse.

Opposite (ie the drop) = hypotenuse (table length) * sin(2 degees)

drop is 30.5mm or so.

Set up the table, clamped the router still, and moved the body in and out, lowering the router slowly after each full route, until there was a slight cut furthest in near the midlle of the hymbucker slot. This is the minimum cut to get the 2 degree slope.

So endeth the trig lesson.
 
Sanded Back the Truss Rod Infill

Belt sanded the infill flat.

Now need to square everything up.

That's a job for tomorrow.

100_1244.jpg
 
Adjusting the Neck Joint prior to Gluing the Fretboard on

Before I can glue the fretboard on so that I can trim it back and then start carving the neck, I needed to get the neck to Body Joint perfect (as the Fretboard sits over it).

I set up a laser level (you could use string etc) and used it to first get the neck straight in the body by adjusting the sides of the neck tenon. I checked the laser spot was centred between humbuckers and bridge etc on the body. When set, I good use the body mortise edges to mark where the neck tenon should finish:

100_1245.jpg


I used a fret saw to cut the tenon (and yes the heel is crooked for the moment...):

100_1246.jpg


When that was all OK, the neck needed to go deeper into the body to my alignment mark:

100_1247.jpg


Rather than touch the neck, I belt sanded the end of the body to let the neck in further:

100_1251.jpg


After levelling the neck to body, I could then glue the fretboard on:

100_1252.jpg
 
Squaring the Sides of the Neck

I marked where the fretboard edge should be after applying protective tape. I then put double sided tape along the inside of the line and taped a metal straight edge on. I left it 1mm oversize on each side. Could then route along the straight edge.

Take off a bit at a time. When one router run done, raise the router and follow where you had already cut. The tape came off with the ruler, so I could do the other side with the same tape:

100_1255.jpg


100_1256.jpg


I can then mark the depth of the neck. How to do that later:

100_1257.jpg
 
Routing the Binding, Neck and Head

A one piece neck and head causes problems as the head interferes with the mostly everything as it is wider than the neck and angles off it.

I taped the neck back onto the steel ruler and set up to do the binding with the router table set up with a guide. I could do half of one side (the head end) where the head is above the table:

100_1258.jpg


I then put the adjustable guide back on and could finish the heel end of the same side. This kept the neck stable on the guide during routing:

100_1259.jpg


The other side was a PITA. You want to feed the wood in one direction, where the router bit pulls the wood in towards the guide. This gives the best cut and finish.

I set up two wood straight edges and fed from the heel end. I could have done both sides this way, but my first approach is more accurate:

100_1260.jpg


I set up the table again with a drop on one end and routed along the neck to get the depth. Moved the neck over to do multiple runs:

100_1261.jpg


100_1262.jpg


I then taped the head to a block of wood and routed it to 15mm thick:

100_1263.jpg


WIll now glue the binding on.
 
Attaching the Binding.

My son made these spool clamps a while ago out of rod, dowel and nuts that were in the shop and champagne corks. I used them to clamp on the binding:

100_1264.jpg


All glued:

100_1265.jpg


I used a pointy tool similar to a dentist's pick to clean glue out of the frets before the glue had totally set.

Will now mark up the facets on the neck prior to shaping it.
 
Tangent Facet Markup

Using a full size cross section of the neck profile from the plan, I marked a tangent on each where each side of the tangent line looked equal. These resulted in section DD's tangent being 11mm up from the bottom and 14 mm in.

Section EE's tangent was 12mm up from the bottom and 15mm in.

Section DD is 2/3 of the way to the first fret and Section EE is the 12th fret.

Marked these on the neck and connected with a ruler. I will use a spoke shave to take off the excess.

100_1266.jpg


100_1267.jpg


That's all for the weekend!

Garry
 
Last edited:
Redoing the Binding

When I looked at my last pic, I noticed the binding stuck out a bit in one spot. I will be redoing it. Run out of acrylic glue (weld-on 16 is recommended, so will visit a sign manufacturer to get some.

Not a big problem.
 
man i love watching your threads..Id love a decent SG

Thanks for the feedback!

I hope it will be a decent guitar. I used wood from North Ridge Hardwoods (NRH) in the US at a cost of $374US. Pickups were about $350US. All up I can see no change from about $1000US.

My son is making a guitar based on Karina and bookmatched quilted maple when he gets further along. I bought the maple from NRH reserve stock for his birthday a while ago. Will be beautiful. Sneek peek:

Wood.jpg
 
Wow, so much precision, planning, and patience goes into a project like this... AWESOME job thus far. Can't wait to see your final result. :P
 
Redid the Binding

Got some Weld-on 16 and redid the binding. Cleaned the fret slots out before the glue set:

100_1268.jpg


100_1269.jpg


Mock up after cutting humbucker on tenon:

100_1270.jpg
 
Last edited:
Rebating the Electronics Cavity

I routed a rebate with a router bit. Test fit with cover material to work out the correct depth. Will now make up a template to shape the cover:

100_1271.jpg
 
Shaving the Neck Facets

I used a spoke shave to get most of the first 2 facets done. You can work both directions, but must finish both ends by chisel (or a fancier spoke shave that can do tight corners). Leave enough at both ends to allow you to work out the transitions to the head and heel:

100_1272.jpg
 
Shaping the Neck

I chiselled closer to the heel and head. Work away from both so you do not split the wood. Then ran the spoke shave along the 4 tangents now created to take them down a bit.

Then folded 150 grit sandpaper in half and sanded the shape. Check with a straight edge and be careful on the binding. Push the head into your stomach to stabilise it:

100_1275.jpg


All sanded, ready to finish sand and also ready to finish the transitions at the heel and the head:

100_1276.jpg
 
Last edited:
Back
Top