Making a Gibson SG Clone

  • Thread starter Thread starter Neve1073lover
  • Start date Start date
Cutting out the body and Marking up the Neck/Head

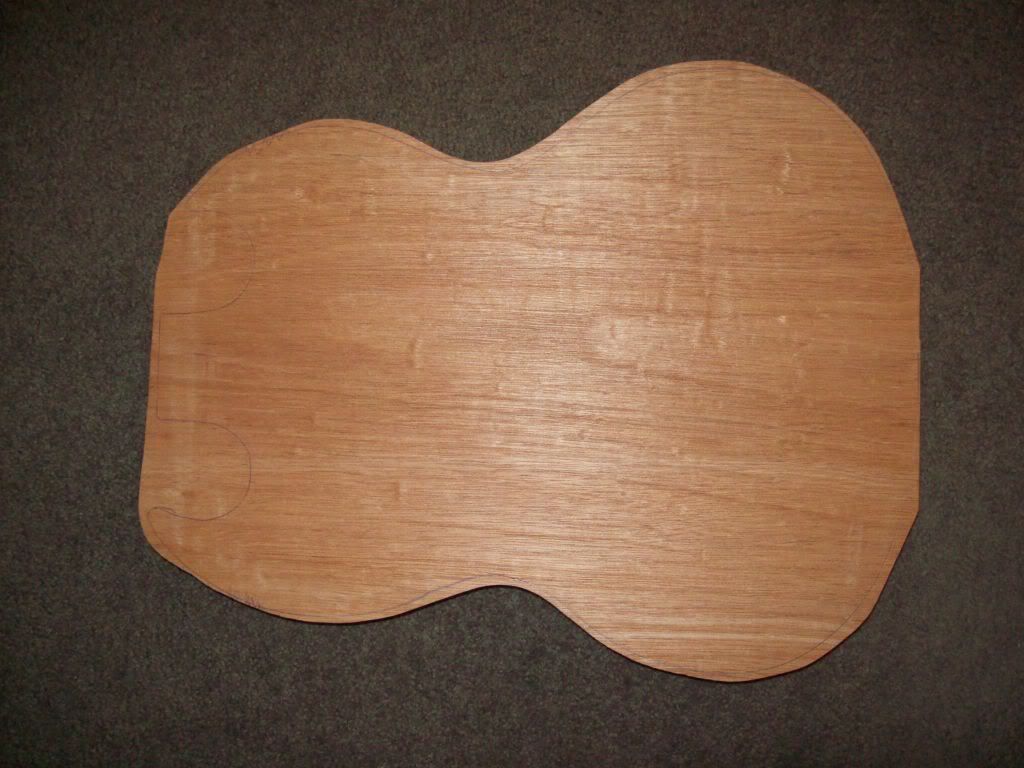
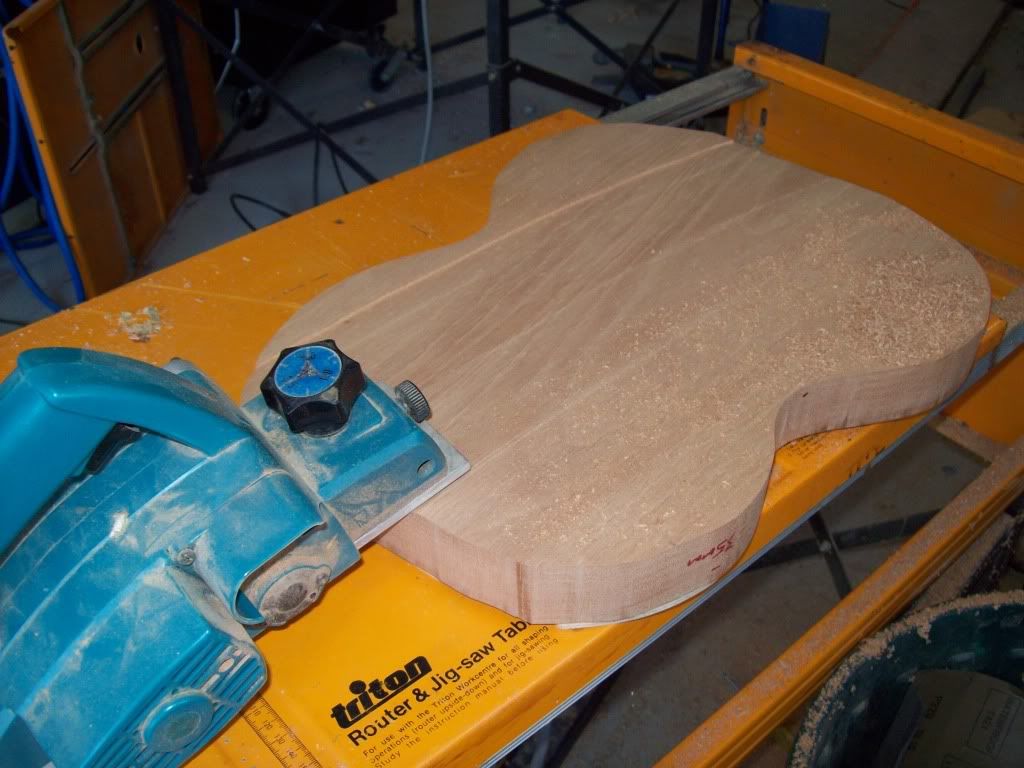
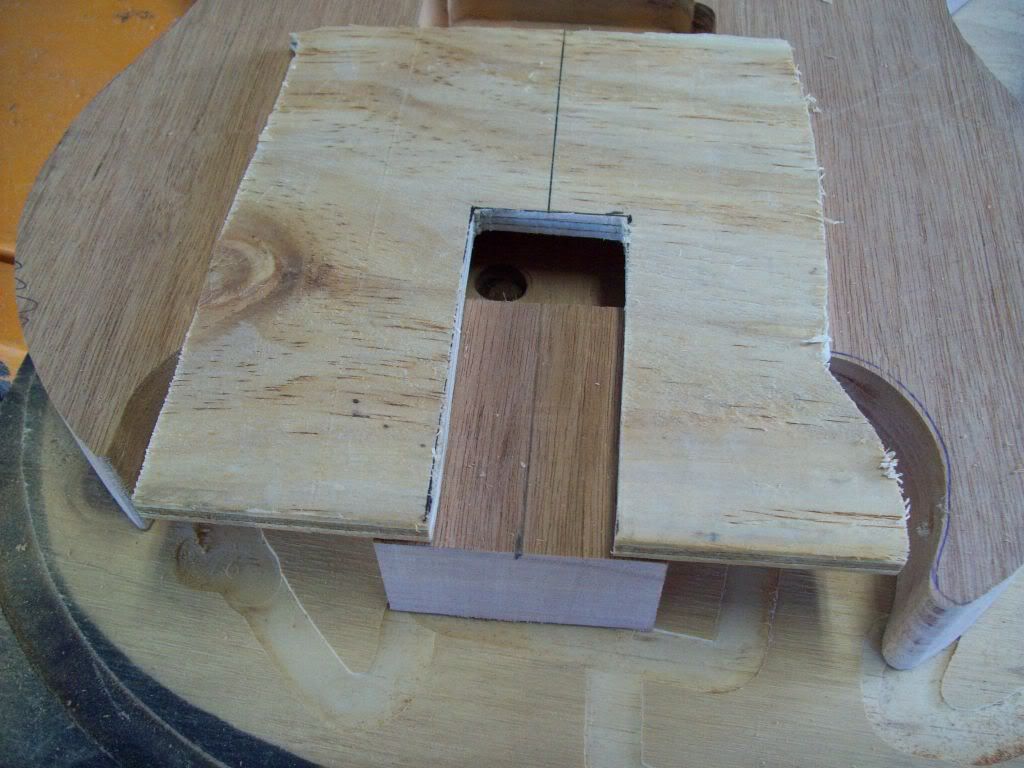
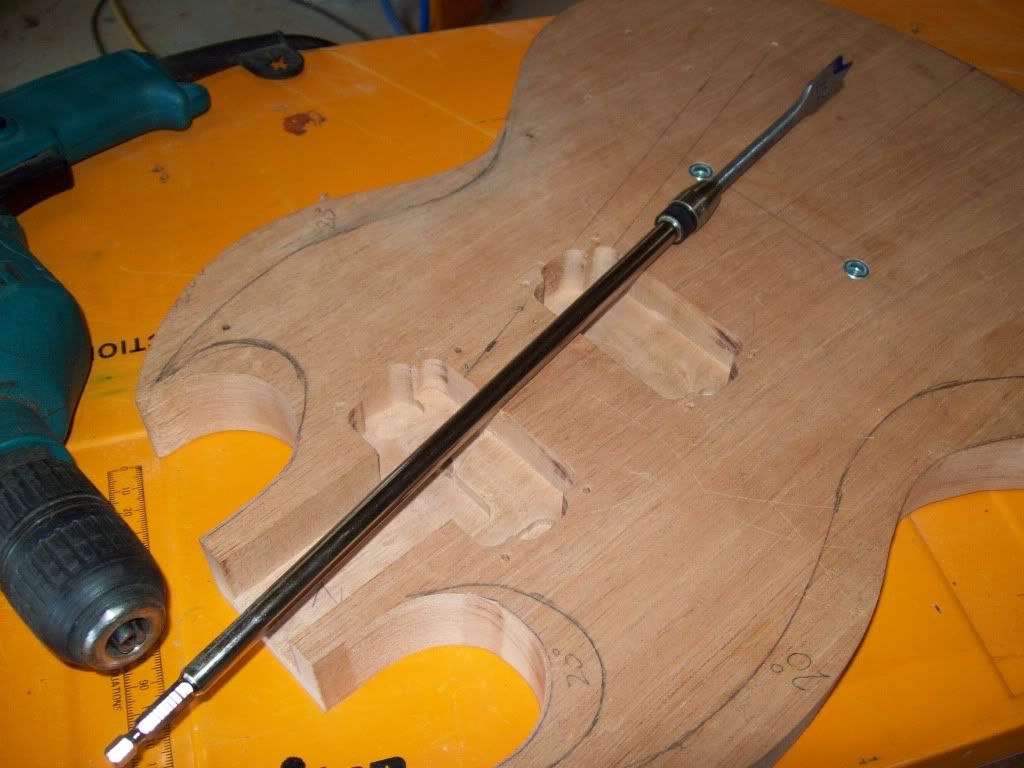
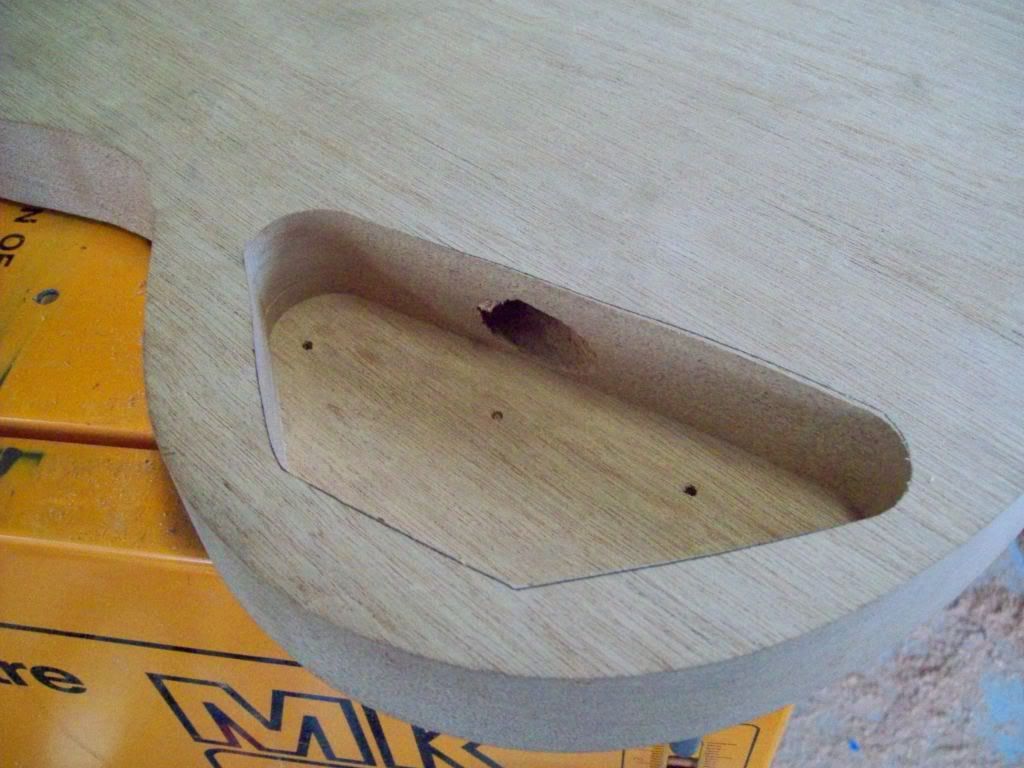
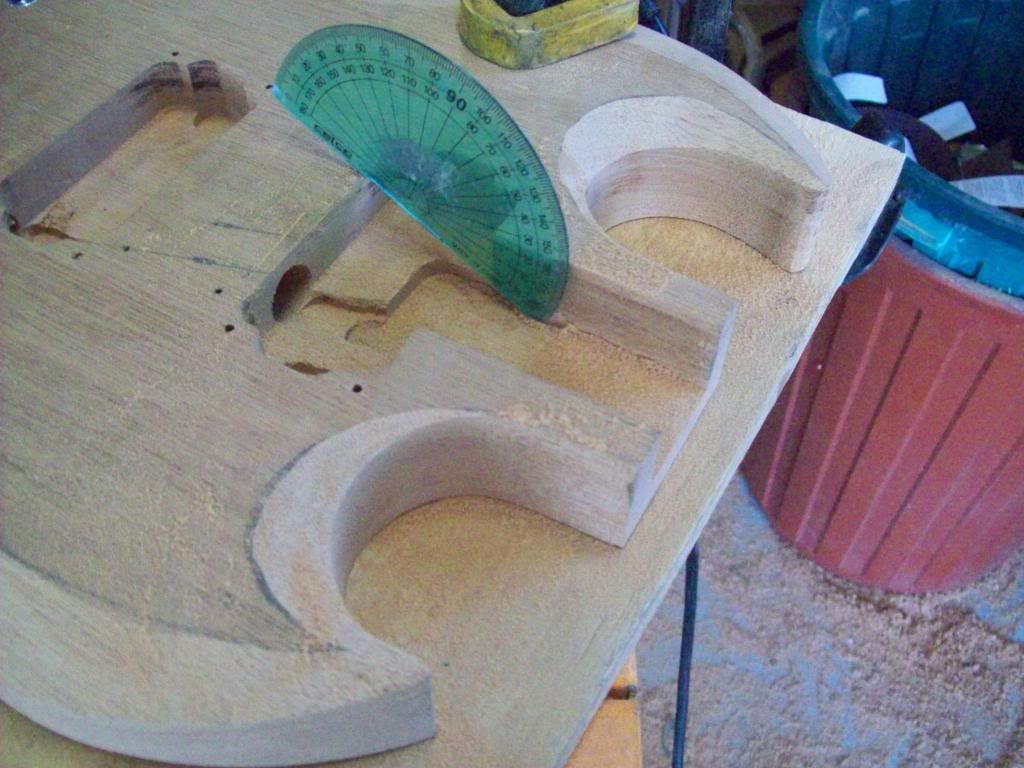
By careful cutting, I can get multiple heads out of the body scrap. So I cut out the body (oversize) with a jigsaw prior to having it sanded to 35mm depth:

100_1188.jpg


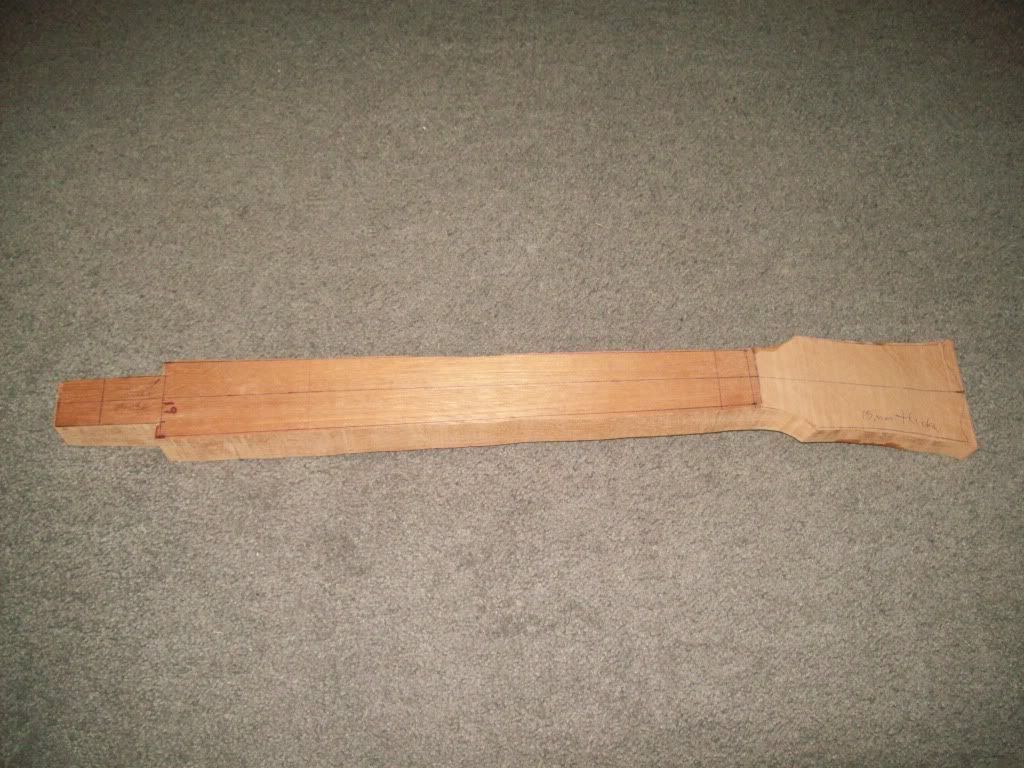
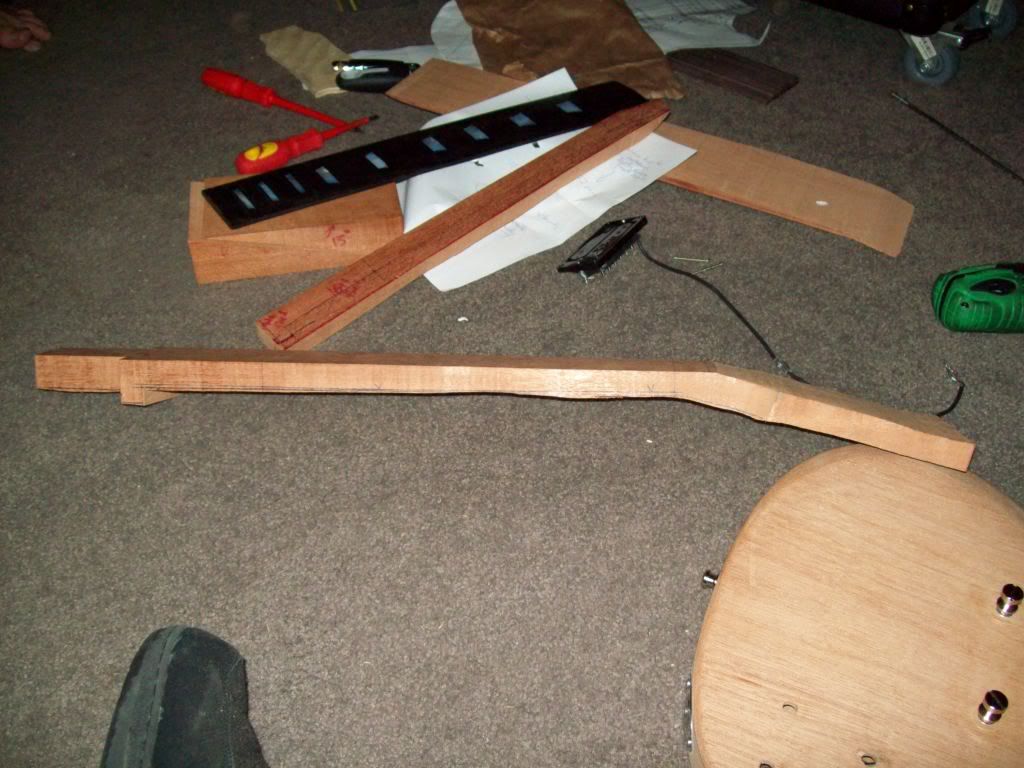
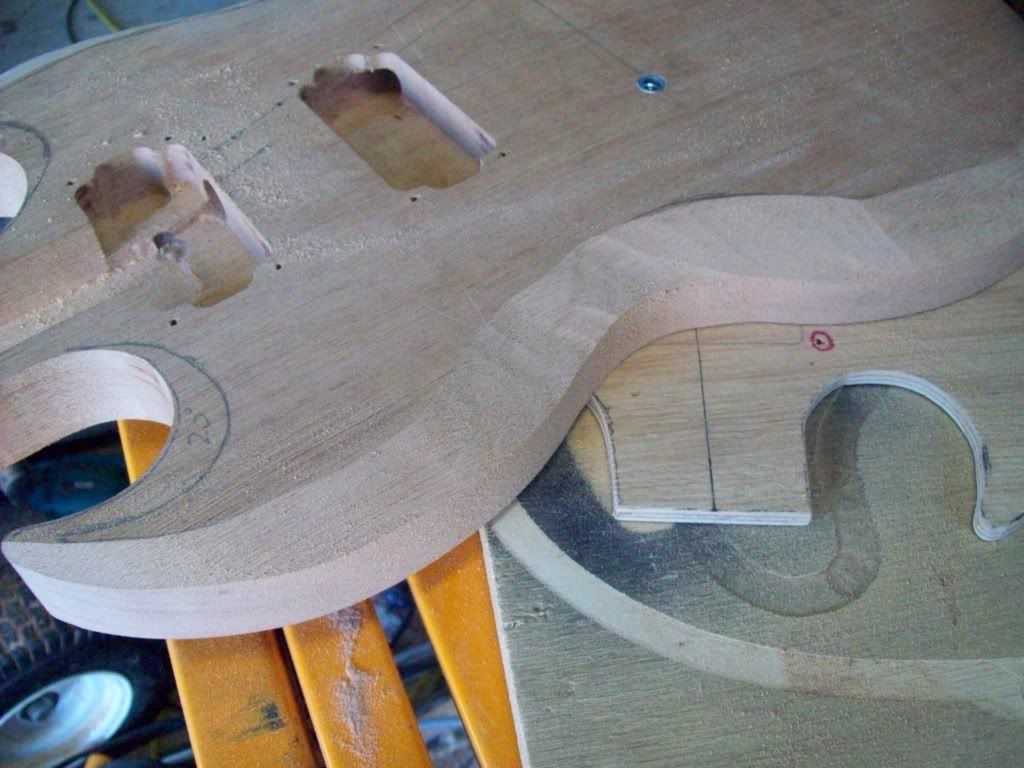
I was hoping to get two full neck/heads out of my wood, but I am just too short. I will at least get a neck/head and a spare neck:

100_1189.jpg


I will take all out to a place called "Thor's" in Canberra to get the body fine sanded to thickness on Sat and see if they can bandsaw the neck/head for me. Cost me $12 AUS last time and well worth the price.
 
Shaping and Routing the Body

Decided to plane the body down to depth:

100_1193.jpg


Close of of Router Template Follower:

100_1194.jpg


You take several cuts to shape the body. AFter the first cut, the router follows the body as you go deeper:

100_1195.jpg


Stewmack humbucker tempate with double sided tape. Align by using the humbucker mount holes:

100_1197.jpg


Using Barrel Sanders to finish the cutouts:

100_1198.jpg


Electronics cavity template. Round the corners with the barrel sander. Drilling right through shows you where it needs to go:

100_1200.jpg


I took it down to 5mm thickness:

100_1201.jpg


More to come....
 
Last edited:
Routing the Body for the Neck Insertion

Template:

100_1202.jpg


I left 10mm at the bottom so I can do the 2 degree neck angle later:

100_1203.jpg


Now to sanding the edge angles.
 
Bridge Mounts and Marked for Body Drilling

Drilled and inserted the bridge mount posts:

100_1204.jpg


Routed a slot at the bottom of the humbucker cavities to allow for the drilling of the wiring holes. want to get the hole in the 'middle' of the bodyYou drill from the neck in, and need a long drill. I will try and get a long spade bit tomorrow:

100_1205.jpg
 
Hole Drilling and Belt Sanding

Mocked up. Looking good....

100_1206.jpg


Bought a spade bit and an extension this morning to drill the electronics wiring hole. I used a spirit level to keep it level as I drilled:

100_1209.jpg


Drilling. The bit needs to be larger than the extension's attachment point:

100_1210.jpg


End of hole:

100_1211.jpg


I own a tilting mill table, so I set it to 70 degrees and clamped the belt sander onto it so its base was at 20 degrees:

100_1212.jpg


Roughed in:

100_1213.jpg


Used a drill and barrel sander and used a protractor to indicate the angle for the cutouts:

100_1214.jpg


Body is ready to fine sand. That's all for this weekend.

Garry
 
Mock Up 2

I moved the output jack to the edge rather than put it on the front as I think it looks cluttered with it on the front. I might 'inlay' it.

Knobs are not aligned in the pic as they are not on the pots yet:

100_1216.jpg
 
Really nice work so far, very clean. Since you're moving the jack to the side, have you considered one of these?
 
Really nice work so far, very clean. Since you're moving the jack to the side, have you considered one of these?

I looked at those when I was buying nearly everything off Stewmac.

I already had a nice plate and I like the look with the plate.
 
Beautiful work, Neve!

This is probably stupid, but has anyone made a Mel Gibson SG? :confused:
 
Damn, Nice work.

I wish I knew how to do that.:(

That's why I am showing you....:rolleyes::rolleyes:

Think it through and have a go. That is how I learn to do things.

(Also the right tool helps).

Garry
 
Excellent work! This is quite edifying (and challenging) to follow along with. Thanks for sharing!
 
Problem with the Schematic...

Just started marking where the bridge should go. Put a small drill mark in and hit the larger wiring hole underneath. I suggest you try and get the tunnel as far as you can away from the bridge. Do not follow the schematic at the start of this thread.

Lesson learnt....

I will mill the hole accurately and put the bridge bushing in so it hits a 'flat' bottom to fix.

Pics to follow.
 
I moved the output jack to the edge rather than put it on the front as I think it looks cluttered with it on the front. I might 'inlay' it.
I always wondered why they put them on the face of the SG yet the EB3 has it's in about the same place you put yours.
 
I always wondered why they put them on the face of the SG yet the EB3 has it's in about the same place you put yours.

There is a rebuild report on the gibson site that has an early SG that looks really rounded. Might be why the output jacks are on the face.

Anyway, decided I would drill the bridge mount holes and all looks good. The 2cm long by 1cm diameter bushings fitted perfectly and hit the bottom of the electronic hole nicely:

100_1217.jpg


BTW, I measured up my son's Les Paul Studio to ensure that the plan is accurate. It is, except I would not tunnel under the bridge mount bushing if I had a second chance.

I will get the neck wood cut tomorrow on a friend's bandsaw so I will be right to go on the weekend.
 
Nice save. If you were to put the electronics tunnel further down, would that change the location of the jack (did you just drill straight through from the side)? Or would you advocate drilling a smaller-diameter hole at a slight angle from the back control cavity? I like your approach better than routing a cavity on the front, so you can run it without the pickguard if you want to.
 
Just throwin in props where props is due...
Nice work boss! :drunk:
 
Nice save. If you were to put the electronics tunnel further down, would that change the location of the jack (did you just drill straight through from the side)? Or would you advocate drilling a smaller-diameter hole at a slight angle from the back control cavity? I like your approach better than routing a cavity on the front, so you can run it without the pickguard if you want to.

I went in at 90 degrees where I wanted the jack.

It is not my idea to not route a cavity on the front. I think all Sgs are like I have done.

Thanks all for the feedback!

Got the neck/heads bandsawn today. Got two full head/necks after careful measurement:

100_1218.jpg
 
Neck and Head Roughed In

I marked it all up and jigsawed oversize:

100_1221.jpg


Then did the bottom of the neck. The 'bump' will become the heel on the neck:

100_1222.jpg
 
Last edited:
Back
Top