Making a Gibson SG Clone

  • Thread starter Thread starter Neve1073lover
  • Start date Start date
Shaping the Electronics Cavity Cover

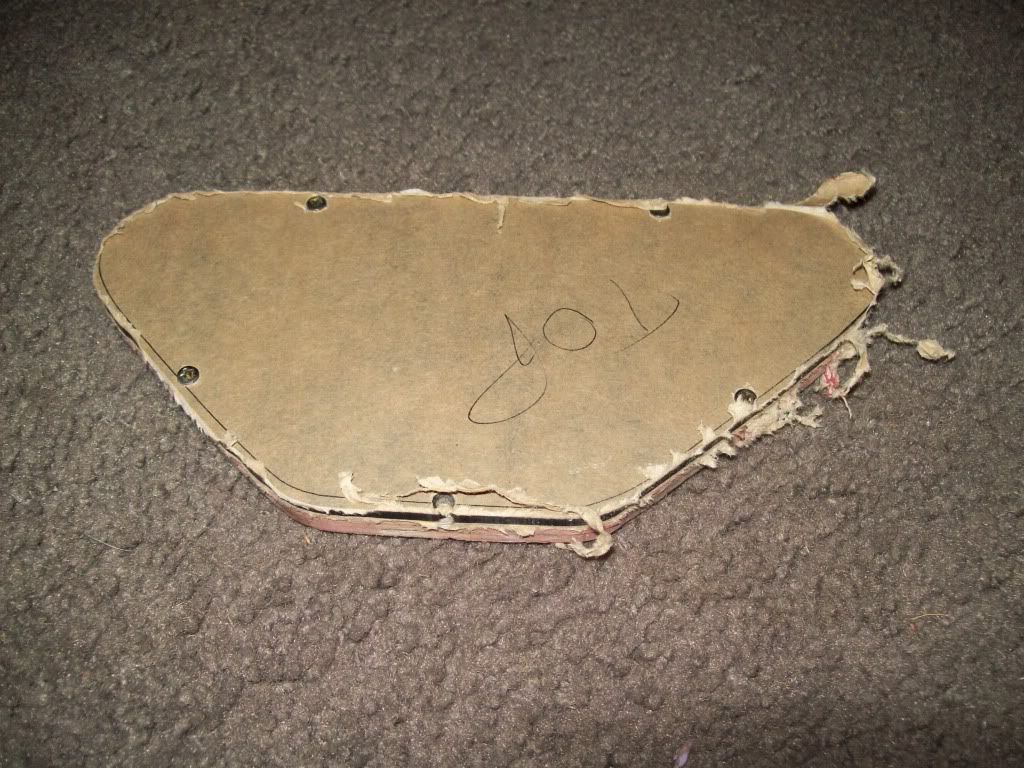
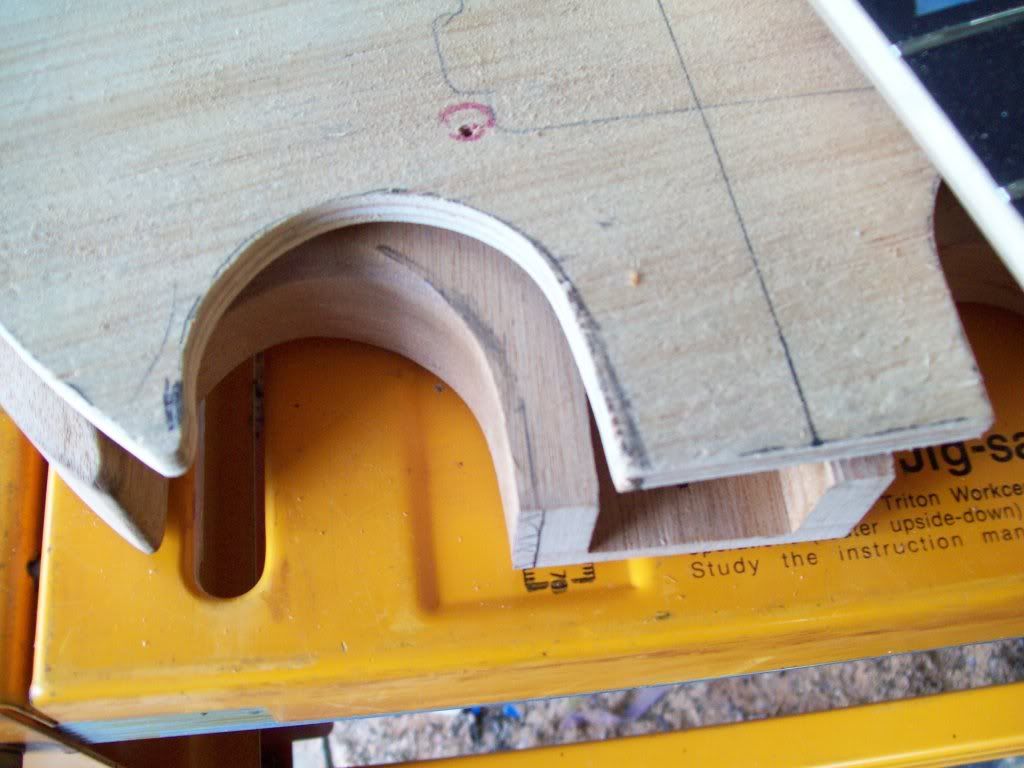
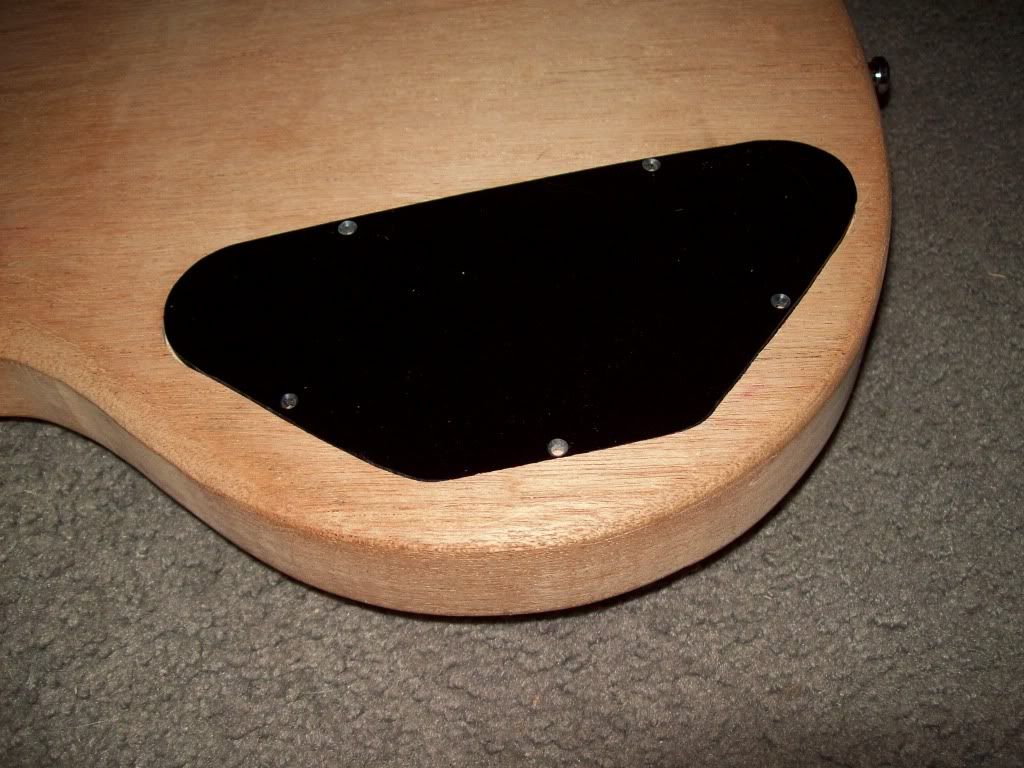
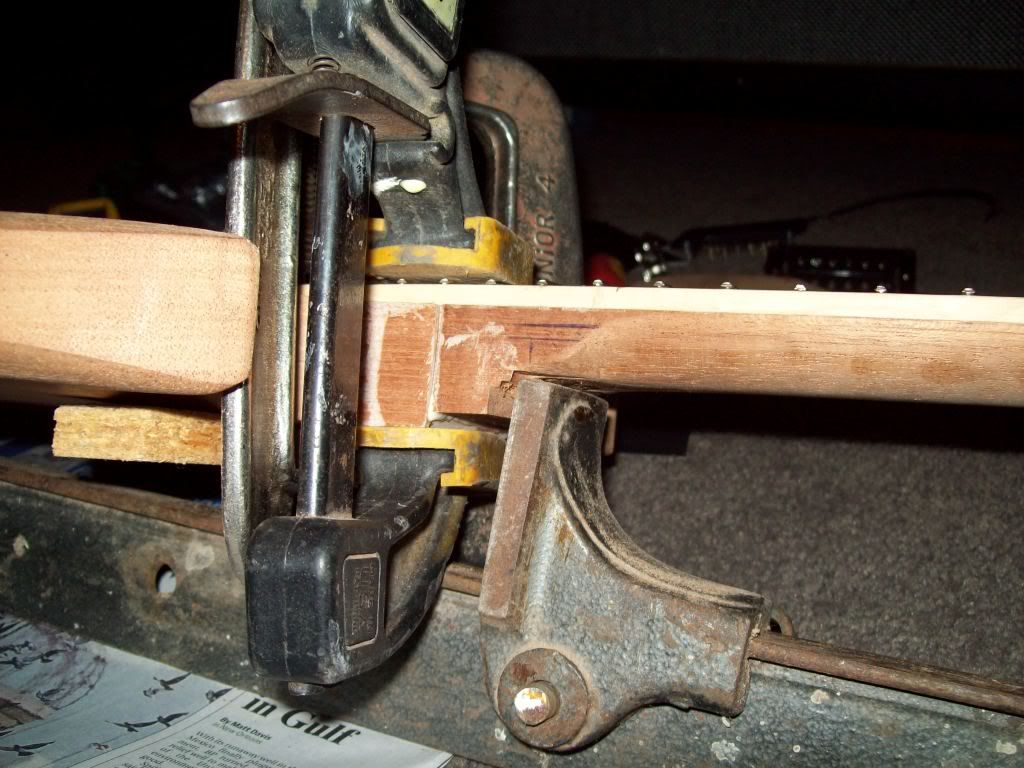
I used paper to make a pattern for the electronics cavity and then made a wood template that had a good fit. There were some slight gaps which I marked on the wood template and built up with wood filler. Sanded back and routed out the cover (same as for the pickguard).

Came out slightly oversize, which means I can sand it back and get a tight fit:

100_1277.jpg


100_1278.jpg
 
I used a spoke shave to get most of the first 2 facets done. You can work both directions, but must finish both ends by chisel (or a fancier spoke shave that can do tight corners). Leave enough at both ends to allow you to work out the transitions to the head and heel:

100_1272.jpg

Nicely done. Just a few tips for next time and maybe for when you blend into the headstock and heel.

Get a few decent rasps and and some good Japanese knives. A spokeshave is for final shaping and finishing. I hardly ever use them these days and finish with rasps and scrapers.
 
Nicely done. Just a few tips for next time and maybe for when you blend into the headstock and heel.

Get a few decent rasps and and some good Japanese knives. A spokeshave is for final shaping and finishing. I hardly ever use them these days and finish with rasps and scrapers.

I will be using rasps and files for blending. Spoke shave is veryt fast and easy, if it is sharp.
 
Fretting

For fast and easy I use a belt sander.

I use a belt sander for nearly everything! LOL.

Anyway, I finished the fretboard sanding, filled some spots around the inlays with black superglue, and started trimming the frets. I used the fret nipper to take off the barb at each end and used a triangular file to finish them:

100_1280.jpg


Bent the frets slightly and pressed them in:

100_1282.jpg


100_1281.jpg


I want to get the neck onto the body this weekend....

Adjusted the template to make a better transition at the mortise and tenon joint. Then routed the body to suit:

100_1283.jpg


I have sanded the head front and back and ready to fit the neck onto the body.
 
Checking the Action and Adjusting the Neck Angle

Before I glued up I checked the action with cotton and it was way too high.

I chiseled the body angle more and kept checking at the 22nd fret with the bridge at the lowest. Not sure what the angle is but probably closer to 5 degrees than 2 degrees.

Then belt sanded the front of the mortise and the top of the mortise before gluing up.

Pics to follow when my camera comes back with my son from the snow...

Pics were useless as you could not see the cotton. Pivc of neck angle:

100_1287.jpg
 
Last edited:
Cramping Neck to Body

I set up two G cramps so I could get a laser line between them and aligned the neck to the body. Then put a larger cramp to pull the neck into the body and another over the frets. Leave the the heel flat and oversize to allow this:

100_1284.jpg


100_1285.jpg
 
I will be using rasps and files for blending. Spoke shave is veryt fast and easy, if it is sharp.

I'm not doing you down fella, I'm trying to help. You can use a spoke shave all you like if it works for you thats fine. I'm just telling you what works faster and ways that may make the process a bit easier to predict.

Most do it like this.

Have a template of the neck profile at the first and twelfth fret (or the nearest fret before the heel starts to shape). Take a rasp and cut the neck profile at those two points. Get it as close as you can with just a little for cleaning up the teeth marks. Next blend in the heel and headstock with a fine rasp. Then remove the remaining timber between the first and twelfth fret that you have cut to the finished profile. You then use the spokeshave set to a very fine cut to remove the teeth marks and finish of with a sharp cabinet scraper.

All tools should be sharp. If they are not they lead to mistakes and even worse accidents.;)

Here is the result of about two days work from start to finish. I'll butt out now good luck with the rest of the project. I hope it plays as good as it looks.
 

Attachments

  • neck.webp
    neck.webp
    57 KB · Views: 960
  • neck2.webp
    neck2.webp
    32.5 KB · Views: 1,006
I'm not doing you down fella, I'm trying to help. You can use a spoke shave all you like if it works for you thats fine. I'm just telling you what works faster and ways that may make the process a bit easier to predict.

Most do it like this.

Have a template of the neck profile at the first and twelfth fret (or the nearest fret before the heel starts to shape). Take a rasp and cut the neck profile at those two points. Get it as close as you can with just a little for cleaning up the teeth marks. Next blend in the heel and headstock with a fine rasp. Then remove the remaining timber between the first and twelfth fret that you have cut to the finished profile. You then use the spokeshave set to a very fine cut to remove the teeth marks and finish of with a sharp cabinet scraper.

All tools should be sharp. If they are not they lead to mistakes and even worse accidents.;)

Here is the result of about two days work from start to finish. I'll butt out now good luck with the rest of the project. I hope it plays as good as it looks.

I did not take any offence at your comments. I have been told the same approach by cabinet makers, but I like to do my own thing.

Your work is excellent BTW.
 
Filing the Frets

I covered up the fretbaord and used Stewmac's fret protectors when I filed the ends of the frets. I bend one in half and it protects the fretboard and binding. Also put dots on the binding:

100_1288.jpg


Then used a straight edge to rock between three frets and filed down high spots. I tested in at least three spots on the fret (top, middle and bottom):

100_1289.jpg


Wanted aged bone and could not get any. Used hot tea for about 10 minutes. Left is bone in original colour, middle is 'tea stained' bone and right is aged from Stewmac:

100_1290.jpg
 
Last edited:
This is fucking insane. I couldn't even begin to do this. :laughings:

The SG is my favorite guitar ever, and yours is gonna be awesome.
 
Slight Setback

Stupidly took a gouge out of the binding and VERY UNHAPPY....

Pulled the frets and routed off the bindings on both sides. They actually came off very nicely so I did not take any wood.

Pulling the frets caused chipping, so I will be sanding the fretboard down. This will cause me to sand the inlays too thin so that the outside edges disappear. May get Gibson 'custom' squares instead now.

Anyway, about to order more inlays. If the chips cannot be fixed reasonably with minimal filling, then I will plane the fretboard off and replace it with rosewood that I have laying around.

Anyway, I can blend all the joints and should get the new inlays before next weekend.

So moral of the story is cover everything up.
 
This looks great - pity about the hiccoughs but that's where the learning happens.
My 1st bass was an EB copy so I have a soft post for the SG shape.
You need something to do if you live in Canberra in the winter (or summer for that matter).
 
This looks great - pity about the hiccoughs but that's where the learning happens.
My 1st bass was an EB copy so I have a soft post for the SG shape.
You need something to do if you live in Canberra in the winter (or summer for that matter).

Thanks for the comments. I will get replacement bits probably on Thurs. Ordered more ebony as I want to make it work. Will do everything else and then plane the old fretboard off. Also ordered black veneer for the head to make sure that the stain does not bleed.

Anyway, I learn by making mistakes.

Glad to see you know Canberra...
 
Here is the result of about two days work from start to finish. I'll butt out now good luck with the rest of the project. I hope it plays as good as it looks.

attachment.php


attachment.php

Man, what little of your stuff I've seen looks more like a work of art than something as ho-hum as an awesome guitar, Muttley. If I ever find myself in the market for a really nice acoustic with a wad of cash to burn, you're definitely on the short list of guys I'll want to talk to.
 
I've been following this thread for some time now, great work! You've put many hours into making this guitar, and i'm glad you're sharing the progress with the rest of us. Looking forward to the finished project!

I'm building an SG to actually, allthough i get the parts made by Warmoth, so it's more like assembly and fine tuning. Great guitar anyways! :)
 
Back
Top