It certainly does sound familiar, doesn't it? Just call me "Switchkilla."
")
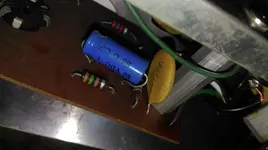
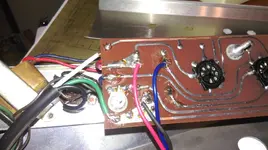
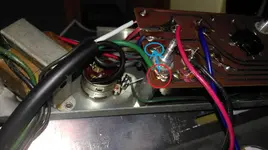
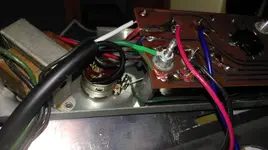
I don't know if the switch is fried or not. The mechanism didn't break (like it did on my Champ). In other words, it still "clicks" both ways.
I just did a quick continuity test, and with the switch clicked in the "on" position (the amp is unplugged from the wall), I'm not getting any continuity between the terminals.
When I perform the same test on my Champ (again, unplugged), I do get continuity. I'm guessing this means the switch is indeed toast?
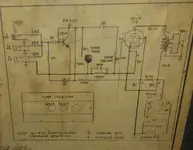
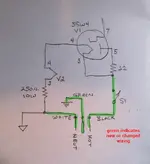
Regarding your suggestion for the mod, I'm very interested in that. However, I'm wondering what your opinion on adding an isolation transformer is. I've heard lots of people say that adding a 3-prong is a good start, but in order to be entirely safe, you need an isolation transformer.
As I mentioned earlier in a response to Einstein Magoo, I don't understand why this is because, if 3-prong plugs and outlets are standardized now, and I've added a 3-prong cord to the amp, how could it still be unsafe?
Thanks!
")