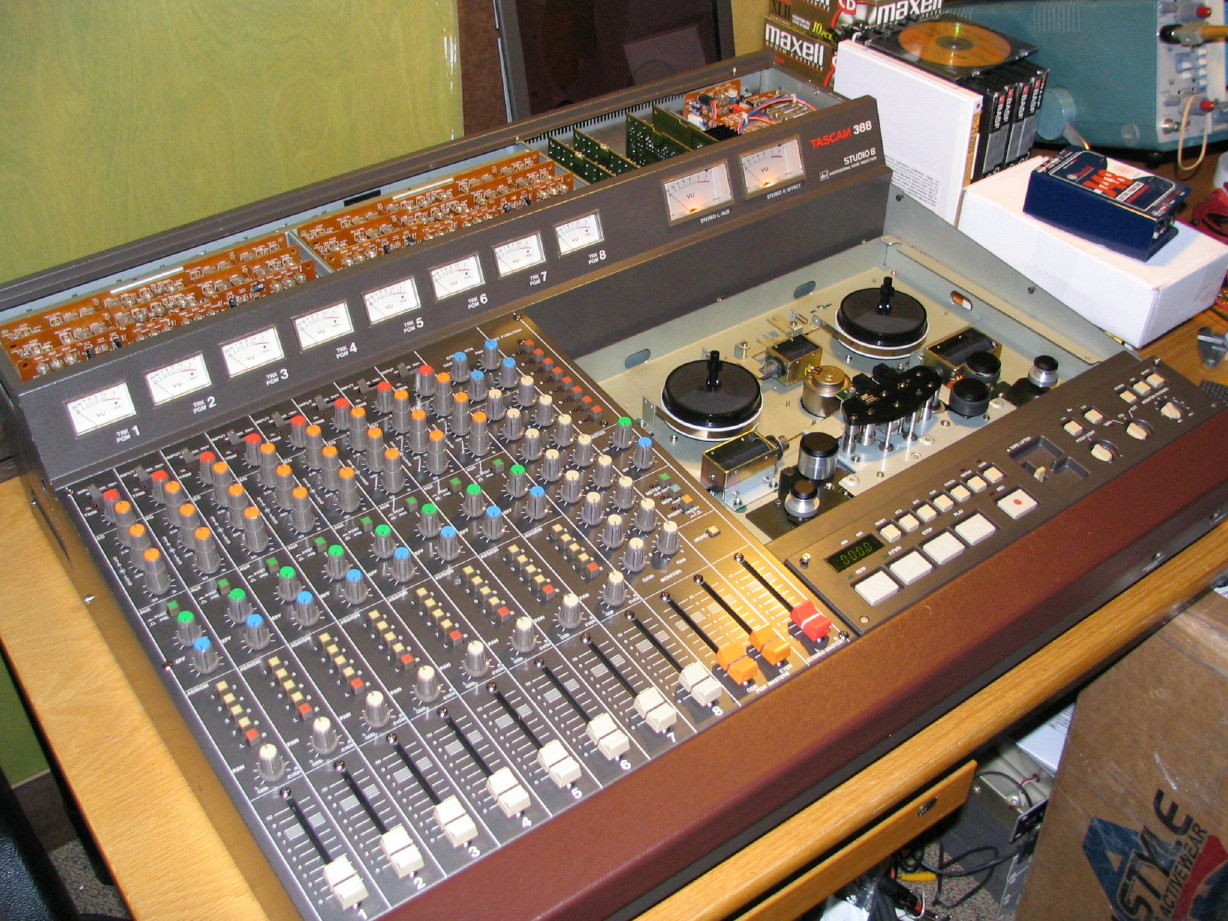
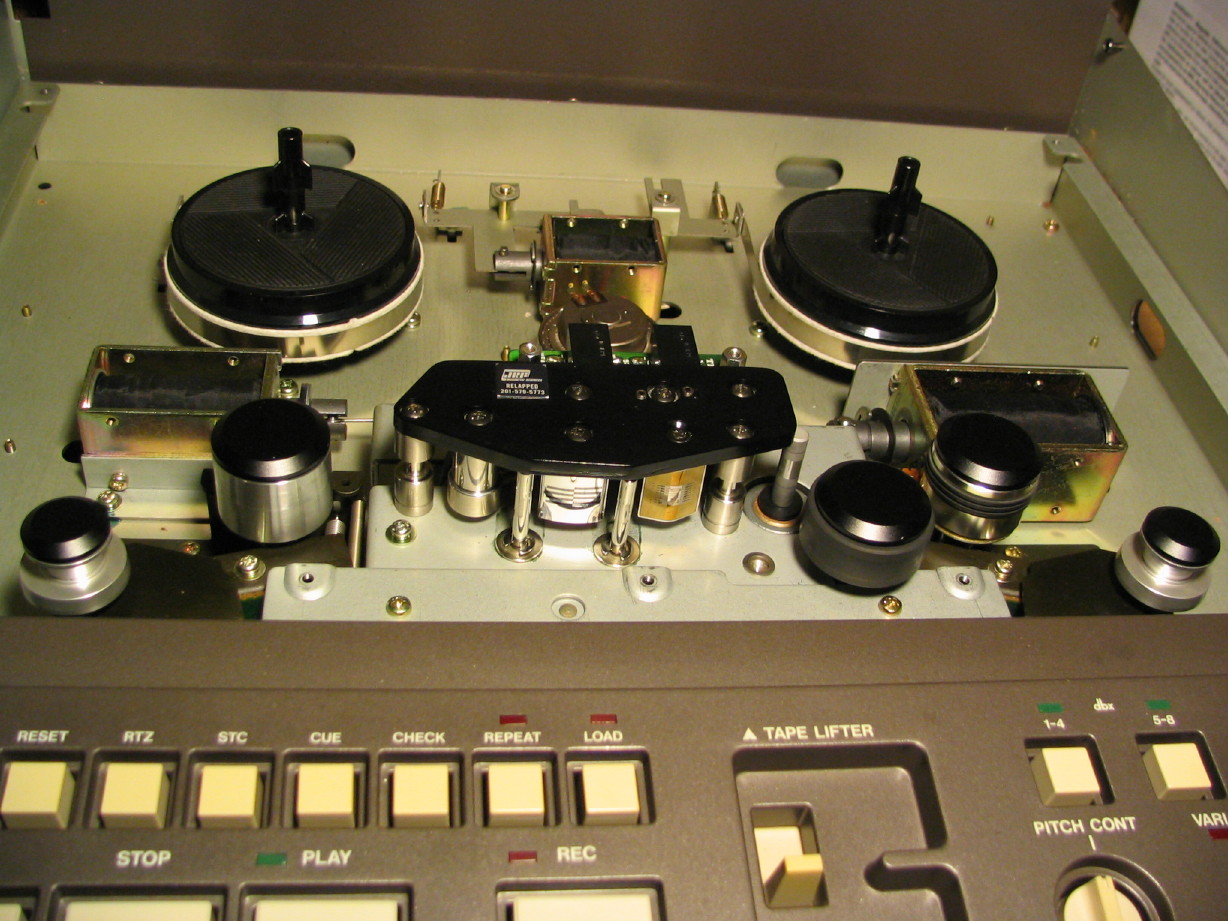
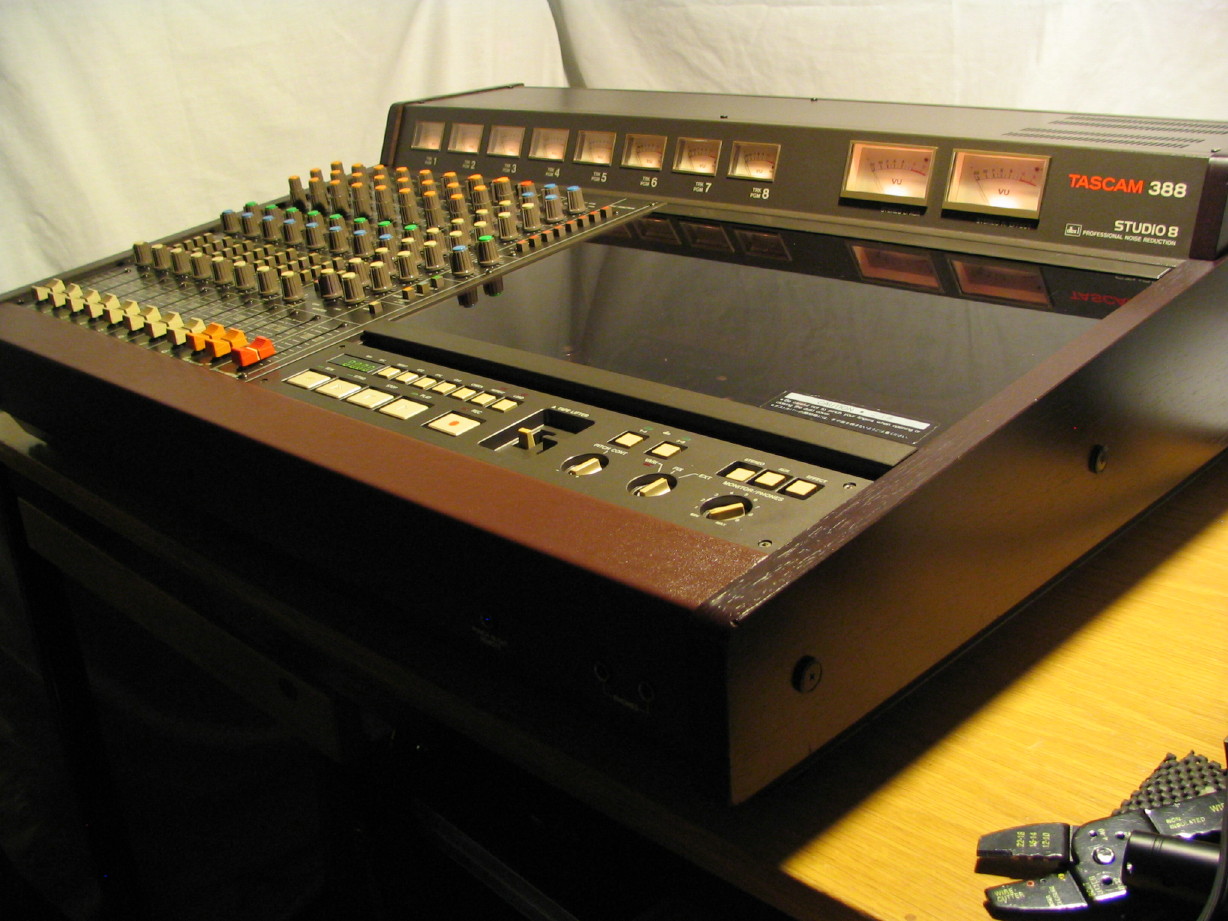
(another) Tascam 388 Story...
So, I’ve been following here for a while, and not as an idle onlooker, but rather out of self interest – it seems I now have a Tascam 388 story of my own…. [What with the building progression in the last weeks of research, following the other stories here, mounting obsession, and final acquisition I feel a little like I’ve joined an exclusive cabal. (It’s certainly no good talking to people about this stuff at the neighborhood grocers…

-glazed eyes-)]
My machine is in pretty good health, I got it from the original owner who, though not the overly meticulous or knowledgeable type, does not seem to have abused it and it was likely in commission for a mere five years or so. Following Sweetbeats story here is certainly an inspiration to give a bit more care in cleaning and setup before starting sessions than I would think to do otherwise, and now I have to decide how far to go. I’m not recapping anything I don’t have to, but I would like to perhaps do any cleaning & relubing where there might be some old grease, so as to avoid any stress on the machine and have ‘er smooth running as possible.
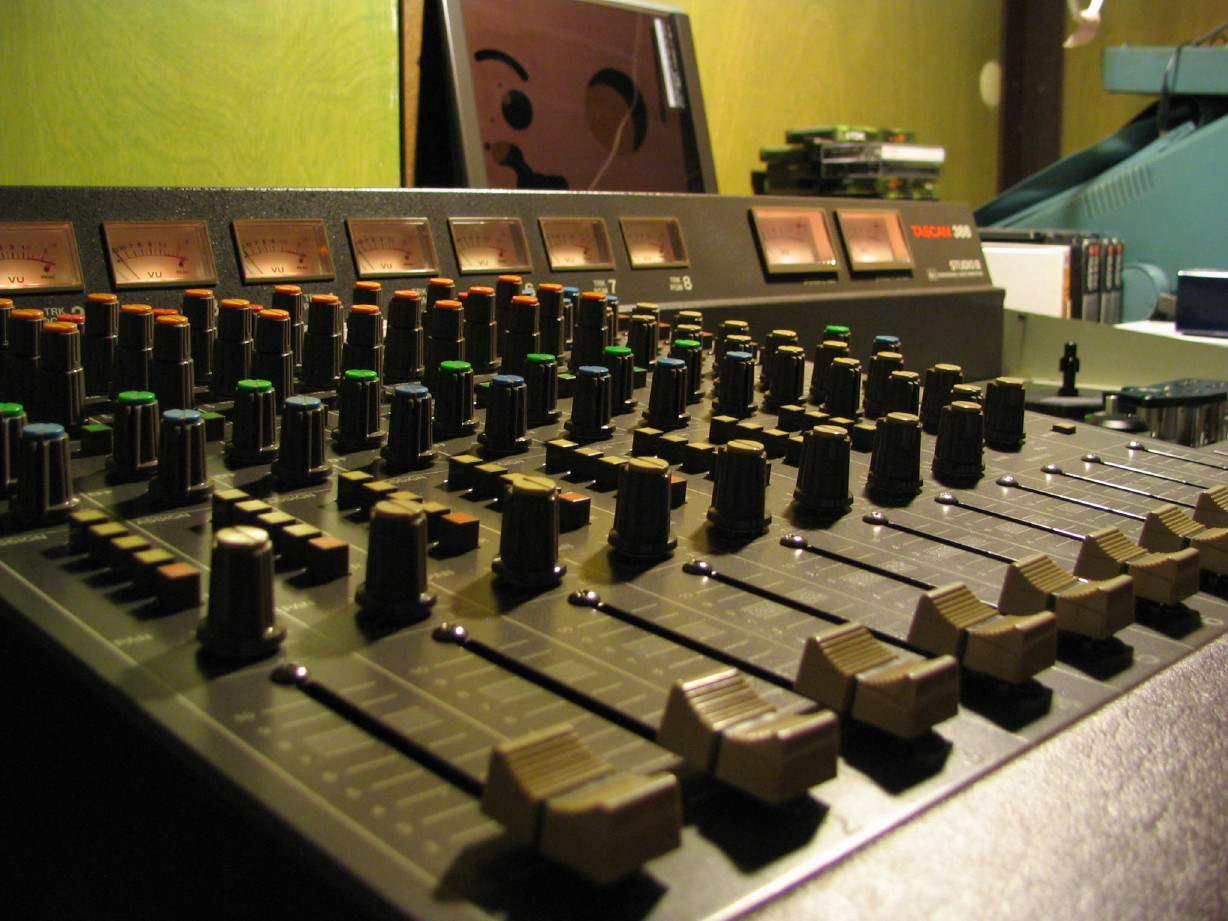
My interest at the moment is in the particulars of your (sweetbeats’) fader cleaning & relubing & pot cleaning process. The faders are pretty easy to get to (all the pots less so) as you can just unscrew them from the top and get at them from the back, unplug them from the channel, so…
1>what tool do you use to open up the fader casing? And bending the prongs back in place? My needlenose pliers seem a little rough on them.
2>what replacement grease do you use – you just put some up on the inside top of the fader case where the old stuff seems to have been? And what do you use to clean out the rest? The lubricant on mine doesn’t seem that bad actually, but I still might be interested in cleaning / relubing if I’m sure I’m using the right grease and won’t be ruining the ‘runway’ by cleaning it (don’t know what to call the two conductive/resistance lines on the inside of the fader – but they look sort of like a ‘runway’).
3> what do you use for cleaning out the pots (good old deoxit?) my pots seem like they could better use the cleaning than my faders actually – the trim knob on a couple channels seem to cut in midway distorting a bit when they do – this appears to heal if I work the pot a bit – and theres a few other scratchy pots - I’ll use some deoxit, but I don’t see how much of any gets to the actual pot from just spraying it on the top of the pot from the top of the mixer. Would be nice to do a more thorough job of it anyway, but I guess I’ve got to take out all the channel strips and get to the open side of the pots?
Though I guess this might be a bit rudimentary for some here, maybe a little in depth info about all this little stuff would also be of interest to others who like me havn’t yet cleaned their faders and pots from the inside.
")
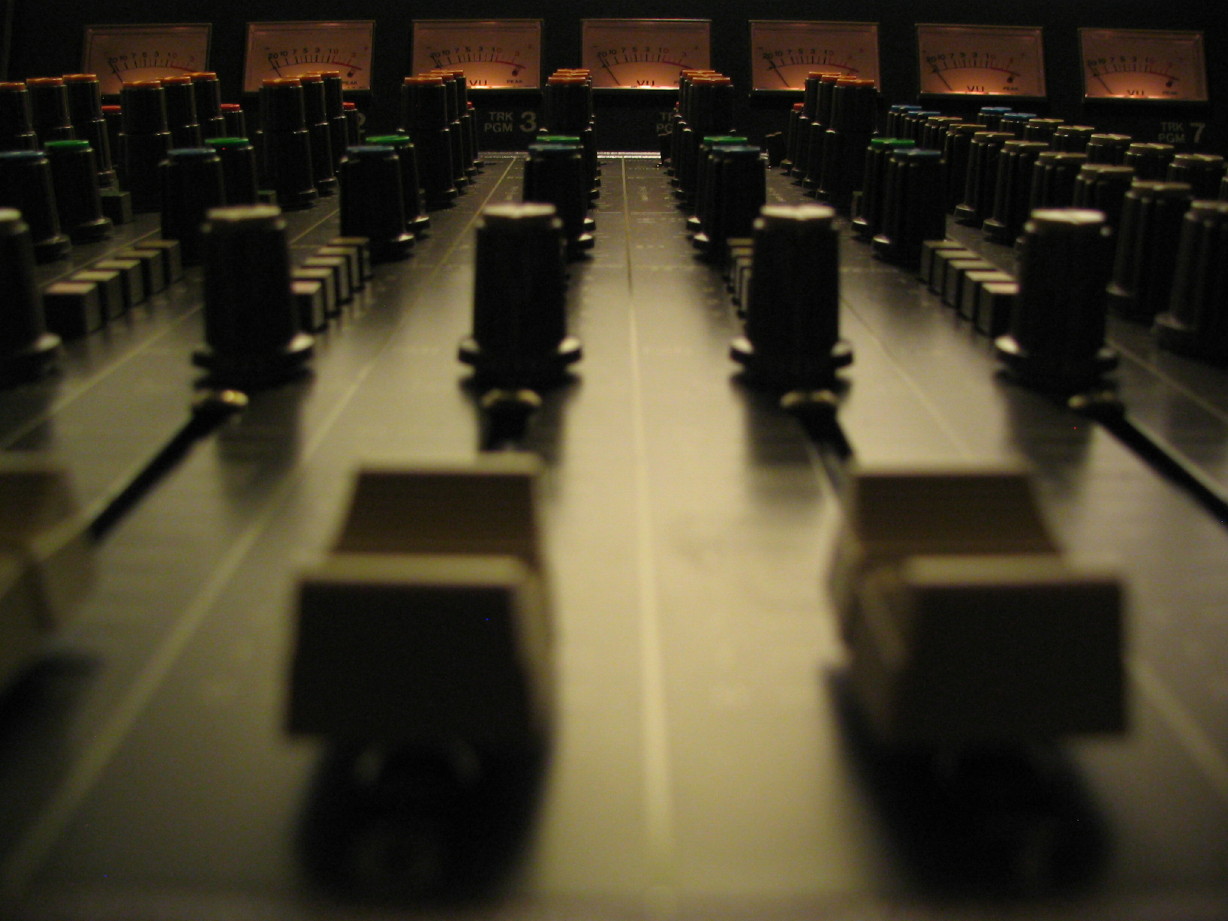
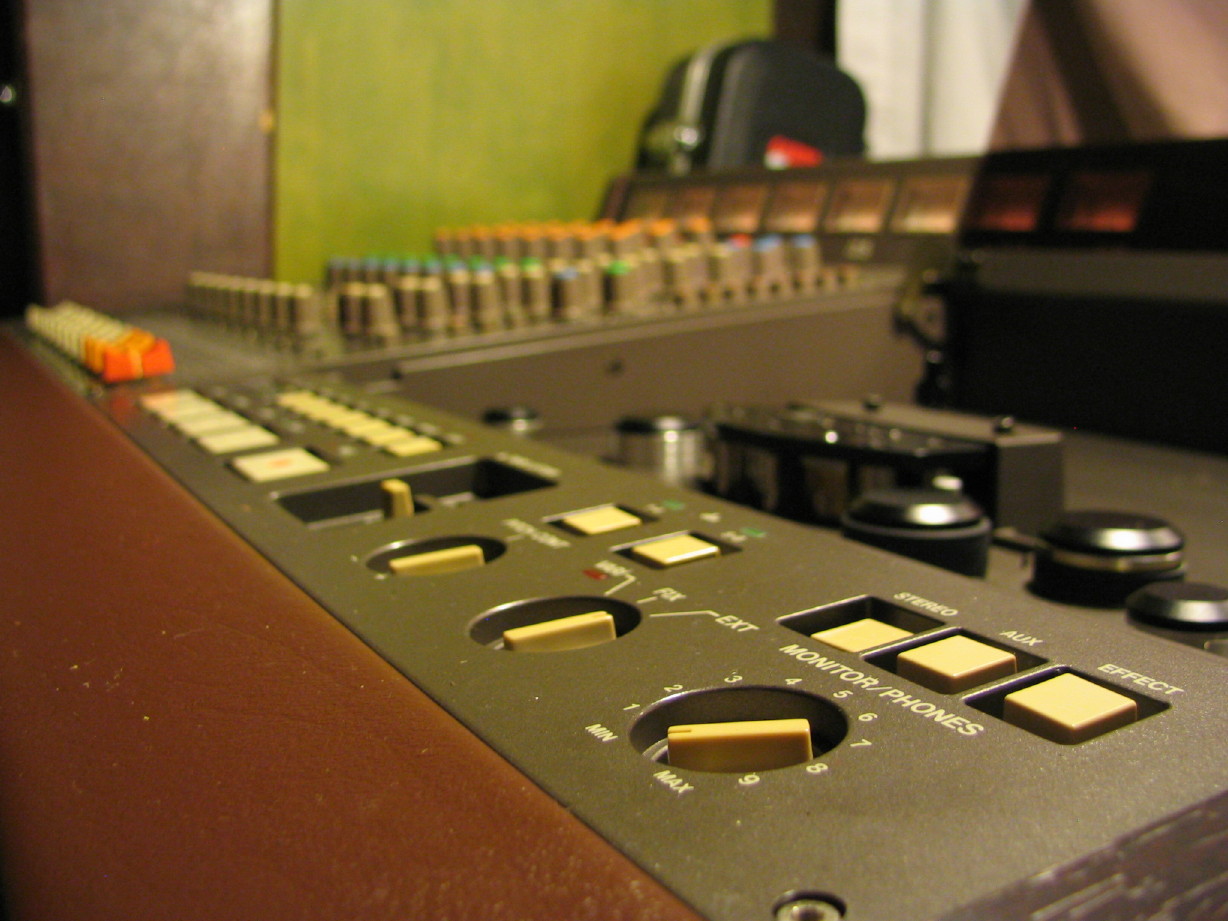
And for the edification of those who’ve not seen these faders disassembled (like me until today…) I’ve included a mediocre photo:

keep us up to date, we're all looking forward to the climax & grand finale!
and thanks especially for all the great photos.


 D)).
D)).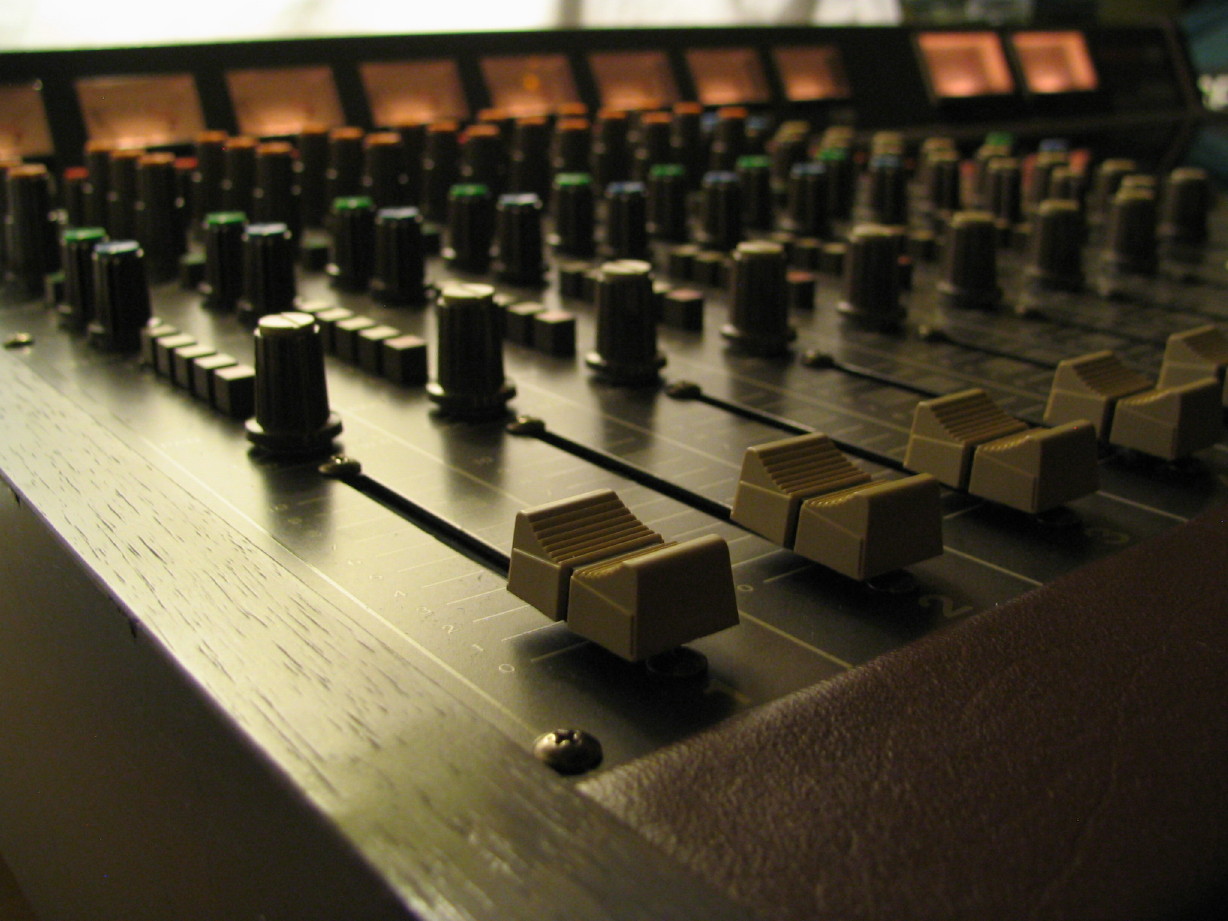
")