Heads relapped...
I recently enlisted help from evm1024 to relap the sync and reproduce heads. He did a fantastic job. Hopefully we're both happy with the transaction but I can't help feeling like I came out with the better end of the deal considering I now have a beautiful looking block for my BR-20T.
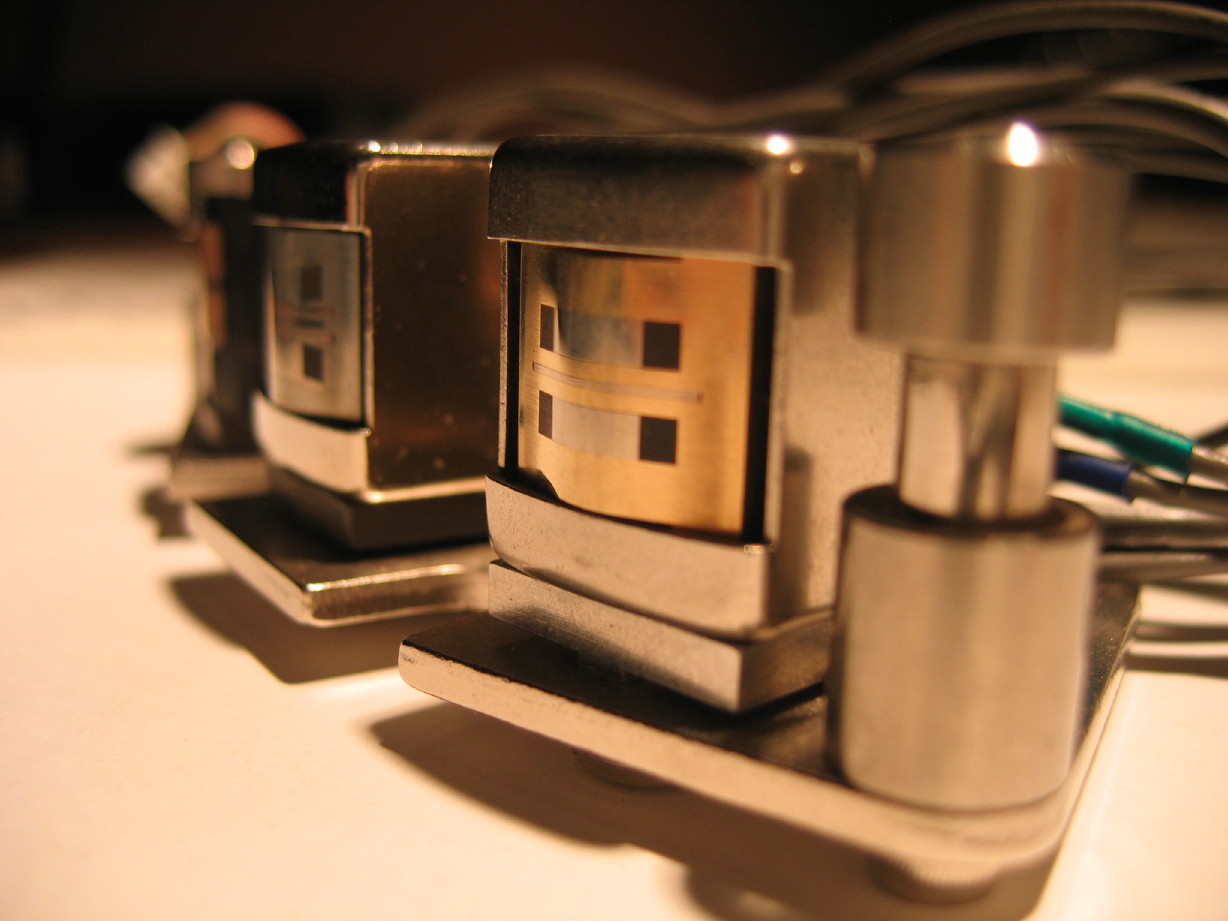
Ethan left the erase head alone as the heads themselves are ferrite which, as I now know, is brittle and can micro fracture during the lapping and leave behind a surface that can damage the tape. Not a concern to leave it alone on this erase head as it shows very little wear...Its a nice glass and ferrite headstack...the ferrite head surfaces are great. Erase heads typically have a much larger bearing surface and therefore aren't as great a concern when it comes to wear.
The reason I really needed to get these heads relapped is that, as I have mentioned in the past, the wear groove was (I believe) from Ampex/Quantegy tape which was slit slightly more narrow than the tape I'm using which is RMGI SM900. This is an awkward non-issue now sincxe I recently came into a sickeningly good price on two cases of NOS Quantegy GP9 2500' pancakes, but oh well.
 :rolleyes:")
Anways, because the groove was more narrow than
the SM900 I was getting edge shed pretty badly. That should be gone now that I have the proper shim washers for the tension arm rollers, The guides have been rotated, the heads lapped and I have the new lifters going in.
Ethan took careful consideration of the fact that the BR-20T sync and reproduce heads are rare (only the sync head is three tracks, but the reproduce head is unique to the 'T' model as well with some special guard banding). He took them down just as far as they needed to go but no further. I can't believe how these look after spending some time eyeing them from different angles, using a good flashlight and a magnifying glass...they look just fantastic and line up superbly.
Anyway, big disclaimer here, Ethan is not in the business of relapping heads. If he decides otherwise at some point I'm sure he'll let us know. This was a private transaction between two enthusiasts located in close geographic proximity. Ethan's hope is that these case studies will encourage others to give it a try. Please refer to
his thread on relapping heads...remember he dove in using the Nortronics guide linked in that thread and gave it a try and put the thread up as a resource for others to try. I know I'm definitely going to be giving it a shot at some point, I'm just in a position that I wanted expediency on these heads and I want to experiment on some throw away heads first and I haven't the time resource at the moment...its a priority to have the these heads done, but it can't be a priority for me to learn at the moment. So, thank you Ethan for being willing to engage in the transaction, and even moreso for being willing to dive into this area of DIY and encourage others.
My assessment is that if you have a keen eye, and a relatively steady hand and you enjoy patient crafting then you have the aptitude to do this yourself. The whole crown-jewel of DIY is having the power to take care of your own needs as they arise...having control of the quality and the cost. Relapping is arguably a pinnacle of analog tape recorder maintenance and repair, but you can do it. It isn't magic. Yes, the well-known firms that do this work professionally have expertise in this field that I certainly can't match...its called time and experience...yes they have tools and facilities to ensure repeatable quality control and to backup their gaurantee. Nobody is trying to say they aren't worth the expense or that there isn't a good reason they charge what they charge...you bet there is, and not everybody is going to be willing to rub their precious tape heads on sandpaper! But for some it will be worth spending $20 on a half-dozen old tape scanner heads on eBay or something for practice, and maybe $20 in supplies and maybe another $20 in some basic tools to be able to learn and have the gear to relap a bunch of heads.
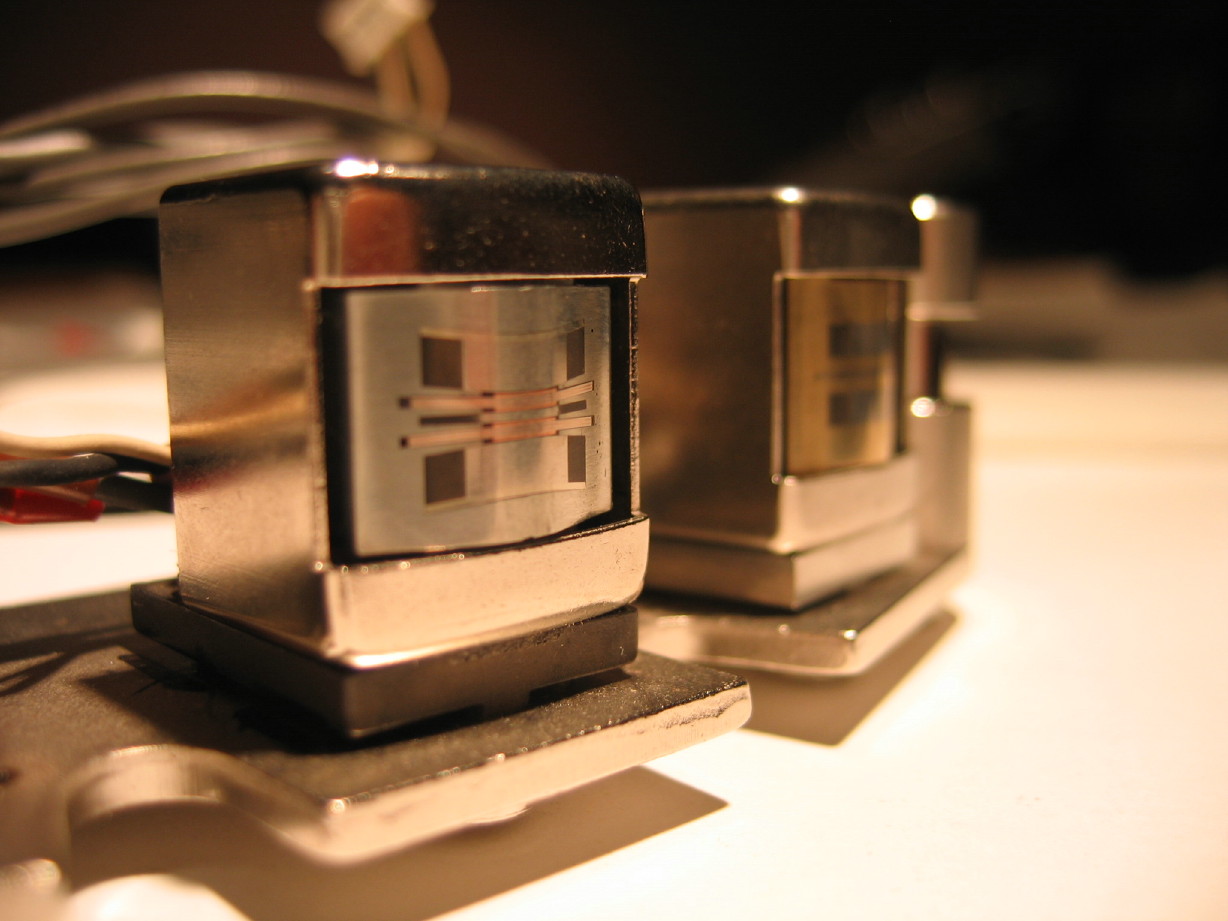
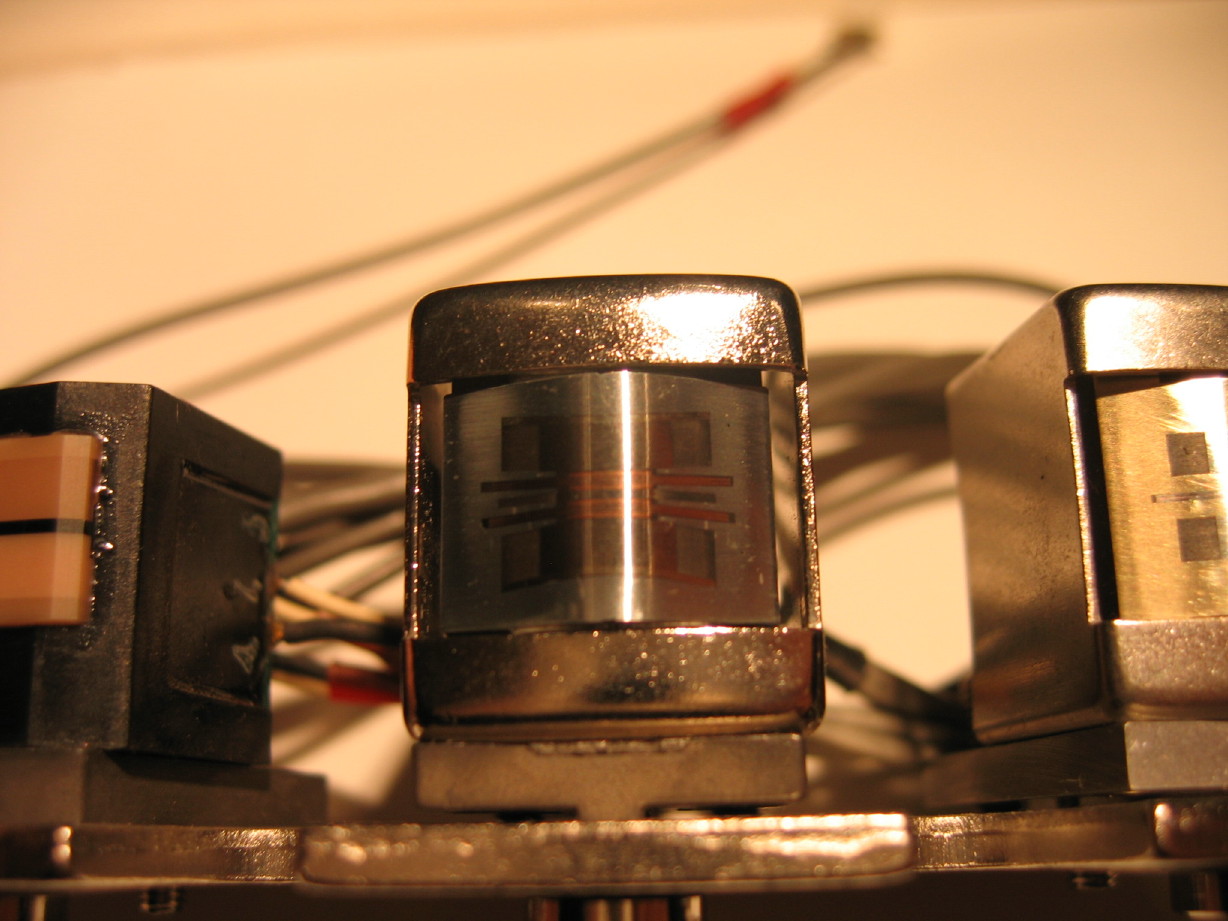
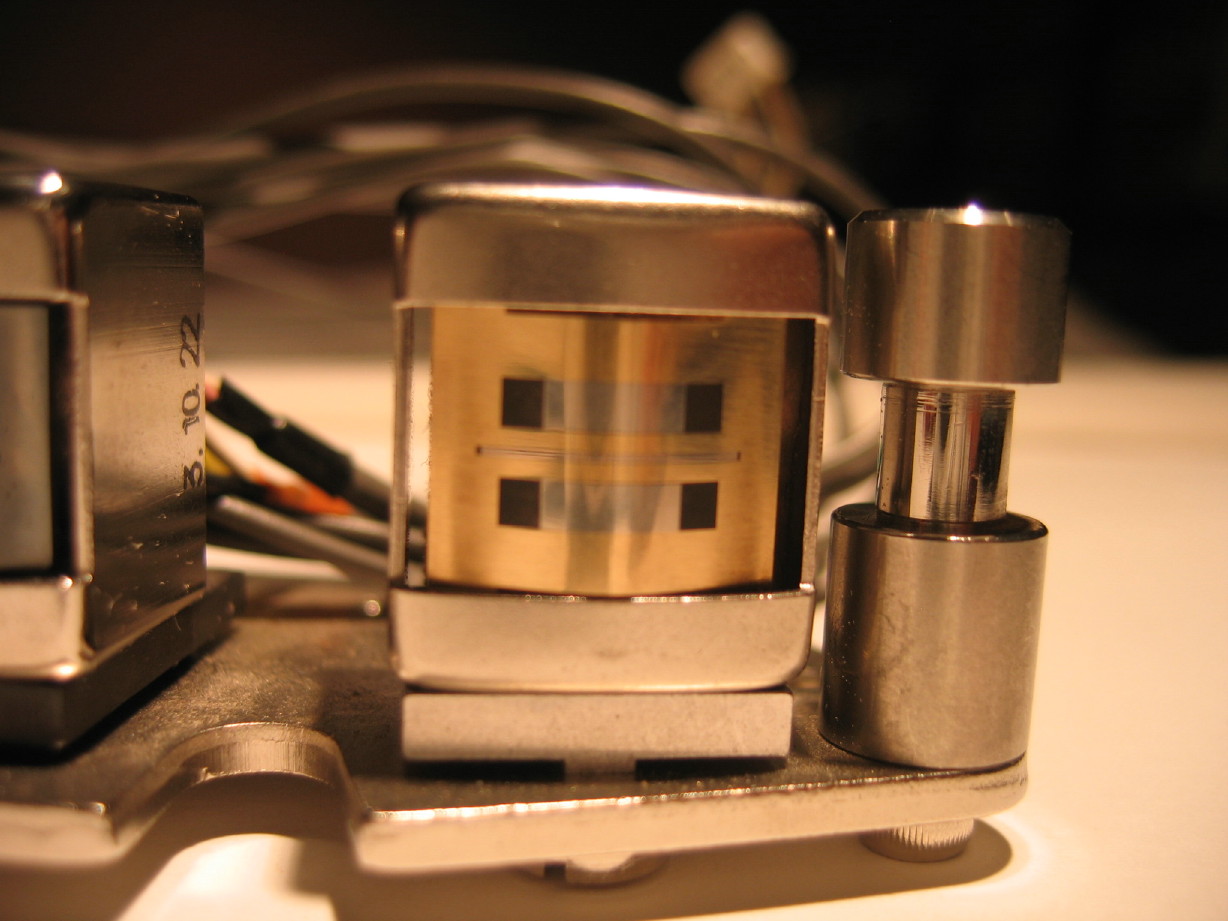
SO...look up in post #134 for "before" pictures...here are some AFTER pictures:
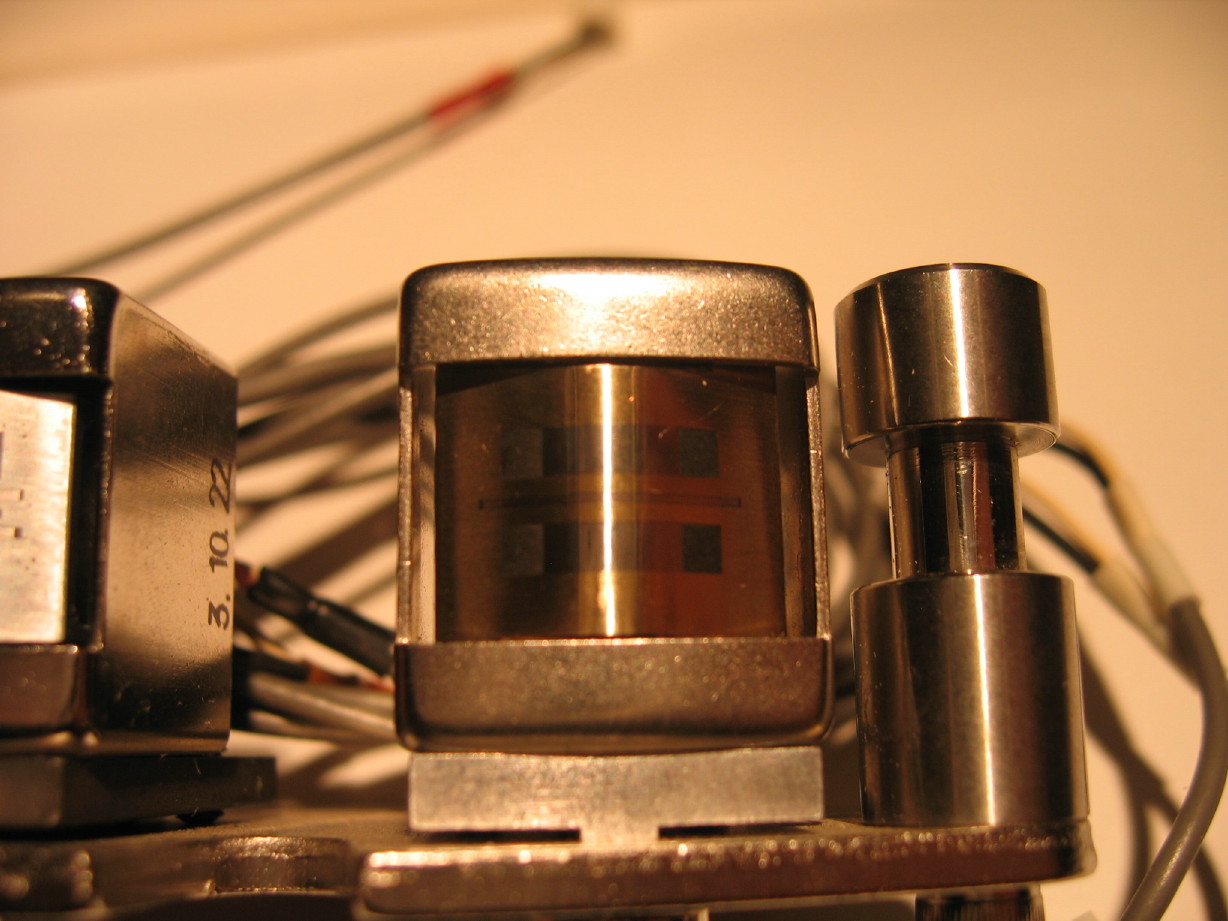
Overall...
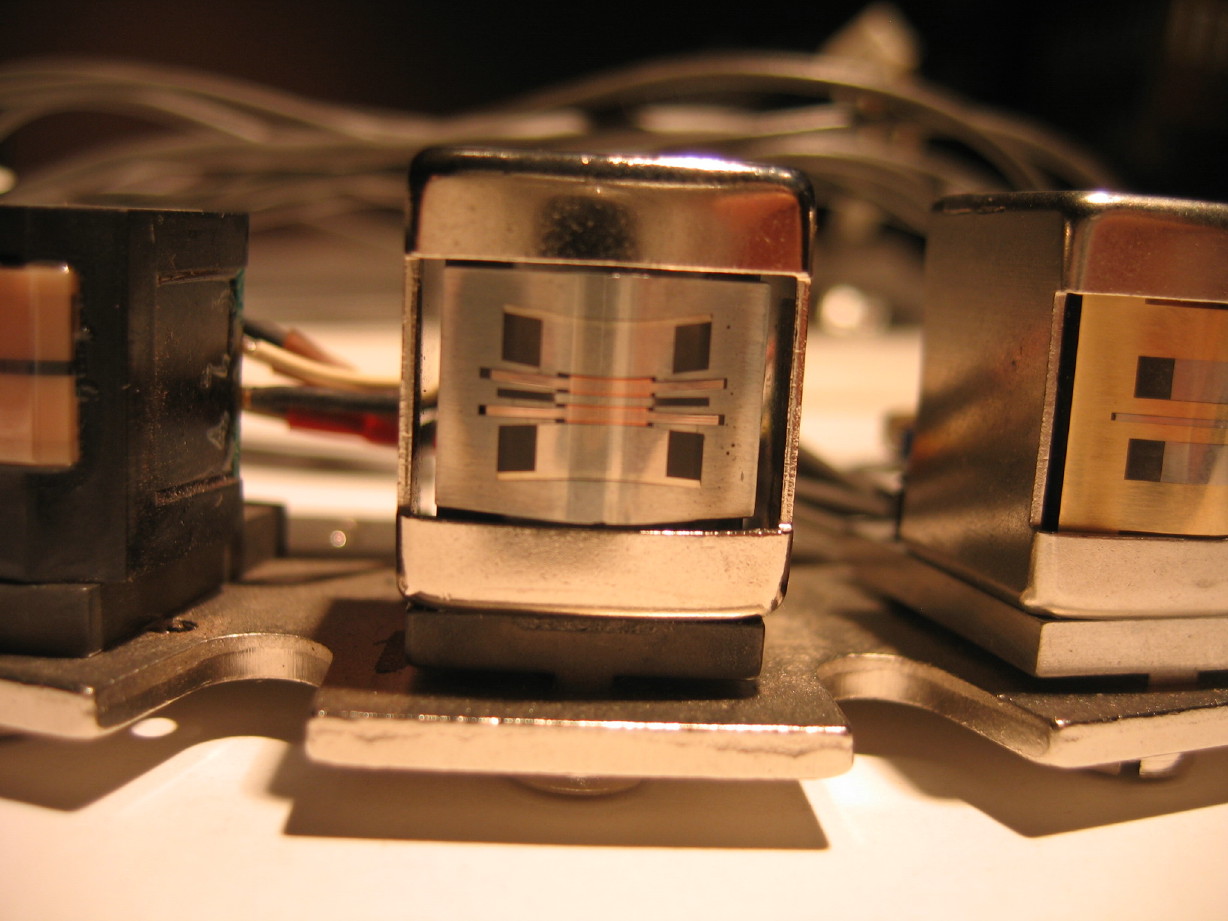
Sync head...
Reproduce head...
Seriously...look at post #134.
Looking forward to getting the BR back together and finally getting it calibrated...don't know when I will do this exactly but there is nothing physical with the deck to get in the way of that now. SWEET!
")
 Cheers.

 and get this calibrated. I want to hear how the heads work out. And you have to do it now because I'm heading to Ukraine for 3 weeks starting Friday. Whoo Hoo good vodka!
")