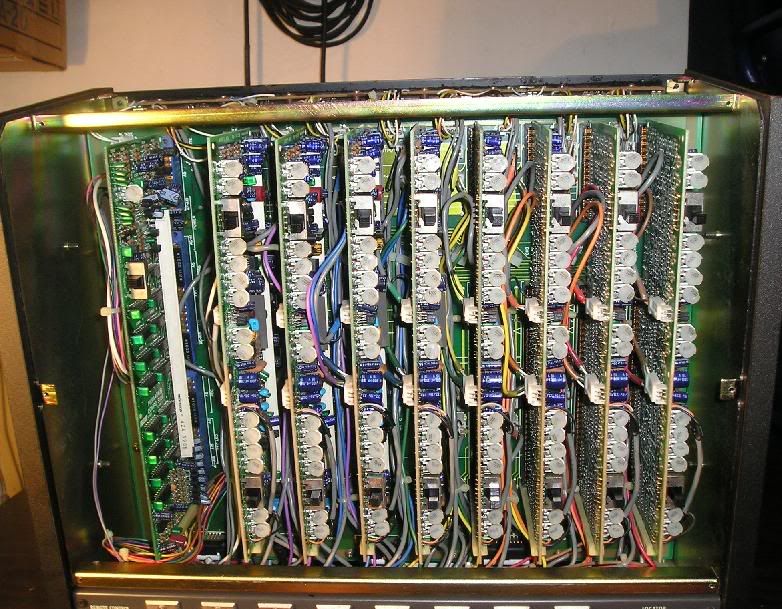
Sounds like you need a run-down of the basics of analog tape calibration. So here goes, I'll try to no make you scramble around the hundreds of posts about the topic and confuse yourself

I've derived some of this explanation from here:
http://www.recordingwebsite.com/articles/tapecal.php , and translated it to Otari-talk.
You need an MRL calibration tape.
http://home.flash.net/~mrltapes/pub644.pdf
They may be as expensive as all hell, but believe me, it's a wise investment. Your ONLY true reference for playback levels is achieved with one of these tapes.
It needs to be 1/2", 3 frequency, 15 ips, IEC equalization, the right operating level (+3, +6, or +9, which-ever type of tape you use the most. For example, if you use Quentegy/Ampex 456 the most, get a +6 cal tape to keep it simple. And so on for 499/GP9, get a +9 cal tape. If you switch the type of tape you use later, you do NOT need a matching cal tape, you just need to compensate up or down by the dB difference on the meters.) I bought calalog # 341-644-512-109. It's 1/2" 3-frequency 15ips 72s per tone, IEC equalization, and +6 dB (because I use 456 tape the most.)
(One last note about your calibration tape --- NEVER record over ANY part of it for ANY reason. It's precious shit.

Also, it comes in the package tails-out. So to play it back, load it on the right hub, put the take-up reel on the left hub, and thread it. Rewind to the beginning, and go from there. Always fast-forward it all the way when you are finished using it, and keep it STORED tails-out. In fact, you should always store tape tails-out to prevent print-through.)
Clean the heads, and all parts of the tape path, de-mag it, (not-so-common-sense. Just do it before you load you cal-tape, to prevent damaging it.)
STEP 1 of calibration: SET THE REPRO LEVELS: Play back the 1kHz tone on your calibration tape, monitoring all tracks from the repro head. Make sure all SRL (standard-reference-level) buttons are depressed. This bypasses the line-in level knobs. Now take your tweaker, or whatever clever device you have to calibrate your pots, and find the row of pots called REPRO LEVEL. Adjust each pot until all meters read 0dB (GIVEN, of course, that your cal-tape level is equal to the level of the type of tape you wish to use.)
STEP 2 : SET THE REPRO HIGH-EQ LEVELS: Make sure there are no dogs for a 500 foot radius. Play back the 10kHz tone on the cal-tape, monitoring all tracks from the repro-head. Tweak the pots labeled REPRO HI-EQ or something like that, until each of them reads 0dB on the meters.
STEP 3 : SET THE REPRO LOW-EQ LEVELS: I've had trouble with this step on this machine. Refer to the manual. I've tried to adjust it, but nothing happens. My feeling is that the pots labeled REPRO LO EQ adjust the High EQ for the low tape-speed, although I'm not sure. IDEALLY, you'd play back the 100hZ tone, and adjust the Low-EQ curve til it says zero. FYI.
STEP 4 : REPEAT STEPS 1, 2, and 3 ON THE SEL-REPRO HEAD. Monitor from the Sel-Repro (or Sync) head, and repeat those same steps, while of course, tweaking the SEL-REPRO levels appropriately.
STEP 5 : ADJUST THE RECORD BIAS : OK, here's the tricky part. To adjust the bias correctly, find out from the manufacturer what the bias is for your tape.
http://www.quantegy.com/Audiorecordersetup.asp is the list for Quantegy/Ampex. This "magic number" is 2.0 for 456, and 3.0 for 499/GP9. FFWD and Put away your calibration tape (TAILS OUT!!!), and load up a reel of regular tape. Let the dog out, and set the Oscillator knob on the left side of the controls to 10kHz. rec-ready all tracks, hit rec-play, and monitor from the repro head. For each track, you need to first turn the bias screw counter-clockwise. As you watch the meter, you will see the needle rise up and then begin to fall back. Let it fall back to the left side of the meter, until it stops moving. Then turn it clockwise until it peaks and begins to go back to the left. Back it up just a hair until it is at the peak point. The point at which it peaks is irrelevant, but will signify the point at which you should begin counting the overbias (or, "magic number"). This means that if your overbias is 2db, then turn the screw clockwise until it has gone down 2db past the peak point. Repeat this for each remaining tracks, while recording the 10K tone.
STEP 6 : ADJUST THE RECORD-LEVEL. Set the oscillator to 1K. Record the 1K tone on all tracks, and adjust the record-level pots, until the meters read 0dB.
STEP 7 : ADJUST THE INPUT-LEVEL. Keep the oscillator at 1K. Monitor ALL INPUT, and adjust the input-level until all meters read 0.
STEP 8 : ADJUST THE RECORD-HIGH FREQUENCY LEVEL. Set the oscillator to 10K, and record it on all tracks, monitoring from the repro head. Adjust the record-High Frequency levels until all read 0dB.
STEP 9 : HAVE A BEER
Good luck!
-callie-


