179 - last picture for today.
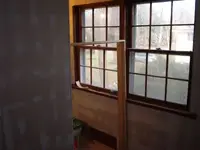
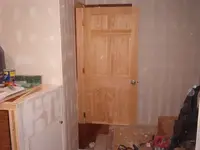
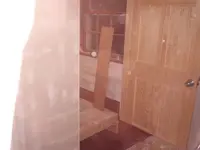
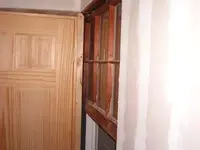
Its difficult to see, but there is a 2x4 that the doorframe is screwed to... and that 2x4 actually is in the window frame, using 3" long deck screws, and structural adhesive. Its definately not going anywhere. had to remove some of the moulding on the windowframe so I could tie it in a structurally sound manner. Window works, door works, and there are no airgaps in this area. Will be chaulking it today both sides, then applying moulding later so it looks like its supposed to be this way.
BTW, the right answer would have been to remove the two windows, and finish up the wall.
But noooooooooooooooooooooooooooooooooooo.
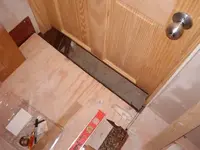
Once I figure out the floor gap issue, it will be fine. Clever use of angles, double bladed rubber weatherstripping even if I have to route notches and glue it in, whatever. It will be fine. I insist.
Another minor screwup, when I did the electrical I forgot the vocal booth light thats there now is wired to a switch at the bottom of the stairs, rather than my master switchboxes in the wall next to where the console table is. Why? Because I like making my life complicated.
However, I did find in my attic a very low-profile halogen fixture that in the center of the fixture, is a small 1/2" knob that is an on/off switch with a dimmer, so installing that will solve that problem. Reach up, adjust lighting, sing. Not good for short vocalists
")
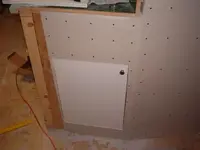
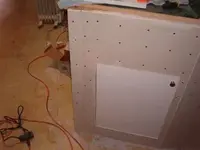
I have to swipe over the screwheads and tapes in the vocal booth then I can get to the pergo and consider that room complete, aside from acoustical treatments, which shouldn't ruin the floor during installation.
I'll be building the console table first, then laying down the pergo after that since I don't want any welding slag on the new floor. Mig welding makes a huge mess, no matter what flux or shielding gas you use.