About a week ago...
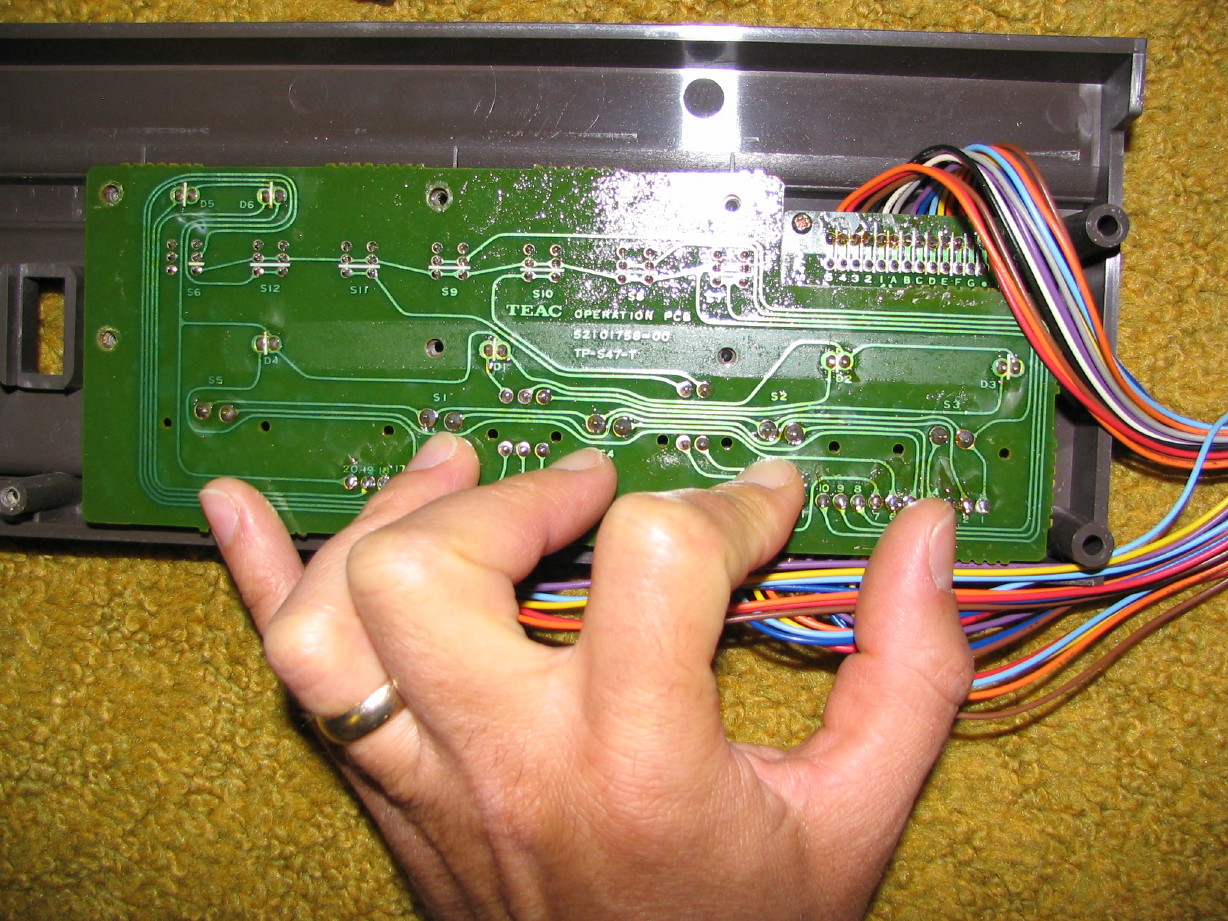
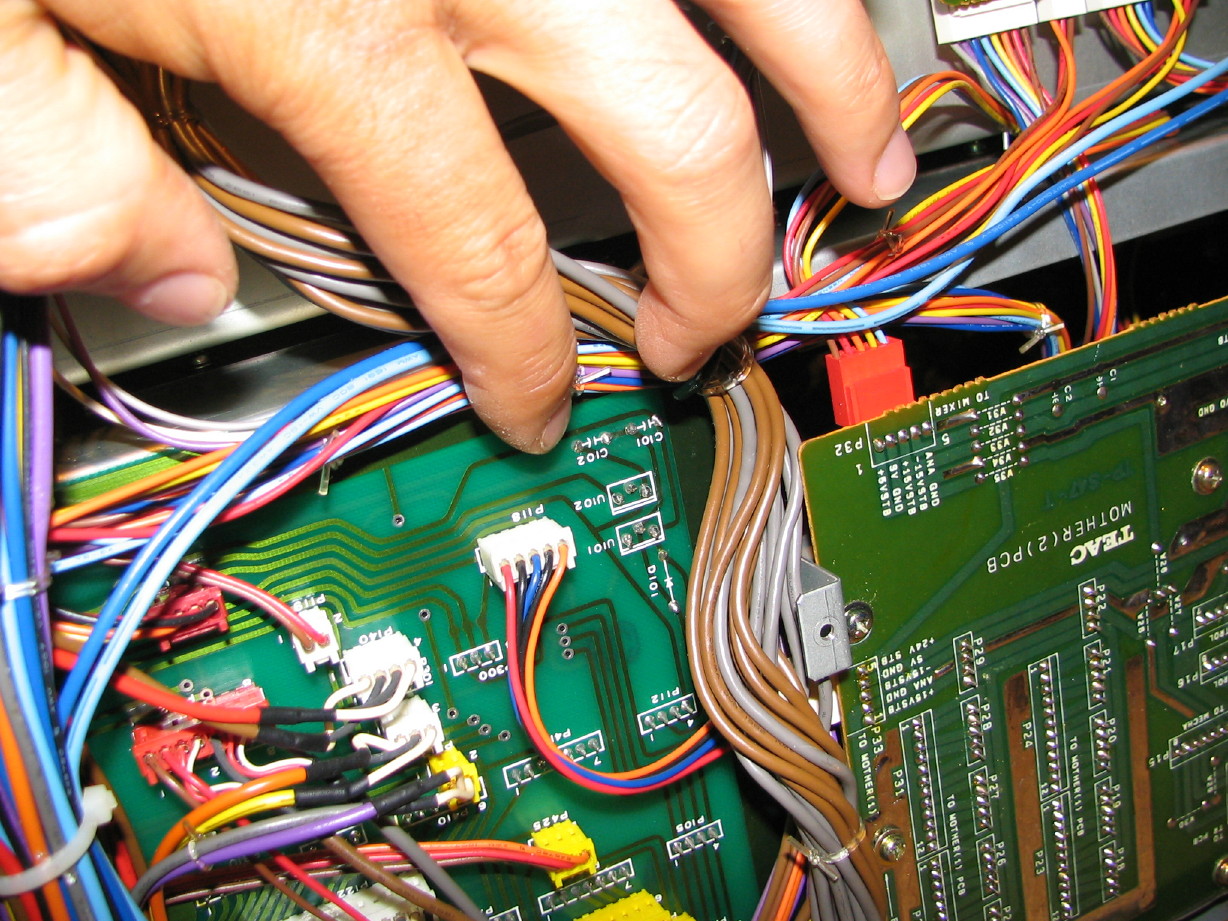
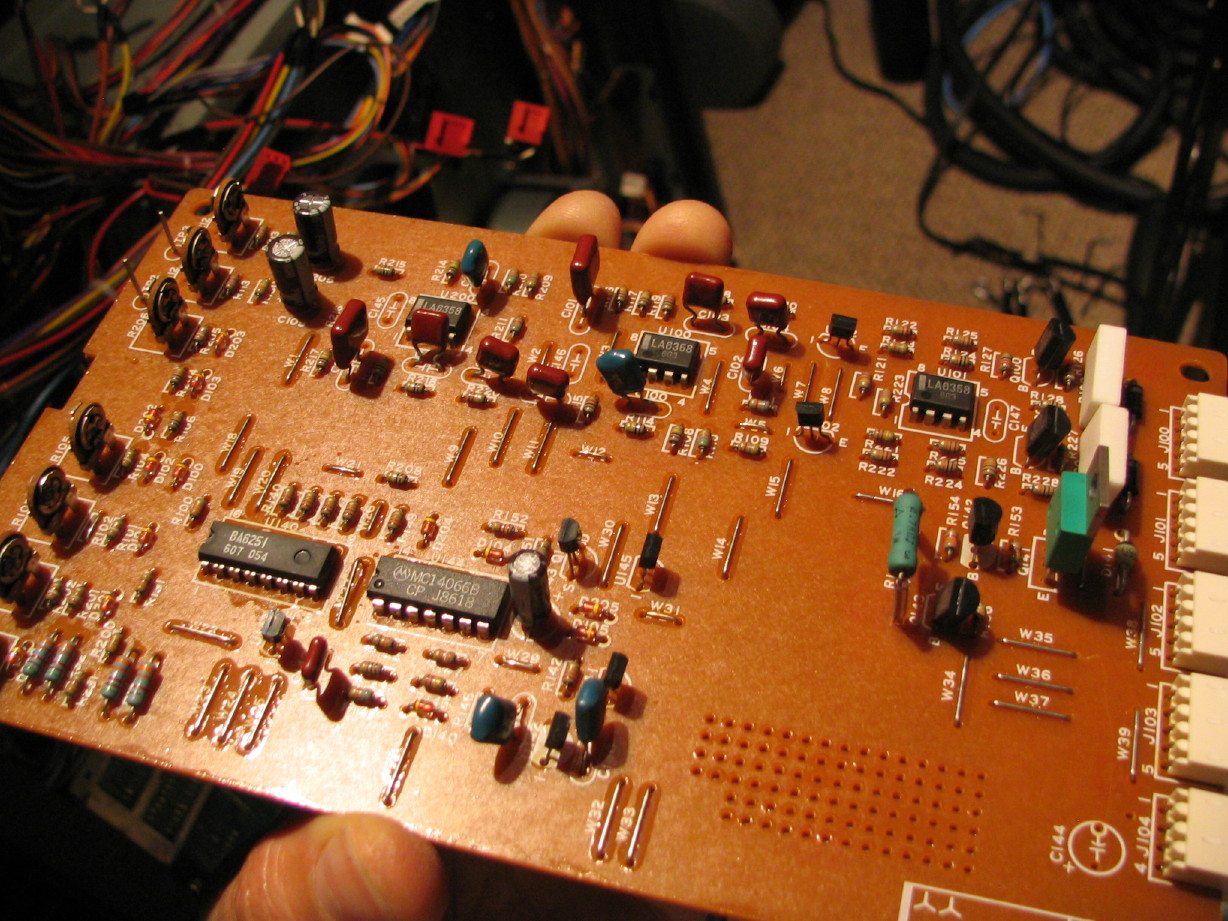
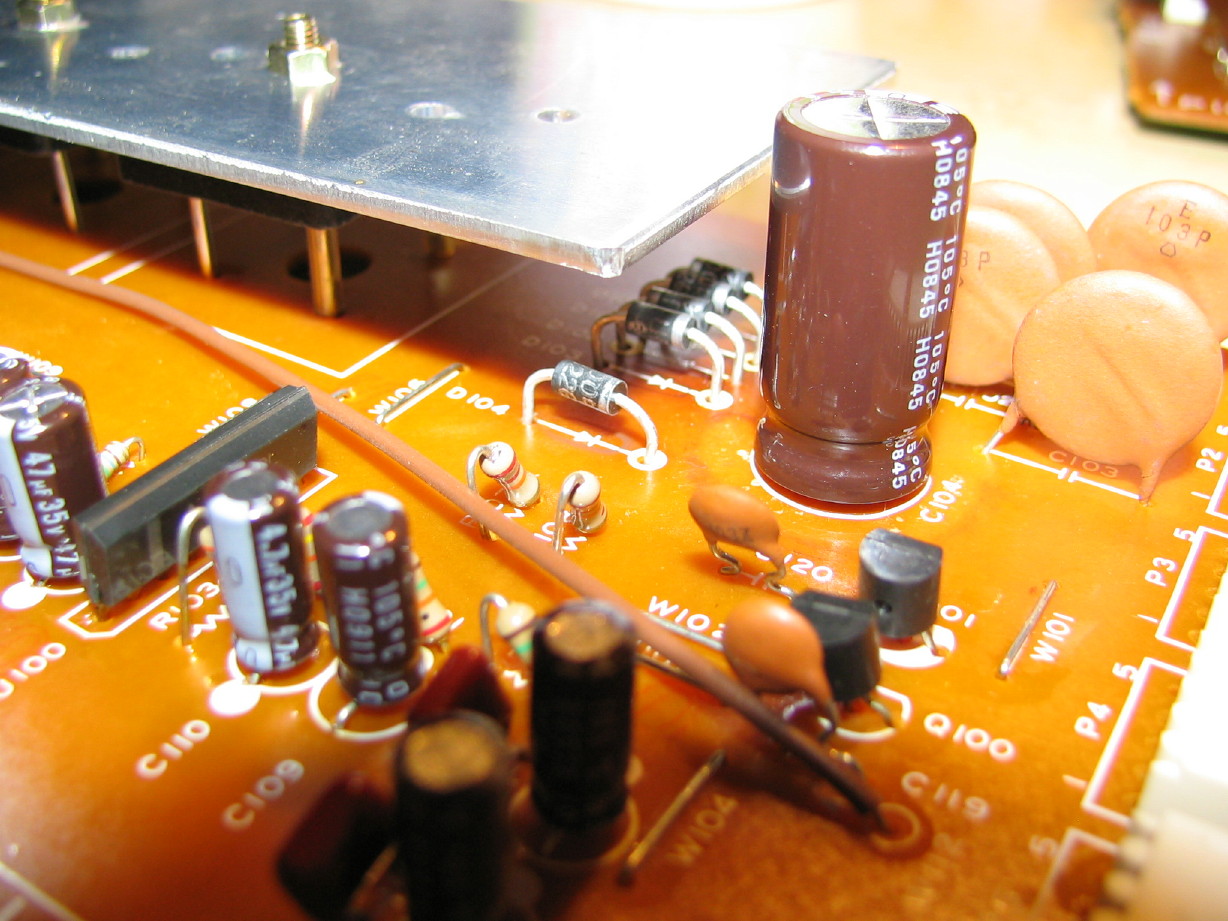
Here are the solder joints for those two caps on the Mother PCB...my index and middle fingers are pointing to them...they are kinda crammed up at the edge of the board and there's lotsa wires. I got them replaced but it was a little hairy:
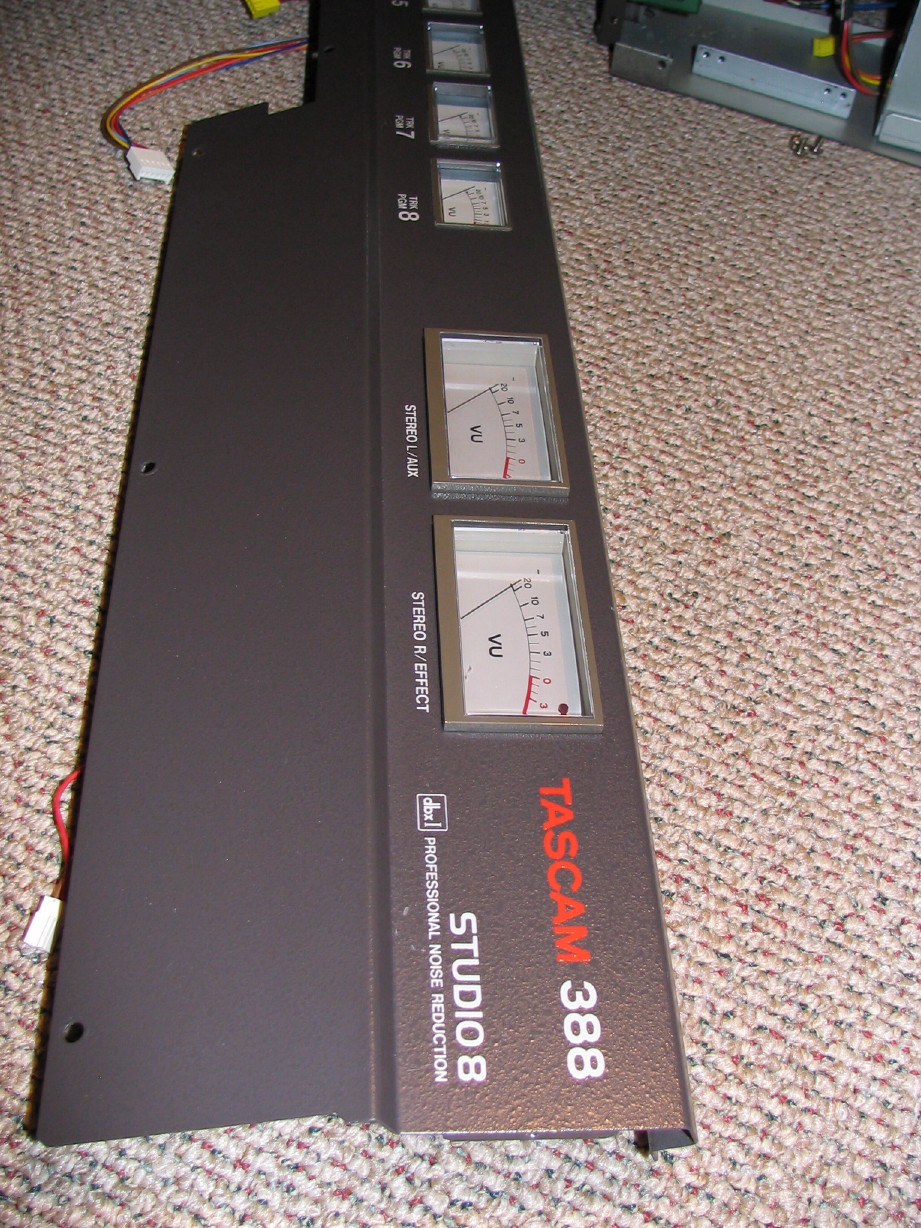
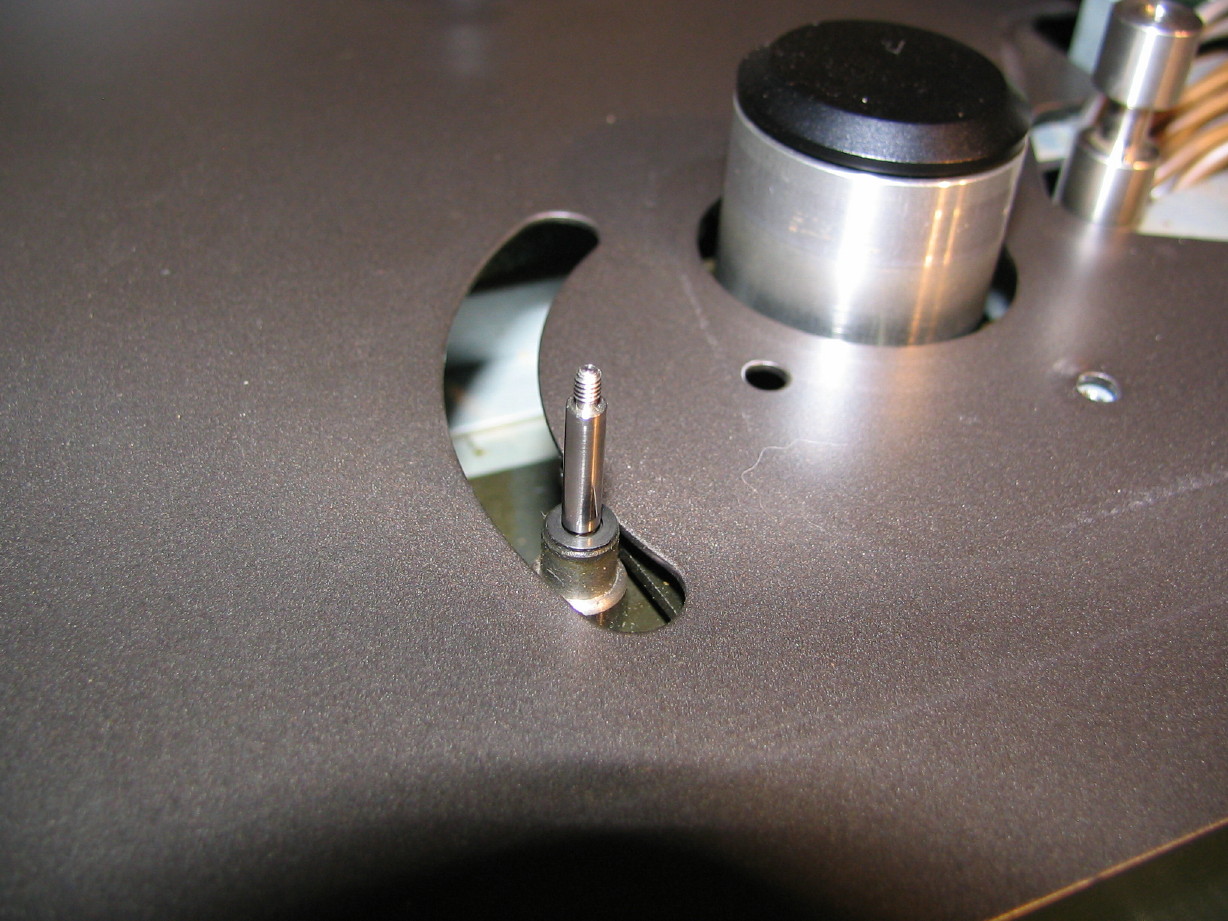
I'm working at getting the meter bridge removed to do some minor repairs (cracked or badly scratched meter lenses, burned out meter bulbs...) and to clean it up really good...there are three screws sort of behind the transport assembly...a bit bearish to get to, but I got them:
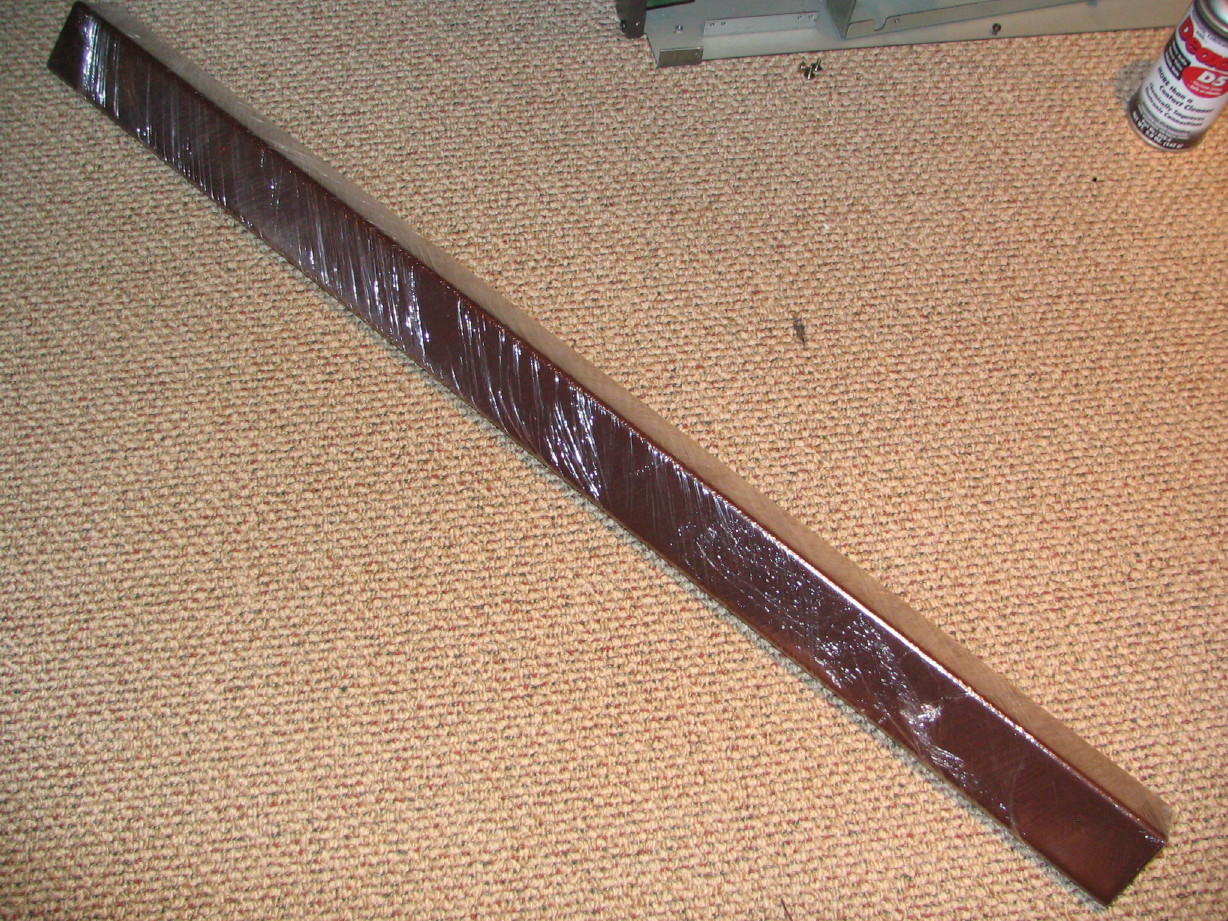
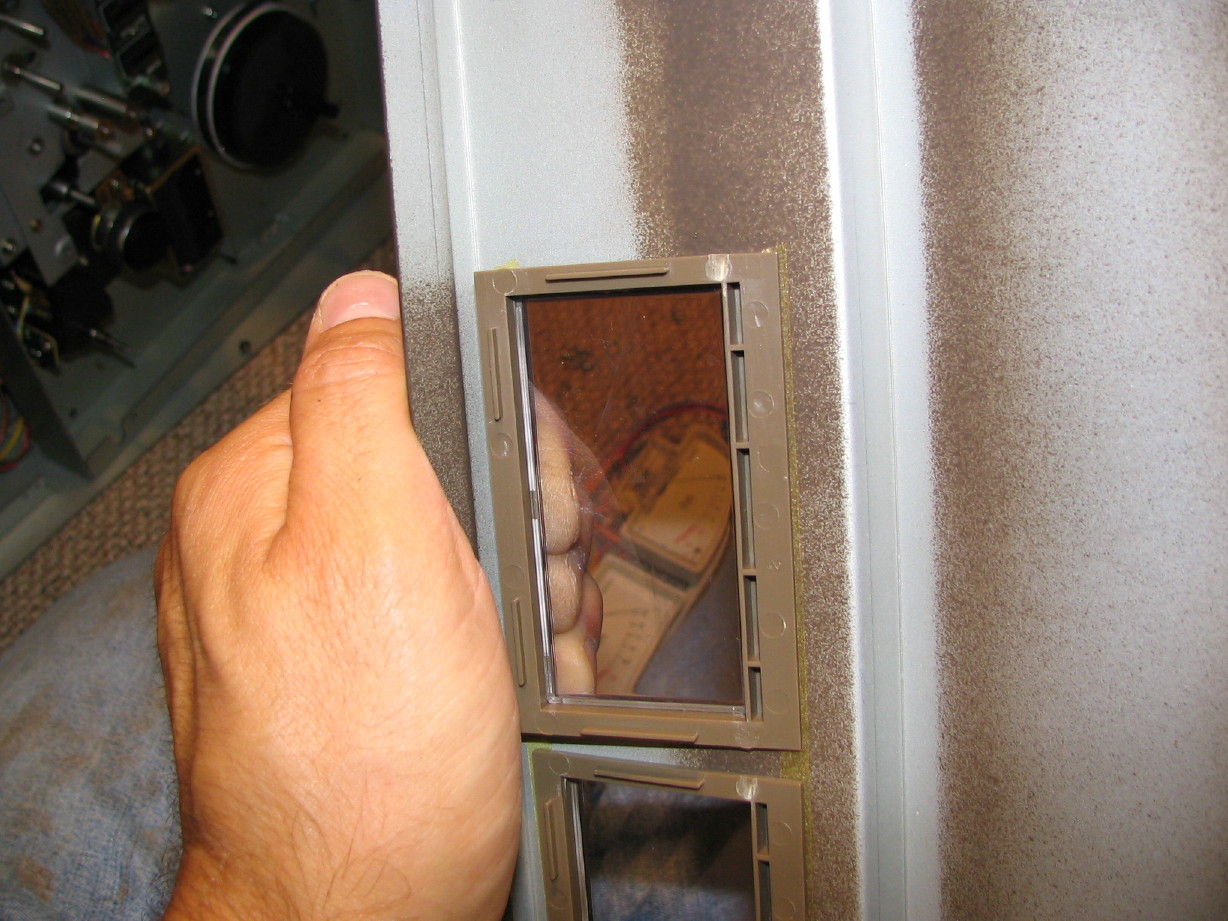
This made it possible to get to the master meter lenses and bezels. They are badly scratched and I didn't want to try to repair those with the lenses mounted in the meter housing. The bezels are held to the housing with double-stick tape...good stuff too as they are still held in
very well after 20-or-so years. I just started at one corner pushing carefully but firmly and continued on until it was free:
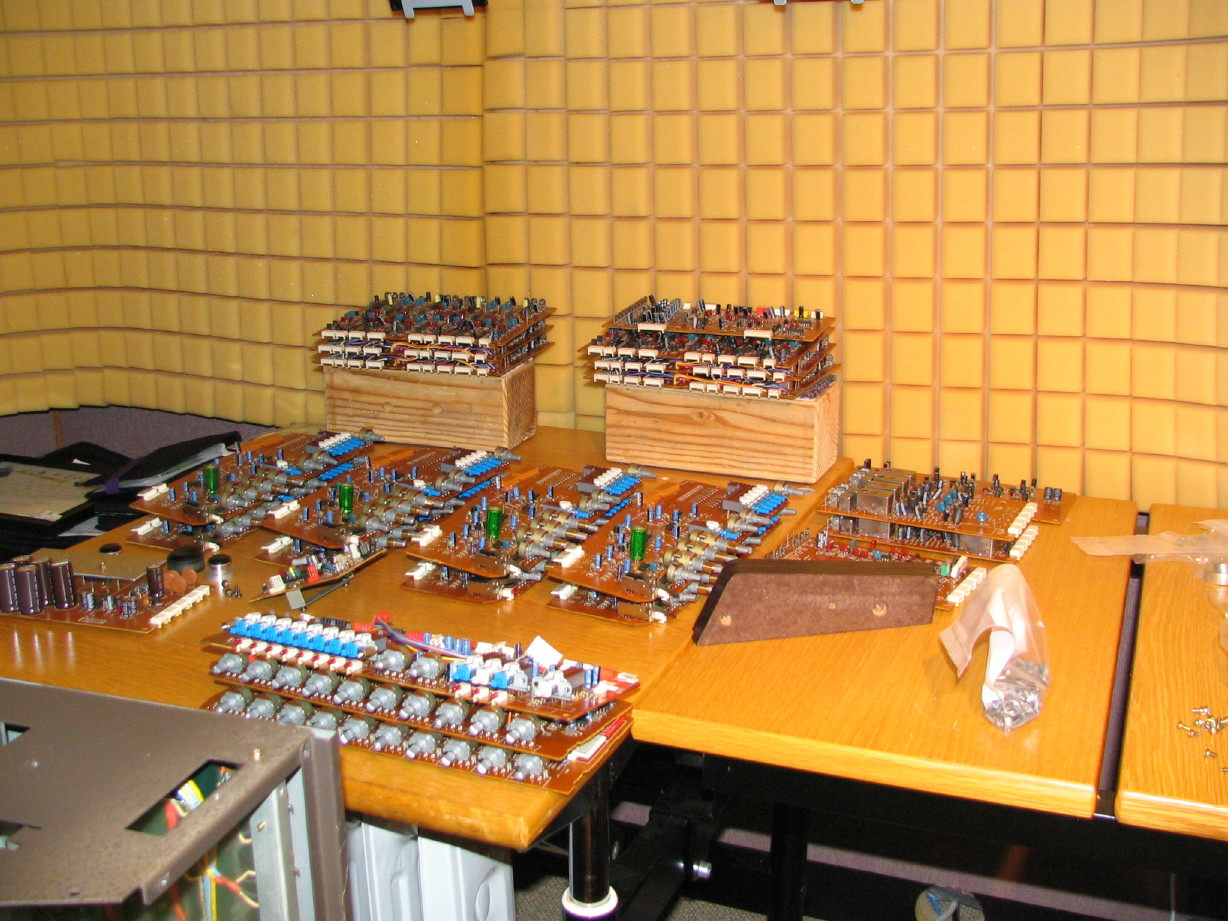
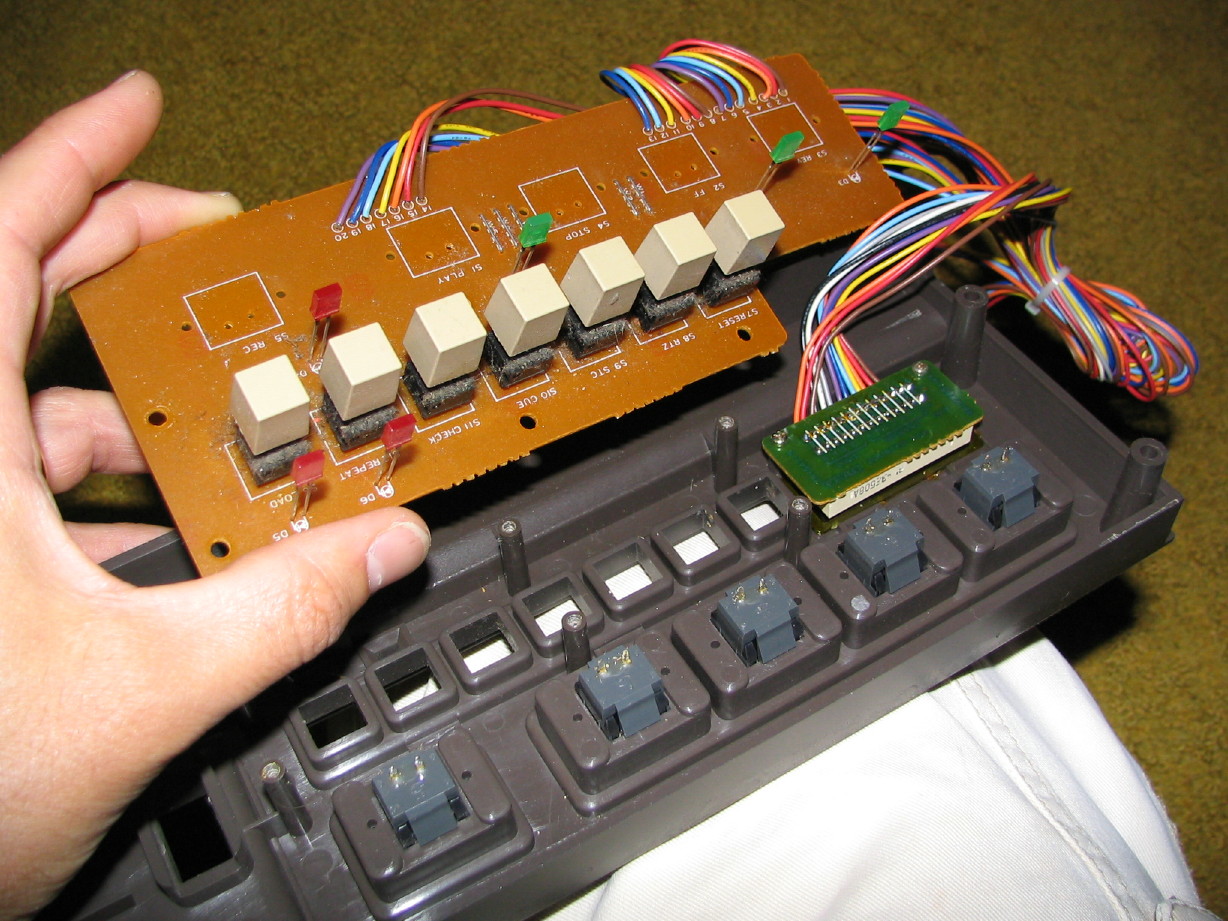
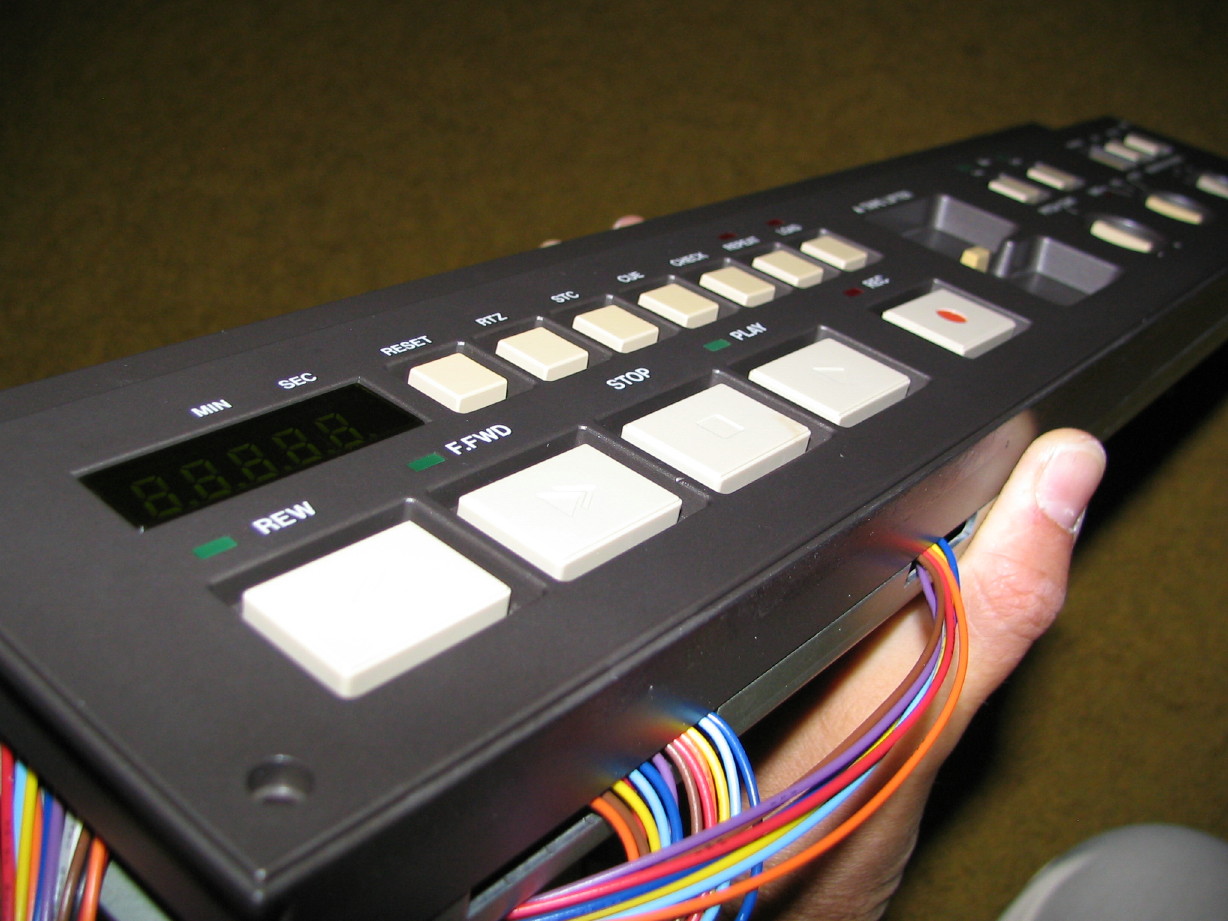
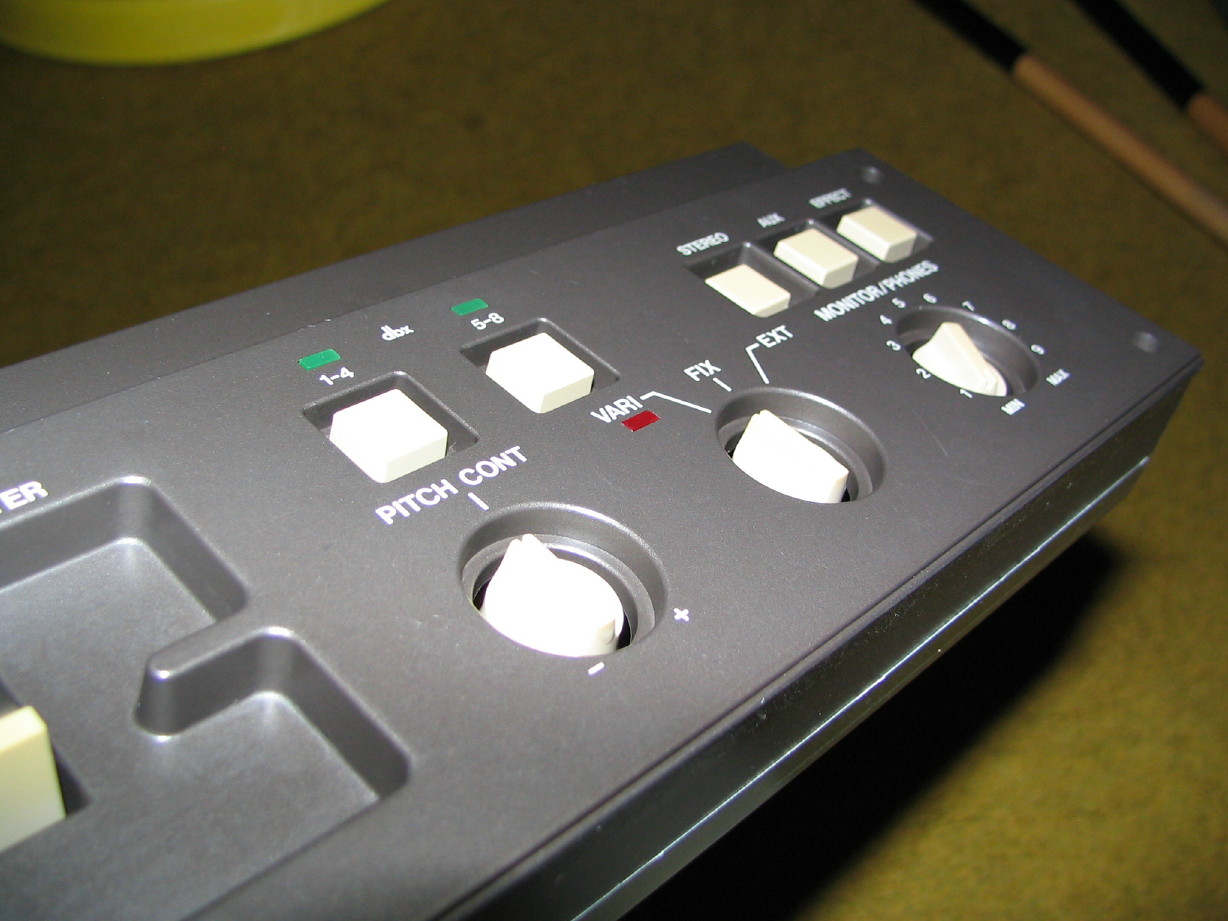
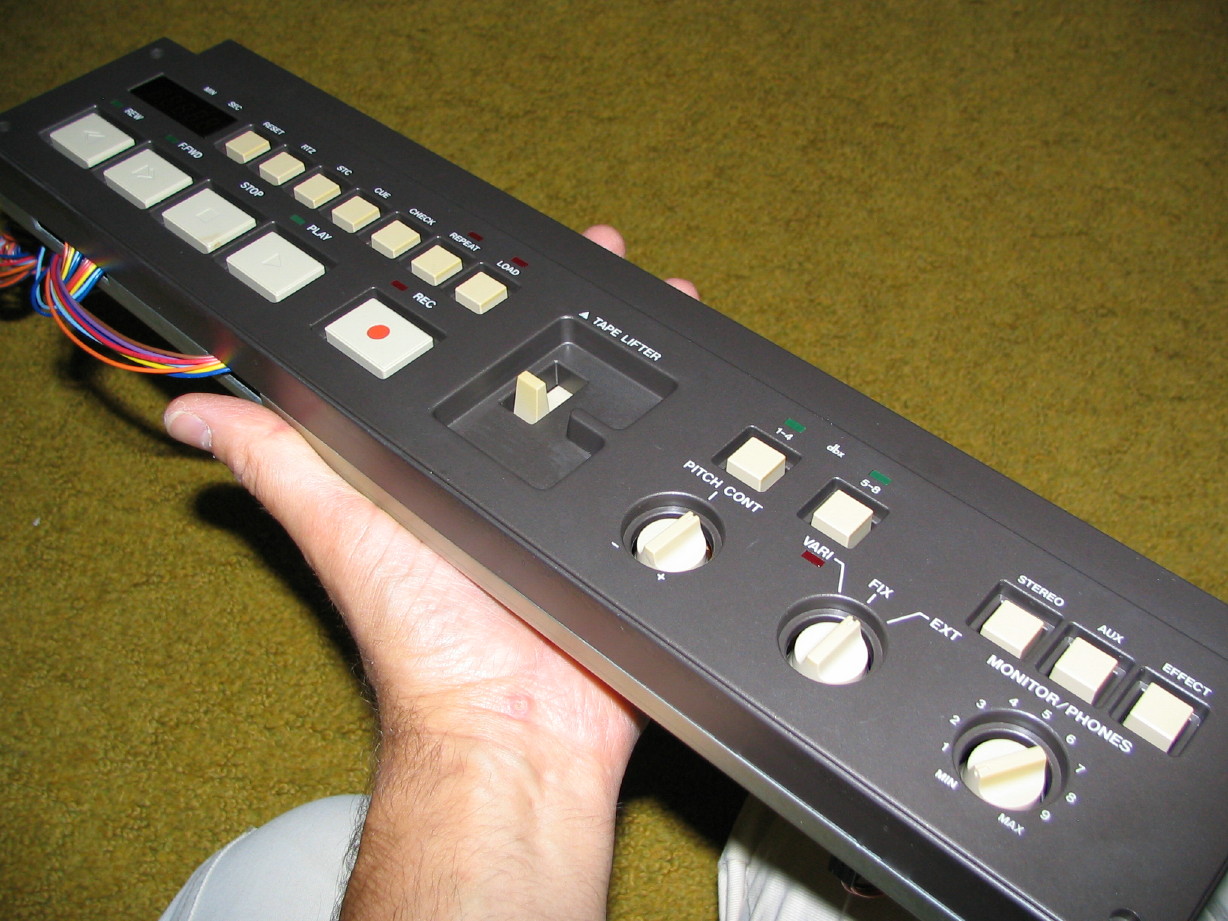
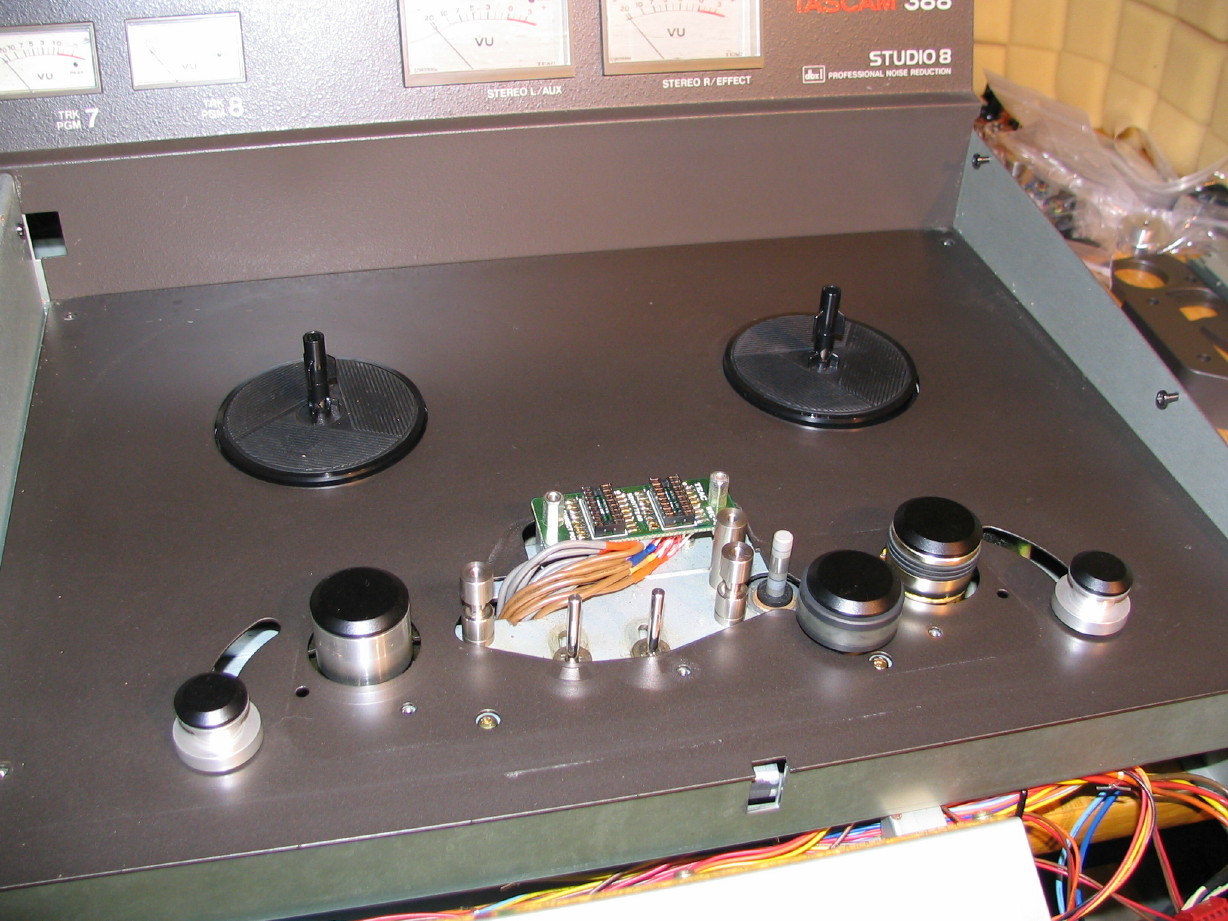
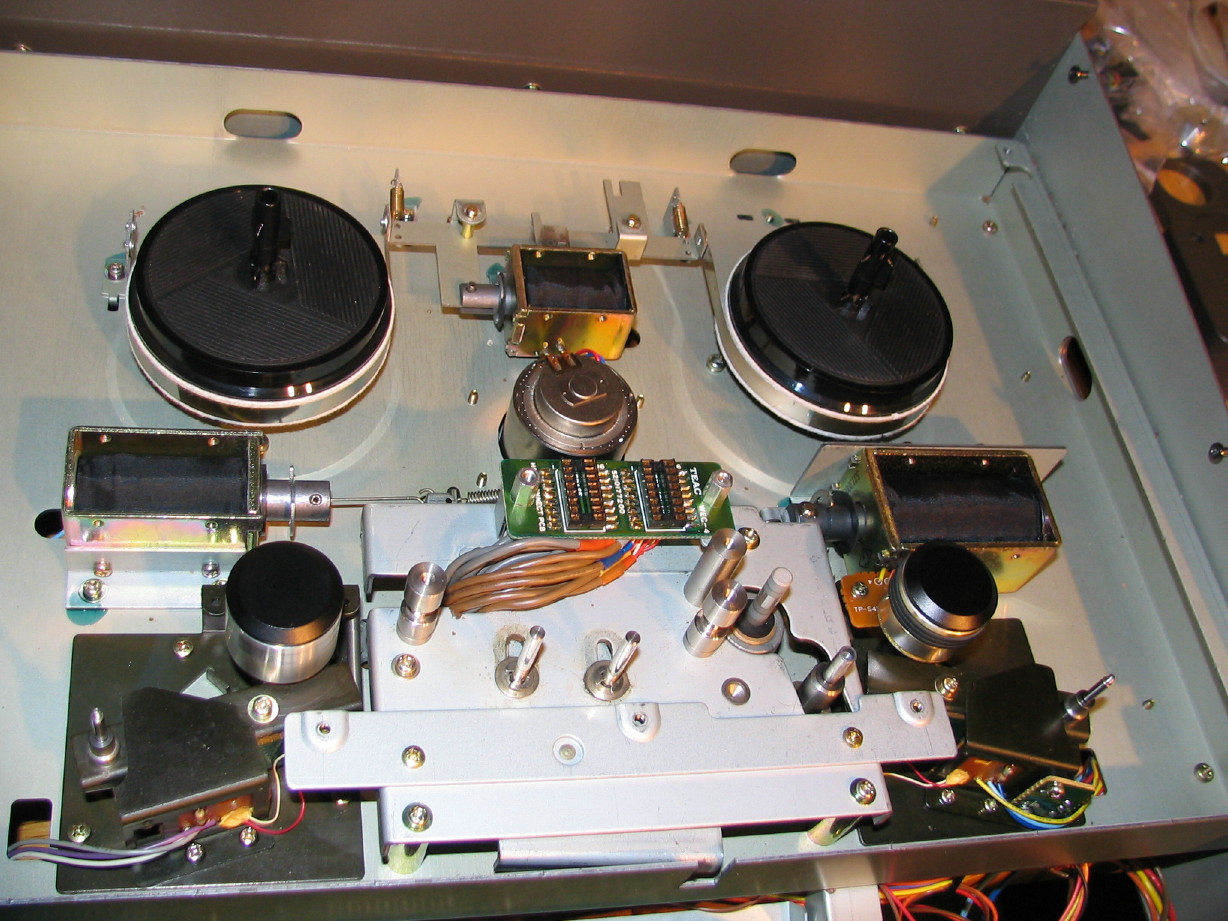
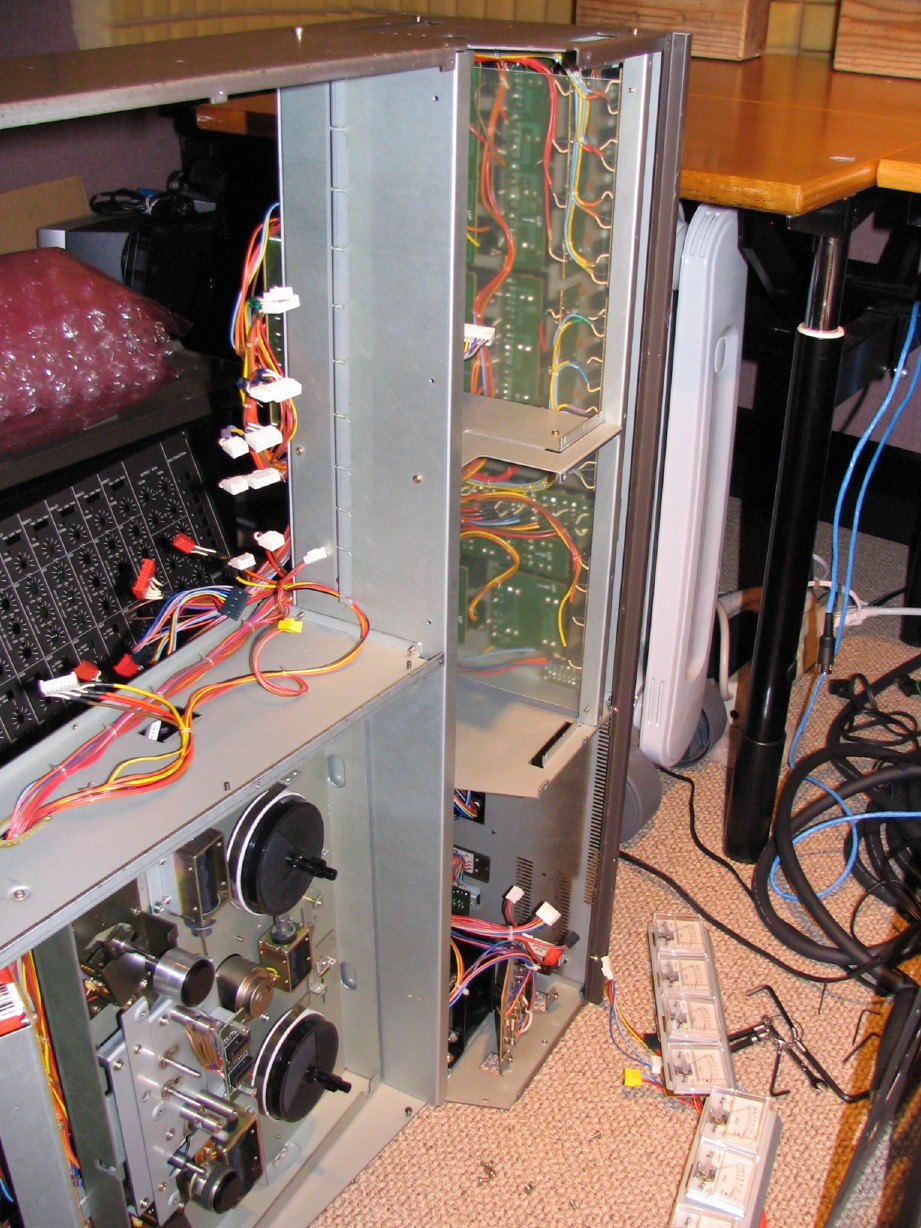
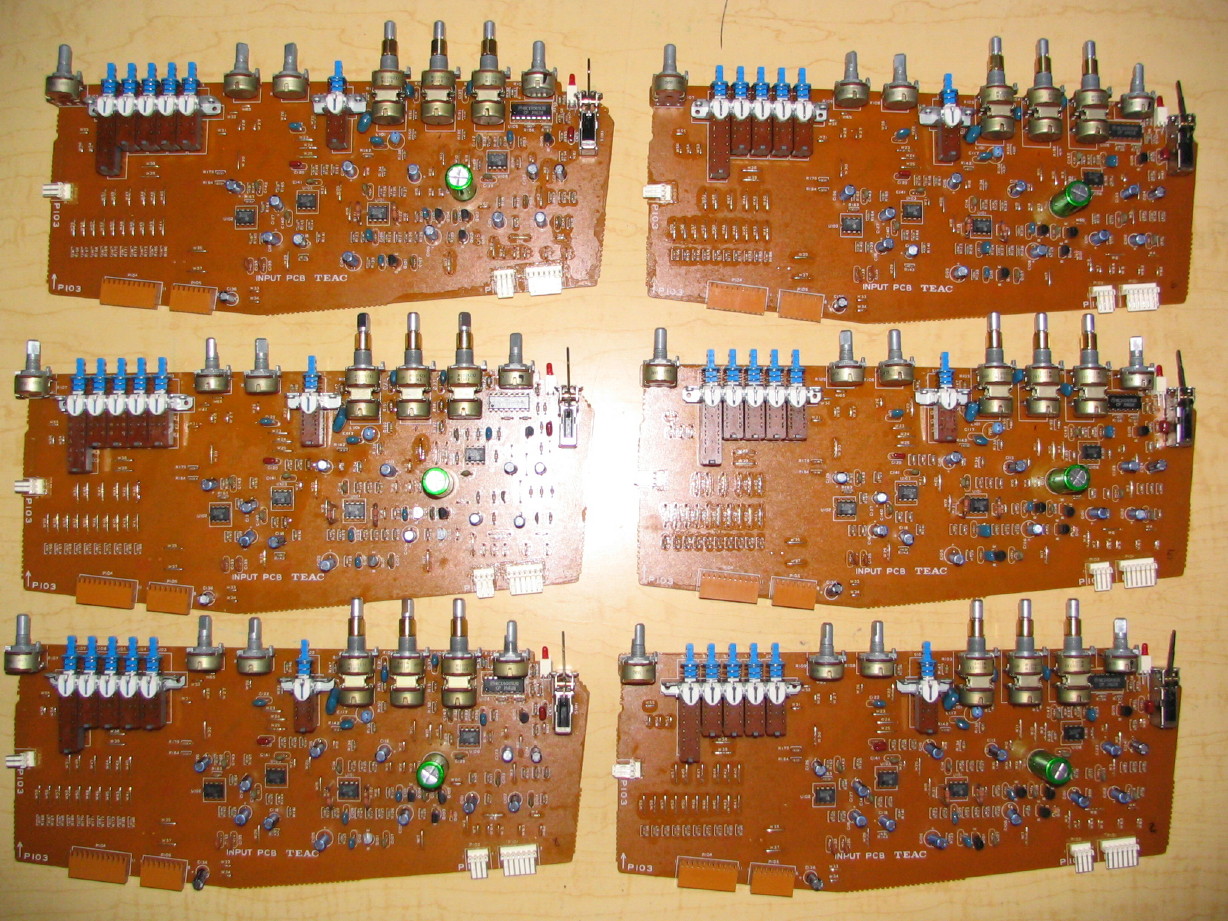
This is what a 388 looks like without a bunch of its, um, stuff.
MAN there's a lot to a 388!

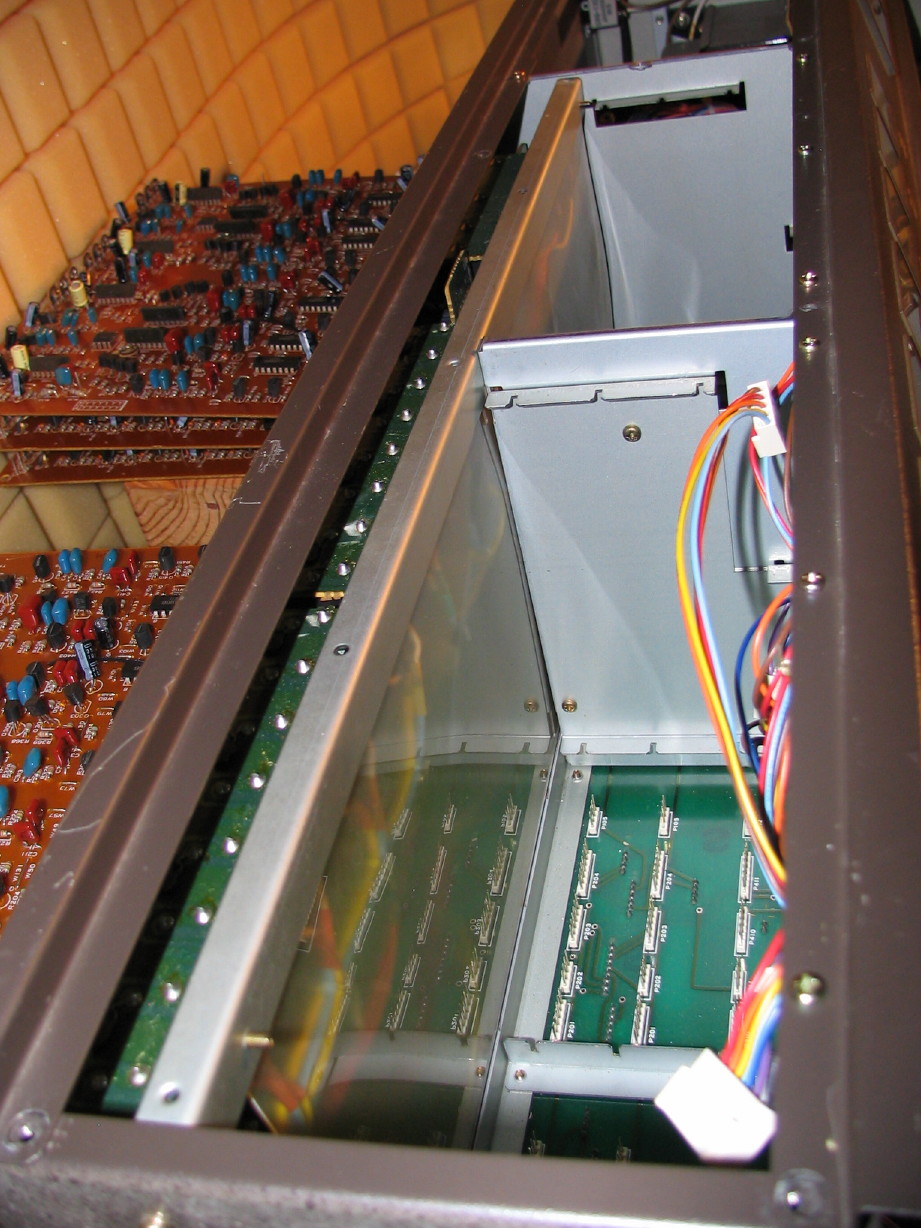
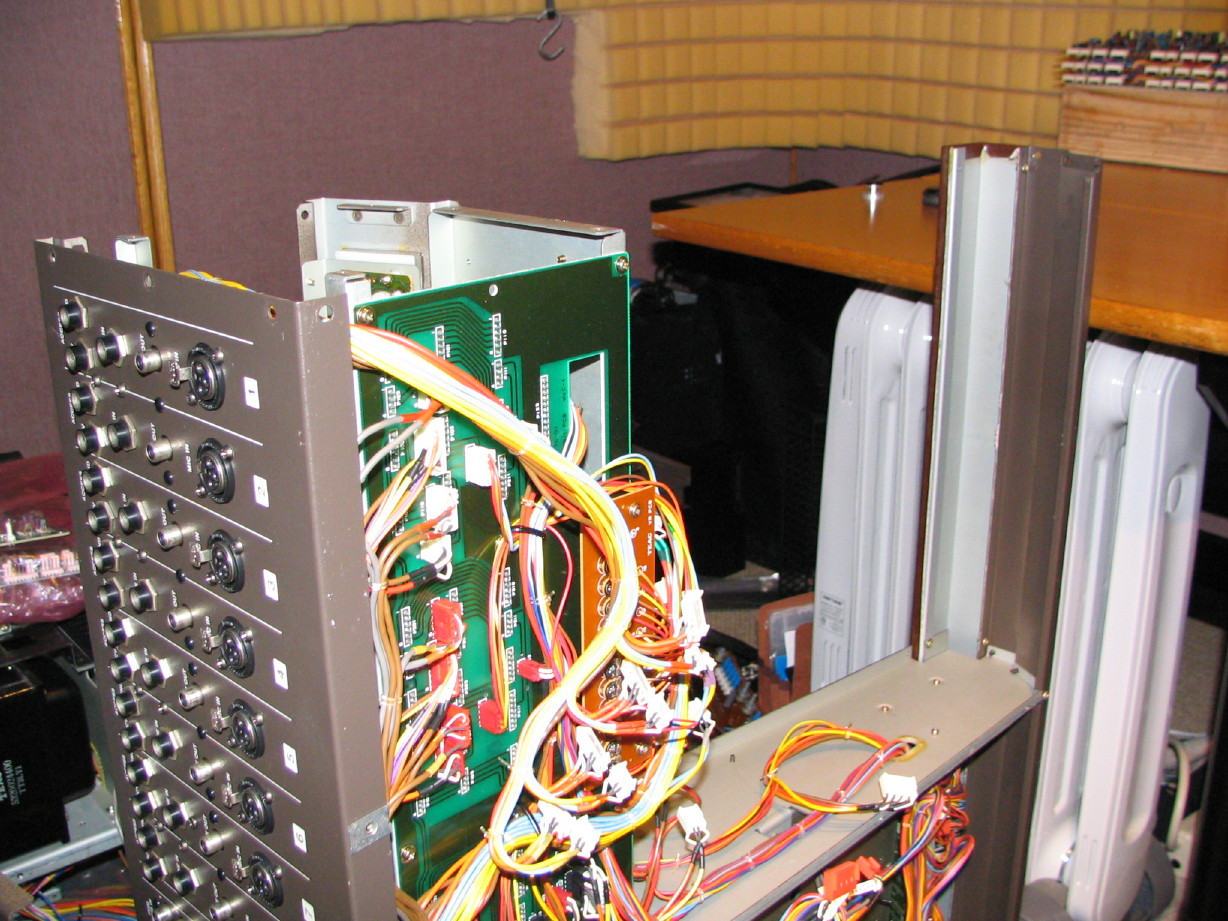
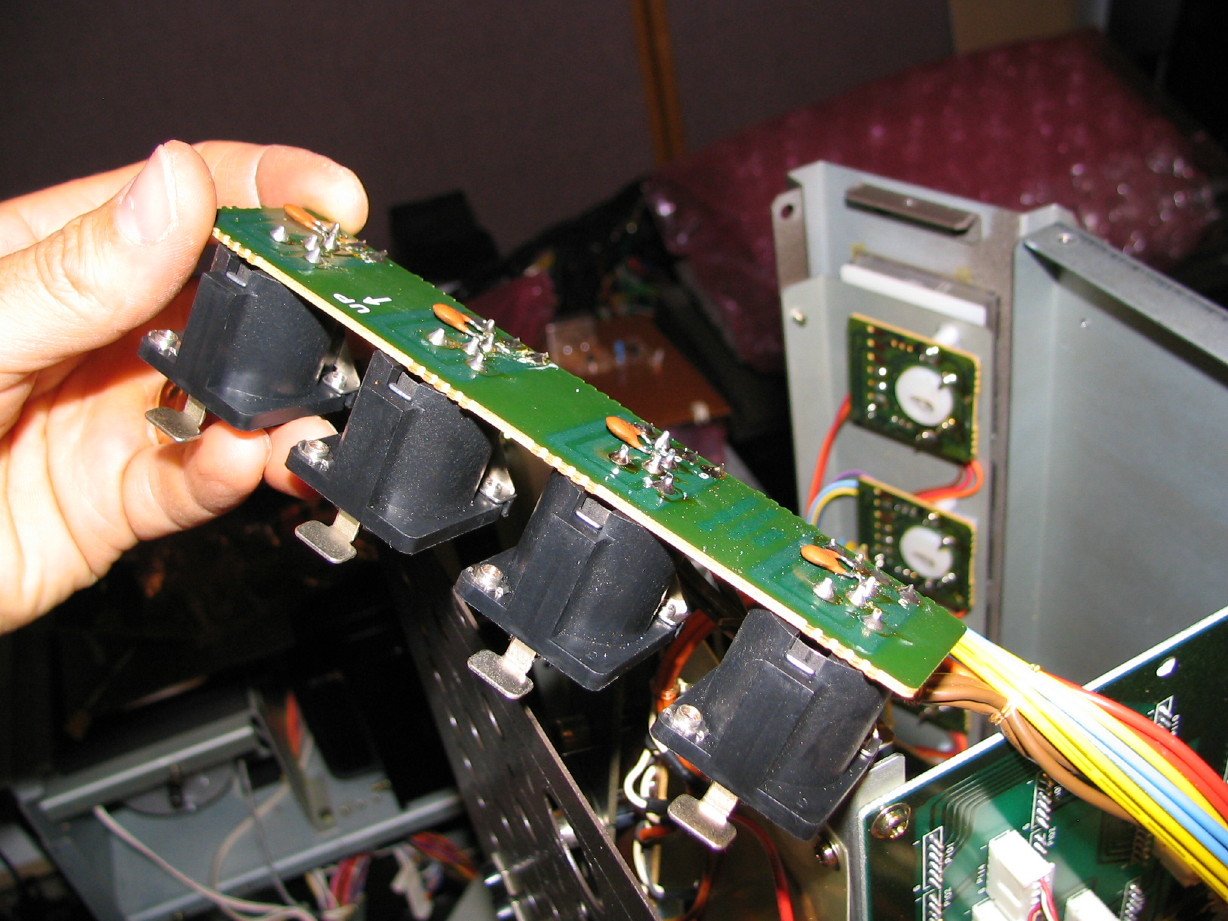
Now for one of the dumbest things ever...Remember that busted lock-release tab on XLR #2? I was bound and determined to get that fixed. My plan was to get access to the jack, disassemble and pull a tab from spares. Well, there is a heavy plastic shield between all the jack PCB's and the cardbay. You can see them in the last picture there in front of all the green PCB's (which are the jack PCB's). I of course have no issue with the shields being there, but they really make it a PITA to repair jacks! And the way the jacks are wired you pretty much have to pull
all the jacks for channels 1 ~ 4 to wrangle the channel 1 ~ 4 mic input PCB out so you can get to it...unless you want to remove the whole rear panel, which I did not. So here goes...
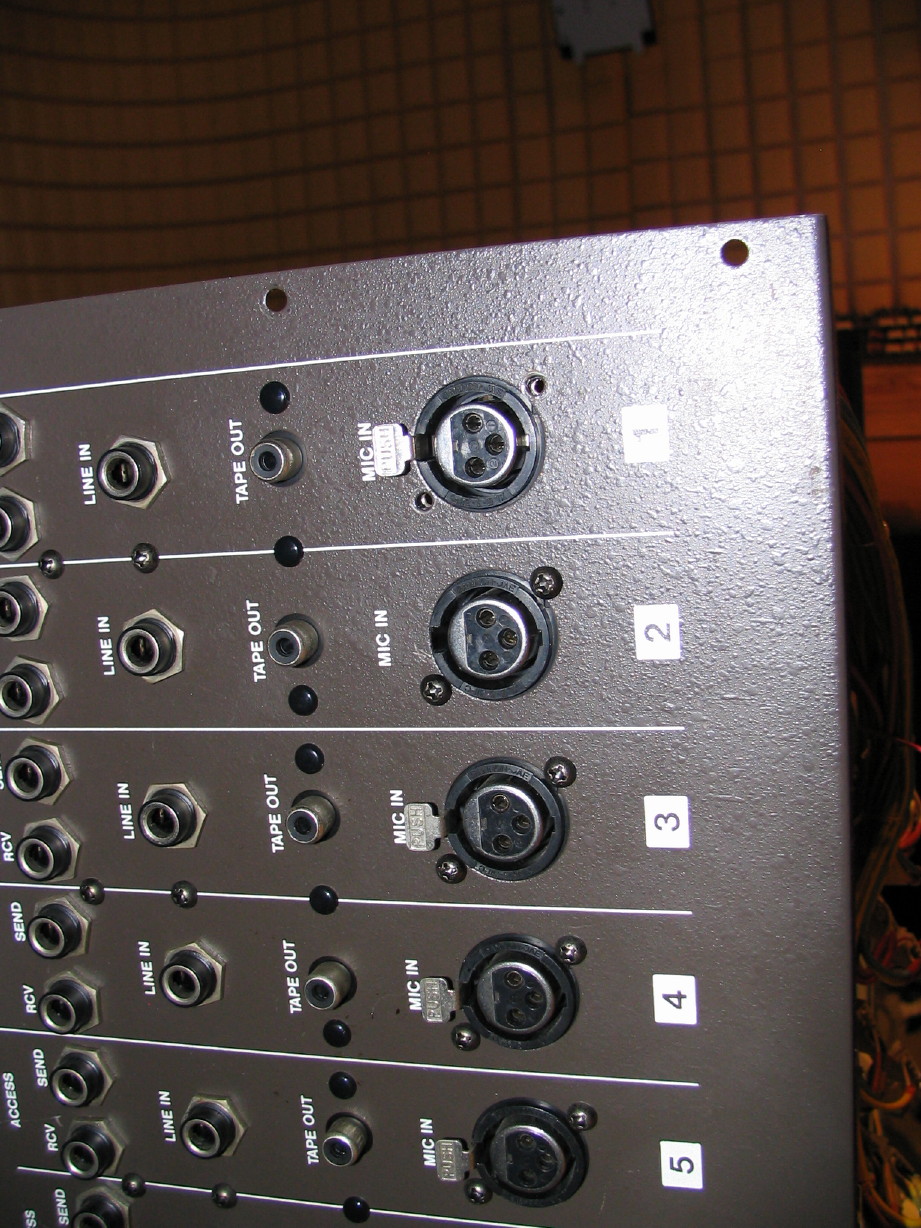
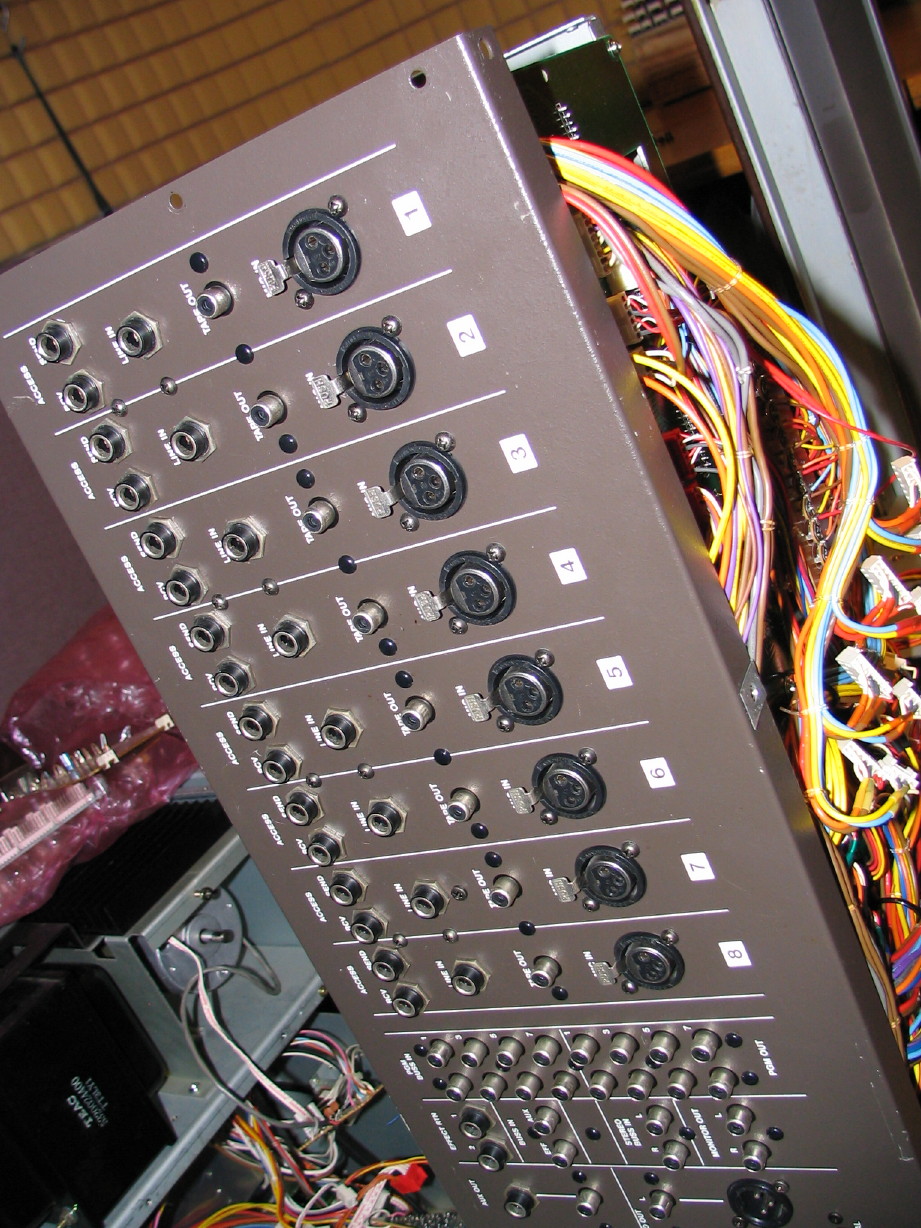
Here's the patient...in process of removing all the screws for channel 1 ~ 4 jacks:
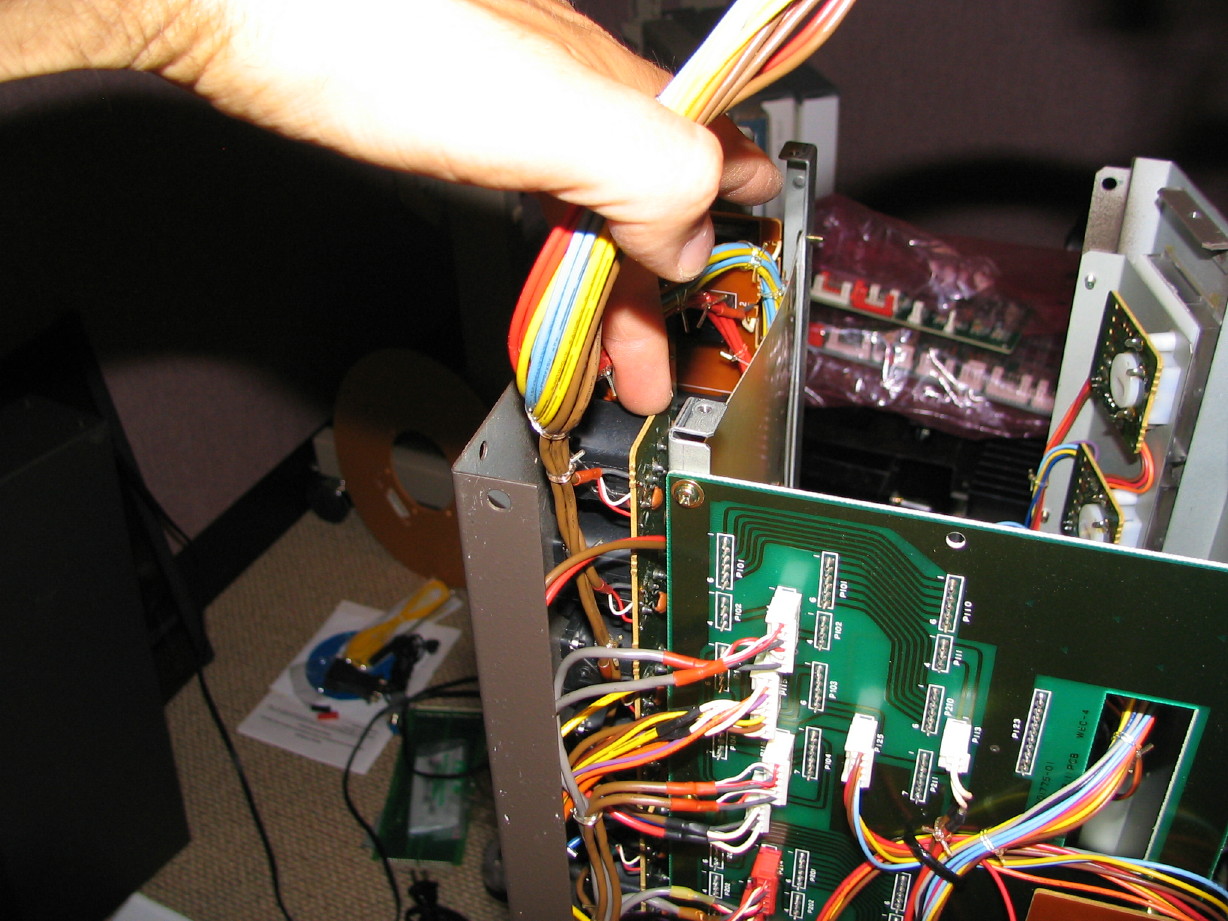
Because of the shields and the Mother PCB I had to take the left sash off...that's the side panel of the 388:
This may give you a better idea of the struggle at-hand...You are looking at the 388 from underneath and from the left side. My index finger is pointing to the channel 1 ~ 4 MIC jack PCB...that's got to come out, along with the direct out jacks and insert jacks...
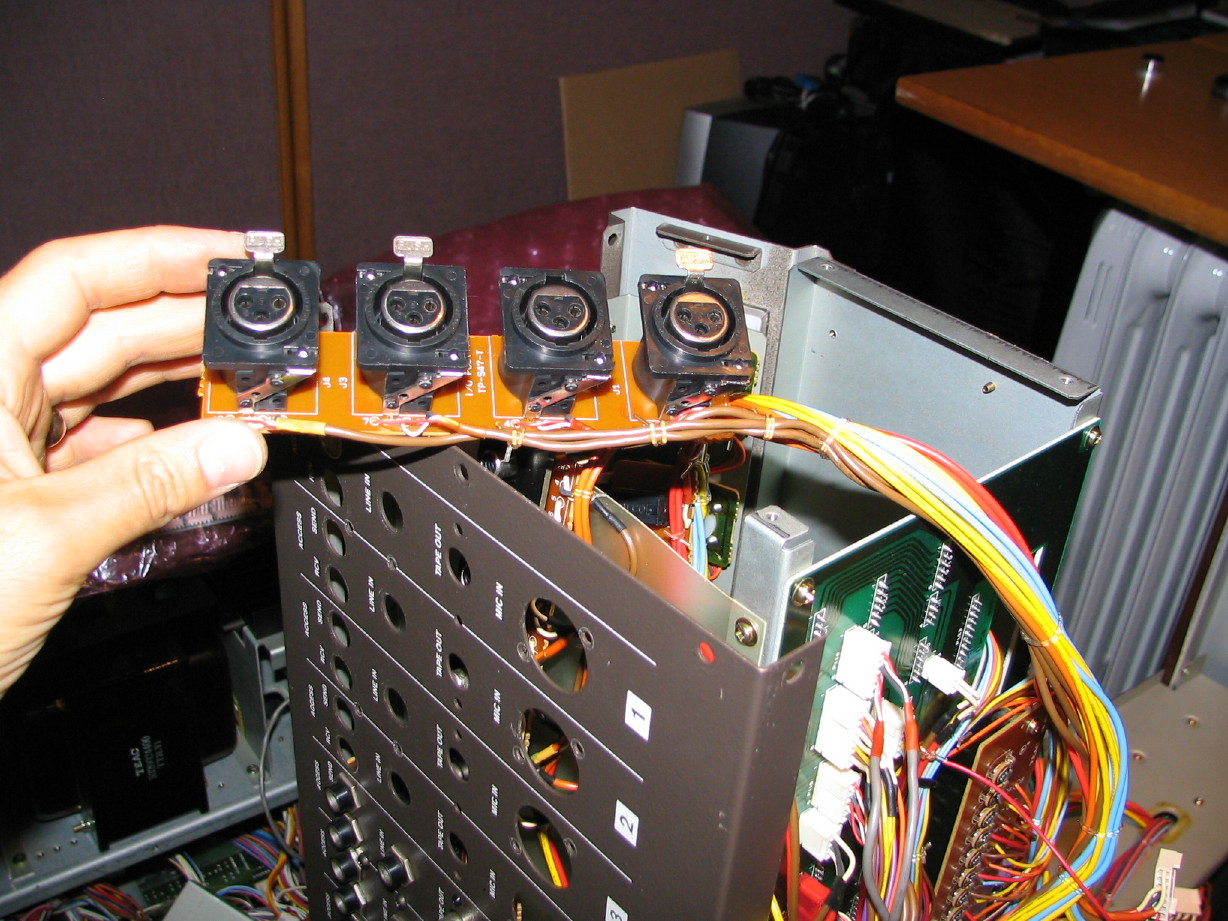
Finally got it out:
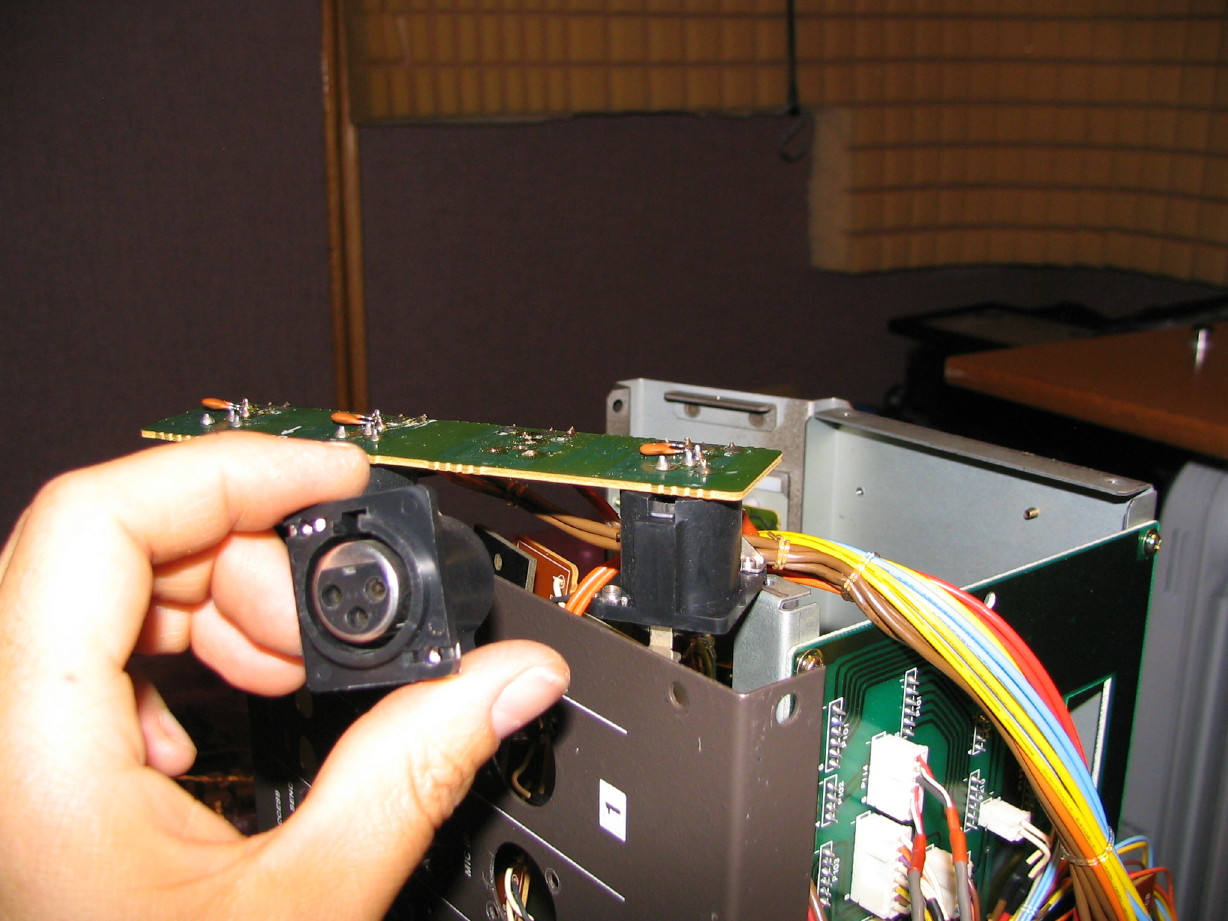
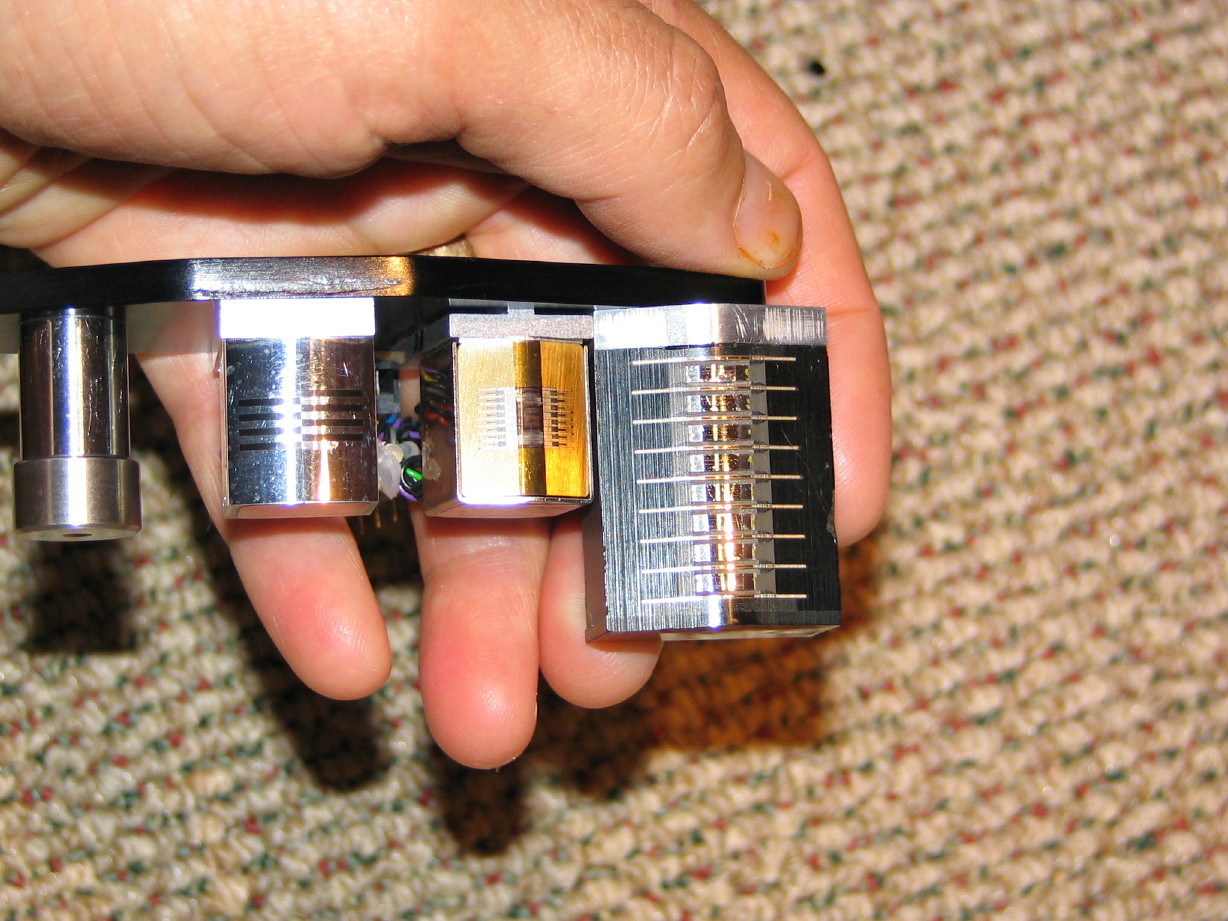
Ugh...can't find anywhere to open the jack housing up, so I desolder the jack only to find you can't open them up...nothing against the 388...good quality jacks, just can't take them apart like the Switchcraft or old Cannon type jacks:
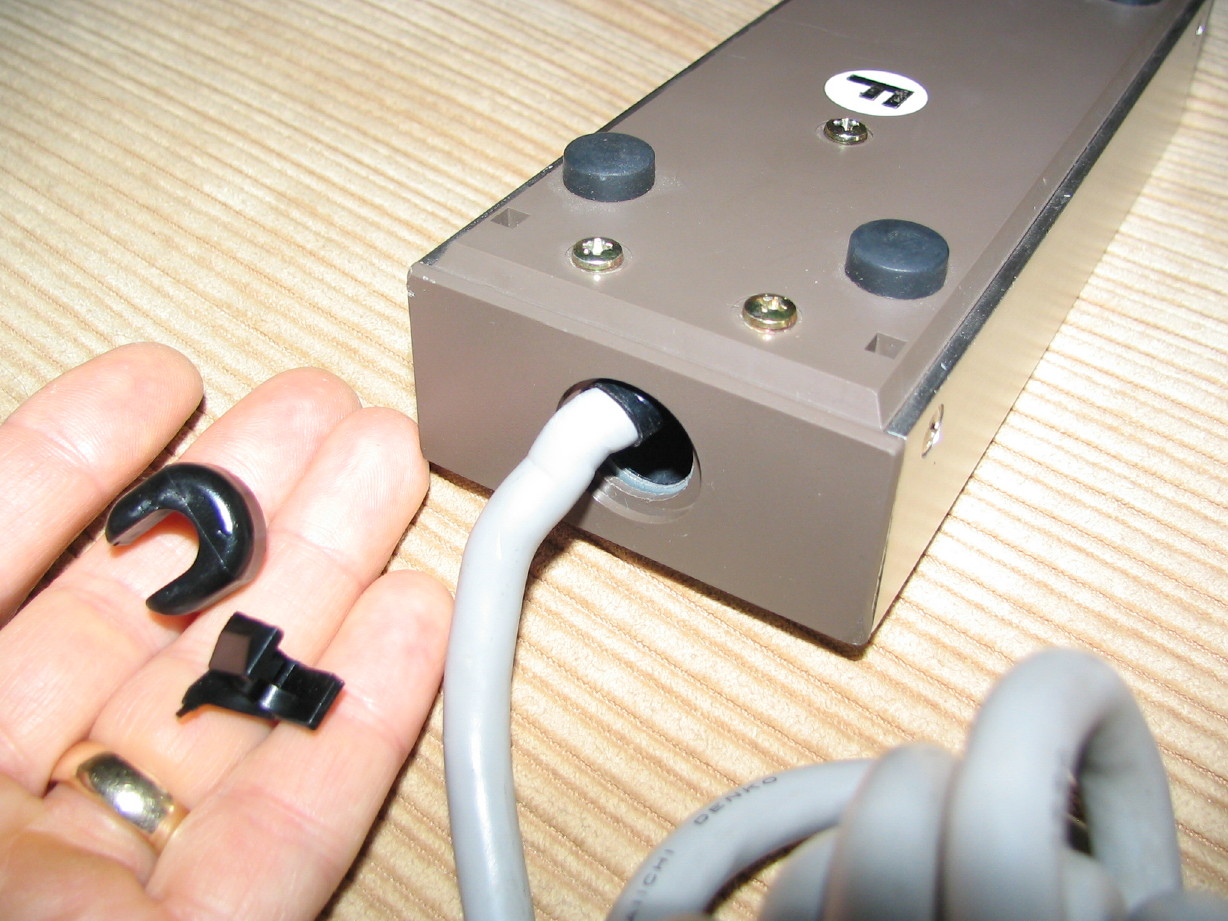
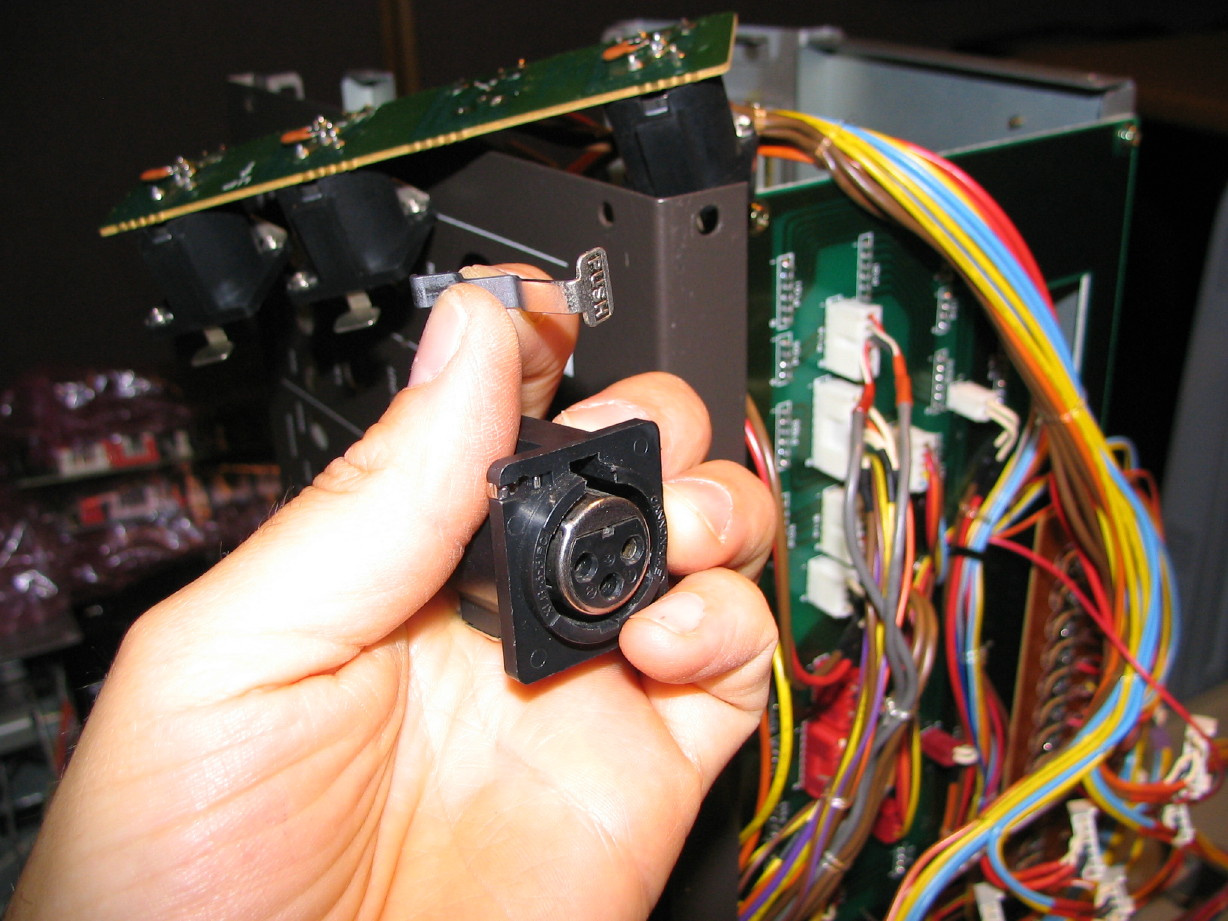
Then it hits me as I more closely inspect the jack and the issue...the lock-release tab isn't broken...its just gone and after looking at the others the tab can be removed and replaced quite easily. Got a replacement cleaned up...
And simply slid it into the slot with a satisfying *click*:
Soldered it back onto the jack PCB...
Annnnnd put the whole mess back together:
If you don't get the significance of all this, the point is that I could've popped the new release tab into place without disassembling a thing. Oh well, I now know a lot more than I did before, and it only took about an hour of my life...and its fixed.
 :rolleyes:")
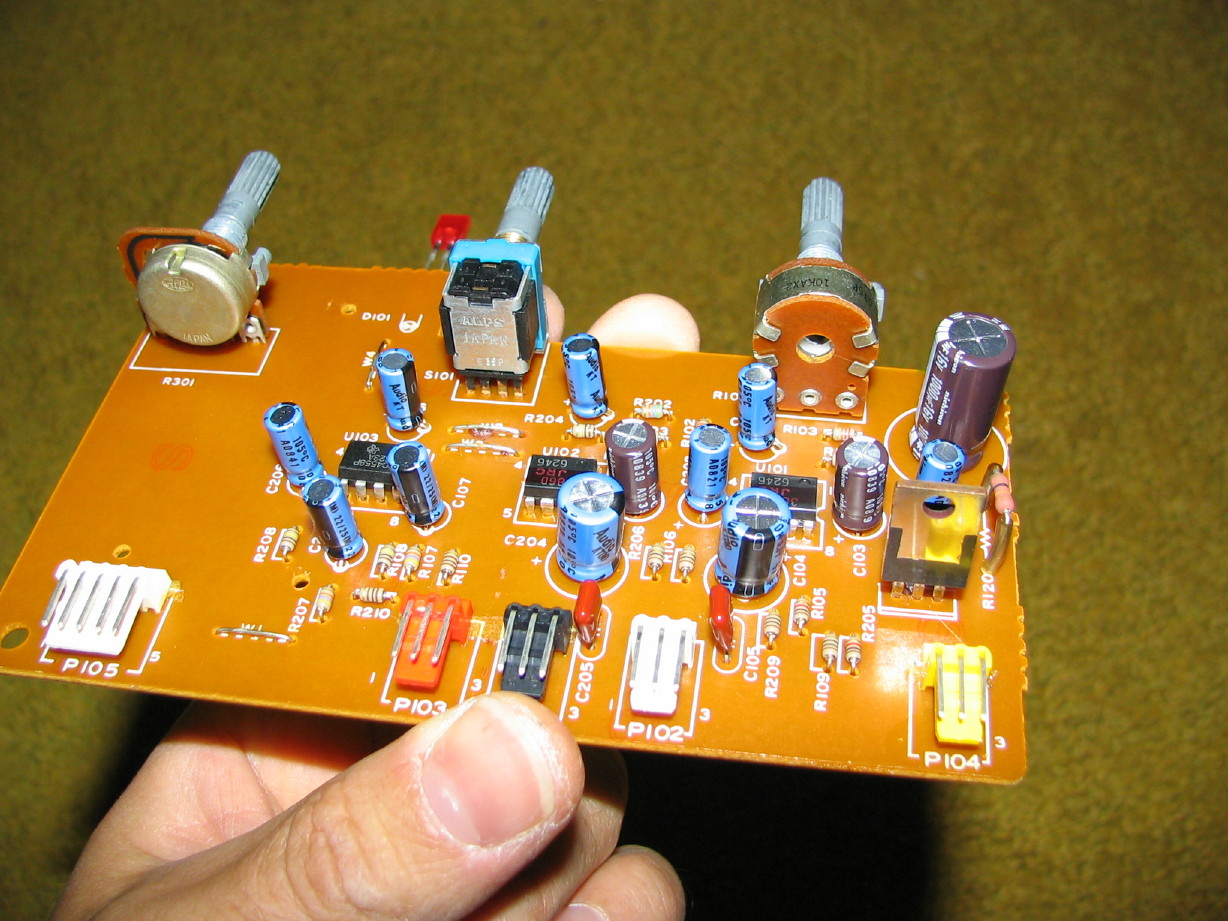
Also recapped the Reel Servo PCB...3 caps.
quick! Satisfying after the jack ordeal:
And that along with the PSU and Capstan Servo PCB post earlier brings us up-to-date!
")


")