Okay.
Here is a little tutorial on the extender cables which should be going out Monday...this is an XviD format MPEG video so you'll need an XviD codec to view. It is about 50Mb in size. This is for Cobb and anybody in the future that needs to borrow these cables. I just want people to understand the risks of using these home-grown cables, and the precautions you should take...a momentary lapse of care could do a lot of damage...I know this first-hand (from my Tascam 58), so let's be careful out there huh? I assume no liability for bad things that may result to your equipment as a result of using these cables. I sincerely hope these only bring good things, but I can't be responsible for what you do with them. Here's the vid:
https://www.torridheatstudios.com/ftp/share/movies/Tascam%20388/PSU%20PCB%20Extender%20Cable%20Primer.avi
First, let's plug in the motherboard ends of the extender cables. The motherboard ends of the extender cables connect to the motherboard in an orientation like the connectors that are on the PCB...the PCB connectors have two tabs on the bottom...the connectors I used for the motherboard end of the extender cables also have two tabs on the bottom of them. If you pay attention to how the PCB connectors are oriented when you plug the PCB into the motherboard and plug the extender cables in with the same orientation (i.e. the two tabs of each connector face the left end of the 388) you will be fine. In this picture I am holding the motherboard end of the P6 extender cable next to the P6 connector on the PCB so you can see what I'm talking about when I say "two tabs":
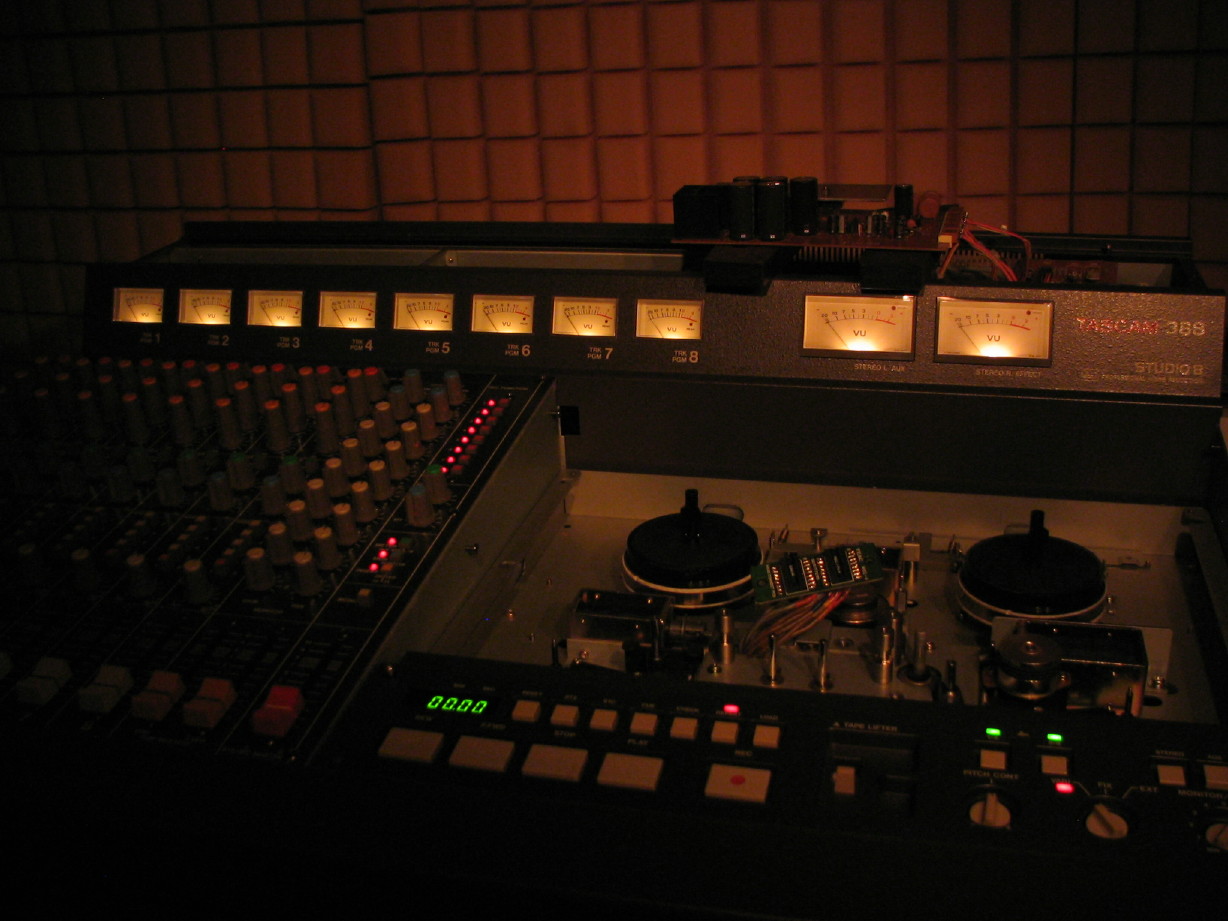
Here is a shot looking down into the cardbay at the motherboard...you can see the 5 extender cables plugged into P2 ~ P6 on the motherboard. Note that on the
motherboard connectors P2 ~ P6 are labeled, but pin 1 is
not identified for any of them, so just pay special attention to how the PCB plugs in and keep pin 1 of each extender cable oriented with what naturally
has to be pin 1 on the motherboard since the card will only plug in one way. I'm emphasizing all this over and over because, while the card will only plug into the motherboard one way,
we are removing that safety net when using the extender cables. Make sure that the motherboard end of the extender cables are not offset on the connectors on the motherboard. The labeling of the connectors on the extender cables will face the right side of the 388 (i.e. toward the power transformer), and the double tabbed side of the extender cable connectors will face the left of the 388. **Note: you will probably want to remove the Reel Servo PCB to get better access to the PSU PCB connectors of the motherboard...the Reel Servo PCB is the one just to the left of the PSU PCB. Just unplug it and slide it out like the PSU PCB and set it aside to make it easier to plug the extender cables in and see what you are doing.
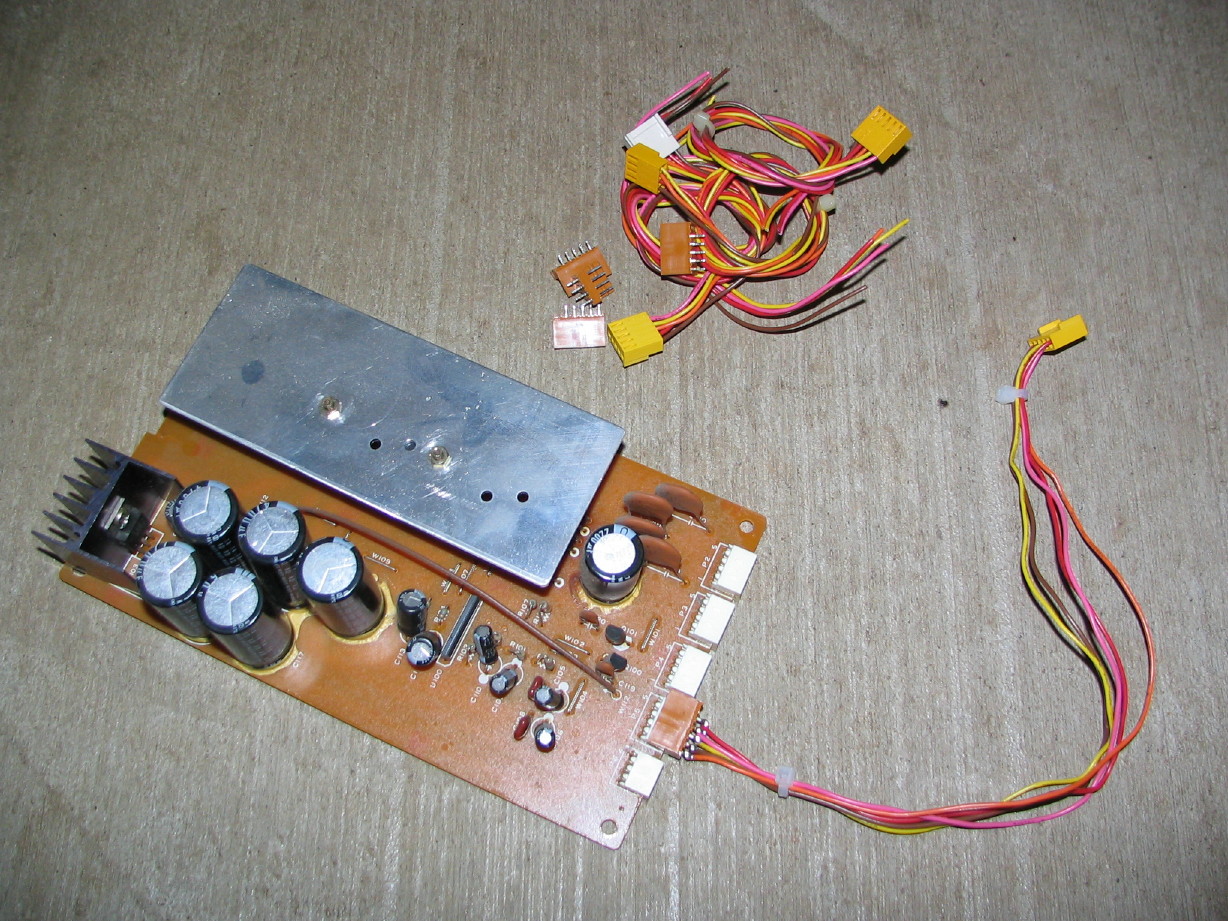
Now let's connect them up to the PSU PCB. Here's how they look when connected to the PSU PCB. Note that the "1" mark on each extender cable plug lines up with the pin 1 indicator on the PCB. Also note they are labeled P2 ~ P6 just like the PSU PCB and the motherboard. Keep P2 with P2 from motherboard to PSU PCB, P3 wih P3, etc.
**Also note that the plugs for P2 ~ P5 are 5-pin connectors but I had to use 6-pin plugs.**. I had to use what I had on-hand and I didn't have any 5-pin connectors. I cut a notch out of each one to visually distinguish the unused pin location (and I also removed the pin but the risk is that you could still accidentally offset a plug
so pay attention to this when connecting the cables up to the PCB!
Another view:
Now with everything connected up it should look like this:
**NOTE: find something non-conductive to set on the top of the cardbay to make a spot for the PCB to sit...
Let me know if you have any questions.
And if I didn't mention it already, take your time, be careful, check, recheck and then check again.
BTW, since taking the pictures I have applied some RTV sealant to the terminal/solder-side of the PCB end of the extender cables.

")
")


