RIGHT! Sooooo...forgive my neglect of this thread, I'm way behind! Let's see, let's see...where did I leave off...well, I'd gotten Alan wired up and did a general sit-rep. I expected that there would be a few funky pots, some tired switches, some IC pins that would need a good cleaning and lots of cooked caps and that's...pretty much exactly what my tests revealed. A number of EQ sections wouldn't even work due to shot caps, and I also had several channels that wouldn't light up which again turned out to be cooked caps--in fact, a couple of them had shorted and caused the console to be clandestinely stuck in solo, which was a real bitch to figure out


The automation also seemed to be completely batty, as is typical with un-refurbished 600s.
The good news for the latter was that I could switch off the JH-50 automation system and worry about it later, as the faders still worked manually. Leaving the auto switched off cost me the grouping system--which is a bummer as it lets you slave any faders to any fader you want set as a master (say you want to control your whole drum submix just with the kick fader, for example)--and it also cost me the soft mute and solo-in place, which isn't a big deal because each channel also has a hard mute, and two more solos (one for the buss out and another for the monitor). Generally, I felt I could do without these for a while and decided to make a basic cleaning of the console and PSUs and full re-cap of all modules my top priorities.
On the plus side, even in its tired condition, I was pleased and quite relieved that the channels that did pass audio OK hinted at this being a very decent sounding console indeed. There was undeniable punch and weight to what I was hearing and I knew right away that this was going to be a console worth the hard work. I was face to face with a whole new sonic ballgame!
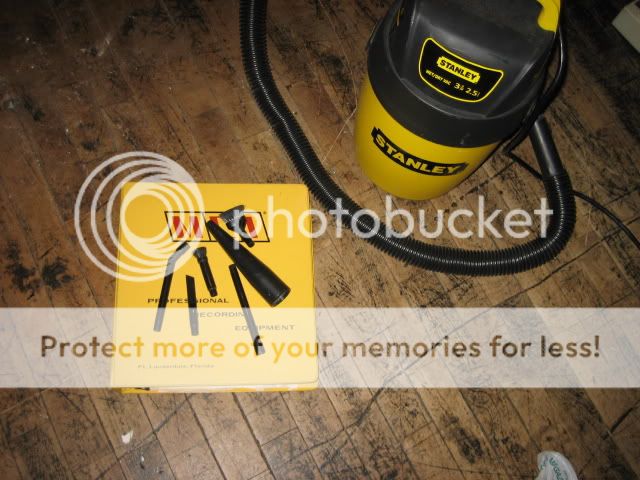
Ah, but first thing's first...wiggle your big toe! I started by cleaning the fader packs so I could start mitigating compound signal loss problems. My method was basically to open up the faders (which as far as I can tell are MCI-made P&G-ish types, or at least they sure look familiar), give them a dusting with a shop vac and mini-nozzle kit (really REALLY handy around electronics!), loosen up and remove crud and oxide with swabs dipped in alcohol, then give a final polish/lube with faders dipped in Fader F5 on the rails only. Some of the rails were so oxidized and crusted with dust, boogers and beard hair that they could barely move. Others weren't so bad, but I didn't run into a fader that didn't benefit from the cleaning. Afterward, the faders were all muuuch smoother and more consistent.
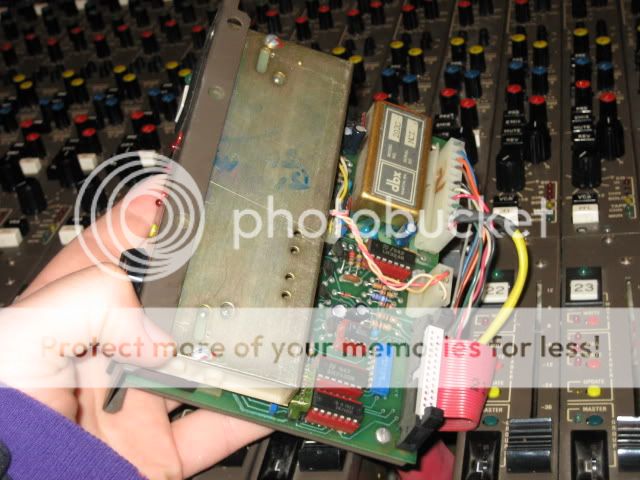
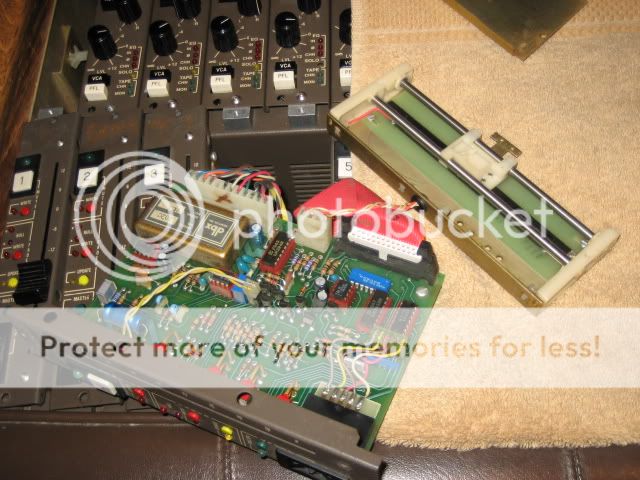
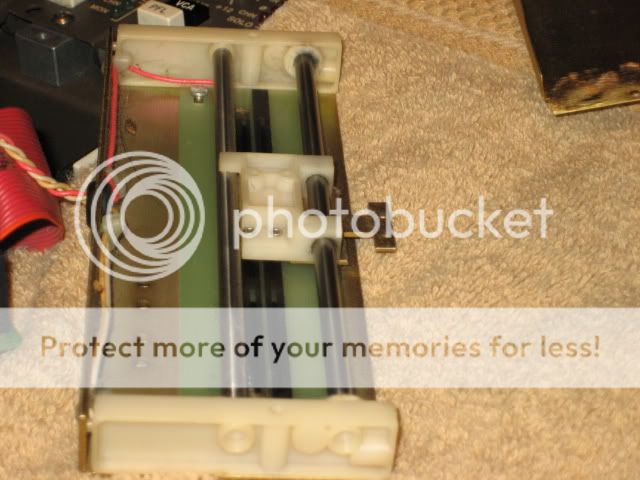
Here are some pics of a typical fader pack. As it turns out, my console's fader packs have the venerable DBX 202C "goldcan" VCAs!
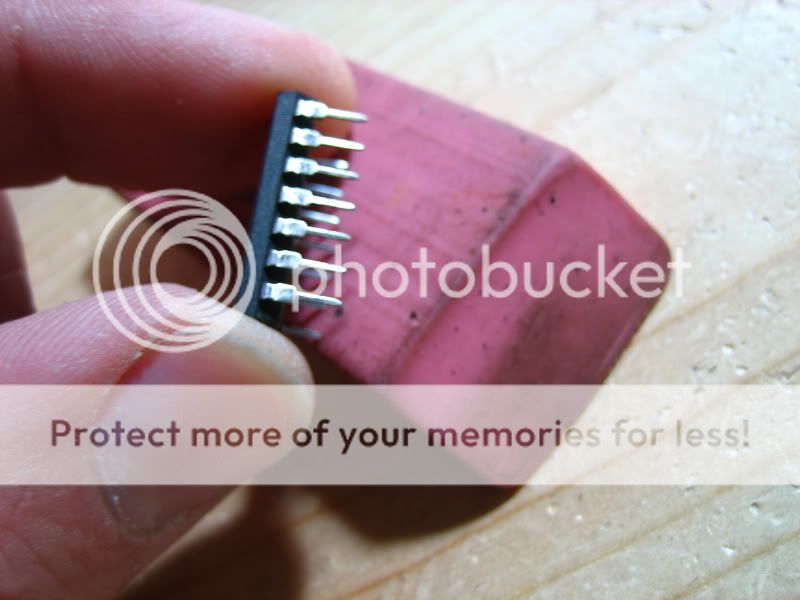
Here's a fader pack with the fader assembly pulled out of the way. There are more ICs and caps in the packages that have been causing problems. Once the channel module re-cap is completed, the fader packs are getting the same treatment with fresh 'lytics. Keeping the IC pins clean will be an ongoing maintenance point along with keeping the faders themselves clean; I just take a pencil eraser to 'em.
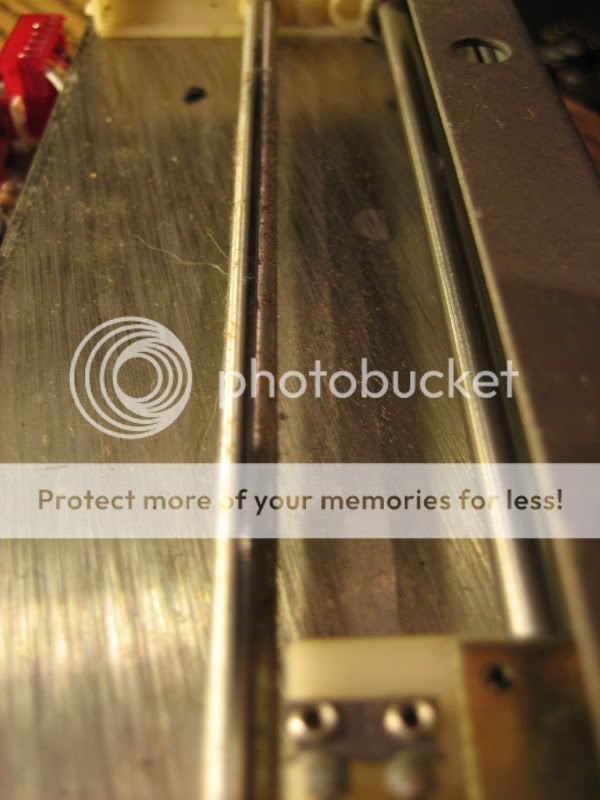
Here's a typical fader needing cleaning. This one was neither the cleanest nor dirtiest, but lookit all that crap!
Here's a first and second pass with a swab. Eyyyooooo!
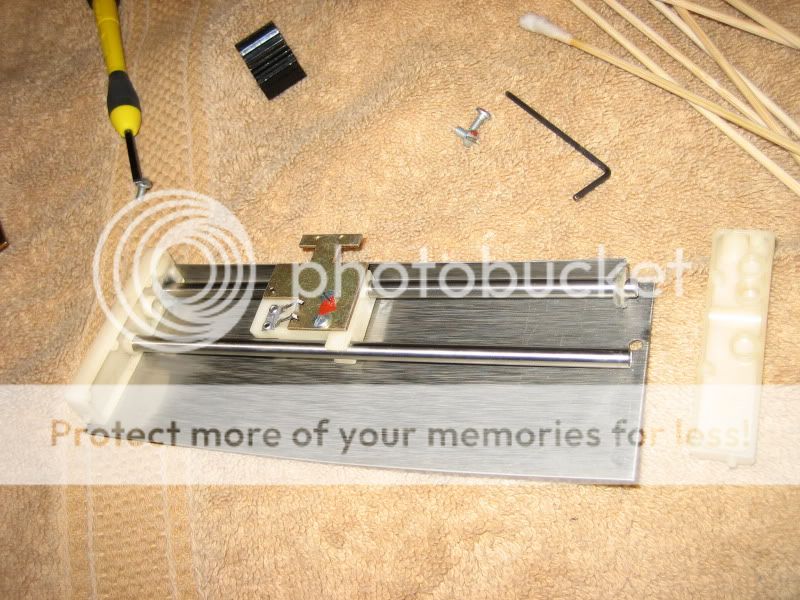
And here's a fader pulled apart, with cleaned up rails--but looks like I hadn't gotten to the felts yet.
Cleaning the faders was tedious and it won't be the last time I have to swab them, but it was clear that nobody had touched these suckers for many, many years and now that I've caught them up, it won't be such a big job to keep them tidy now. Note that the fader packs are also one of the few parts on
a 600 series to have the infamously didgy Molex connectors. Between Molexes that need routine re-flowing, faders that need dusting, and the IC pins that like to oxidize, I will have ongoing reason to pull out the fader packs and give them a general cleaning up ( BTW, oddly it's mostly the 741 IC pins that get all black and gross, and seems to be tied in not so much to the red sockets, but a certain couple brands of ICs that are prone to oxidation).
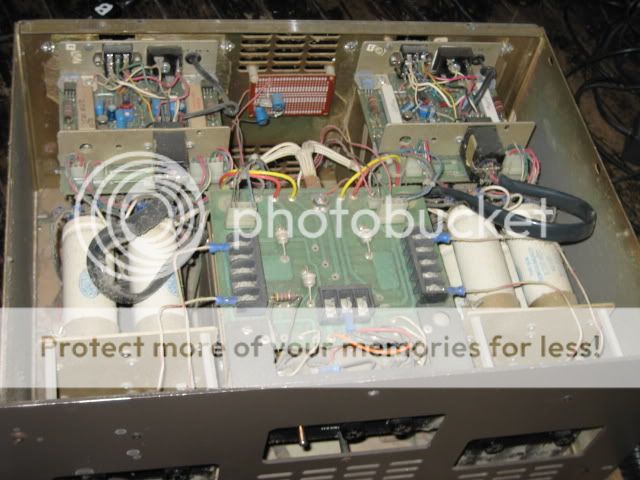
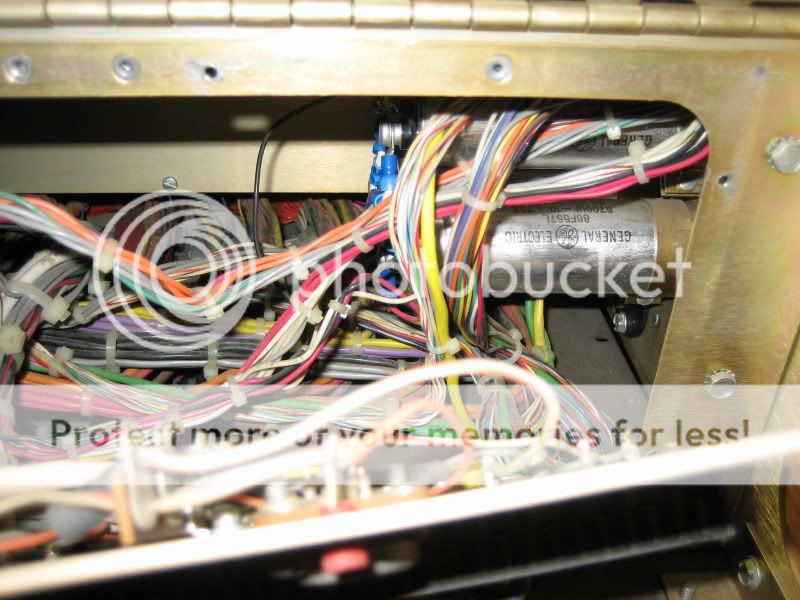
At this time, I also opened up the power supplies for a cleaning and sit-rep. Again, they were dusty and neglected, and I wanted to inventory the capacitors and anything else I wanted to slate for replacement. The shop vac and mini-nozzles again proved really, really handy--much better than an overpriced can of compressed air sending gobs of dust flying all over the room!
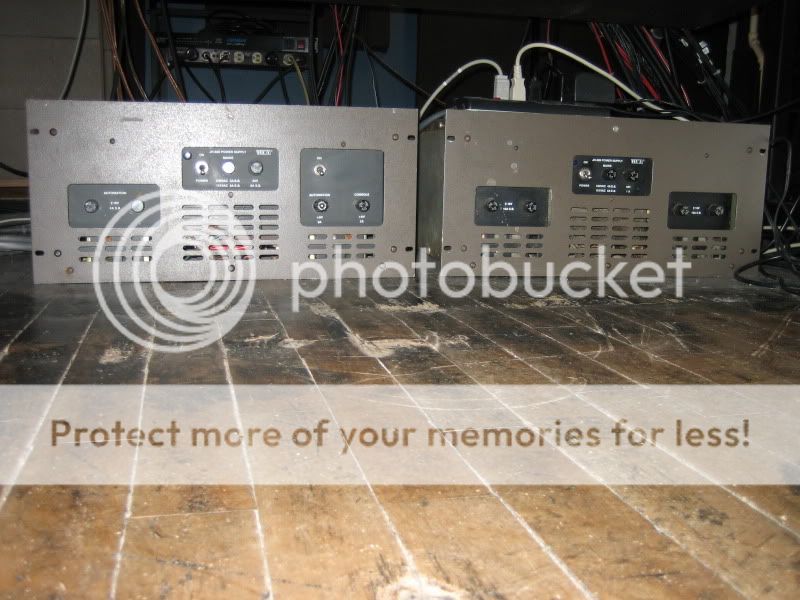
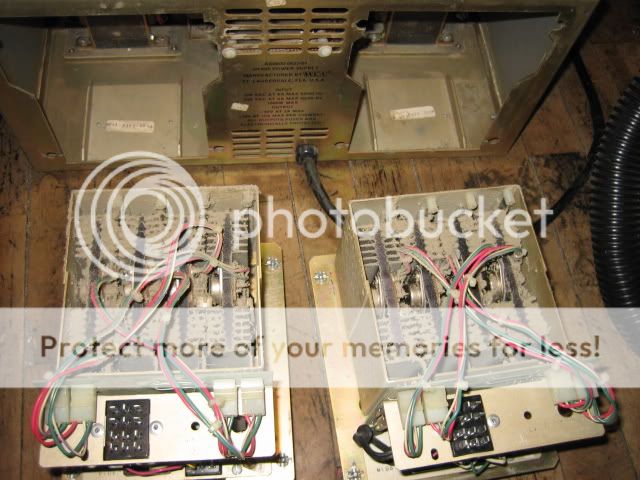
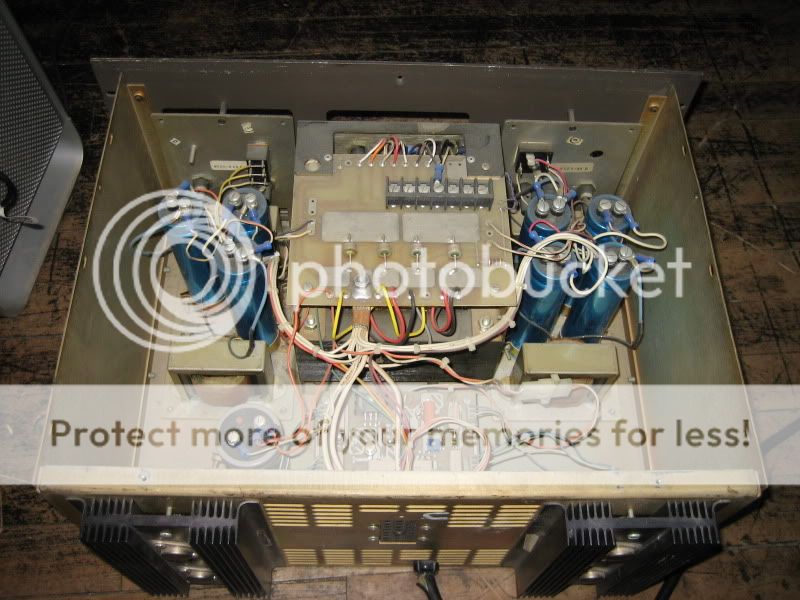
Here are the two PSUs. On the right is the audio supply, which has the +/-18v rails as well as 48v phantom power. On the left is the peripheral supply, which supplies the lamps and logic and also houses the automation power, which has its own on/off toggle. On a side note, I have already re-capped all the regulator boards, and will be doing the big filter caps very soon, starting with the audio supply.
The audio supply is fan-cooled and also packed pretty tight; as such, it's pretty prone to dustiness, as I found when popping the top.
There are two fans on the back of the audio PSU; these are attached to "chimneys" that pull out for access to the heatsinks, which are especially prone to a dust carpeting!
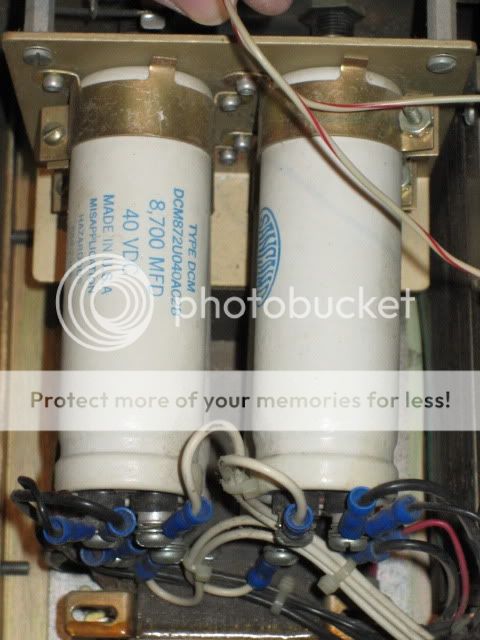
Here are a couple of the big audio filter caps, 8700uf 40v. In total there are 8 or them in the supply chassis....
...and four more in the console frame just behind the power cord terminal strips, for a total of 12! I will be replacing them all sooner than later, and with higher values: at least 10,000uf each, and I might possibly go as high as 22,000uf!! Hehe
Now here's the top popped off the Peripheral supply. Not quite so densely packed, but there are seven of those tall 10,000uf Mallorys and a short fat little 10,000uf/75v lurking in the back corner. This supply is not fan cooled, just a couple big sinks on the back of the chassis.
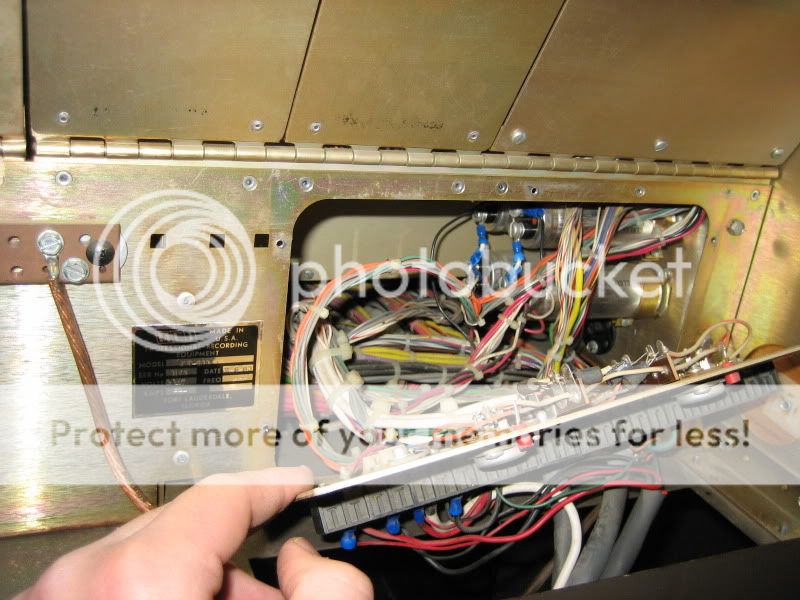
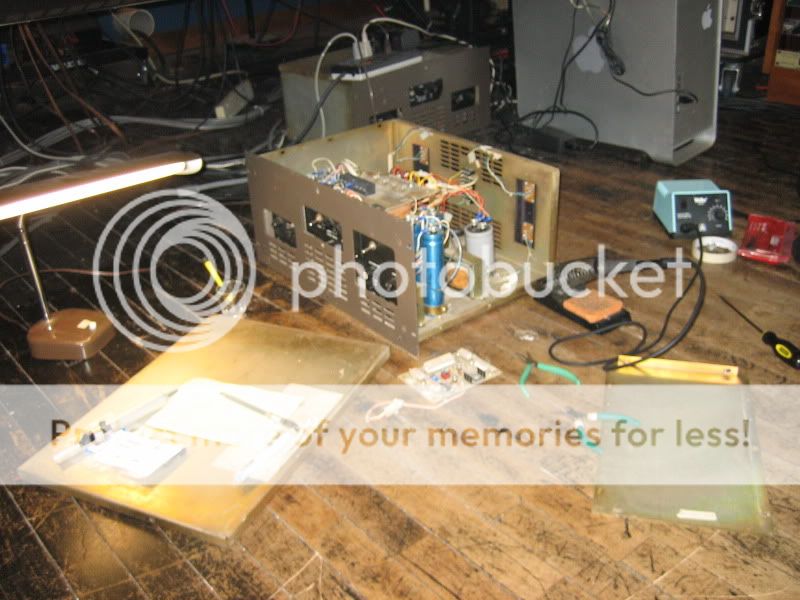
I had tons-o-fun pulling the chassis apart to get between caps for a dusting, and to remove the regulator board for a re-cap, which you can see on the floor in front of the PSU here. There were only a few caps to do on the board itself.
OK, I'm sick of typing
In the next installment, we will FINALLY get to The Great Re-cap of all the modules, which has turned out to be a real tedious pile o' fun and games


 :rolleyes:")


")