guitar junkie
Guitar User.
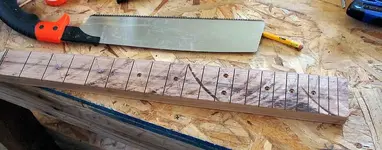
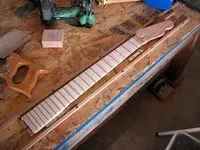
This has been interesting! I am wondering where you found the plans for the neck as that seems to be the only thing I can't find right now.
This has been interesting! I am wondering where you found the plans for the neck as that seems to be the only thing I can't find right now.
")
Here's a neck pdf - it's the one I used.This has been interesting! I am wondering where you found the plans for the neck as that seems to be the only thing I can't find right now.