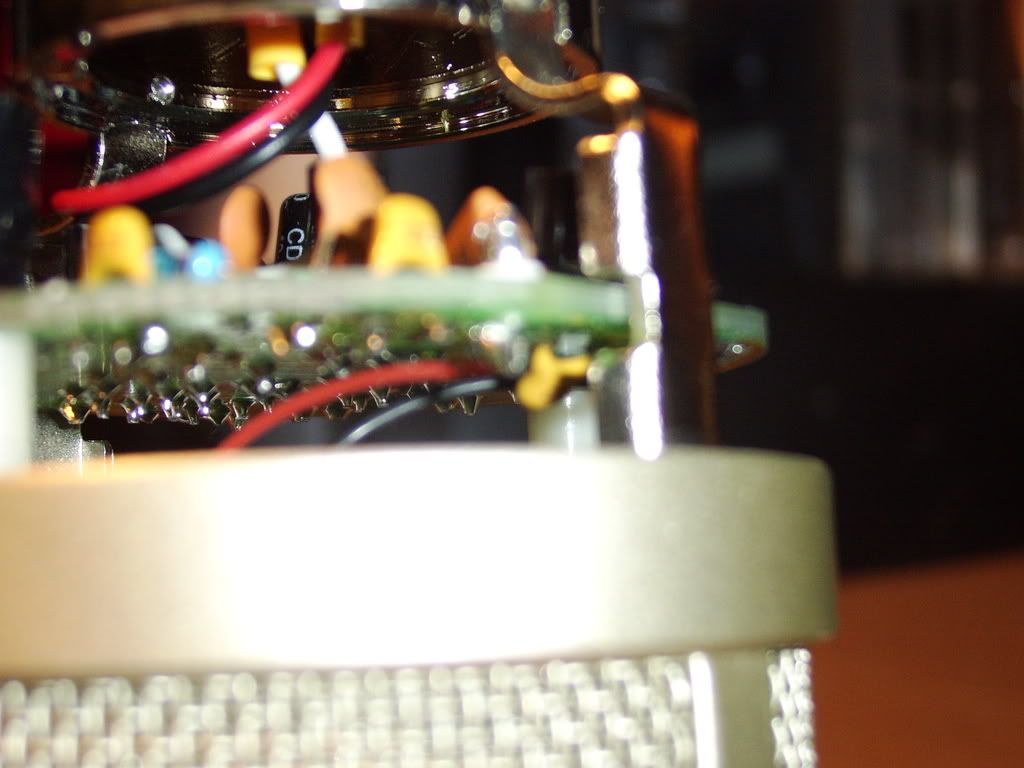
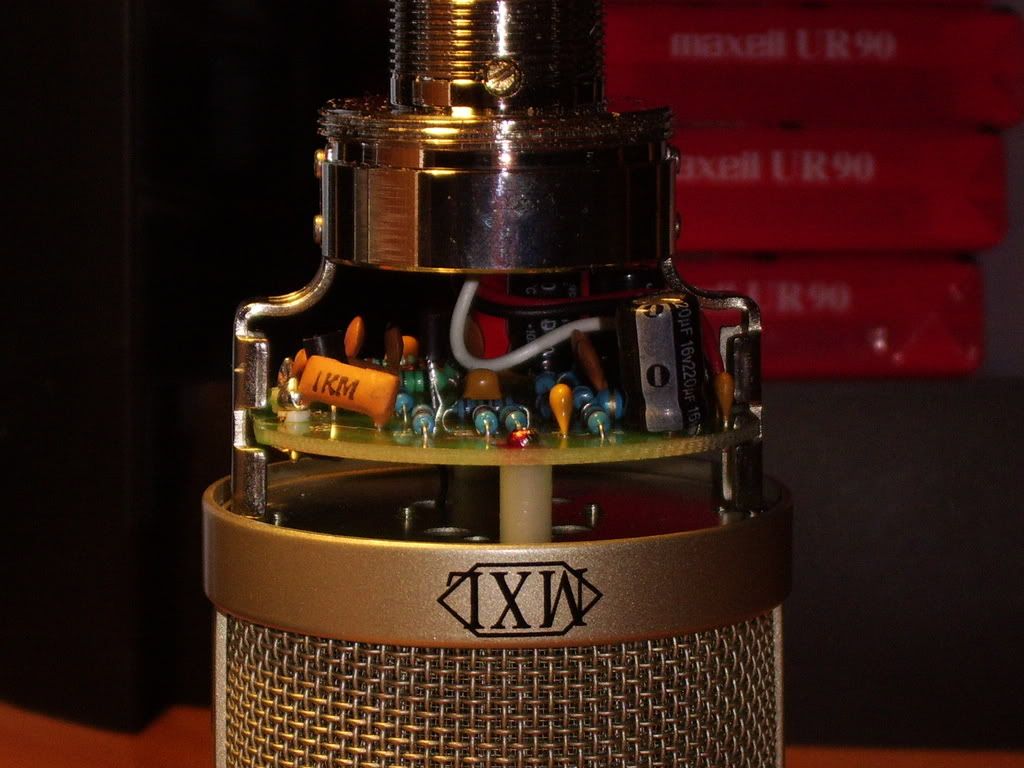
i "lucked" into a pair of 990's with shockmounts etc for $50 a while back (in quotes because i am not sure how lucky i actually was). at first, i was impressed with their sound for the $$$, but now i mostly do not use them for anything. there is just something "not right" about their sound. not sure if "boxy" is the right adjective, but i feel pretty good about "unnatural". i have other mics to use, and almost always do. i have, however, used them as a stereo pair in a 2-mic live recording, and it actually came out pretty decent (all things considered).
Try the capacitor swap. A lot of Chinese mics open right up by replacing the coupling cap.
Step 1: Size the capacitor.
You need a capacitor with the same value---usually measured in µF (microFarads) or pF (picoFafards). It must have at least the same voltage rating. It's okay to use one with a larger voltage... with the caveat that larger voltages result in larger capacitors, so if there are space constraints, you should keep that in mind.
Step 2: Order the capacitor.
Wait two weeks.
 Step 3: Make sure the new capacitor will fit where the old one is.
If not, additional work may be needed.
 Step 4: Remove the old capacitor.
Take solder wick and place it alongside the contact. The edge of the wick should touch the solder at the base of the contact. Heat the contact until the solder melts. Once liquid, the solder should easily flow onto the wick. If it doesn't, adjust the position of the wick until it does. You should end up with a clean contact with no solder on it. The capacitor's leads should freely wiggle in their holes. The cap should then pull out easily. If not, you may need to repeat this step and/or head one or both leads while you pull, but hopefully it will "just work".
Step 5: Clean the holes.
Use a needle or straight pin to clean out the holes if they show any obstruction. Always push the needle/pin through from the trace side so you don't lift the trace accidentally. Also, don't ever push it in so far that it would widen the hole or you'll lift the trace....
 Step 6: Repair the trace you broke in step 5.


If this happens, it's not a big deal. A little cyanoacrylate adhesive (super glue) should fasten the trace back down. Try to keep it off the top of the pad as much as possible. Warning: if you do this, solder outside. Cyanoacrylate fumes are nasty stuff.

If the trace tears, get a circuit writer pen and use that to draw a new trace. Make sure you get a nice heavy flow that is relatively thick and at least as wide as the original trace. Let it dry several hours before doing anything further.
Step 7: Install the new component
Push the leads gently through the thru-holes (vias). If they snag, don't push. Repeat step 5. Bend the leads as needed to make this work. If the original cap is a radial capacitor (vertical), you may want to bend the leads and mount the new capacitor in a similar orientation to make it fit. Make sure it will not hit the top of the case before you solder or trim anything!
Step 8: Trim the leads
The leads on the new components should stick up about 3/16" (5mm) above the board, give or take. Use your judgment---make them about the same height above the board as the original leads were.
Step 9: Solder the new component in place
Heat the contacts and touch them with the solder. The solder should flow and cover the contact and the pad on the board. Heat until it flows across both contacts, then remove the heat. Be careful not to move the contacts after you remove the heat. The resulting solder should be shiny. If it looks dull, it probably moved during cooling. Reheat. If this happens too often, your room may be too cold---are you soldering in sub-zero temperatures? You don't want the solder to cool too quickly....
 Step 10: Test the mic
If everything worked, the mic should sound much better.


