N
norm55
New member
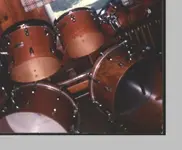
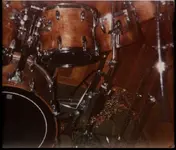
Anyone know where I could find some info on drum refinishing my drummer wants to re-paint his kit?
norm55 said:Anyone know where I could find some info on drum refinishing my drummer wants to re-paint his kit?
norm55 said:Hey Tim I tried to talk him out of it He's going to try it anyways with spray paint to.He does have one extra tom that he is going to try it one first .So hopefully it will come out like shit and he'll give up on the idea.
Norm
norm55 said:Good news He totally destroyed the tom he was using as a test subject and he has totally givin up on the idea.
Norm
norm55 said:Hey Mikeh i found a web site that has every thing I need. http://drummaker.com/