Looks good.
")
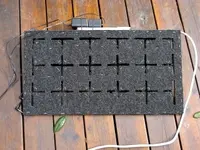
Any suggestions as to how I might get a flat bottom attached to the angled sides? I guess I could just put the board next to it and trace to get the right angle, but I was thinking it might be nice to have a fully-enclosed board, so I would want the bottom to be able to open without much hassle, but also be able to stay closed.
....
Again, you ARE THE engineer. Surprize yourself

Just to keep you company, I've made couple drawings, not as "suggestions", but as extra food for thoughts.
First of, I'd guess I would build it differently from the start. There are many ways to do it. The top side view of cuts shows you how I would start the plan in general (without details).
Your case is the second side "view". (sort of
)
I guess, the simplest thing to do in your situation is to attach sides to match the side shape (just you said).
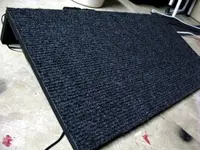
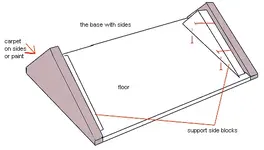
I am attaching second drawing, showing how you could build the base for the Top-Part as you have now. The base would consist of floor, side support blocks (inside) and Side Panels. You can actually carpet the side panels all around (except the area where they are attached to the support bocks/and floor sides) , (NOTE: make sure that you reserve a little extra space to fit the top, if you wrap-carpet the sides, add thikness of the carpet-times-two to the overall floor width). So you have the base. You then simply drop-in your top Part with all the stuff on it and it should fit into the base and sit there tight while you are tap-dancing on it
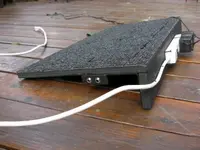
Also add some heavy rubber feet to the "foor".


 :rolleyes:") Thanks for reading and contributing!
Thanks for reading and contributing!