Wanna reverse the yellowing of your plastic knob and switch caps?

  • Thread starter Thread starter sweetbeats
  • Start date Start date
sweetbeats

sweetbeats

Reel deep thoughts...
Try soaking the parts in hydrogen peroxide for several days. If you want to speed up the process then add some oxygen cleaner (like Oxy-Clean or similar).

I became aware of this secondary to a post on the recordist.com Ampex List and tried it out. Its amazing.

Check this out if you want to know more:

Wikispaces

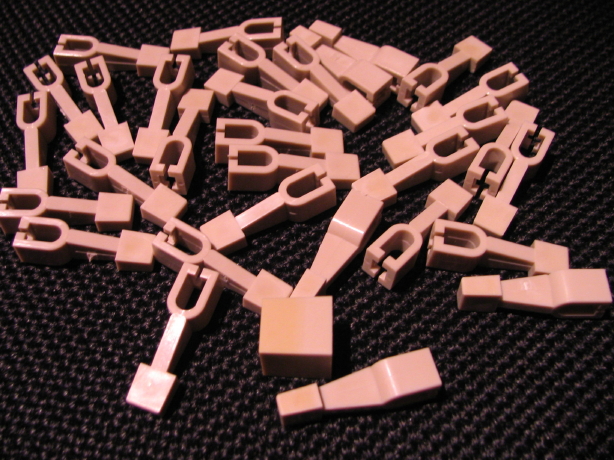
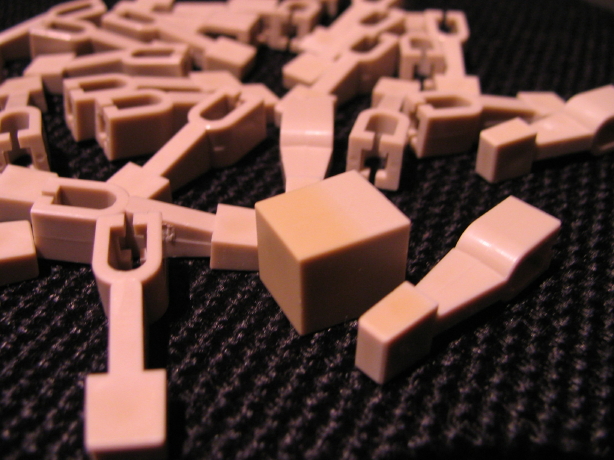
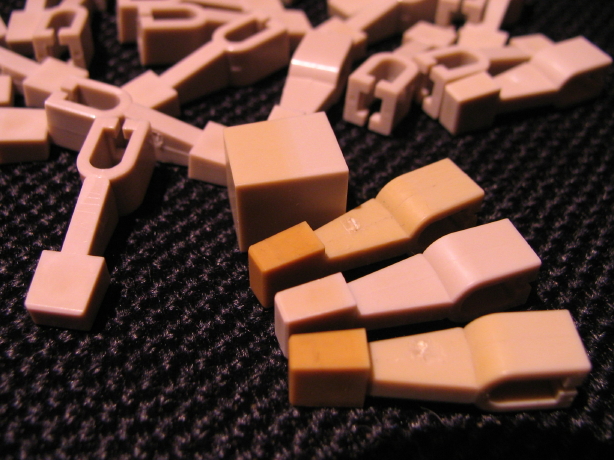
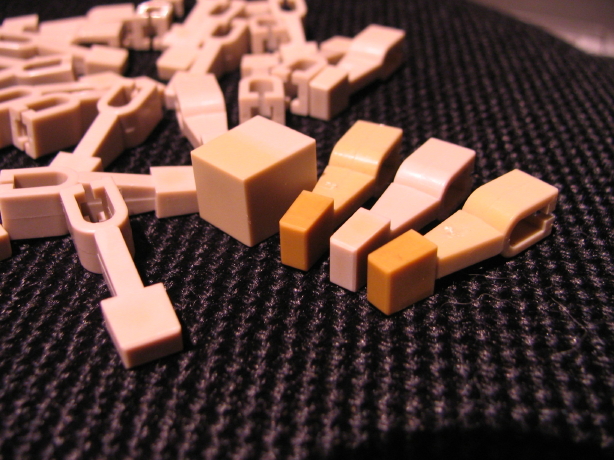
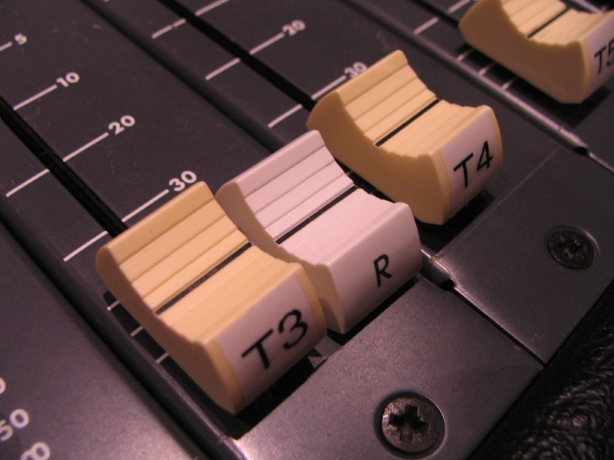
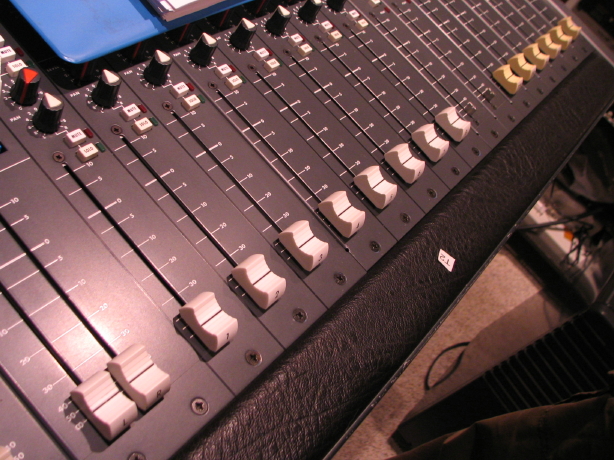
Some of the white plastic parts on my Soundtracs MX console are very yellowed...here are a couple before and after shots of fader caps:

IMG_2932_4_1.JPG


IMG_2933_3_1.JPG
 
Last edited:
Or you can try some Nu Finish car polish. ;)

:D


Hey...does it mess with the black lettering/marking at all?
 
Or you can try some Nu Finish car polish. ;)

:D


Hey...does it mess with the black lettering/marking at all?


Heheheheh...heeheeeee...I did actually think about that before posting. :D

So far, no...it has no effect on the screening which really surprised me...hang on...lemme go check the latest victims, a fader cap and a switch cap, both with screening and these were the first with extended time in the Oxy-Clean H2O2 bath...
 
Un-freaking-believable...

They look like new...2~3 days in the bath and it was a very yellowey fader cap and a very yellowey button cap...the "TALK" enable for the talkback mic...white as can be now and the screening looks totally unaffected. The "26" on the fader cap is a bit faded looking but it was that way to start due to physical handling over the past 20+ years.

Wow.

Guess who's pulling all the white plastic parts off his Soundtracs MX?

These were MY results and MY experiences which MAY NOT be the same as yours.

TEST IT FIRST.

I am NOT liable for you negative experience if you have one...


But I wouldn't have believed it if I hadn't tried it. It works great so far.
 
Well, the truncated titles fooled me again. All I saw on the post list was "Wanna reverse the yellowing of your..." and I figured it was "...TEETH?":eek: I was all ready to hit the "delete/ban" button...:o
 
Un-freaking-believable...

They look like new...

You can say that again. I don't know how many times I've given knobs a bath,...and they've never turned out lookin' like that!
F**kin' aye!!! That's a nice little trick. Thanks for sharing it.
 
That's a great tip, thanks for posting the info!
 
Yer welcome...

Got a giant banana pepper jar filled with a small scoop of Oxy-Clean and an entire bottle of H2O2 and a couple hundred yellowed plastic parts from the Soundtracs console. I'll let you know how it comes out.

I'm also going to try it on some Tascam parts off of one of my 234 cassette decks...many of you have experienced the beige parts going sort of sickly yellow brown, almost amber so I'll throw those in the mix too to test and make sure the plastic doesn't get damaged AND comes out renewed color-wise.
 
Now this is a cool tip, thanks!

Does the bath take care of dirt/grime too, or is it advisable to give the parts a scrubbing first?
 
Hey Tim...I tried that lacquer thinner technique awhile back but didn't have much success which I'm inclined to think was "operator error".

But this peroxide thing...

I'm glad I read the post on the Ampex List...I almost tossed because the title didn't catch my attention. I read it and was like "ooooo! Really???"

And, Brian, I don't know about dirt and grime. I'd wondered that too but all the parts that are going into the batch are already pre-cleaned. I'll have to try and see what happens!
 
Hey Tim...I tried that lacquer thinner technique awhile back but didn't have much success which I'm inclined to think was "operator error".

Maybe so. I have to admit, using lacquer thinner can make for some tense moments. It's strong stuff. It worked well for what I was doing, but YMMV. ;)
 
Well, I put the peroxide/oxyclean treatment to the test with some of my worst beige plastic parts off of one of my parts Tascam 234 cassette decks.

These parts have spent a couple-three weeks in the bath sitting on the window sill.

Here is the after pic...the worst cases are sitting front-center of the pic...you can still see some two-tone action going on there but its not bad, especially when you see how they used to be.

IMG_3187_1_1.JPG


IMG_3188_2_1.JPG


NOW...I'll put those worst-case post-bath parts next to some untreated examples that represent what those parts looked like BEFORE the bath...Pretty shocking...

IMG_3189_3_1.JPG


IMG_3191_4_1.JPG
 
Last edited:
Back
Top