KineticSound
The VOICE
Hello all!
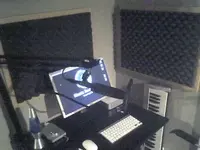
Just wanted to share a quick walkthrough of some DIY panels that I finally got around to finishing today since the wife's out of town... The primary function of my little home studio is voiceover production - nice, as it doesn't take up much room - but as I banished my voiceover rig to a small alcove off in a corner, I was battling some pretty wild reflection problems. I decided to build some acoustic panels to wrap around my voice "booth" with the prerequisites that:
a. They had to look presentable - My recording area is visible from the living area, so I couldn't just attach the foam all over the wall
b. They had to kill the early reflections I was getting. (Duh)
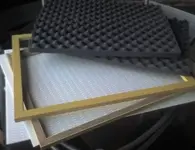
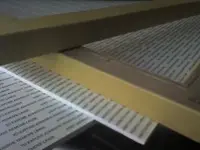
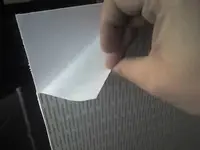
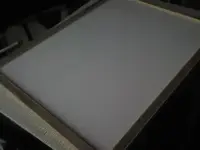
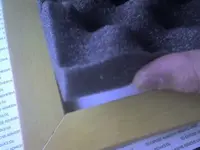
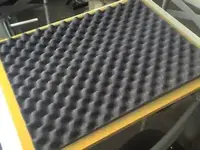
I decided to "frame" some standard acoustic panels. The panels I used were UL 94 Foam from Parts Express. These come in 18"x24" panels that were the perfect size for my space. I have a friend who owns an art & framing shop here in town, so I had him make a couple of basic 18"x24" frames to give me a 1" wood border around the panels. To hold the panels in place, I used 3/8" foam core board from an art supply shop:
Just wanted to share a quick walkthrough of some DIY panels that I finally got around to finishing today since the wife's out of town... The primary function of my little home studio is voiceover production - nice, as it doesn't take up much room - but as I banished my voiceover rig to a small alcove off in a corner, I was battling some pretty wild reflection problems. I decided to build some acoustic panels to wrap around my voice "booth" with the prerequisites that:
a. They had to look presentable - My recording area is visible from the living area, so I couldn't just attach the foam all over the wall
b. They had to kill the early reflections I was getting. (Duh)
I decided to "frame" some standard acoustic panels. The panels I used were UL 94 Foam from Parts Express. These come in 18"x24" panels that were the perfect size for my space. I have a friend who owns an art & framing shop here in town, so I had him make a couple of basic 18"x24" frames to give me a 1" wood border around the panels. To hold the panels in place, I used 3/8" foam core board from an art supply shop:
")