Anomaly Design
New member
Hey everyone, I never really posted anything on this board worth reading so I figured why not show off my new sound panels! I live on a farm in NJ and my dad works in construction. My entire studio is second hand; these panels I just made, the walls, roof, brick floor....everything. Even most of my instruments lol. Here is my list of materials:
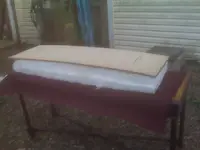
R19 (x10). Its 3 1/2 inches, 15.5x93 or so inches.
Red Burlap. 52" by however I cut it.
Wood panels (x10). I forget the exact name but they are a flimsy composite used under cedar shakes for wall exteriors.
Spool of wire.
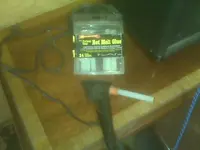
Hot glue gun.
Screws for hanging.
R19 (x10). Its 3 1/2 inches, 15.5x93 or so inches.
Red Burlap. 52" by however I cut it.
Wood panels (x10). I forget the exact name but they are a flimsy composite used under cedar shakes for wall exteriors.
Spool of wire.
Hot glue gun.
Screws for hanging.


 !!!!!!!. I moved back home and am resuming work, but I dad raised his baby chickens in there so I had to clean it again (I know, wtf, right?!)
") . Thanks to all you members years ago that contributed vital info... without even knowing it!
. Thanks to all you members years ago that contributed vital info... without even knowing it! :rolleyes:")
")