You are using an out of date browser. It may not display this or other websites correctly.
You should upgrade or use an alternative browser.
You should upgrade or use an alternative browser.
MCI JH-110 Project
- Thread starter towble
- Start date
Thanks, sr71rules! What I lack in knowledge I make up for in presentation and tidy solder joints! 
Here's the video I promised. It's just a short one, as you can see, but it shows that the machine is working.
Now I have some caps and IC sockets to replace in the Audio drawer.
Also, the TL084 chips on the bias/erase boards seem to run quite hot. Assuming there's not an underlying problem there that I could rectify, maybe I should put heatsinks on them at least.
Ha! It was either working in record mode or you had the masters for 'Reggatta de Blanc'.
I assumed the former")
I didn't record that actually! That was before I tried recording! That is just what happened to be on the tape I bought online!! Right speed and right track layout.
There was the Police and some old opera that was obviously recorded from a 78rpm record!
witzendoz
Senior Member
Ha! It was either working in record mode or you had the masters for 'Reggatta de Blanc'.
I assumed the former
No it was the MCI sending out an SOS.
Alan.
No it was the MCI sending out an SOS.
Alan.
I happen to be a ham radio operator (not a very active one for the last four years or so) but if I ever need to call for help, I'm just gonna cue up that tape!

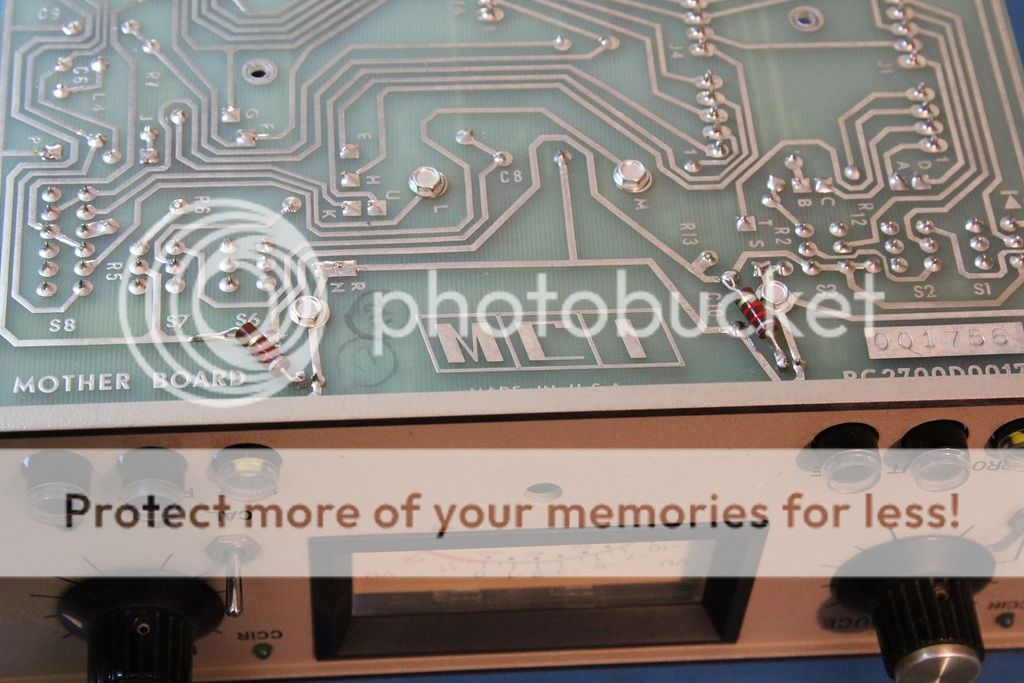
Yesterday I replaced the IC sockets on the Bias boards as well as six electrolytic caps and one burned resistor. I also did a slight modification to the audio mother boards to allow me to use white LEDs for the meter lights since the 7387 bulbs are stupidly expensive from what I could find.
The mod was simply removing a section of circuit board trace and soldering in some 8.2k resistors. The LEDs still fit in the original bulb sockets which is nice.

After reinstalling all the boards, I was upset to find that the machine would not go into record mode. That is, until I realized that the problem was having the switches in "safe" mode.
Once I fixed that mistake, the machine recorded just fine. Although a little intermittent at times, likely due to dirty connectors. I think some conductive grease applied carefully to each connector lead may be what is needed to keep from having to wiggle connectors all the time.
Even after cleaning the connectors with Deoxit, I'm still having troubles.
But those are only small troubles compared to what is happening now. Or rather, not happening.
I have no left meter response and weak and distorted audio on the left channel. It went sort of haywire cutting in and out and then more or less nothing.
I have a feeling something is fried and all I know is that it's not on the repro board as swapping boards around changes nothing.
Just when things were going so good. This has really got me down.
The mod was simply removing a section of circuit board trace and soldering in some 8.2k resistors. The LEDs still fit in the original bulb sockets which is nice.


After reinstalling all the boards, I was upset to find that the machine would not go into record mode. That is, until I realized that the problem was having the switches in "safe" mode.
Once I fixed that mistake, the machine recorded just fine. Although a little intermittent at times, likely due to dirty connectors. I think some conductive grease applied carefully to each connector lead may be what is needed to keep from having to wiggle connectors all the time.
Even after cleaning the connectors with Deoxit, I'm still having troubles.
But those are only small troubles compared to what is happening now. Or rather, not happening.
I have no left meter response and weak and distorted audio on the left channel. It went sort of haywire cutting in and out and then more or less nothing.
I have a feeling something is fried and all I know is that it's not on the repro board as swapping boards around changes nothing.
Just when things were going so good. This has really got me down.
Well I've traced the problem to the mother board. But I have no idea what it would be.
The audio seems to be working fine now, but still nothing from the meter.
I have to get some XLR connectors before I can really figure this out. I can't keep poking around with clip leads anymore. It's making testing a pain in the ass.
I need to go to bed. I'm too tired and pissed off to do this right now.
Rest and patience.
Plus XLRs..
Indeed. I'll hopefully get some XLR cables today to make testing easier.
It just seems strange to me. The problem is on the mother board, yet there's very little to go wrong on it. Some diodes, caps, resistors, inductors and one transistor (the cue relay driver).
The machine is all back together now and working. It seems my diagnosing skills are not as bad as I thought. I couldn't find a problem because apparently there was no problem... I just put it back together after finally getting some XLR connectors and it works just fine.
Still gotta replace the record LEDs and fix the safe switch on one of the channels. Not 100% sure how I'm going to do that. I also gotta fix some scraped wires in the transport. Liquid electrical tape to the rescue!
Still gotta replace the record LEDs and fix the safe switch on one of the channels. Not 100% sure how I'm going to do that. I also gotta fix some scraped wires in the transport. Liquid electrical tape to the rescue!
Well I haven't done much on the 110 over the past few days. But I did clean her off a bit, just a wipe down of all the panels and such. The usual 30+ years of smoker dirt left on the rag once I was finished.
I also did another record test just to be sure that I hadn't messed anything up. This time I actually used real XLR connectors! I made up some cables the other day.
At the moment, with the cables I made and the way I was using clip leads before, I have the highs connected to ground and the lows are the signal input, like this:
I have been thinking of getting some good DI boxes to convert the inputs and outputs. The ones with transformers in them I hear are the best and would be suited to matching the inputs and outputs.
What I'm wondering though, is it worth it? Is it really better than what I'm doing already? I've never worked with XLRs before, so I really have no idea.
Anyway, here's a video of the machine working now with the audio section back in the proper spot.
I still have to order some red LEDs for the record warning lights. I have just about every color but red! :rolleyes:")
I'm also going to see if I can't find some way to fix the broken safe switch. I think I have an idea that may just work!
I also did another record test just to be sure that I hadn't messed anything up. This time I actually used real XLR connectors! I made up some cables the other day.
At the moment, with the cables I made and the way I was using clip leads before, I have the highs connected to ground and the lows are the signal input, like this:
I have been thinking of getting some good DI boxes to convert the inputs and outputs. The ones with transformers in them I hear are the best and would be suited to matching the inputs and outputs.
What I'm wondering though, is it worth it? Is it really better than what I'm doing already? I've never worked with XLRs before, so I really have no idea.
Anyway, here's a video of the machine working now with the audio section back in the proper spot.
I still have to order some red LEDs for the record warning lights. I have just about every color but red!
I'm also going to see if I can't find some way to fix the broken safe switch. I think I have an idea that may just work!
I fixed the switch!
You can see in the picture below that the small plastic flange on the shaft of the switch has broken off rendering the spring useless to push the switch outward when the ready switch is depressed.
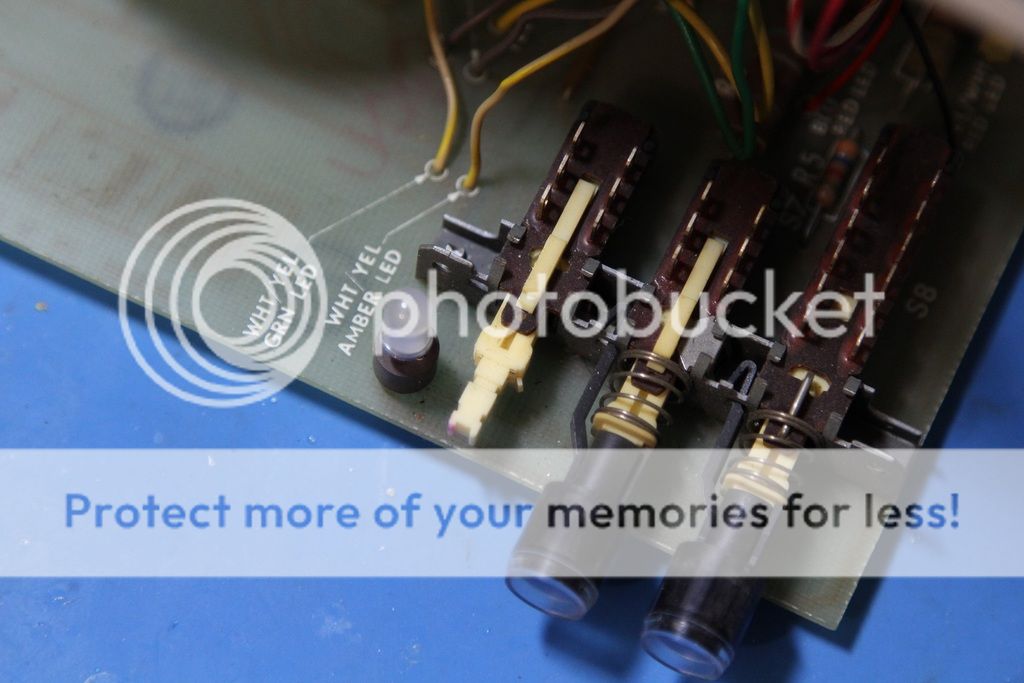
I was originally thinking of epoxying a metal washer to the switch shaft to hold the spring in place. But I figured that the epoxy may not hold all that well. Not to mention, getting the spring on there before or afterwards would be difficult. Eventually I thought of something else.
I drilled through the switch shaft with a .041 inch drill bit then used a small portion of said bit thread through the hole to hold the spring back so as to apply the necessary pressure to reset the switch.
To keep the spring pressure at bay while I hammered the piece of drill bit through the hole, I used sewing thread to tie three loops through the compressed spring and slipped it onto the switch. Then once the bit was in place, I cut the thread and let the spring align itself correctly.
Here is the result:

The switch now works as intended.
Looks like a win to me. Long may it hold!
Is it possible to source a replacement switch? Seems an odd failure mode for that piece. It's the 'Safe' switch that failed right? I wonder if others will shortly follow...
Hopefully it will hold and the others will not fail in the same way!
I think that the front panel may have been hit at some point. But plastic does become brittle over time, so who knows what will happen. I'll keep my fingers crossed though!
Some machines have a Load feature where they'll wind new tape in about 60 seconds and mark start and end points. 1977 is a little early for that kind of technology, but it's not impossible if there's a microprocessor involved.
That's the only thing I thought it could be. But the button is only on the remote and the manual says nothing about it at all.