Making a Gibson SG Clone

Neve1073lover

Inset French Saying Here
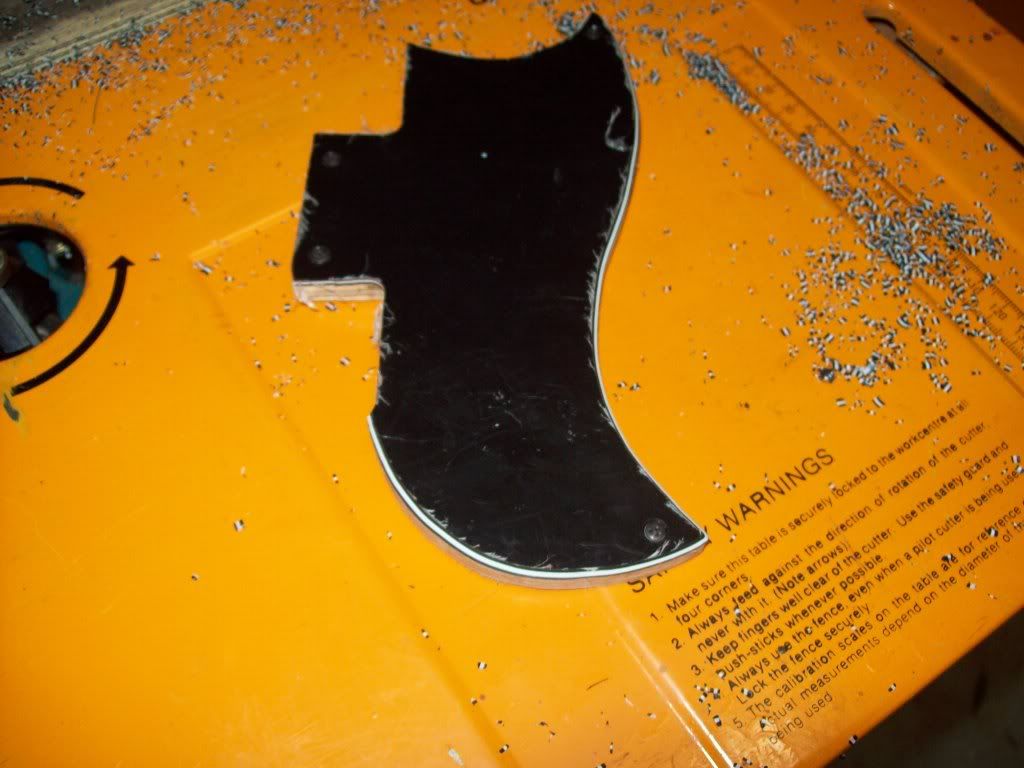
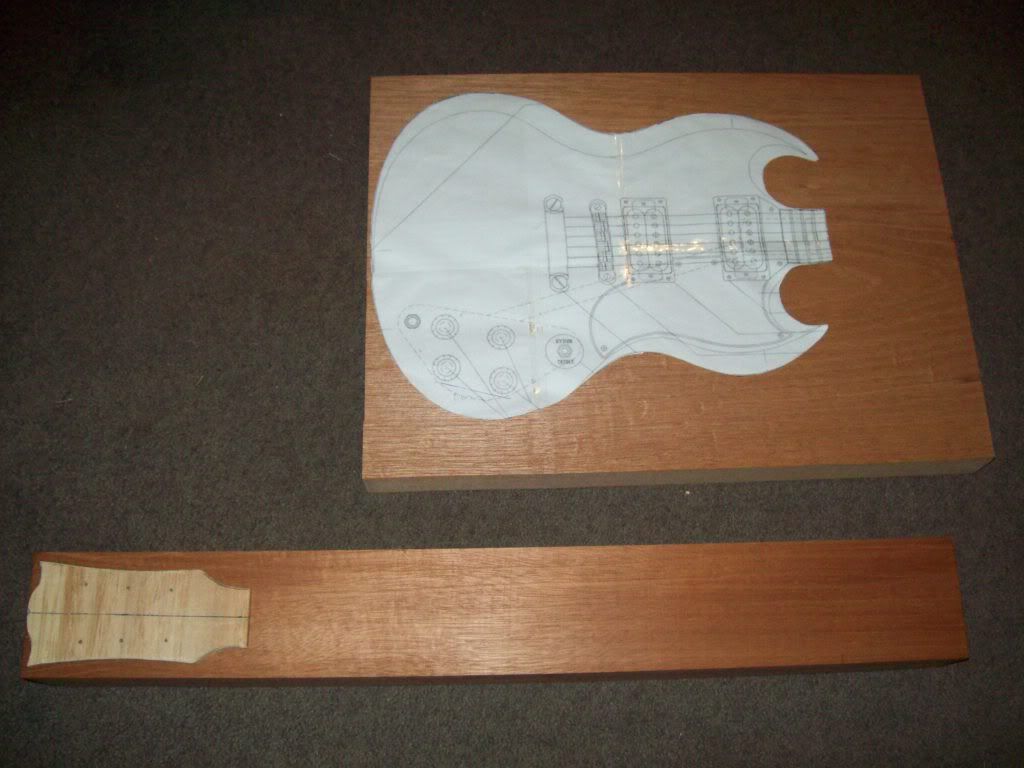
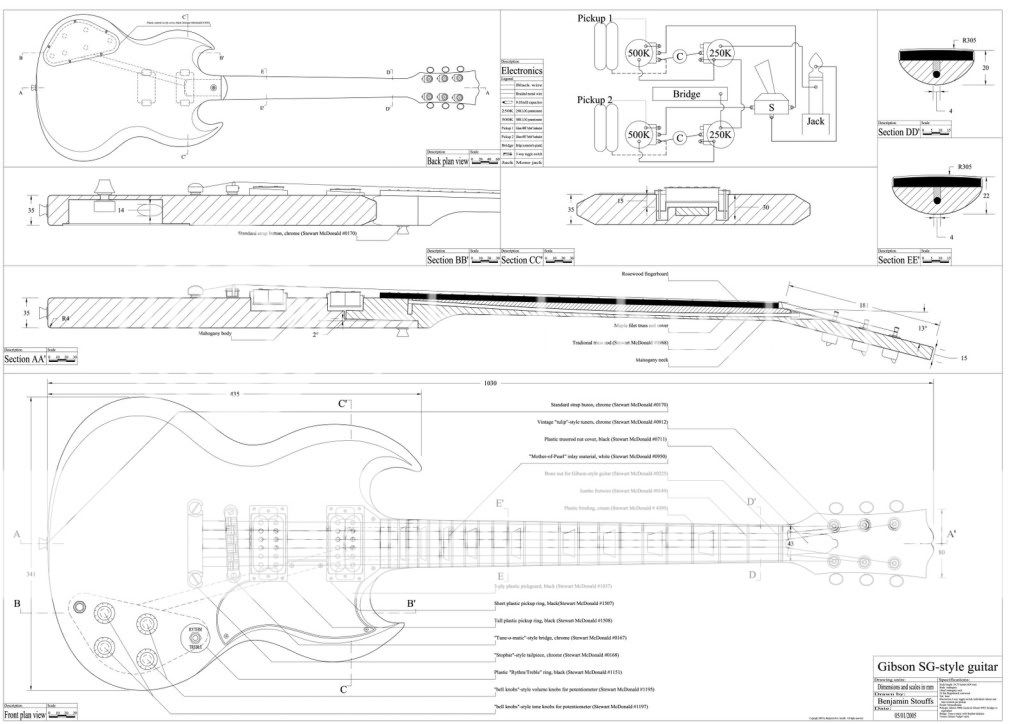
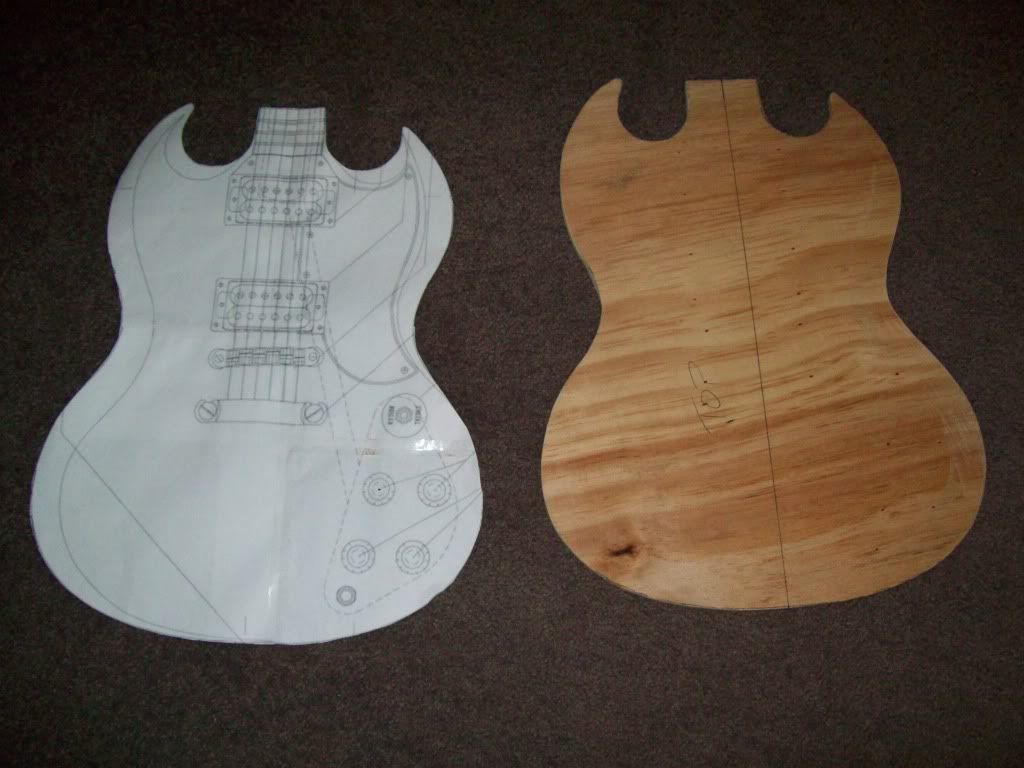
Need a new project, so decided on an SG. Don't ask why, it's because I can.....

Will use Honduran Mahogany body and neck etc

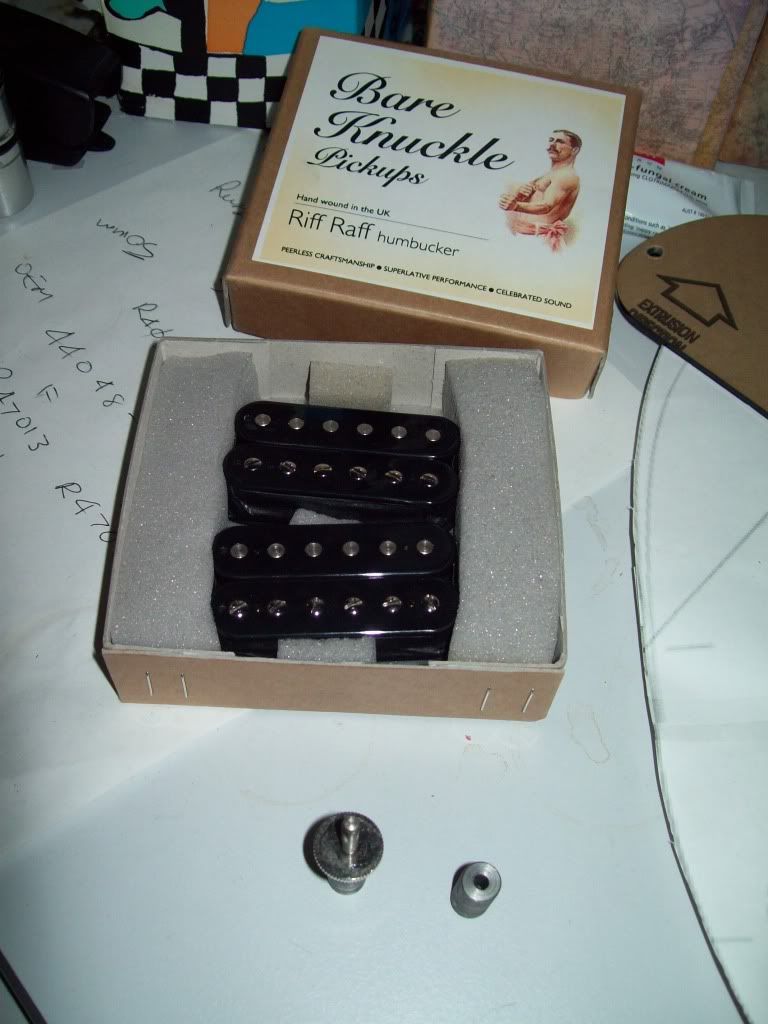
BareKnuckle Riff Raff Humbuckers.
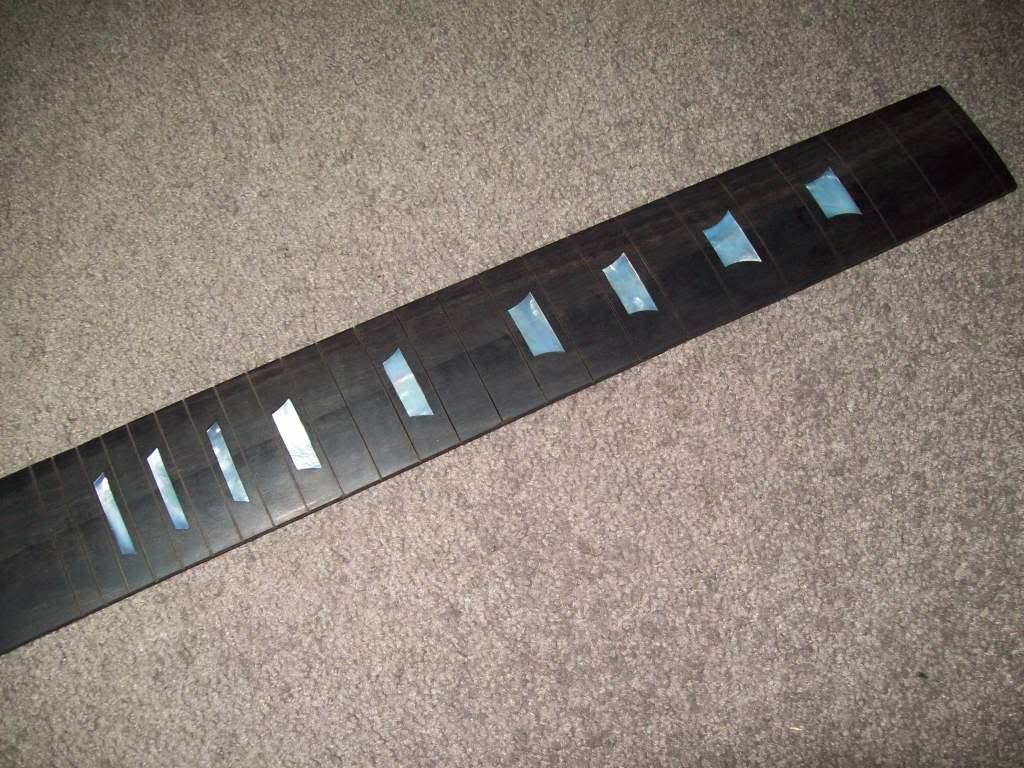
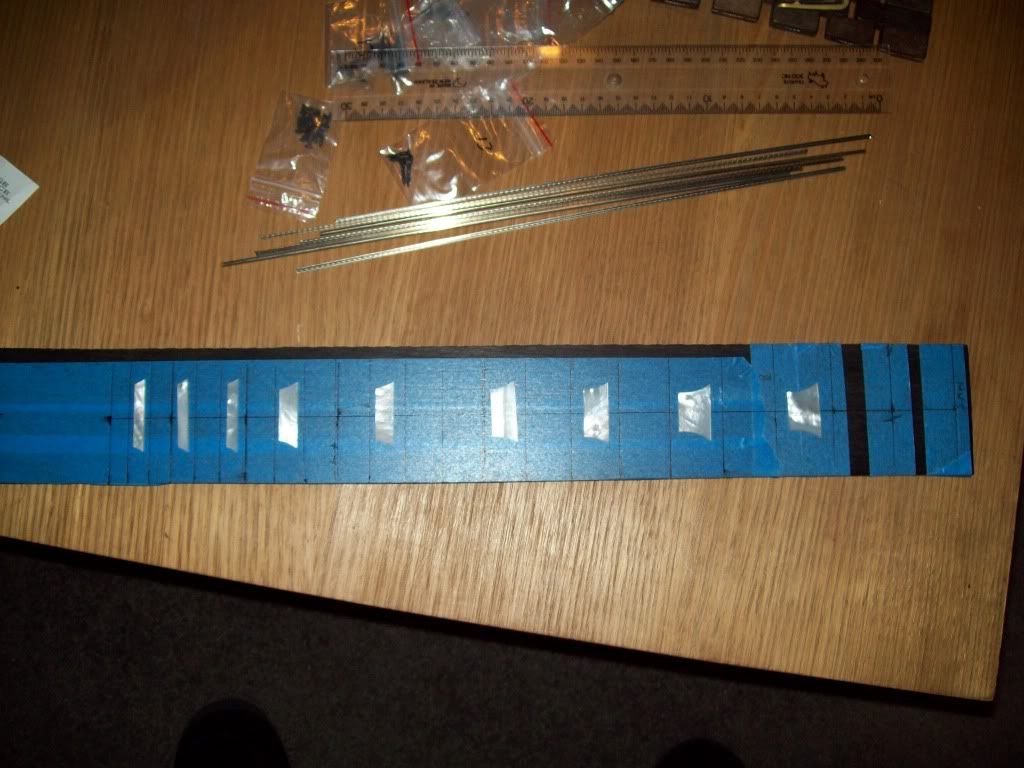
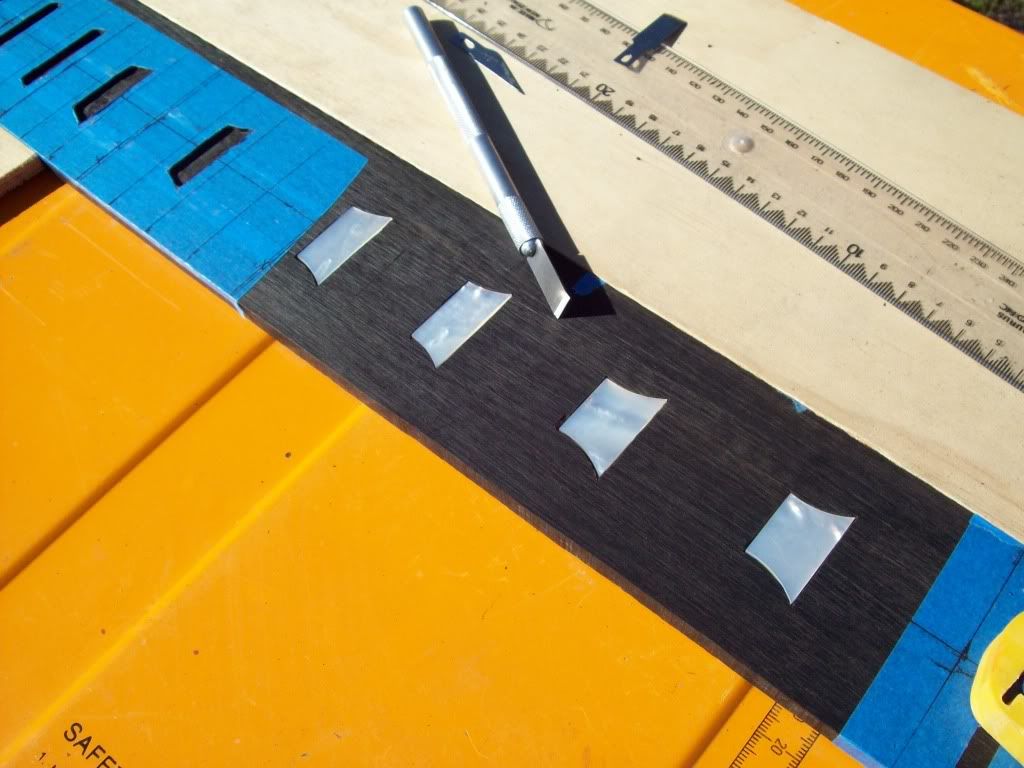
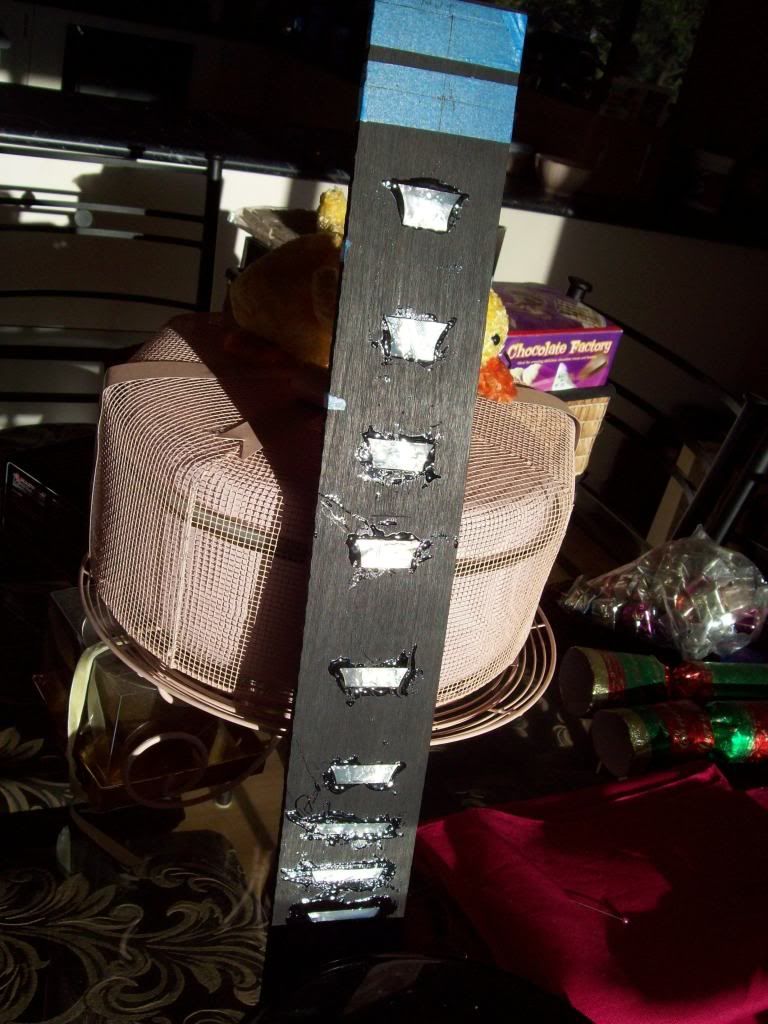
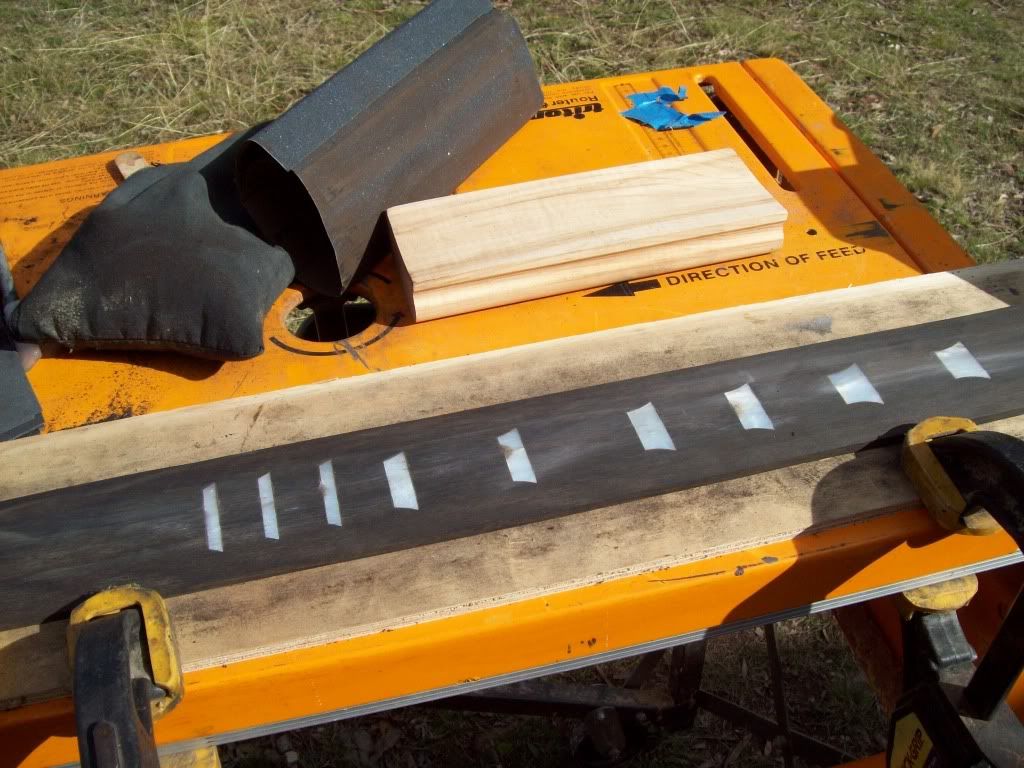
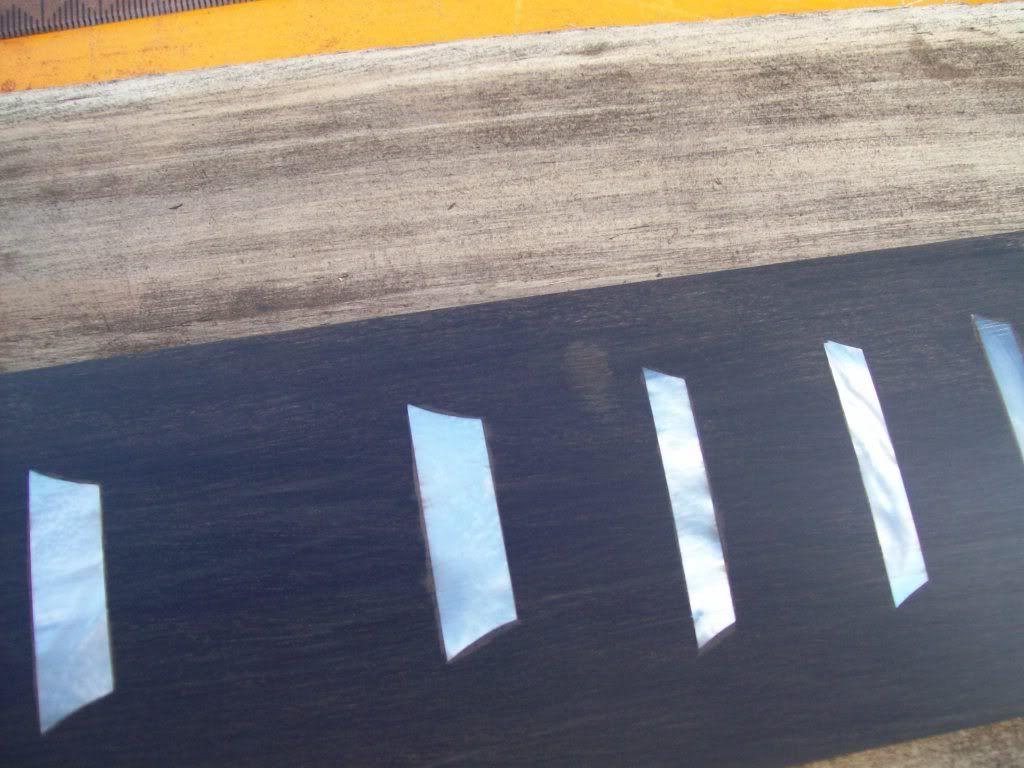
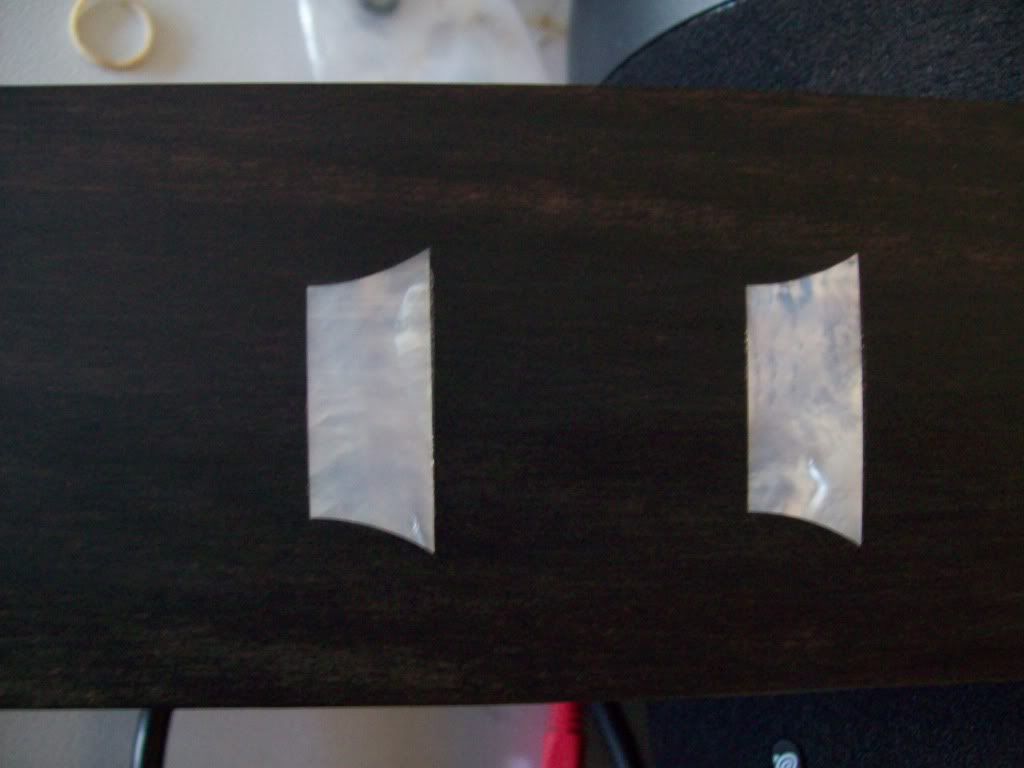
Ebony Fretboard.

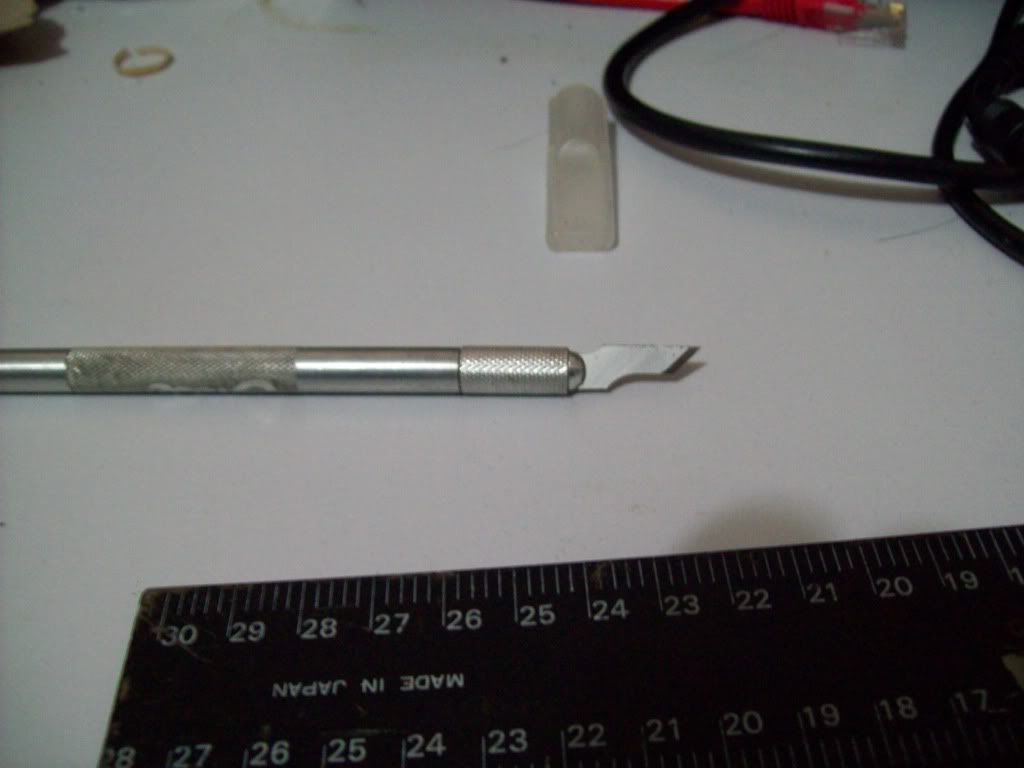
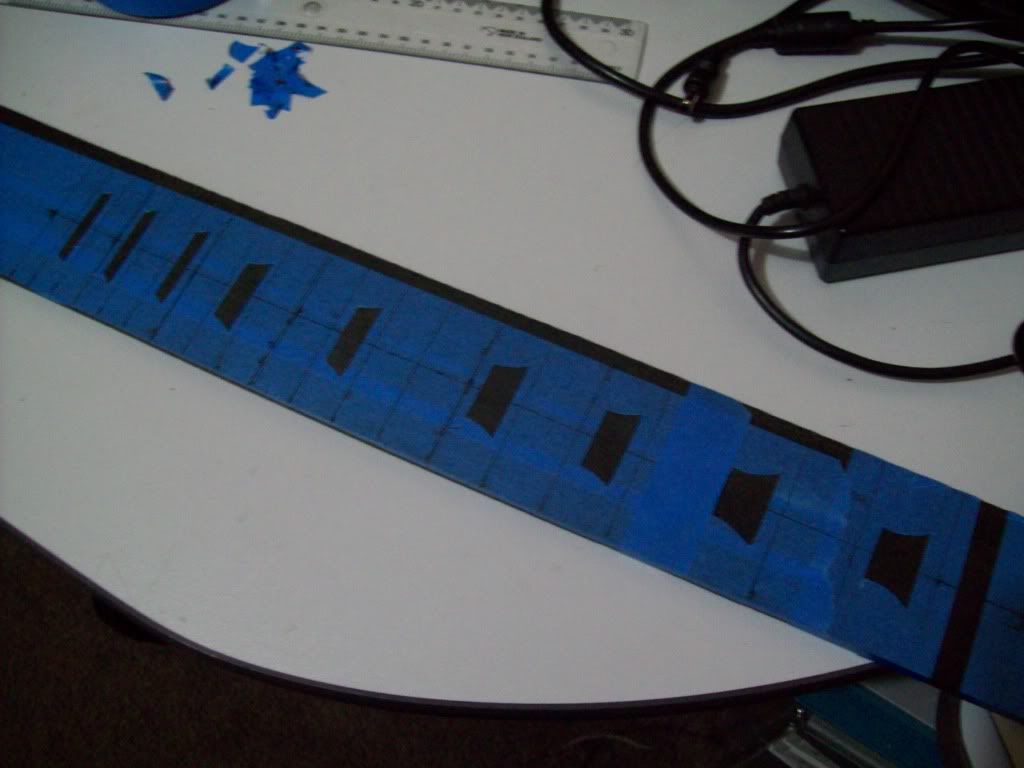
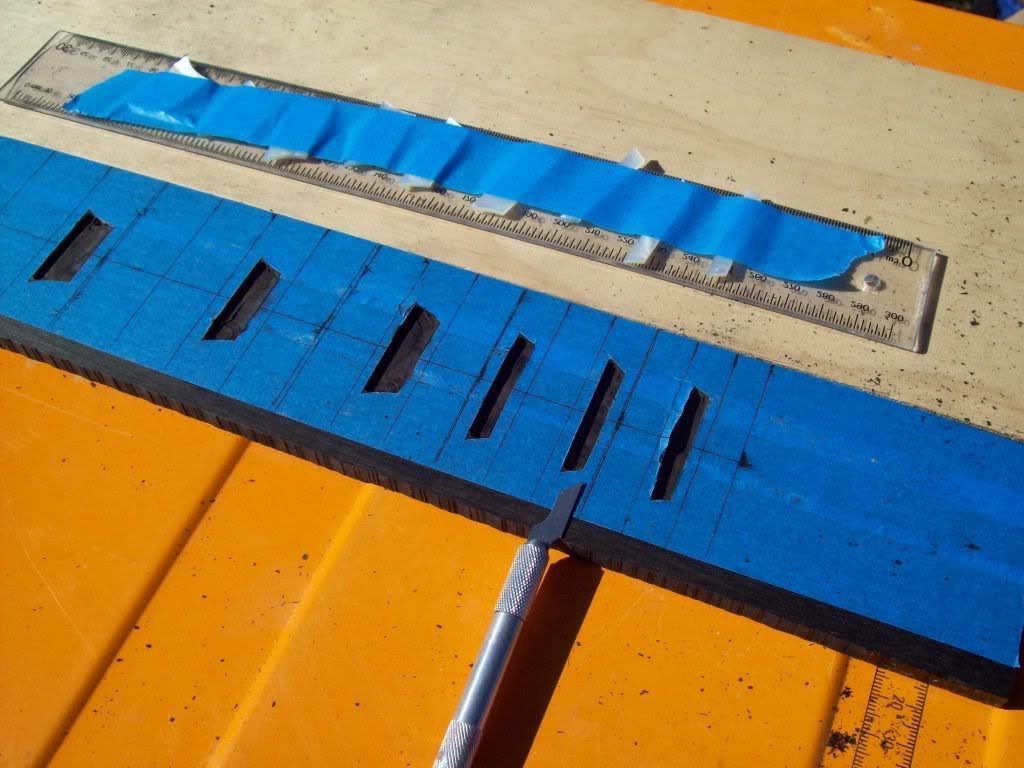
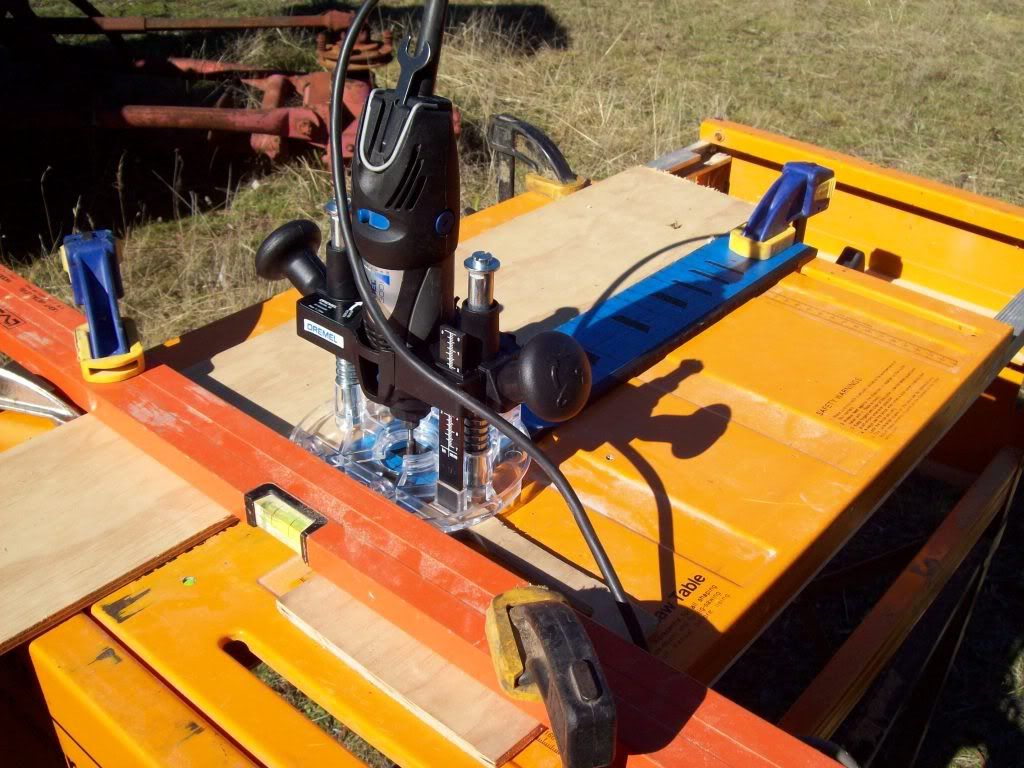
Do my own inlay of real shell, my own fret install, and one piece neck/head.

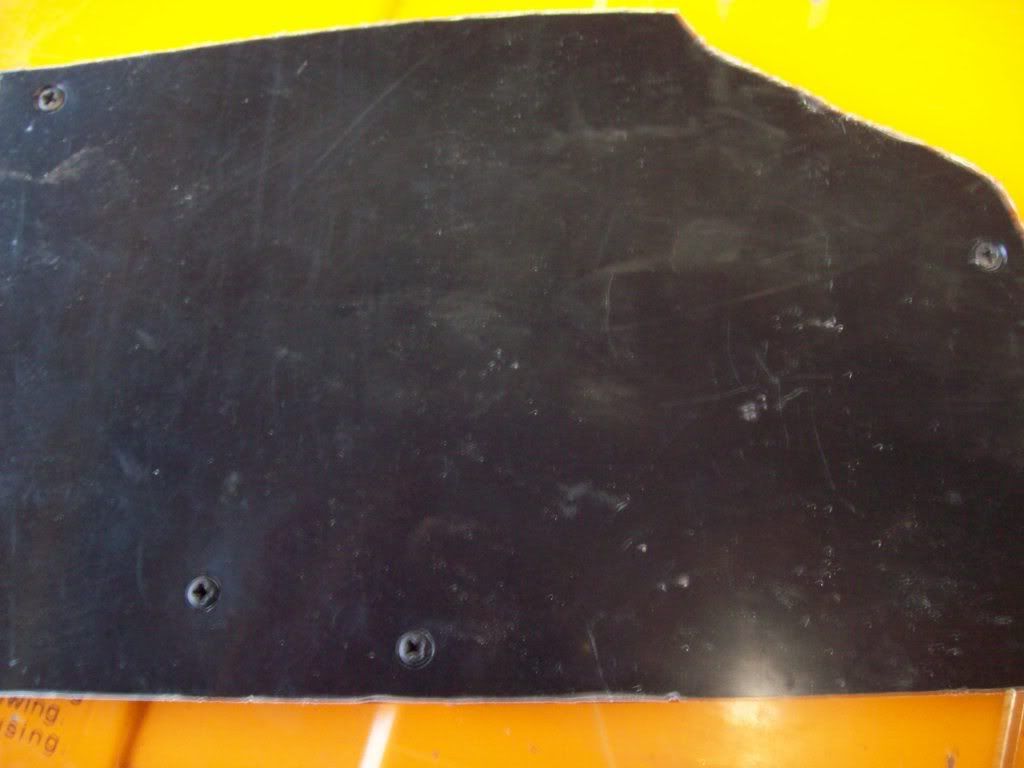
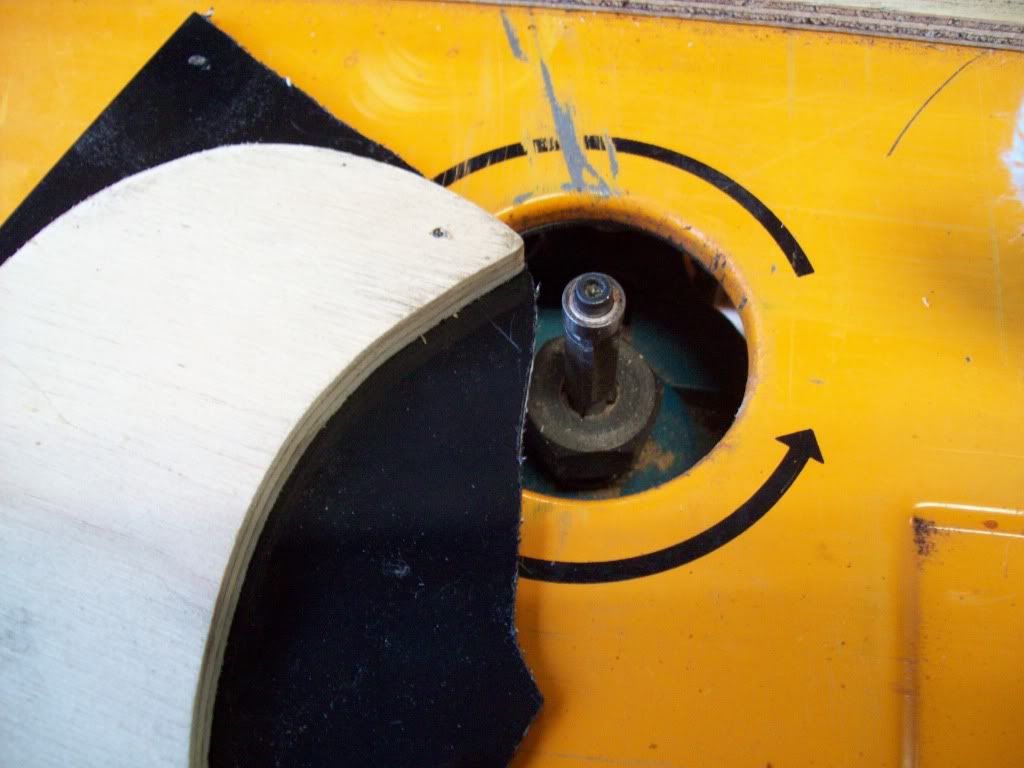
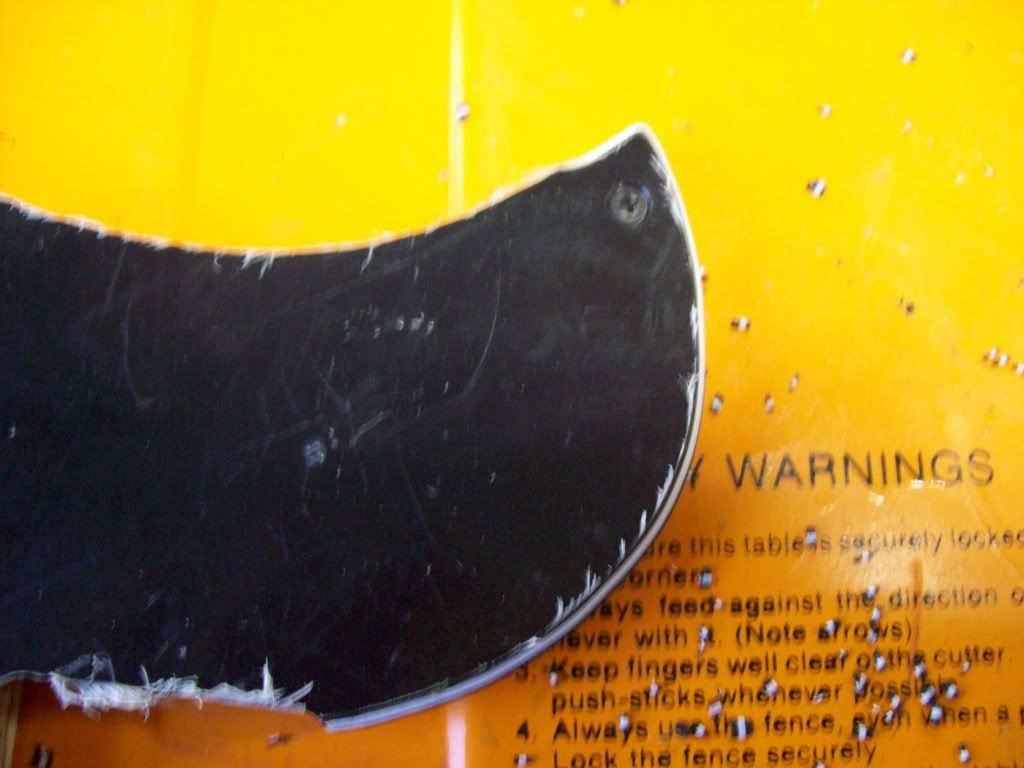
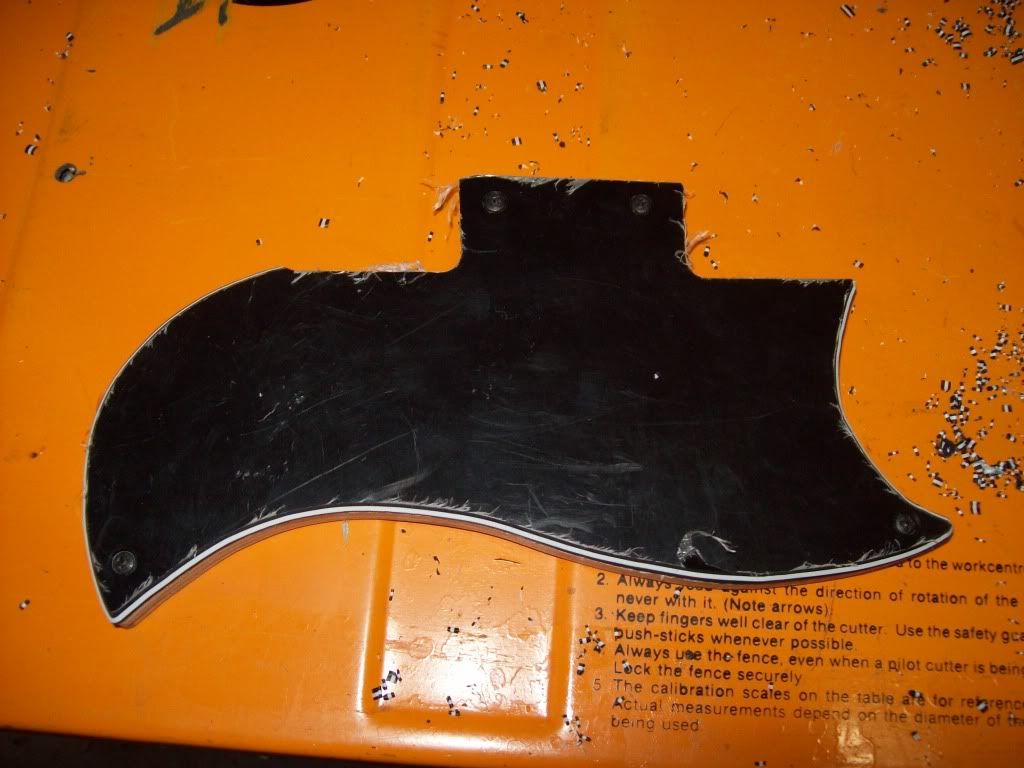
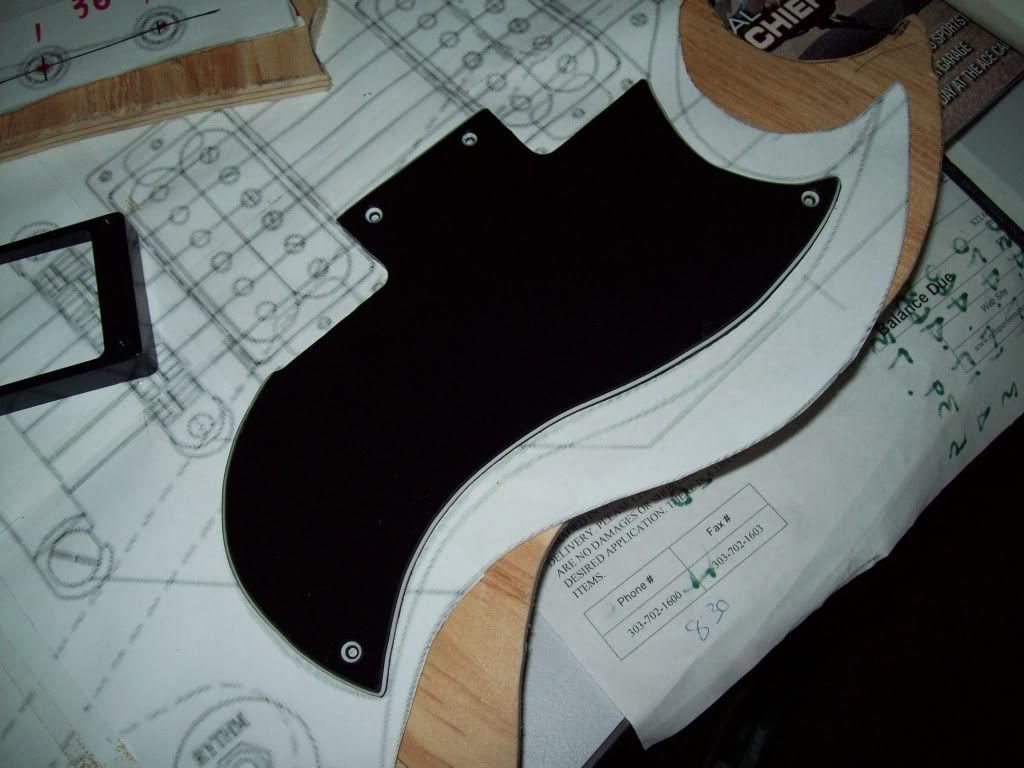
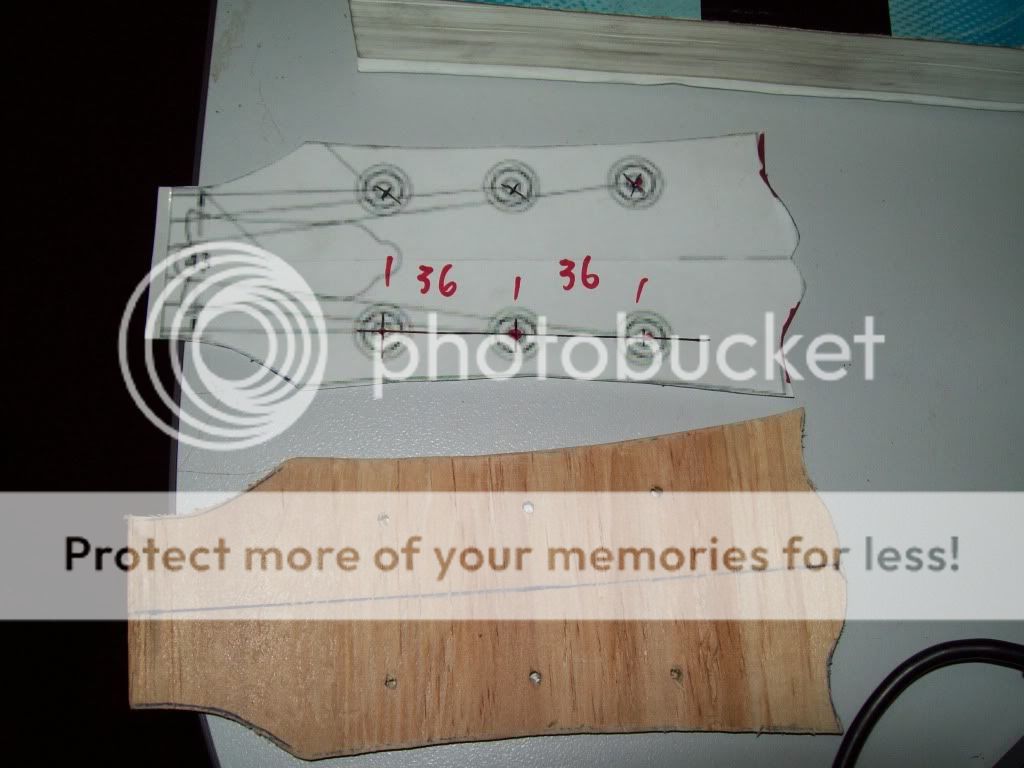
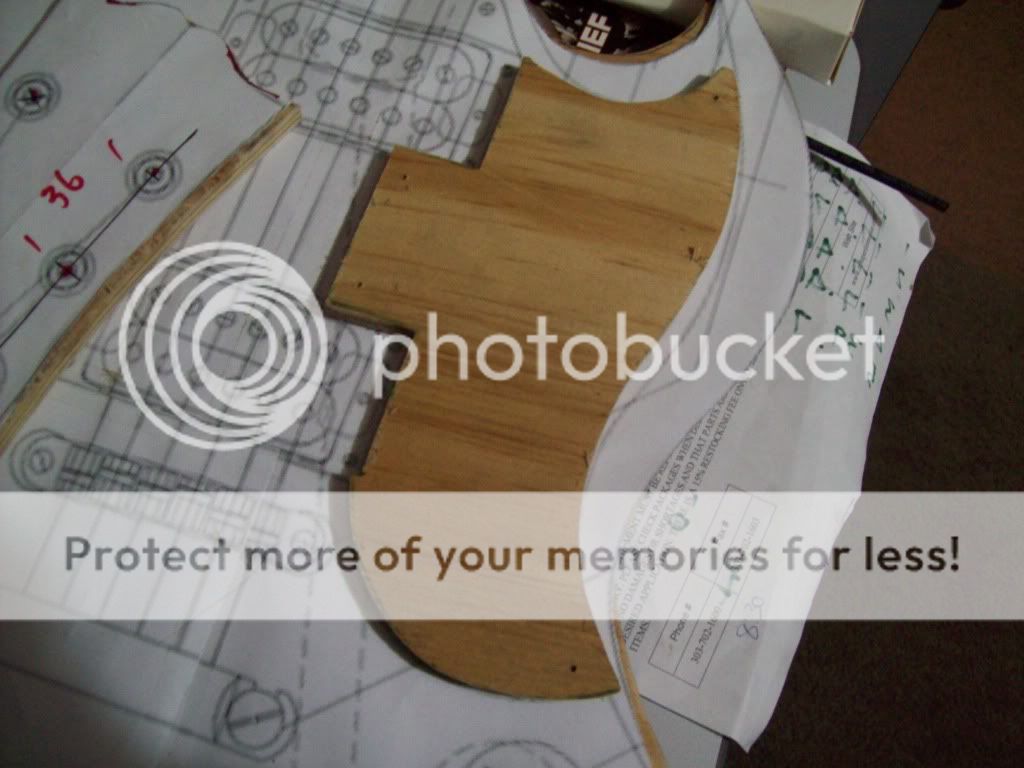
All ordered and started the templates today:

SGblueprintbig.jpg


100_1158.jpg


Garry
 
Sweet! Looking forward to some pics and narrative at every step of the way!
Yep I will try and make it a 'how to' including tools used and techniques.

SG's are actually pretty easy to shape etc, but I want to do EVERYTHING by hand (with lots of electrical tools....).

ALso will be doing the pickguard and its bevel (with router).
 
Head Template

Wood has been shipped. Ordered tools from Stewmac.

Made up the head template by tracing, jigsaw oversize, and barrel sanders to get the shape. I folded the paper in half to get the shape symetrical.

Left the end of the head template unfinished as the router bit with bearing (that follows the template) will not fit into a tight, pointy shape. Will finish the end of the guitar head by hand.

100_1159.jpg
 
Last edited:
Cool project. I like SGs. You're carving the neck and headstock out of a single piece of wood? Seems like you get a lot of shortgrain in the headstock that way. It was my understanding that a properly done scarf joint would actually be stronger.
 
Cool project. I like SGs. You're carving the neck and headstock out of a single piece of wood? Seems like you get a lot of shortgrain in the headstock that way. It was my understanding that a properly done scarf joint would actually be stronger.

I used a scarf on my PRS clone and have not had any problems.

They come carved out of one piece and I like the challenge.
 
Marking up the Fretboard

Got the Ebony fretboard and shell inlay today.

Started marking up the inlay.

Neither side of the fretboard is straight! Will need to plane it level before I cut the fret slots.

I will be using a Stewmac fret scale ruler with their mitre box to get accurate fret placement.

100_1161.jpg
 
Last edited:
Tracing the Inlays

I used an 'exacto' knife to trace the inlays on good quality masking tape. I used the 'square' to get them square, used my eyes to get them centred between the fret marks, and used another ruler to centre them on the fretboard. Then traced around them, holding with a finger:

100_1165.jpg


100_1166.jpg


I will route out tomorrow with a dremel tool and use the exacto knife for the 'sharp' points.
 
Inlaying the neck

Set up the Dremel as a router and fabbed up a routing jig so that I could move the fretboard by sliding between two bits of wood.

Did not need to reset the straight edge this way. To set the router depth, I put two inlays under its base and pushed down until the bit hit the table. Then I gave it a fraction more.

100_1168.jpg


100_1167.jpg


Getting there. Finished off points with the knife. You can get blades that are only ground on one side and they make excellent chisels:

100_1169.jpg


Made up two-pack epoxy and put plenty on. The excess squeezes out the sides and makes a good surface around the inlay edges after you sand the radius:

100_1170.jpg


Ready to sand the radius tomorrow.
 
Last edited:
Sanding Fretboard Radius

I used a beltsander to get the rough shape (Ebony is VERY hard). then worked from 100 grit down to 320 grit with the 12" radius sanding block.

I counted the strokes, using new paper where I used new paper on the other end so I got a consistent shape.

Checked occasionally with a straight edge. Stopped at 320 grit. and will finish sanding after cutting fret slots and mounting on neck.

100_1171.jpg


Had to get down to the belt sander indentation in the middle of the pic.

100_1172.jpg


I think I did a great, tight job for my first attempt at inlay :D :

100_1173.jpg
 
Making the Pickguard Template

I cut out the template on paper and traced it onto Plywood.

Cut it out oversize and sanded back on a belt sander and barrel sander.

You need to get the template curves as perfect as possible (nice flowing curves) as it will be used to bevel the guard's edge. You cannot sand the guard after cutting it out as you need to follow something on the router when you bevel it.

I left the guide's 'space' between the humbuckers oversize so I can get the guard perfect later.

100_1174.jpg
 
Last edited:
Routing the Pickguard

After you have the template as perfect as possible, you need to attach the pickguard to it.

Use the pickguard mount screws - drill and countersink and screw it on top of the template. Both need to be the right way up.

The pickguard material has a plastic protection layer on at least one side. Put this side up:

100_1175.jpg


You trim with the plastic face down with a trimming (or template) router bit that has a bearing to follow the template and a same dimension cutting bit:

100_1176.jpg


100_1178.jpg


You then change to a bevelling bit and again work with the plastic face down. I suggest you do a test cut to get the depth right:

100_1179.jpg


100_1180.jpg


Everything but the width between the humbuckers now done. You can gently sand to even everything up:

100_1181.jpg


NOTE THAT the corners of the humbucker mounts are CURVED. File the guard to match when installing. Maybe get the correct radius template bit?
 
Last edited:
Cutting the Fret Slots

My Stewmac goodies arrived!

Tried out the Fret mitre saw guide. As I had already inlayed, I had to get the position exactly right on the guide slots. Better to cut the slots before you inlay:

100_1182.jpg


All done:

100_1183.jpg
 
Threaded the Truss Rod Plus BareKnuckle Humbuckers

I threaded the end of the truss rod after cutting it to length. It requires an M6 die:

100_1184.jpg


Everything to complete my guitar turned up today!!!!!!!:):):)

Pic of the BareKnuckle Riff Raff Humbuckers, plus I turned and threaded a bushing for the tuneomatic bridge as I stupidly bought the wrong one: Used an M4 tap. They are in front of the humbuckers:

100_1186.jpg


My Honduran Mahogany also turned up!!!!!!!

BEEEEAAAAUUUUTTTIIIIFFFFUUULLL. Camera batteries are dead, Pics soon.

Garry
 
Honduran Mahogany

Pic as promised. Enough to do a set head plus maybe another one (or at least another neck)!!!! Plus enough to do a few separate heads from the body cutoffs:

100_1187.jpg
 
Back
Top