Complete restore/overhaul of a classic fender amp

89gtsleeper

New member
Complete restore/overhaul of a classic fender amp (56k beware, tons of pics)

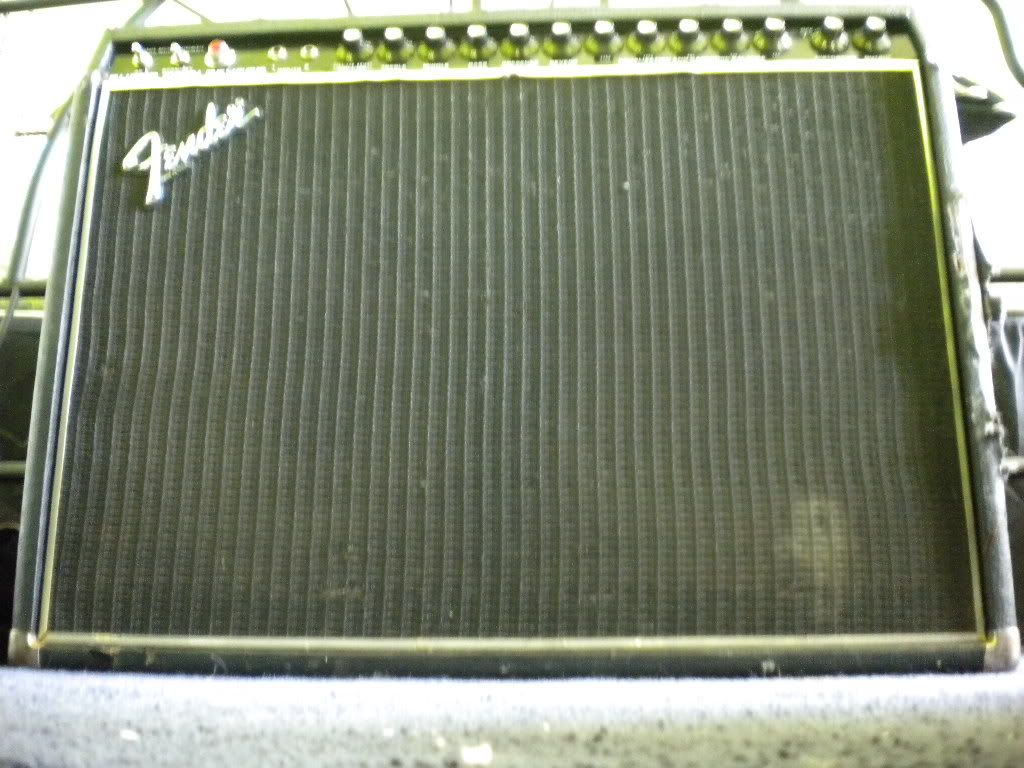
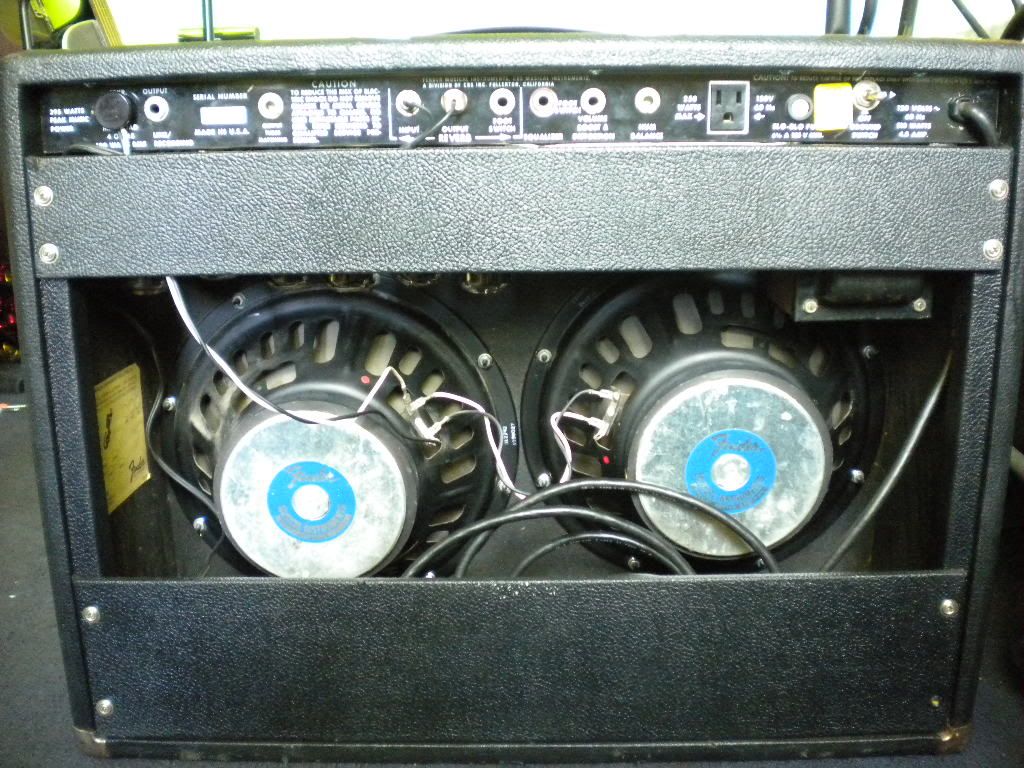
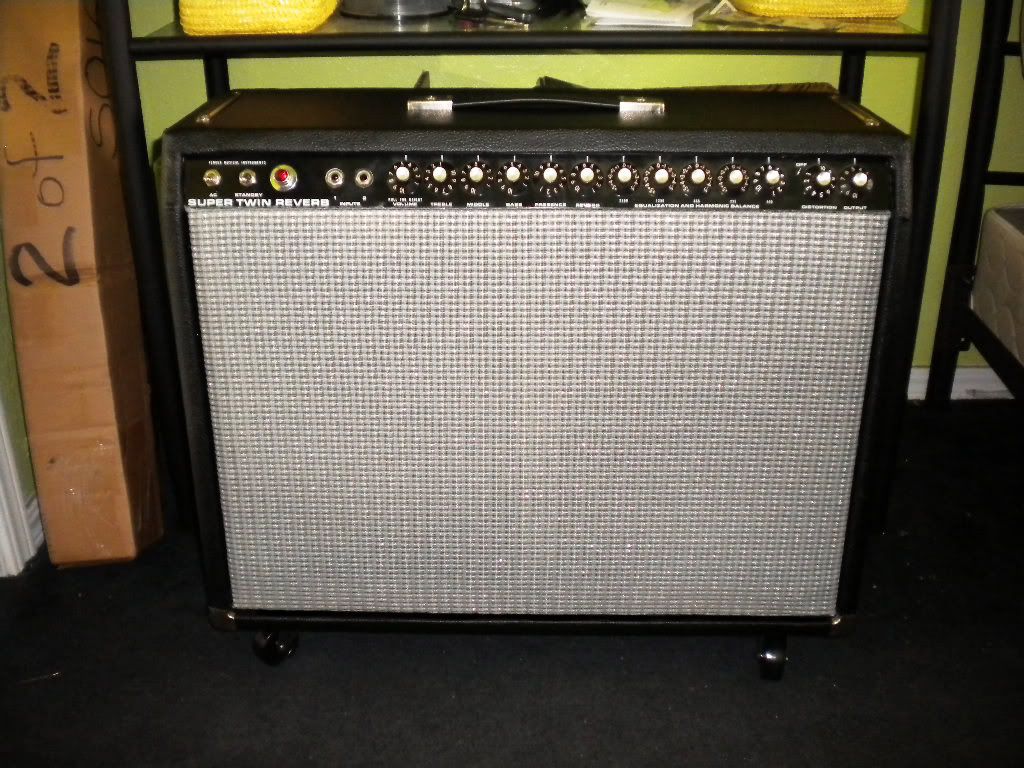
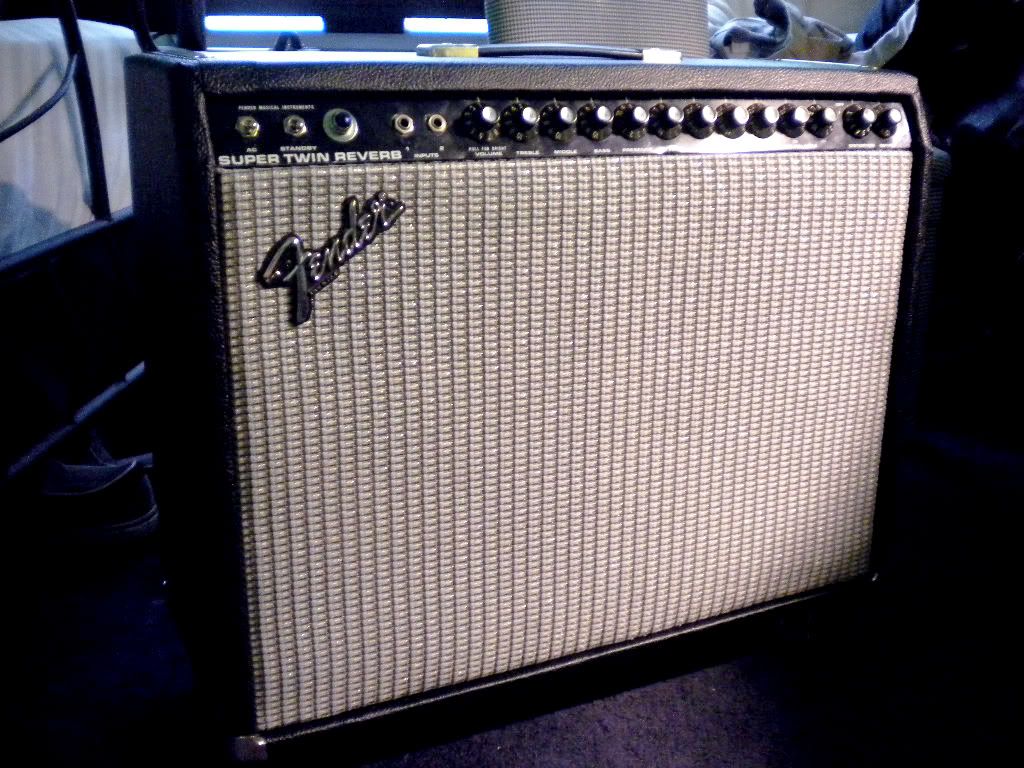
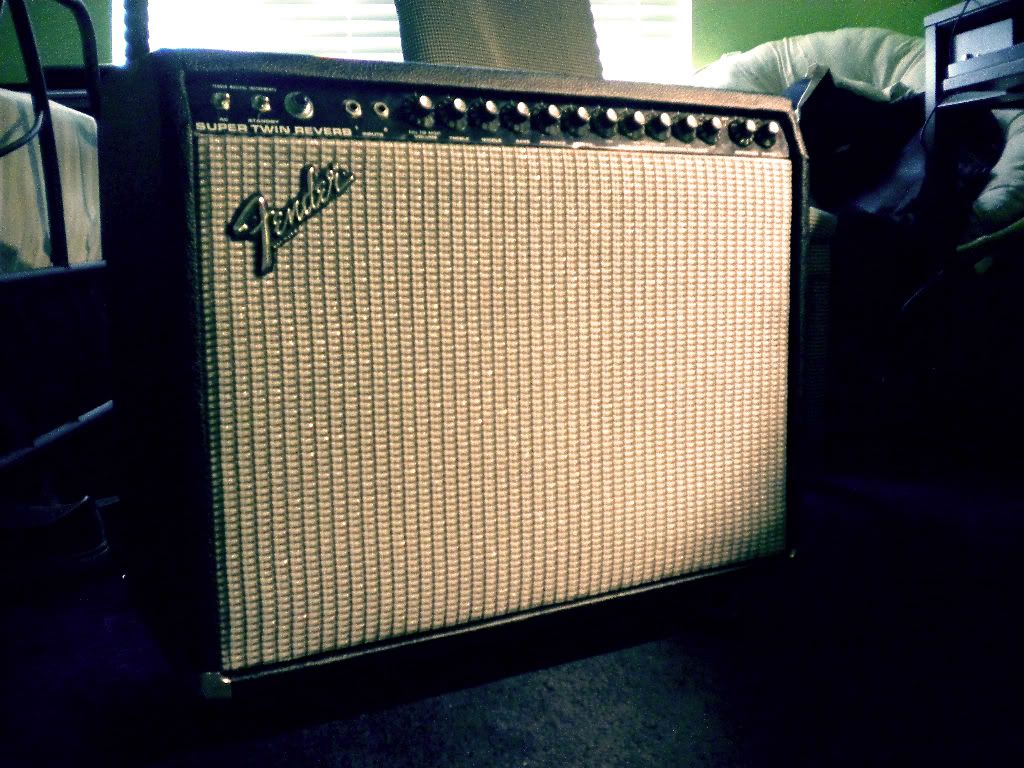
OK guys, so I had a 1977 Fender Super Twin Reverb that I was going to sell... I changed my mind. I got it out of the shop to get a few caps redone, along with all new tubes, and i just sounds so incredibly good I can't come to part with it.

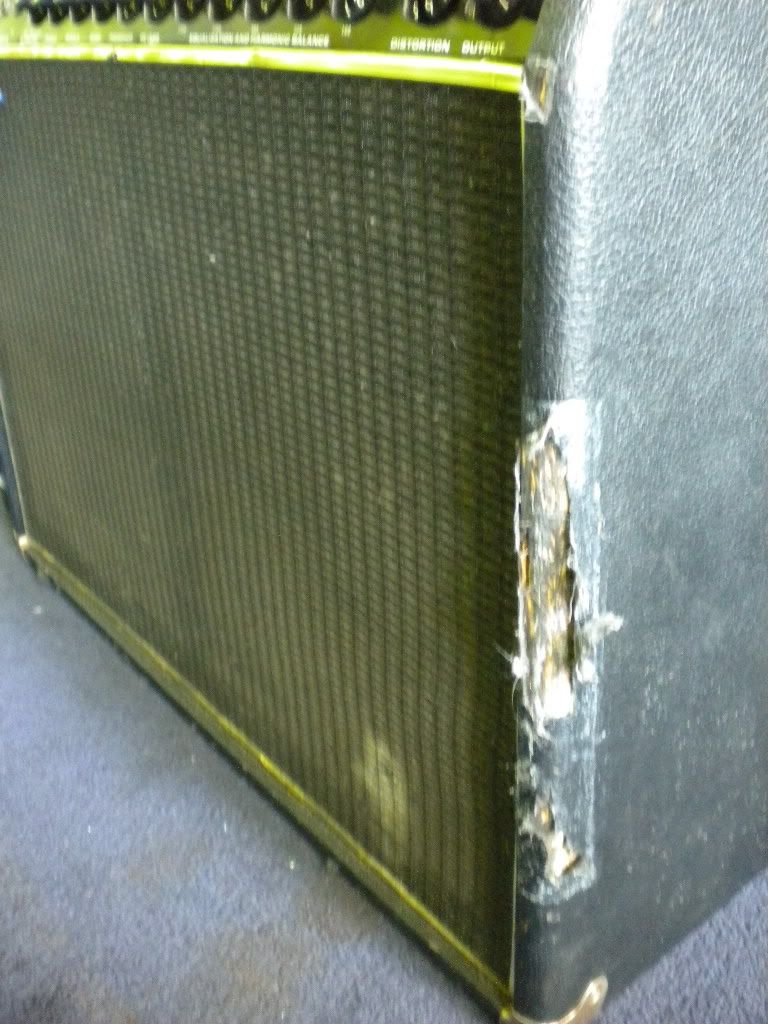
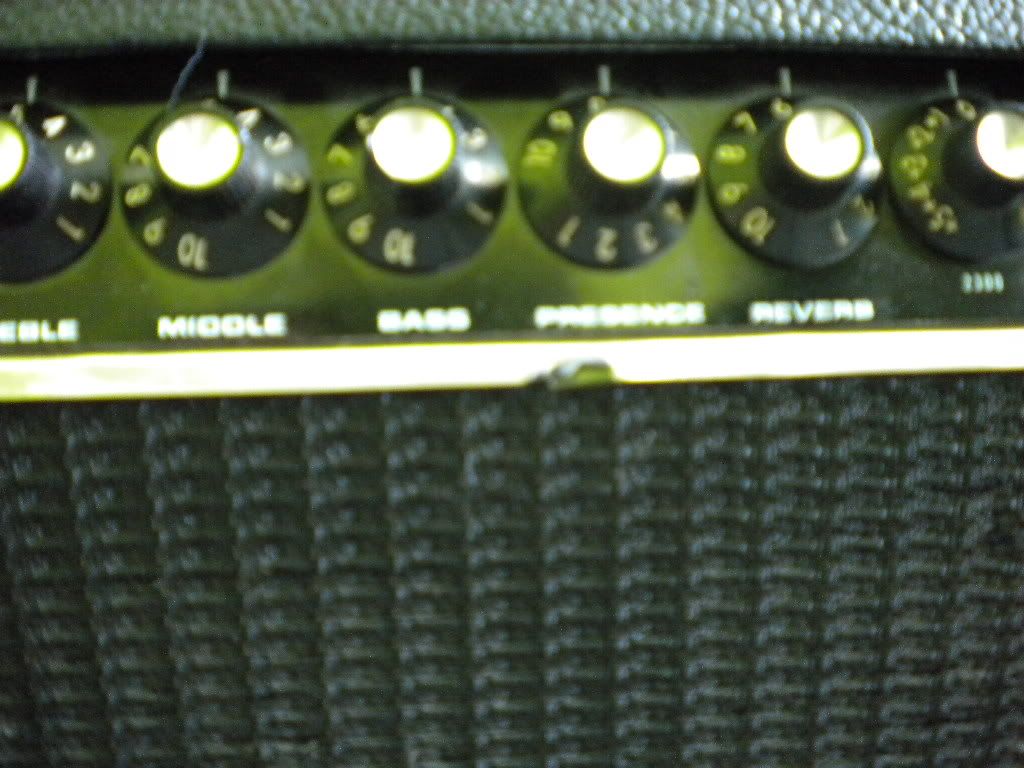
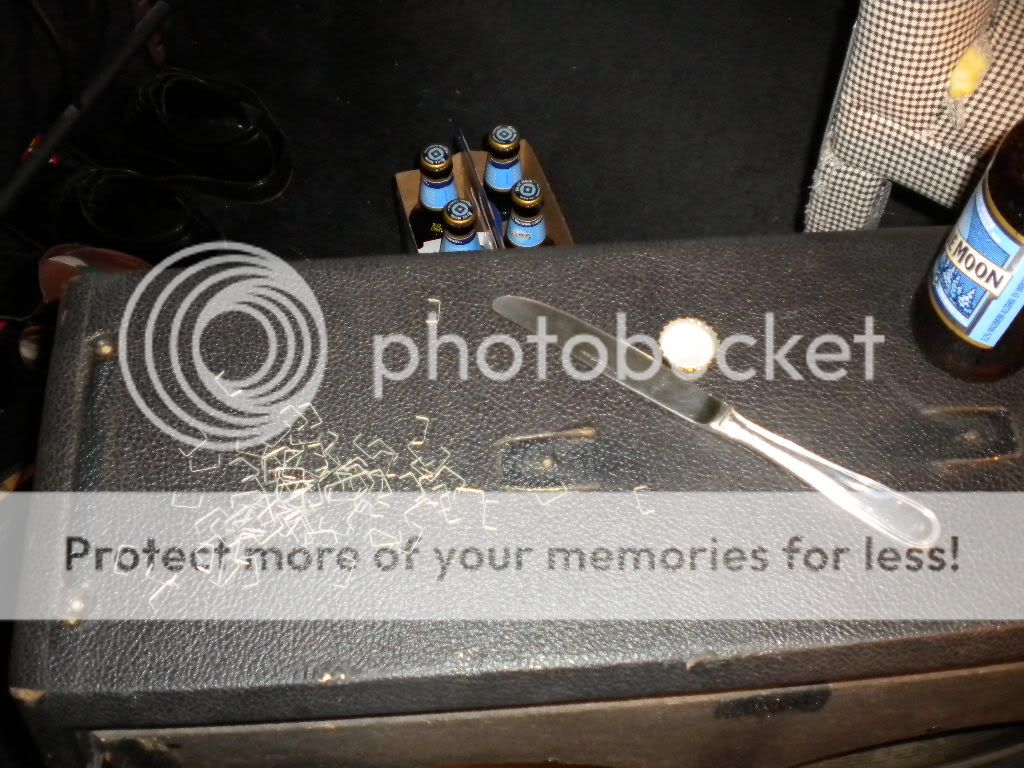
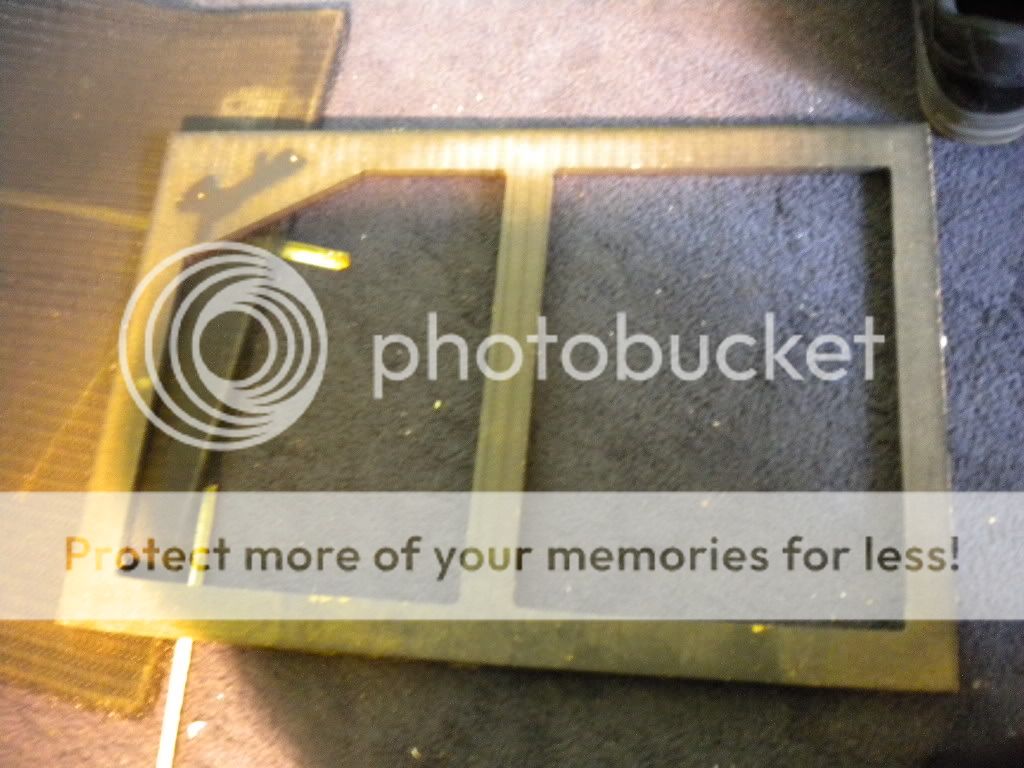
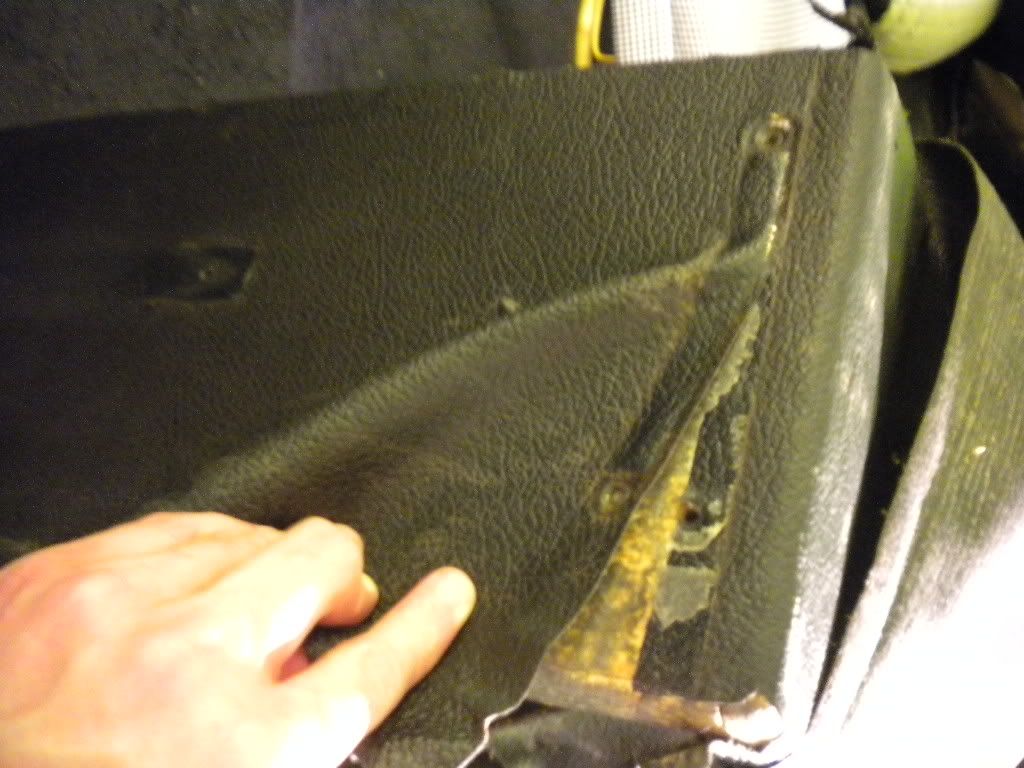
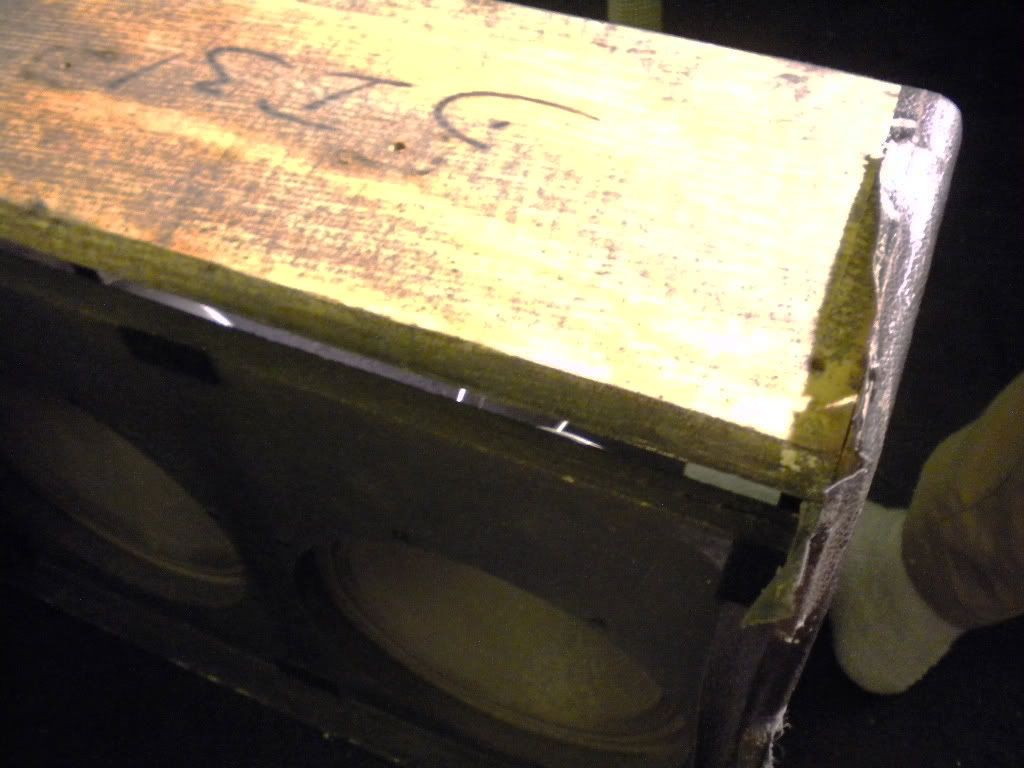
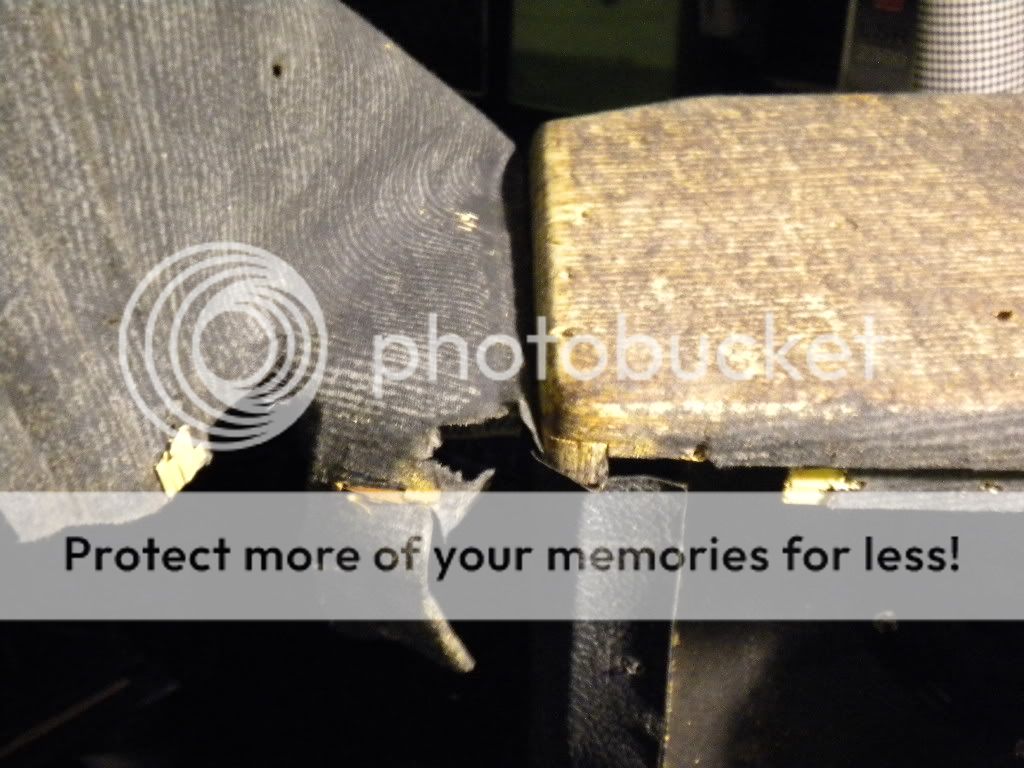
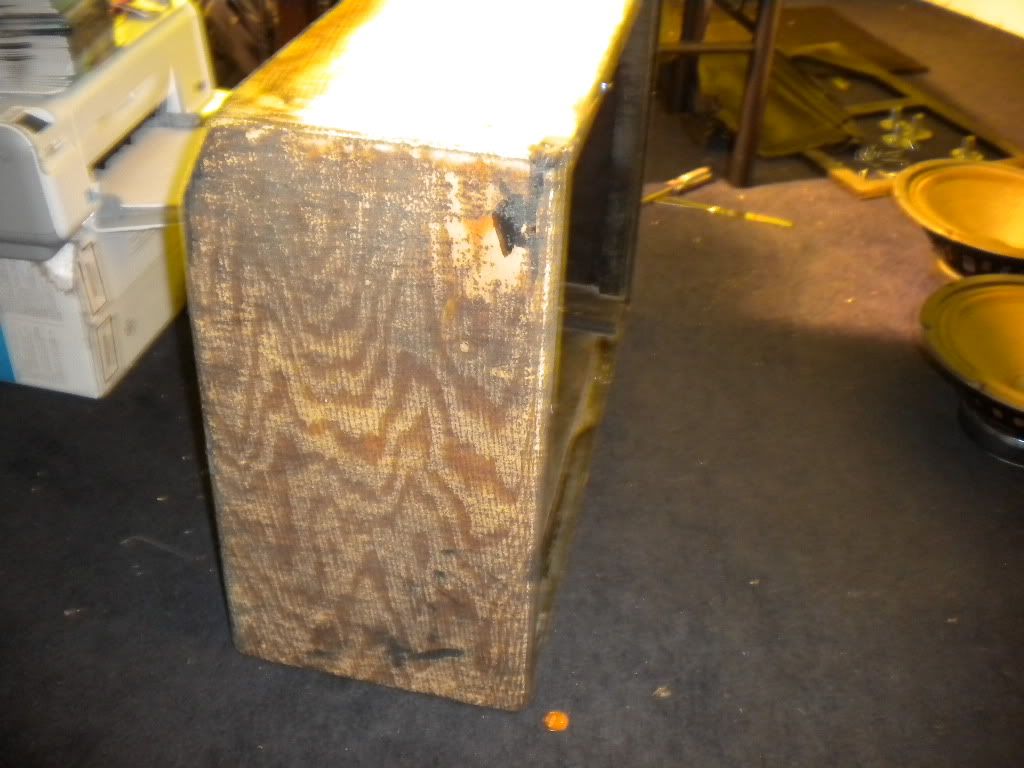
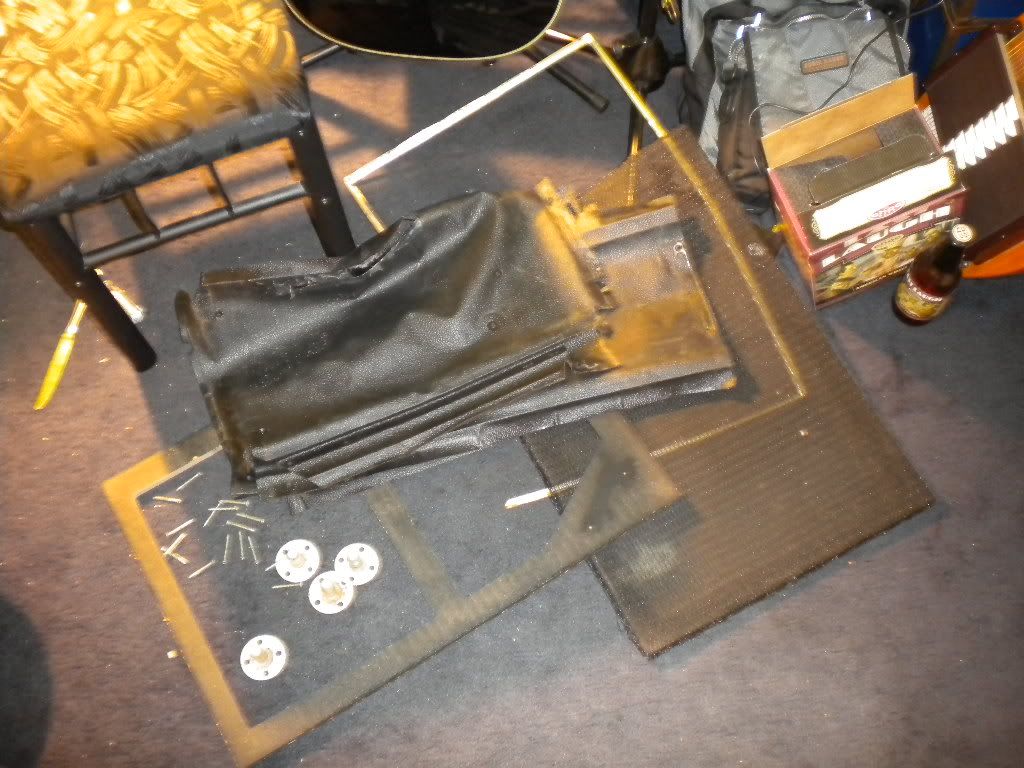
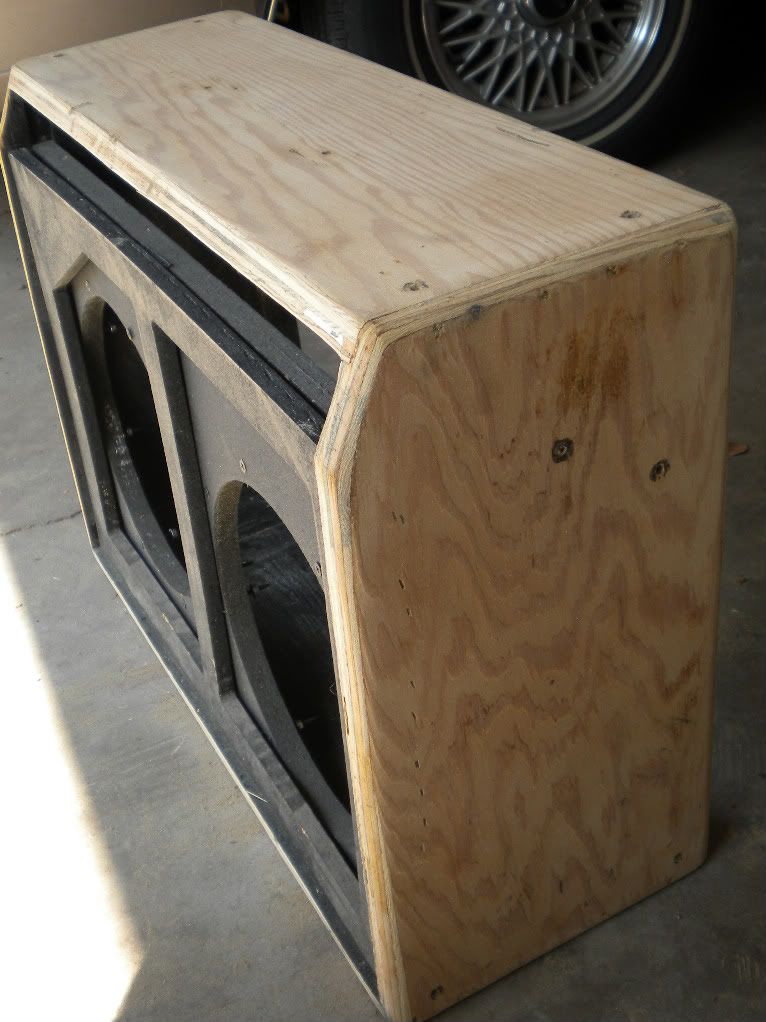
Since I'm keeping this beast, the outside of the amp is getting a complete overhaul as well. This might piss some of you off. I'm not keeping it original. Please note this may actually lower the resale value of the amp, but I don't care. I plan to keep it indefinitely. All restoration parts were purchased from mojotone.com. They are a great resource for finding all kinds of parts for various amp projects. I'll be working on this in my spare time over the next week or so, but should be done by next weekend.
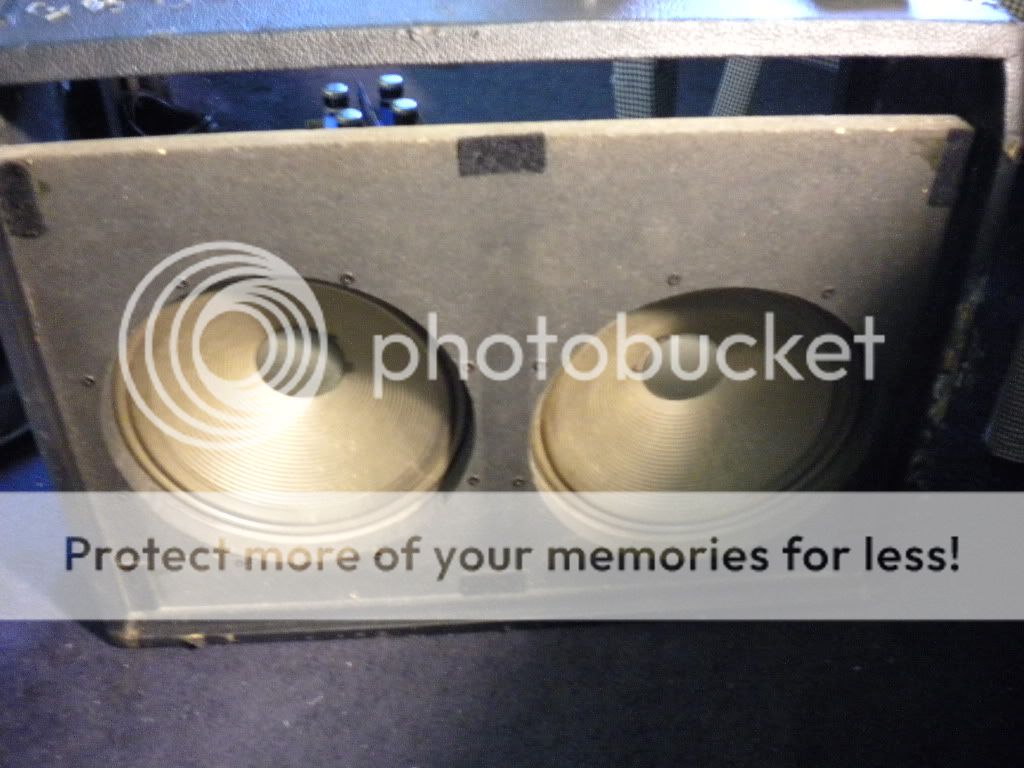
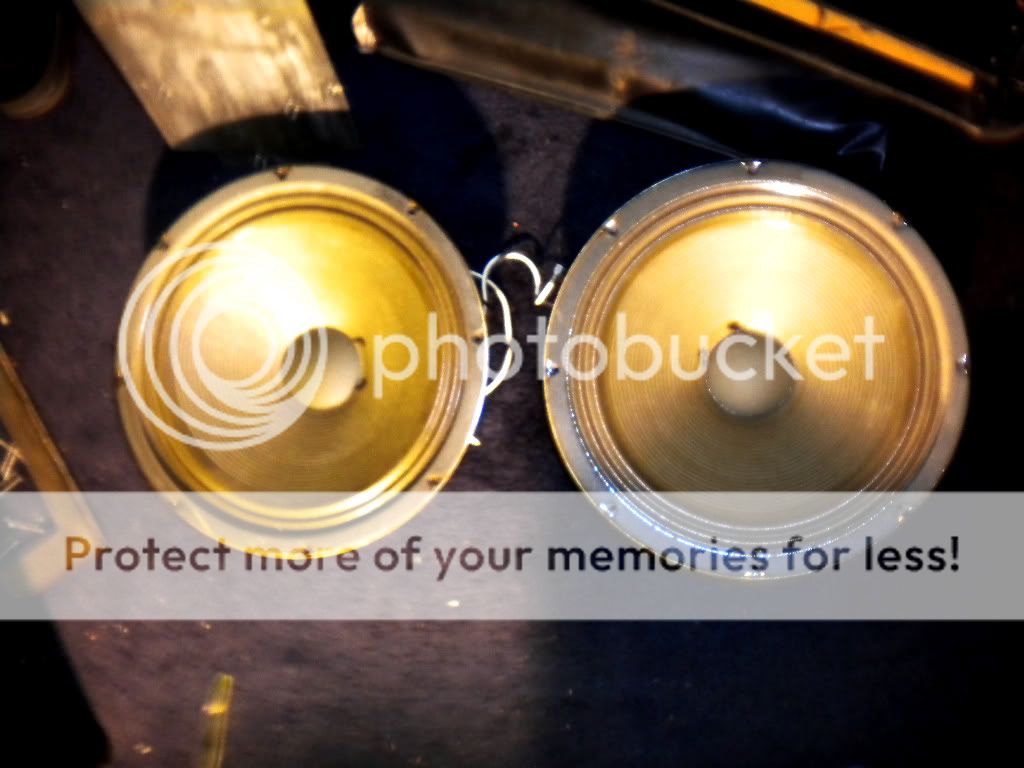
 
Last edited:
Step 1: Assessing the damage...

Here are a few pics of the amp, just back from the shop. You can tell it's seen better days, but for an amp that's been used for over 30 years, and seen at least 4 owners it seems about right.

Here she is from the front. Ugly blackface amp, bulky as hell, and I never cared for the lip around the grill cloth anyway. Yuck. The grill cloth has a few small rips and a pretty nasty stain.
Front.jpg


The front right side of the amp is the biggest issue with the tolex.
FrontRightTear.jpg


Here's a closeup of the lip around the grillcloth. This was the only spot it was actually damaged, but regardless, I just don't like it, so it won't be repaired... just removed and trashed.
Knobs.jpg


Here's a closeup of some of the hardware on top of the amp. You'll notice it's lost its shine over the years, and is actually starting to show a hair of rust. Though I didn't grab any pics of the hardware on the bottom of the amp, it is much of the same, but perhaps slightly worse.
TopHardware1.jpg


She doesn't look too shabby from the rear. Those are the original speakers. The tolex back here is actually pretty near perfect, and all switches and jacks are in good shape so they'll be left alone.
Rear.jpg
 
Last edited:
Step 2: Spending some dough... (courtesy of mojotone.com)

First all the loose odds and ends. Really the only changes from stock here are the blue lens cover (instead of the red), and the addition of casters. This amp originally had casters, but they were removed by a previous owner and my back doesn't like lifting 90 lbs very far.

$03.75/each - 1/2'’ Lens Assembly (Blue Jewel)
$07.50/each - Black Plastic Strap Handle with Chrome End Caps
$12.50/pair - Large Chassis Straps 5 5/8'’ (Twin, Super Reverb, etc.)
$02.00/set of 4 - Mojo Chrome Fender Style 2-Hole Corners w/ Lip
$03.00/set of 4 - Fender Style Chrome Glides (w/ Screws)
$21.50/set of 4 - Fender Style Casters and Socket with Mounting Hardware


Here's the big money items on my list. I debated about what kind of tolex to put on here. I thought about switching it to the mesa style black tolex... it has the smoother look on it, and to me is a bit more modern which is what I'm going for. But my girlfriend convinced me to kep it Fender style black tolex. I'm ditching the black grillcloth for a classic silverface cloth. This requires 2 yards of tolex (each yard is actually 36" x 54"), 1 yard of grillcloth (each is 36" x 36"), and the tolex glue (1 quart).

$21.75/yard - Fender Style Blue/White/Silver Grill Cloth 36'’ Wide
$14.00/yard - Fender Style Black Tolex
$28.00/1 qt. - Mojotone TruGlu Tolex and Tweed Glue


This brings the total to $131.75. UPS Ground shipping was cheapest at $20.00 for the entire order. Thus the grand total was $151.75.
 
Step 3: Stripping the beast...

First and foremost, you need to pull the chassis out of the amp. Unhook your speaker cable and reverb cables from the back of the amp, and remove the two black panels (four screws each). To remove the chassis, you must remove the four screws from the top of the amp that go through the large chassis straps. Be sure to support the chassis from underneath while you do this so your precious amp doesn't drop and break all your tubes. Once the screws are removed, you should be able to just pull the chassis straight back and out through the rear of the amp. When you set it aside, flip it upside down and make sure the tubes will not get hurt by animals or clumsy feet.

With the chassis removed, remove all hardware on the amp. That means the corners, amp glides, caster sockets, fender logo on the grill, the amp handle strap. A simple phillips screwdriver is all you need.

Take off the front baffle. (That's the entire front piece of the amp that the grillcloth is stapled to. It is simply held on to the amp with 6 pieces of velcro, so just gently pull it off. At this point, your amp should look something like this.


DSCN0231.jpg


Probably a good idea to go ahead and remove the speakers also. A screwdriver should do the job nicely. Before you pull the speakers, be sure to disconnect the wiring between the two.

DSCN0243.jpg


Pull the reverb tank out of the amp. It sits in a pouch, and is screwed down with two screws to the bottom of the amp.
 
Step 3 continued: The tedious stuff....

Time to remove the grill cloth from the baffle. I will tell you this is a pain. On my amp, the grill cloth was stapled to the sides of the baffle, with each staple nearly touching the one before it. I removed 84 staples. I used a butter knife, you could probably find something better. A flat head screwdriver was too thick to get under there. This was a two beer process.


DSCN0227.jpg


DSCN0230.jpg


The last step of stripping the amp is removing the tolex. This was actually much easier than I anticipated. I just used the butter knife. No heat gun or hair drier necessary. It is probably a good idea to take pictures where the tolex overlaps so you will have a reference for putting the new stuff on. On this amp, the side pieces go on first, then the top and bottom overlap. Here's a few pics.

DSCN0236.jpg


DSCN0237.jpg


DSCN0235.jpg


DSCN0238.jpg


DSCN0242.jpg


DSCN0241.jpg


Yay. All done.


DSCN0244.jpg
 
yes, the guts are already up to par, so for the DIY side of things, I'm doing only the outside. Parts came in today, so more stuff coming by this weekend.
 
I like the detailed pics of the demo . . . and then . . . magically it's all done :D

Looks nice though :)

right on... I guess that gives everyone yet another indication of just how much work this project turned out to be... I got lazy in the end and just hustled to get it done. Forgot to take pics until it was already together. As far as putting it back together, the hardest part is getting the four pieces of tolex properly cut and fitted onto the amp. there's one piece for each side of the amp. The top and bottom are just straight rectangular pieces, but the left and right sides are a pain in the ass because of the corners being folded. I didn't just want to lay the old pieces on the roll of tolex and make a traced copy because I did some additional smoothing work when sanding the corners and edges to give it a slightly more rounded look, and I feel I would have run into issues. As far as gluing the tolex down, I put the thinnest possible layer of glue and both the wood and the piece of tolex, and tried my hardest to cover every square inch of both. Lay the tolex on the amp as close as possible to where it's going to go, and smooth from the center outward, you can use a damp paper towel to wipe excess glue before it dries. And, if you manage to miss a little, it's pretty to easy to scrape off the finished side of the tolex after it's completely dry, and it doesn't leave any weird residue behind.
 
really well done, i like the new look over that ol blackface and agree the plastic trim piece had to go.

well anyway, I agree with ms, i was really diggin all the demo and the detailed steps then it like jumped and it was finished. lol

it would have been great to see the details of rebuilding it and all the glue/cutting.

frkn awesome project though damn..looks better than new!
 
Nice work! Re-tolexing must have been a helluva job!
I'm also upgrading my old SF Fender Twin Reverb which I have owned for more than 30 years.
I think it was built in '75 or so, not pre-CBS unfortunately.
I changed all the pots and electrolytic caps and changed the master pot into a PPMV.
A guy here in Holland named Nico Verduin has helped me with info and spare parts, he really knows a lot about these amps.
Havent' made up my mind about re-tolexing it. It looks terrible, but the sound is OK.
Mine has the same original Fender speakers as in your amp, do they sound good?
At first I wanted to change them, but if they are any good I will leave them in.
Keep up the good work!
 
Nice work. I like that you stayed with the amp's original cosmetics, rather than "upgrading" or "modernizing" it with silly things like a BF-era/Script face plate or snakeskin tolex.

But, man, that face plate does look dated, doesn't it? With it's block lettering for "Super Twin Reverb," I mean. Reminds me of my old GK 200G amp, which was probably made about the same time. That amp couldn't hold a candle to your STR, of course, but it had the same late 70's/ 80's look. I am a little amazed by how much cab styling enters into our attraction of amps, and more to the point how much something can go out of style- I recall Fender's modernizing at least some of it's cabs in the mid 90's (I am more embarrassed by my Champ 25SE's goofy looks than it having "only" three tubes. And who could forget Peavey's infamous "aluminum strips" era?
 
Back
Top