Ampex MM-1000 Story...

Hey Cory! :D I saw a photo of your studio setup (with Matilda) a few pages back (page 79 :D ) and also listened to some audio samples off the MM-1000... It was worth the wait. :) 
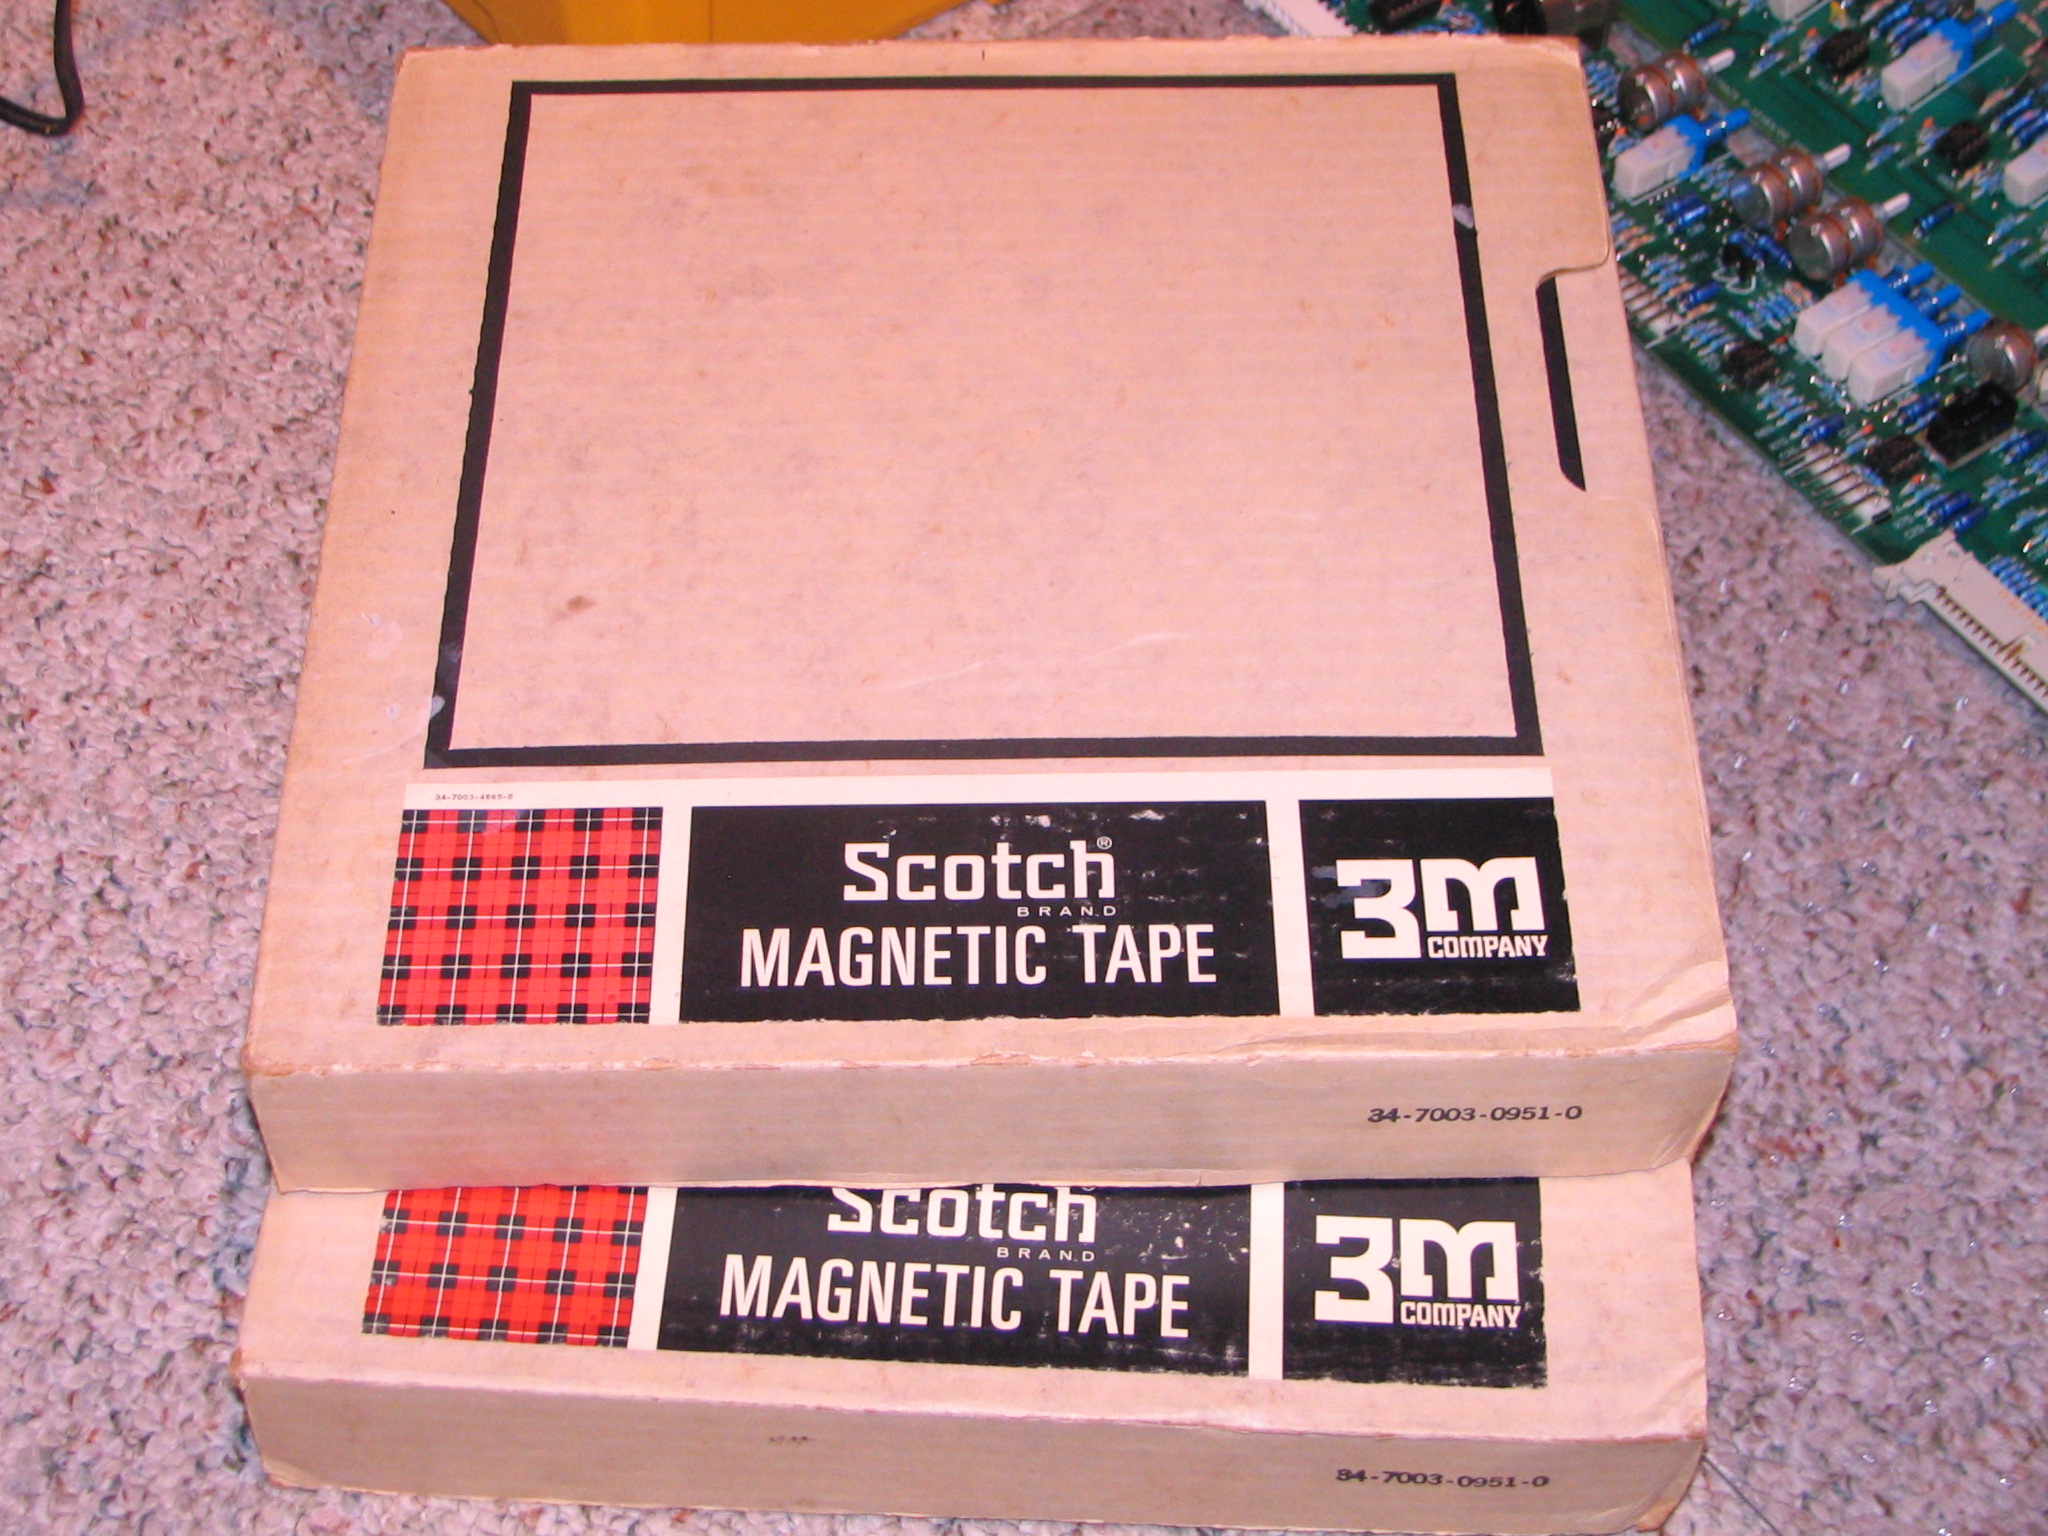
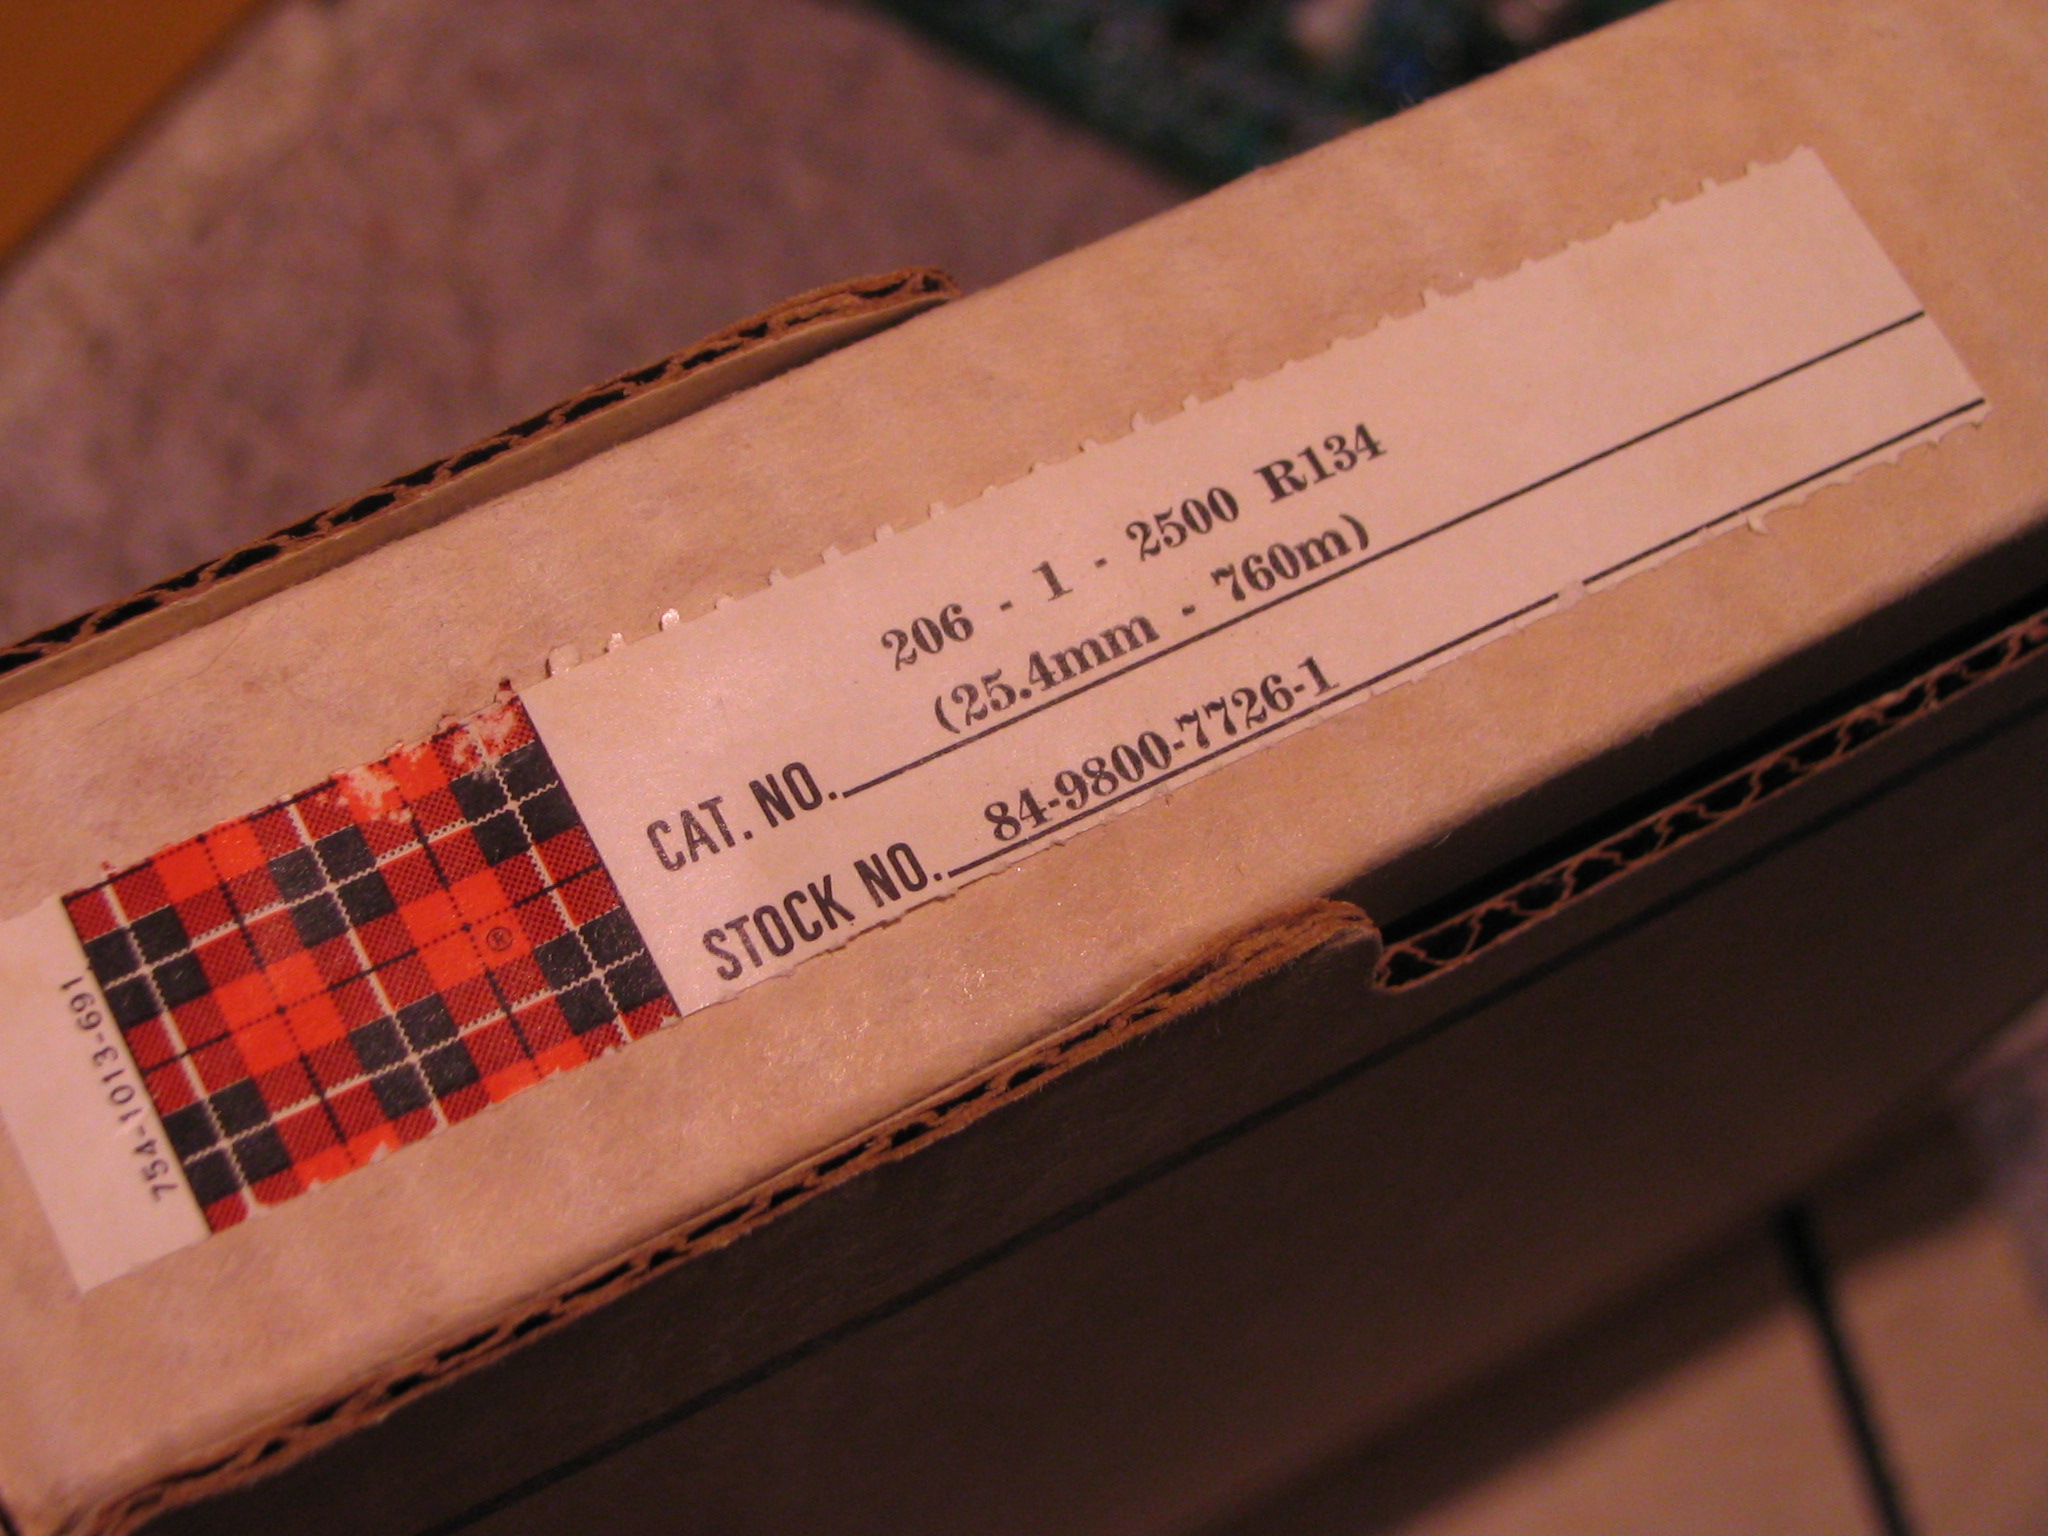
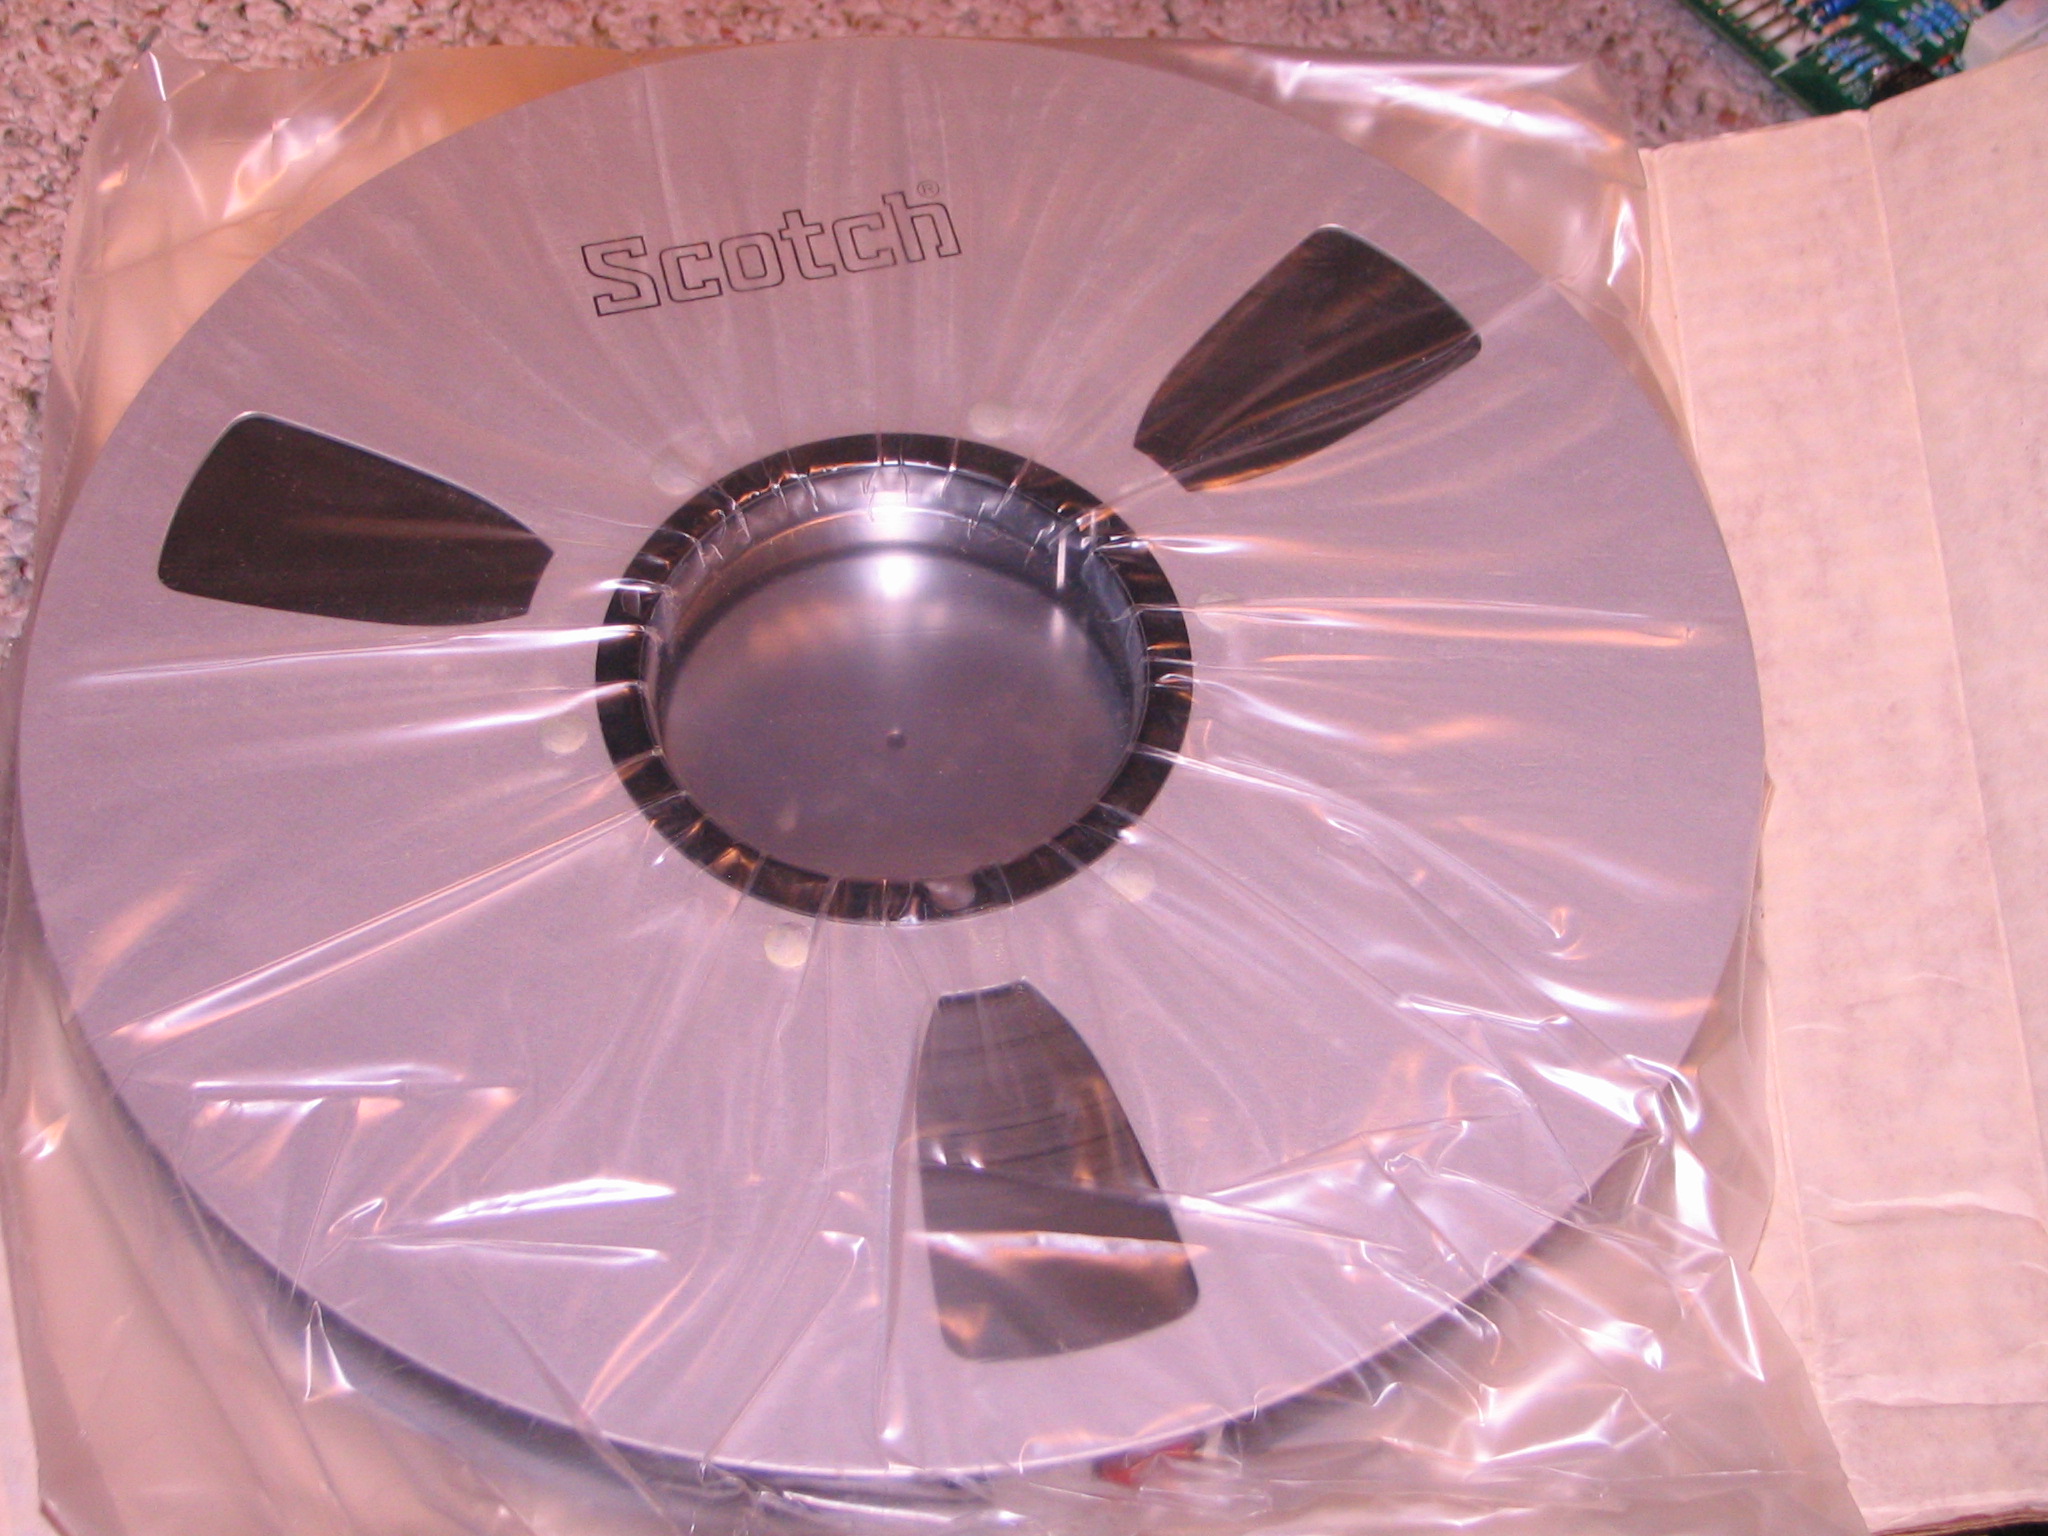
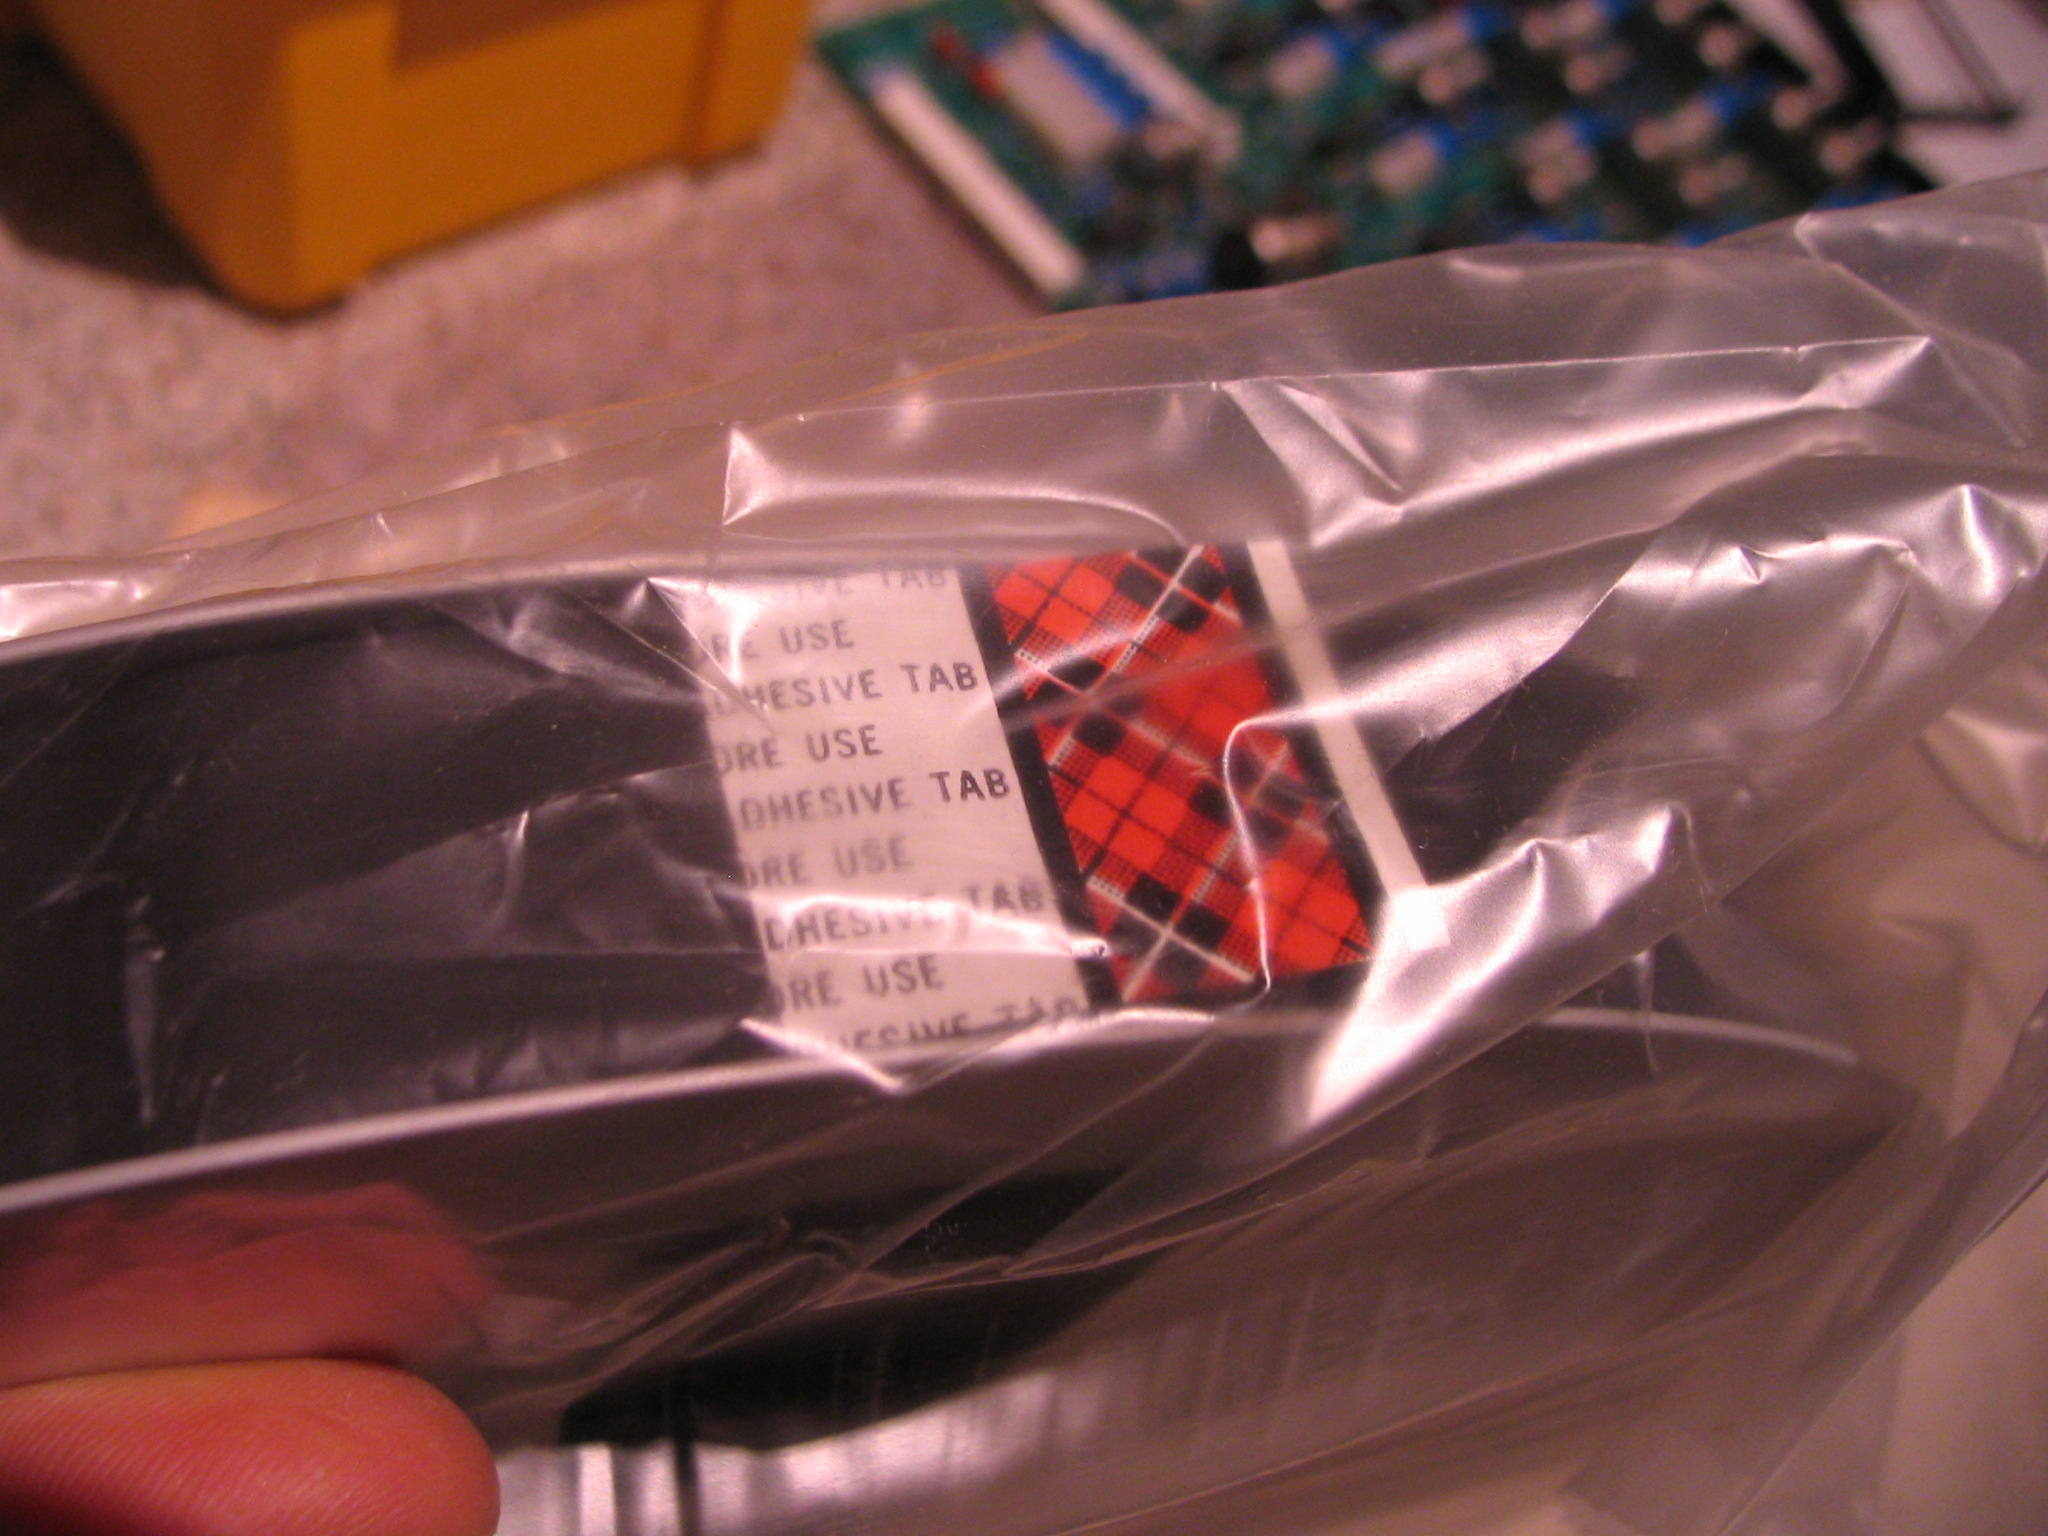
Really nice setup and I can sense that you're enjoying the fruits of your labor. Nice going, really. It's good to see that you haven't lost your passion for this stuff. Have you ever considered going for a "dub" sound using old dynamic mics and gritty sounding tape, from the late 60's, early 70's? Sometimes you can find nice Scotch 206 in wide format. It would sound awesome on your machine.

Funny you should say that, Daniel, because I was in a reggae band for several years in my former life and classic dub is one of my favorite music styles along with its contemporary iterations. I definitely envision using the MM-1000 in this way, and Scotch 206...hmmm you mean like this?

IMG_1241.JPG


IMG_1242.JPG


IMG_1243.JPG


IMG_1244.JPG


Ya...I got some. :D :D :D

Not a lot, but two NOS sealed reels of 1" that I got for, like $60 including shipping, and two reels of NOS 2" that were gifted to me.

:thumbs up:
 
Last edited:
Funny you should say that, Daniel, because I was in a reggae band for several years in my former life and classic dub is one of my favorite music styles along with its contemporary iterations. I definitely envision using the MM-1000 in this way, and Scotch 206...hmmm you mean like this?

<snip>

Ya...I got some. :D :D :D

Not a lot, but two NOS sealed reels of 1" that I got for, like $60 including shipping, and two reels of NOS 2" that were gifted to me.

:thumbs up:

Nice looking photos Cory! ..... Two reels of NOS 2" as a gift? WOW!! Man, those are beautiful tapes. You're all set! :D I still have a couple of NOS 1/2" 206 myself that I bought as pancakes, years ago. Yes, I do recall you mentioning once that you were in a reggae band. I love the old dub sound records. It's so different sonically than anything else. There was a cool article too, "shitty is pretty" somewhere online. I got a kick out of that. :D That's why I love the old machines, tapes and gear from many decades back. Oh, the stories they would tell. I'm not that into modern anything so every time I see an old Ampex, like your MM-1000 or really old tapes, heck even the pretty boxes they're in, I'm all warm and fuzzy about it. :D
 
Hey Everybody, I have both a Scully 2" 16 and the Ampex MM1000 2"-16. The Ampex was working good three years but now loses power during Play, Fast Forward and Rewind. Anybody have any ideas? Ben
 
Well I concur with the advice to start a new thread. That way the forum gets populated with threads of more specific issues which can be helpful for other users when searching for help.

BUT...I'll prime you to start that thread by asking you a question and I won't follow up unless its in a new thread.

Is this what's happening: the machine is on, tape is loaded, you go and hit one of those transport functions and *BOOM* the whole thing just dies but is still powered up? And the only way you can get it to work again is to power it down and back up, but then the same things happens *BOOM*?
 
*sigh*

I've been putting this off for a long time...finally found the box with the 25lbs of wire and connectors comprising the system harness necessary to convert the MM-1000 to be 16-track ready. 25lbs...and that doesn't even include the audio harness or head cables. Lol. Big.

Anyway, here goes...

image.jpg
 
So I remember now why I was kind of dreading the 16-track system harness installation project...there's a whole bunch of other stuff kind of tied to the process...like opening a pandora's box...or starting any home plumbing project...it just kind of keeps going.

Putting the 16-track system harness in means finally dealing with upgrading the cooling fans from traditional 120VAC Muffin fans to a pair of super quiet (and higher CFM) 12VDC computer case fans wired in series and powered off the 24VDC transport power supply; it means dealing with some janky wiring associated with the remote connector on the 16-track harness...the harness came off of a machine from Fantasy Studios that had some secondary remote system, and there's this chunk of wire that's been spliced in. My thumb and 3rd and 4th fingers are holding the factory Winchester remote connector, and the 1st and 2nd fingers are holding and pointing to the chunk of wire:

IMG_3244.JPG


It means replacing the power panel in the front with the later model version that has the 120VAC power outlet and brake release pedal connector...I'm holding the panel-to-be:

IMG_3243.JPG


It means replacing the 10' or so of 3-conductor 12AWG stranded wire that carries the mains power from the power socket in the back of the machine to the power panel in the front...after 40+ years the insulation is crumbling:

IMG_3245.JPG

And it means having to make some tough decisions...one of the connections on the back of the 440B/MM-1000 amplifier electronics carries record lamp power to the control panel and to the remote, and it also handles auto-source switching on later models. My MM-1000, being an early model, does not have the auto-source or "auto-input" switching functionality, and the original harness in the machine was appropriately lacking the conductors for that functionality. Well, the donor harness *has* all that wiring, so that if at some point in the future I want to add that functionality (I have schematics for the additional guts in the electronics so I could add the components), the "new" harness would allow for that. Right. But the issue is that the connector on the back of the electronics is normally a 4-pin Cinch Jones connector. Mine has a 4-pin circular Cannon connector. Why? I don't know. Could be my electronics are very early 440B/MM-1000 electronics and they hadn't settled on what they were using yet? There are some other elements of my machine that make it a very, very early MM-1000, so this hypothesis is plausible. So the *question* is, since my electronics have the Cannon connectors, and the incoming harness has the Cinch Jones connectors, do I replace the Cannon panel-mount connectors in the electronics with Cinch Jones, or hack the harness and swap in the cable-mount Cannon connectors from the original harness? So that's another issue with which to contend in the harness swap.


Out of the box comes the pile of spaghetti...the cassette is for reference:

IMG_3239.JPG


There's so much wire in this thing...here's a shot through the front lower left rack at the harnessing *just* for the audio cabling to and from the two 8-channel sync relay modules:

IMG_3240.JPG


So to work I went. Getting the original harness out from the lower section wasn't too bad...there are a number of screw-mount type zip ties that anchor the harness to the chassis in strategic locations...I just clipped those as I have new ones to go in. So I unplugged it from everything (control panel, transport, power supplies, relay box), clip-clip-clip, etc., removed the channel 1~8 electronics power supplies so I could extract the power to the fans, and unmount the power socket from the back panel...and unmounted the power panel. Then it was time to go to the upper racks...this was where I was apprehensive as I really didn't know how easy it was going to be. A quick look and I thought "Oh cool! I just have to remove the top level of electronics modules and I can clip the zip ties and hopefully feed it through the chassis!" Out come modules 1 and 2:

IMG_3246.JPG


So I go to start working the harness out from in between the remaining modules and...shoot...more zip ties...

unplug-unplug-unplug-unscrew-unscrew...

IMG_3247.JPG


NOW were in business...wait...arg...

IMG_3248.JPG

IMG_3249.JPG


...okay...NOW we really are in business.

So I was worried about trying to feed the mess through the overbridge upright, because some of the connectors are a tight fit. Well, its pretty cool...there's an inside cover panel that comes out SO easy. Its basically held in by spring tension from the way the panel is formed. There's a screw and a nut at the top that prevents it from sliding down. Remove those, slide it up so you can kick out the bottom...

IMG_3251.JPG


And then you can slide it down far enough so the top clears and out it comes. Here you can see the end of the panel and the "wings" that keep the panel in place when its installed:

IMG_3252.JPG


So with that out it was much easier to finagle the whole mess through from the top down to the lower chassis...*poof*! Its out:

IMG_3253.JPG


So last night I got the new zip ties installed in the overbridge, and called it a night. I picked up new cabling to replace the internal power cable, so the next steps are to finish replacing the screw-mount zip ties, and replace the power cable on the harness. Then I need to re-work the fan power leads, and figure out what I'm doing with the 4-pin connectors for the overbridge...Cannon or Cinch Jones. Anyway, the last shot from last night showing new zip ties:

IMG_3254.JPG
 
Wow! What a massive undertaking you've chosen to do there, Cory!

I wish you the continued strength and insanity required to see it through! :D

Cheers! :)
 
Wow! What a massive undertaking you've chosen to do there, Cory!

I wish you the continued strength and insanity required to see it through! :D

Cheers! :)

Strength and insanity in proper measures...CHECK! :D

So I did some more investigating to help me make my decision about whether to hack the original harness and use the 4-pin Cannon connectors, or hack the electronics in the overbridge to accommodate the Cinch Jones connectors...this is what I'm talking about...the Cinch Jones connector is on the left, Cannon on the right:

IMG_3272.jpg


Here I am pointing to the Cannon panel-mount connector in question on the channel 1~8 electronics as mounted in my MM-1000's overbridge:

IMG_3273.jpg


And here we have the same connection albeit with the "normal" Cinch Jones connector as seen on one of the eight electronics modules I'll be using in the lower racks for channels 9~16:

IMG_3279.jpg


You can see the hole in the "normal" module for that jack is very specific to the Cinch Jones connector, with notches for the locking tabs. I looked closer at the same holes in the electronics original to my MM-1000 and its clear the holes were punched specifically for the Cannon connectors. In other words its not like the electronics originally were fitted with Cinch Jones connectors and then modified and fitted with the Cannon connectors...its pretty hard to tell from this picture but I opened up one of my original electronics modules to look at the back side and what I saw told me for sure my electronics were purpose-built with the Cannon connectors...it appears the panels were punched for those Cannon connectors:

IMG_3274.jpg


So it seems to me, both from the perspective of posterity AND keeping things as simple as possible, it would be best to leave the electronics as-is, and to hack the harnesses. Certainly there's no rarity to the 16-track harness I'm retrofitting to the MM-1000, but there IS rarity to the original 8-track harness...but trying to splice that in to the 16-track harness would be a massive-ugly undertaking because it would require a lot of work changing connections to the 27-pin mode control Cannon connector as well as the Winchester connector for the remote...no fun...and LOTS AND LOTS of zip ties would be needed...definitely seems like a bad idea. I'd rather leave the harness as intact as possible as ANY changes introduce the possibility for error...ALWAYS. And last but not least I may have the only 440B/MM-1000 electronics fitted with Cannon connectors for "J14"...not that anybody really cares, nor does it make them more valuable or anything, but it seems right to leave them as-is.

So hack the harnesses or hack the electronics? I think you know what I decided...

IMG_3280.jpg


The other bit with which I'll need to contend is that in the early models the record tally signal comes across J14 on pin 2...in the later models it propagates on pin 3. So in order to leave the harness with the factory pin assignment (which I think is worthwhile to avoid the potential "WTH" at some point in the future if somebody is trying to troubleshoot and the machine doesn't match the schematics), I'll need to move the record tally signal connection from pin 2 to pin 3 inside each electronics module. Not that big a deal, but necessary nonetheless if I'm going to maintain consistency with the schematics.
 
Old harness, meet new power cable:

image.jpg

And after a little clip-clip-clip, wrangle-wrangle-wrangle the old deteriorated power cable is gone and the new strapped into place:

image.jpg


Here's a better shot showing the deteriorated insulation on the individual conductors...this is common to what I've run into with every cable of this type from this vintage of equipment which would include my Ampex and MCI gear from this era...scary...the conductors in my hand sit inside the power panel just like that...with all that bare copper showing and possibly touchin' stuff they ain't s'posed to touch:

image.jpg


Got all the janky wiring removed from the "new" remote connector and got it cleaned up:

image.jpg


Just a little sidebar here...once I got the original harness completely out of the chassis I saw more evidence of the cap that blew some time ago in one of the electronics module power supplies...again, this is like a gift that keeps on giving...I'm the one that put the cap in backwards even though I triple checked the orientation...I *still* got it in backwards and then within a number of hours of operation the cap decided it was done and *BANG* it blew...inside a closed power supply chassis...and still cap guts went everywhere. The light brown splatter on the inside of the overbridge upright obviously missed my discerning eye when I originally went through and cleaned up the mess. WOW but that thing threw itself everwhere...

image.jpg


And so begins the installation of the 16-track harness...wrestle-wrestle-wrestle...its like a 500-headed anaconda...and those of you that do computer networking appreciate "snag-less" network cables, yes? Even though often they aren't worth it because they are a pain to unplug...but this harness has *amazing* snag-ful properties with all the zip ties and the jack screws and strain-relief screws poking out everwhere...grrrrrr! :cursing:

image.jpg


First I was able to position and orient the lower main section as it was originally fitted...it takes a little bit of trial and error, but the bends and kinks in the harness eventually tell you where the harness should be placed in the chassis...so not ALL the lower section is permanently strapped in, but a portion of it which then helps support and determine the position of the upper section in the overbridge. Here are a couple shots of the lower section...you can see the main trunk going up the back corner of the chassis there and the sub harnesses interfacing with the 24VDC transport power supply (big gold box) and the relay control module (beige box tilted back with the big fat Cinch Jones connectors above the gold box):

image.jpg


And here's another view looking at the back of the chassis:

image.jpg


With the lower trunk somewhat anchored in place I could then start to anchor the upper harness in the overbridge. I only anchored part of it because I still need to replace the eight 4-pin Cinch Jones connectors on that section of harness and it'll be easier to do this without that section being all strapped in:

image.jpg


At one point when I was working with the lower trunk at the back of the chassis my eyes peered up over the top of the transport and caught this cool view...looking across the takeup brake arm, guide and tape footage counter roller assembly, with Tascam and other gear peeking over from a distance:

image.jpg


So next up is to clean up the 4-pin Cannon connectors I clipped from the original harness and get those retrofitted to the "new" harness, do some more detail cleaning on the "new" harness, polish up the "new" power/remote panel (which has required some straightening as well), and front power panel (both have been polished and I need to wipe the dried polish off and buff now), wire up and test the new cooling fan array, finish anchoring the harness, and then the harness installation will be complete. Coincident with this work is the weighty undertaking of setting up the 16-track control panel, and refurbishing the second 8-channel sync relay module needed for tracks 9~16. Details to follow...
 
Last edited:
I reported it to the mods.

They tell me everything is fine on their end...whatever that means???

Cheers! :)

All I know is that I just get links instead of images, and if I click on them I get this:

"Invalid Attachment specified. If you followed a valid link, please notify the administrator"
 
Not sure what all happened with the attachments in my last post but I think that's fixed now...had to reattach.

Let the control panel frankensteining begin...

image.jpg
 
Last edited:

I had the same thing happen to me in the tascam wallpaper thread. My most recent picture upload just disappeared after successfully uploading it and a few hours later, poof: it's gone.

I started a thread in the forum feedback section and Chatter La posted in it and pledged to look into the situation. You might want to also post in that thread to report the same problem.

Cheers! :)
 
Phew!

A more detailed account to come later along with many a picture, but the 16-track control panel is finally assembled including an intensive detailing and refurb.

image.jpg
 
Back
Top