Ampex AG-440B-8 Story...

Ohh its not dying...The Ampex List is a different animal than an internet forum like this...much smaller community, and Howard Sanner, the list owner screens every email before posting it. He may be on vacation or something. Its kind of nice for people like me that move at a certain (too fast?) pace...on the Ampex List you send an email, and mayyybe in a week you see it in a batch. Things are slower in the Summer too. Like maybe every couple weeks. So I'd give it another week or even two and check if you can access the archives and if not then send Howard an email to just check in. He's really nice. Its just laid back. :) Not that we aren't here...its just...really laid back.

Still haven't had a chance to dig out the documentation on the IEC mod but I will before the weekend is out and I'll post back. ;)
 
I got my first onslaught of [AMPEX] E-mails last night so looks like it's working.

Anyways, if you DO find those docs, I'd be MOST appreciative.

BTW, does "[AMPEX]" have to be in the subject line for him to get the message?
 
No, the AMPEX bit gets added in by the list server.

Don't worry...I'll get the cap info to you. In a parade today, gig in the park tomorrow... :D
 
Cool, thanks.
I'm not in a HUGE hurry to get this machine running. I already have a 1/4" deck I like and I seem to have sent my 1/2" alignment tape away when I sold my my 80-8 anyway (big mistake).

But if I get this machine running the way I want, I could mix to it, master to the 1/4" and completely remove my computer from the loop if I wanted.
 
From the Ampex List:

On the record card eq daughter board place 3.3uF 35V or 50V caps at C55 and C56, remove C57 and R109. It is now an IEC eq curve.

Let me know if you have any questions!

EDIT: probably not needed but do you know for certain what curve your deck is set at at present? I have the daughter board revision numbers that give a clue...most of them were NAB but it isn't out of the question to have IEC/CCIR curves setup from the factory...
 
Last edited:
I got my first onslaught of [AMPEX] E-mails last night so looks like it's working.

Yep! Saw your post. :)

So, questions:

  1. You say yours came with a 'C' manual but you are pretty sure its a 'B'...I ca tell you for certain if you don't already know how.
  2. Does your have the DC servo capstan motor or is it the AC hysteresis version? I guess what I'm getting at is is it presently 7.5/15ips or is it already 15/30?
 
Thanks for the quick response.

OK, it has a servo capstan motor which was set to 7.5 I/S & 15 I/S when I got it. I went ahead and switched the jumpers to 15/30 before posting my original message.

Record card is 4020269-01, which is the 7.5/15 NAB EQ card. I assume C57 & R109 are LF emphasis? I'm not quite sure what you mean about C55 & C56. Do they need to be polarized or would mylar be better? Also, what about the repro cards? I have 4020270-01 (the 01 is hand written on all cards).

I found a schematic for the record card that shows the EQ variations. Looks like AES is the same on the record side as IEC. Maybe I'll change the cards to NAB/IEC, controlled by a manual switch. I heard about a 3rd party "revision D" daughter card that was switchable between all 3 standards with jumpers. Any ideas where to find them?
 
Last edited:
ooooo...technical.

C57 and R109 I would suspect are for LF emphasis but that is just speculative. I have not studied the schematics nor am I knowledgeable enough to identify such stuffs as the purpose of compenents. :o

Regarding C55 and C56, again, I just quoted docs I copied off of the Ampex List Archives...I am nowhere near modding my electronics for IEC eq yet so I haven't looked at it yet. I believe that polar 'lytics are what is to be used (can you get film caps in 3.3uF?)

You don't need to do anything with the repro cards...the eq action happens at the record stage.

I don't know anything about off-the-shelf switcheable cards. That sounds like an Ampex List thing. Hey if you mod your cards to be switcheable, put the details up on the forum! :)

I'll take a closer look at the record cards...I think C55 and 56 may be on the record card itself and the C57/R109 mod is on the eq daughter board...
 
A smattering of updates...

Totally jazzed...I have a NOS optional secondary scrape flutter filter on the way thanks to Steve Puntollilo of Sonicraft...tremendous person. You truly have to peruse his company's website to appreciate what he has done to the gear he uses to accomplish his services. The rare secondary filter goes between the erase head and the record head in place of the static guide and helps to quell scrape flutter from the "bigass" static tape guides on the 440 as well as the erase head. I'm psyched. :)

Had to obtain some additional parts to recap the two PSU's and replace the rectifier diodes...so...I'll still be getting to that really soon.

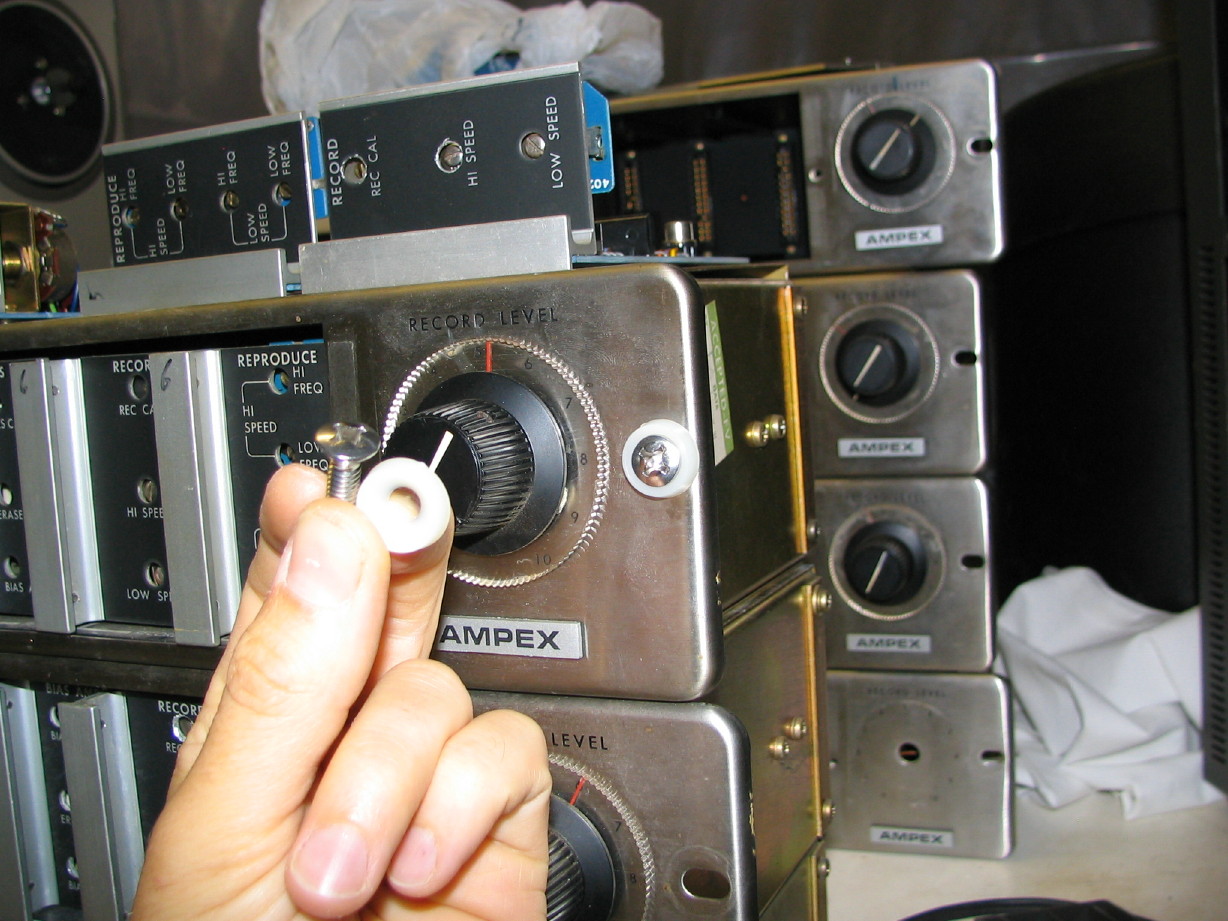
My 440-8 electronics came mostly sans mounting hardware...they were all just stacked up on the bottom two modules that were screwed in with improper screws. Ampex used #12 nylon finishing washers along with 12-24 x 3/4" oval-head philips-drive screws to mount the electronics. I found the screws in stainless from a marine hardware supply house and found the finishing washers at small-parts.com. Some of the threads in the risers are a little bunged up because it looks like 1/4"-20 and 10-32 screws were used in some places. Fortunately it looks like most of the original thread is still there on those select "bunged" threads, and since I used to make custom drums I happen to have a good-quality helical 12-24 tap in the shop to clean those threads up.

Also got a cooling fan...You may recall wayyyy back in the beginning of the thread (IIRC) me mentioning wondering what was associated with a grille in the lower console shelf: "what was mounted here?" It was a fan that was long gone from mine. Found a good-quality proper replacement at Mouser...really nice actually...good cfm to noise ratio, ball-bearing fan with aluminum casing for about $15. It taps right off the 110V feed and blows on the back of the transport and I imagine also moves air around the electronics.

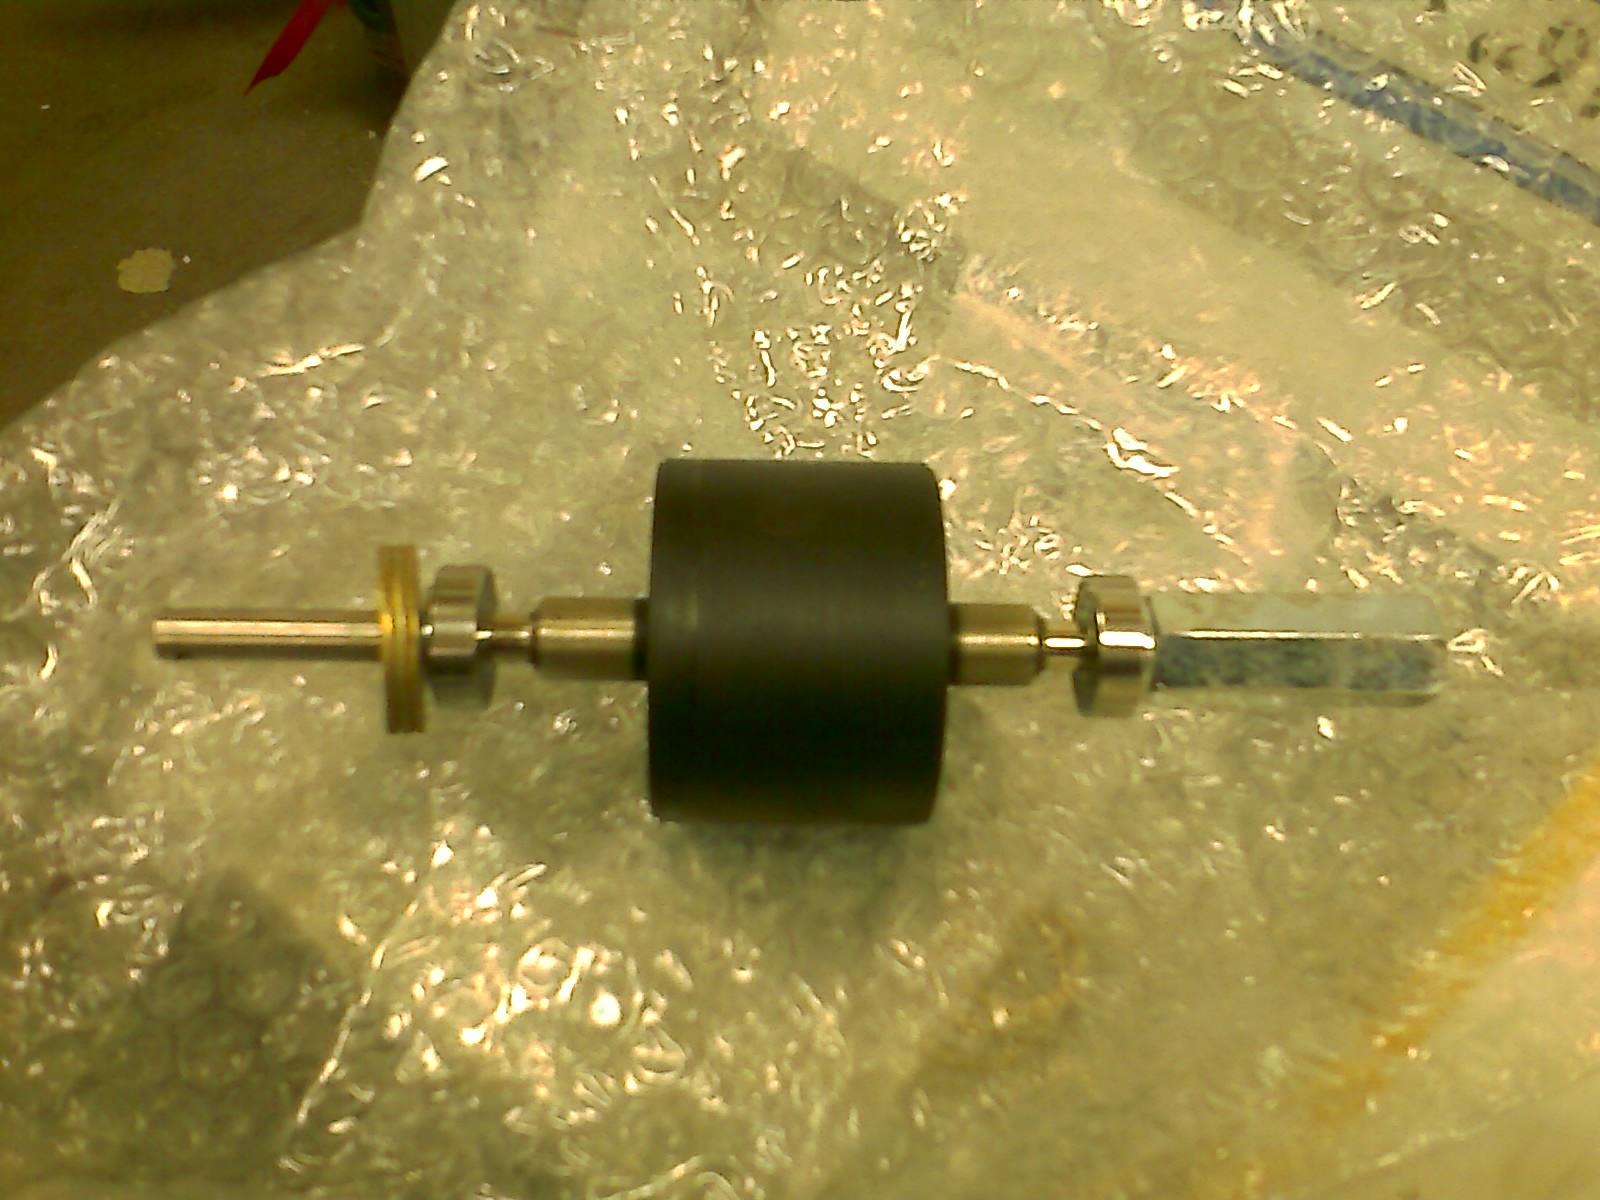
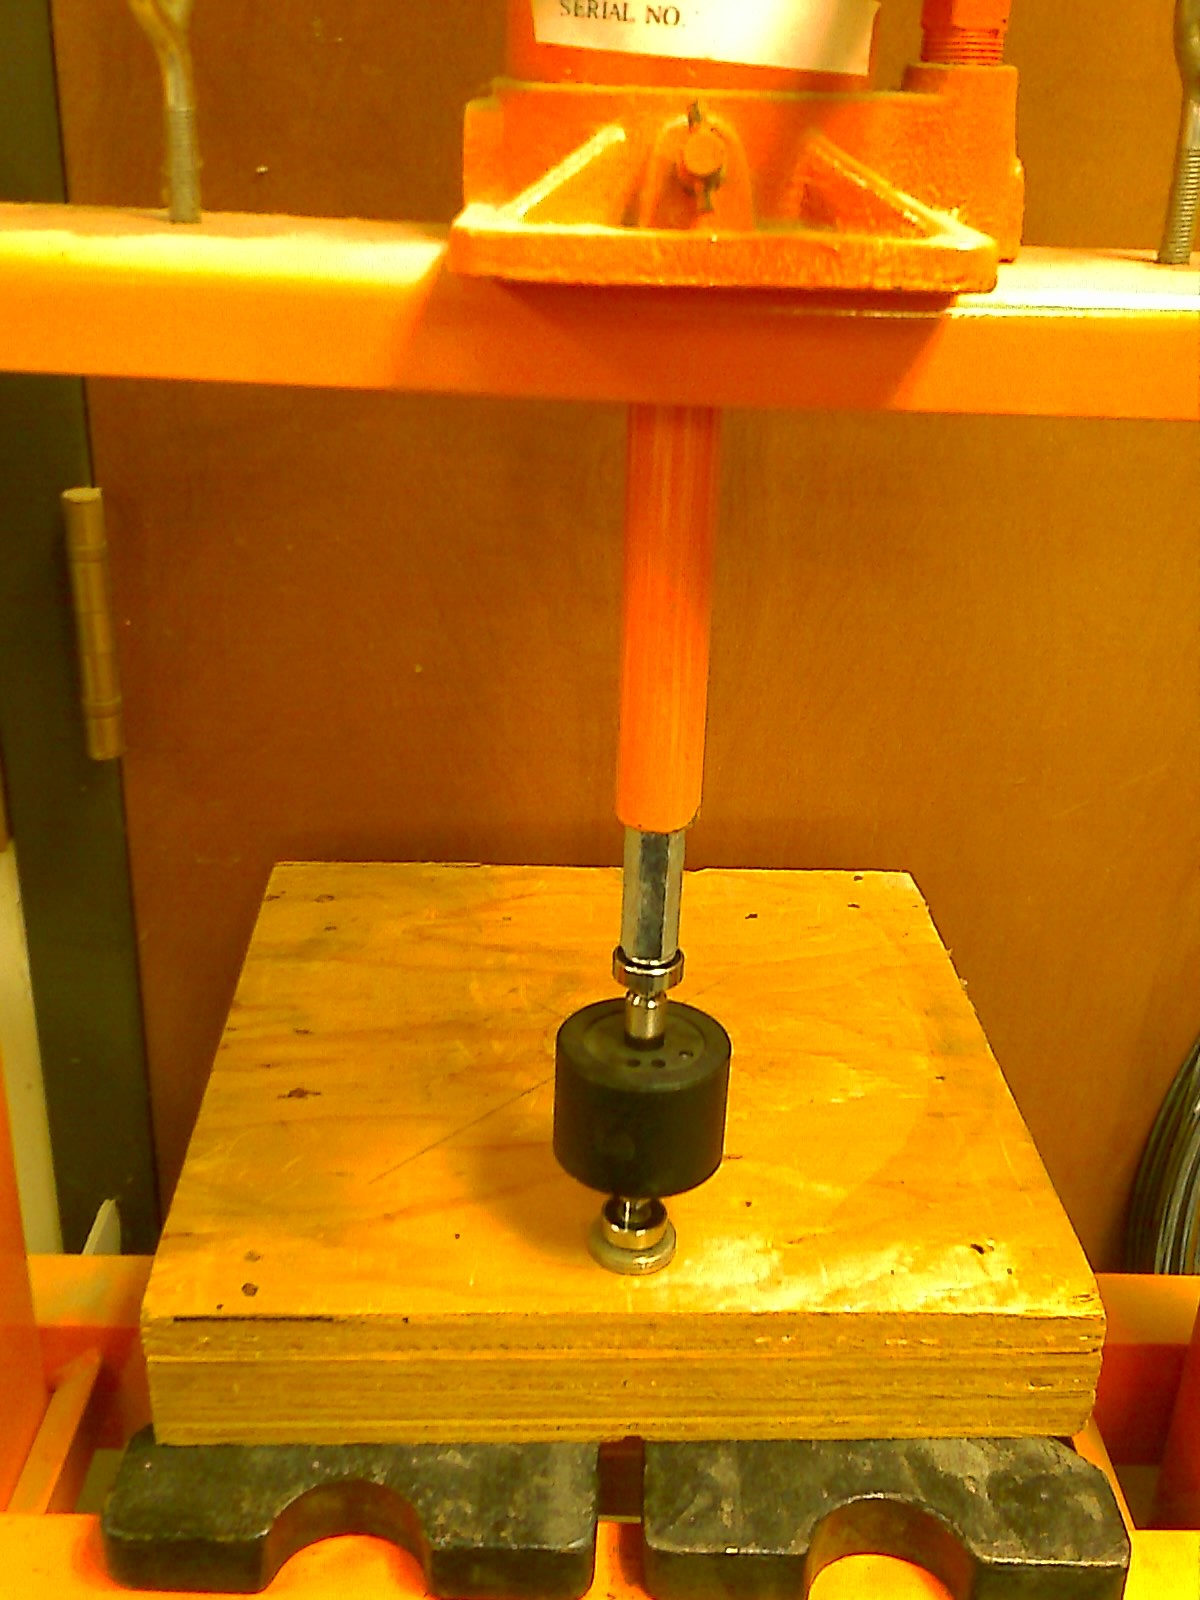
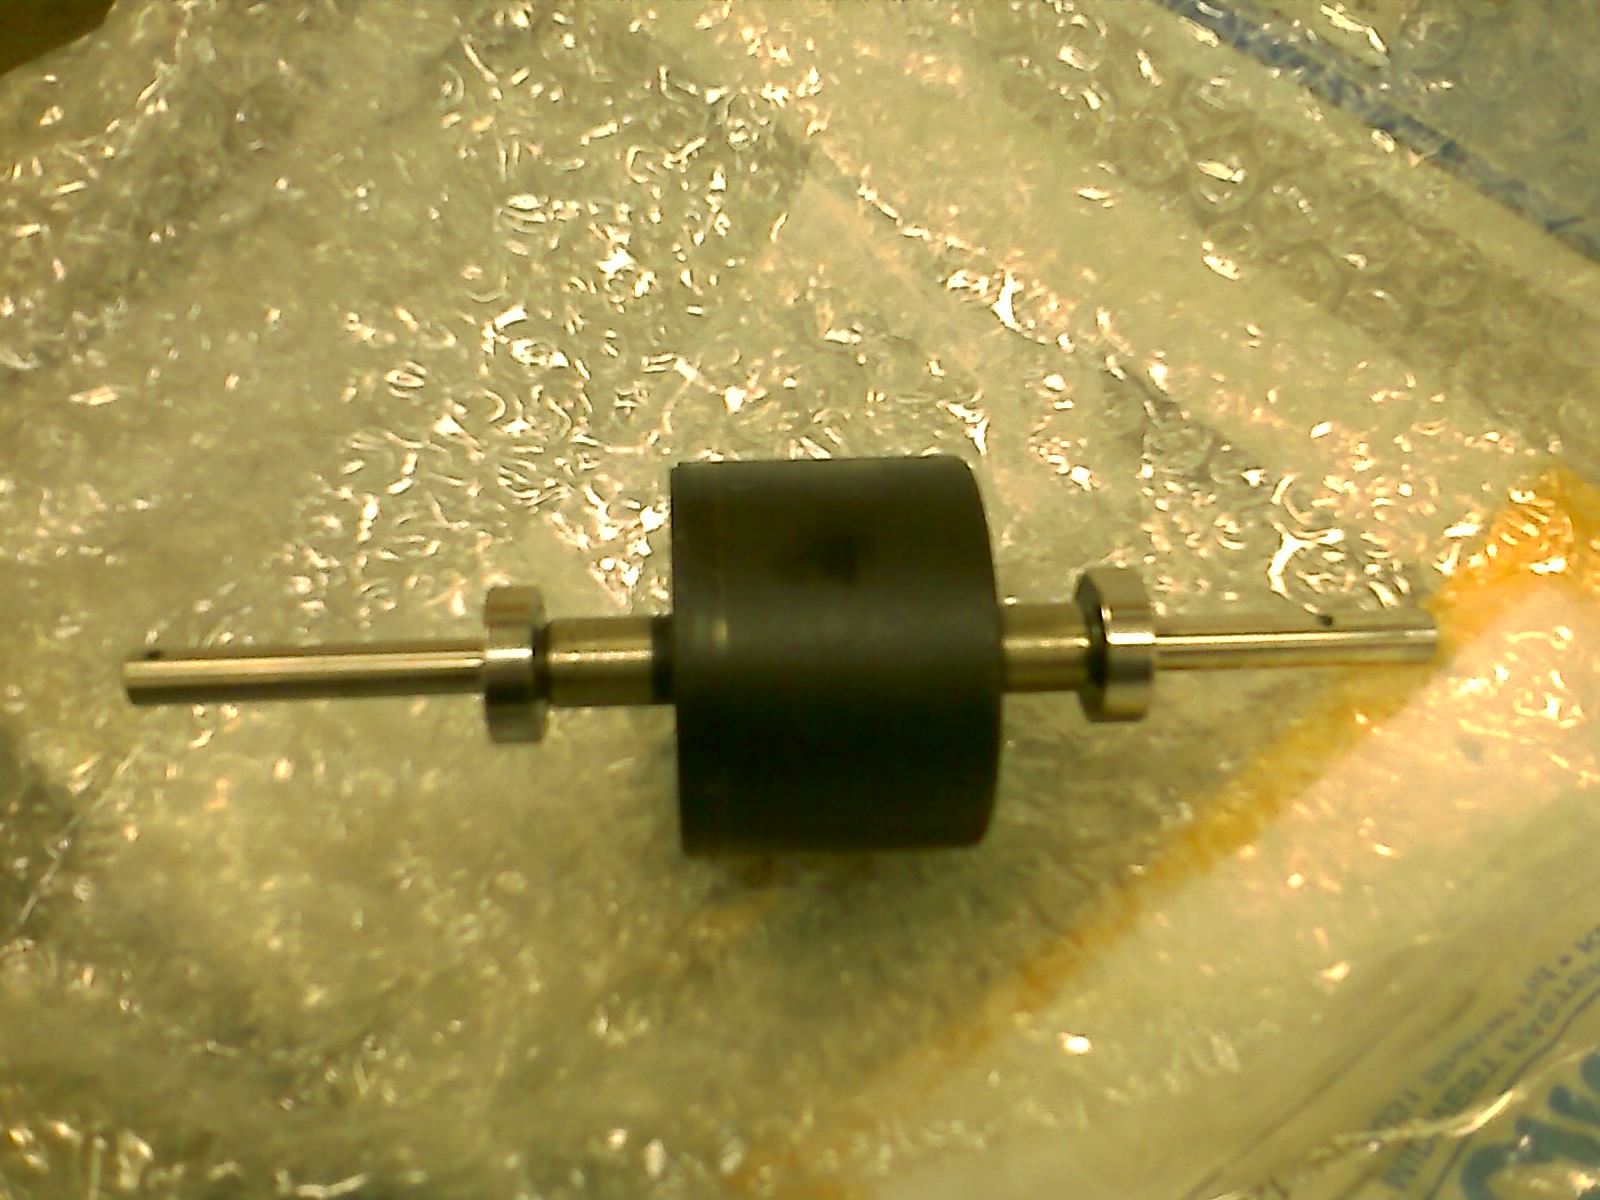
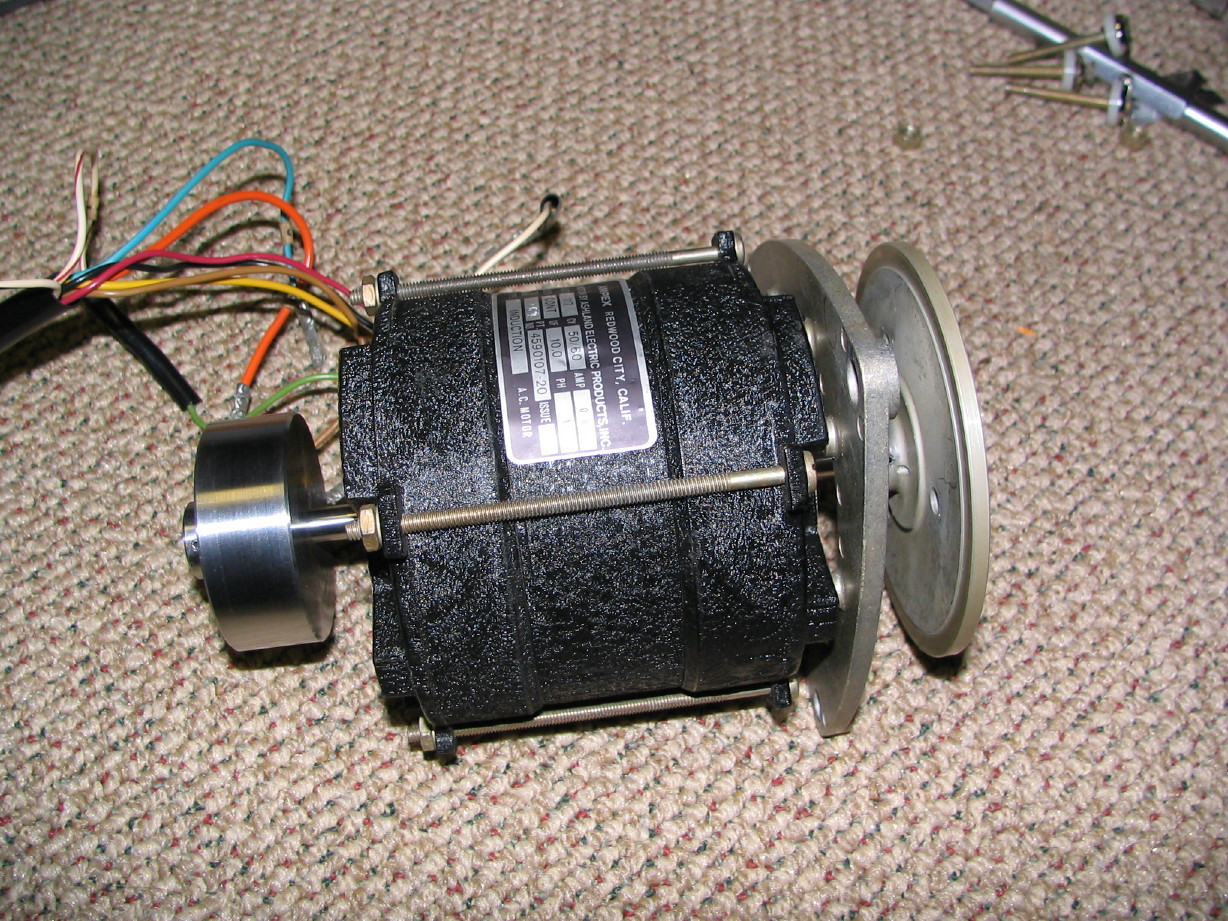
Also got the one reel motor I pulled apart cleaned up and back together with its new bearings. Still need to reattach the brake drum, but I now have new roll-pins on-hand to do that; the same roll pins that are used to attach the reel table as well. I used a shop press to press the new bearings on. I used a 3/8"-16 coupling nut and some metric washers to ensure that the pressure was only applied to the inner race of the bearings (avoiding damage to the balls or the outer race. I took some pics of the process...with my cell phone...the quality stinks. :o

Here's a before pic of the rotor with the bearings ready to be pressed and the above mentioned hardware ready to serve as drifts:

IMAGE_206.jpg


Here it all is loaded in the press:

IMAGE_207.jpg


And here is the rotor alone with its new bearings:

IMAGE_208.jpg


The process worked well. I can see that the nose of the rotor shaft is tweaked a bit again which I thought might have occurred when I tapped the reel-table roll pin out. I was mentally prepared to straighten the shaft again and am confident that it will go fine. I'll be able to press the roll pins back in place unlike the disassembly process which required driving them out.
 
I really like seeing all the quality work you're putting in on this machine. Great job! Can't wait until you get her up and recording.

Steve
 
Steve, me too!! :eek::D

Record card is 4020269-01, which is the 7.5/15 NAB EQ card. I assume C57 & R109 are LF emphasis?

wado, I just read something that indicates that C57 and R109 are an "HF droop circuit", so sort of LF emphasis...either way, not necessary for the IEC curve.
 
Some perspective from a seasoned 440 veteran...

Okay...so I've dropped Steve Puntollilo's name in this thread at least a couple times, but I wanted to share his perspective on the 440 transports. If you haven't looked at his website his operation is chock full of 440 transports. They are modded for constant tension and such (no small feat), but he is a very particular perfectionist about his machines and his operation; he guards his reputation for accuracy and precision very well...something I imagine somebody has to do in that line of work considering you are constantly handling other people's "gems".

We had a brief email dialogue after I received the secondary scrape flutter filter from him and in it he had some perspective on the 440 transports that was neat. Folks at Ampex like Larry Miller (and I've mentioned this before...he was the project manager for the 440) hated the 440-8...to them it was like a bastard child because the 8-track wasn't through-engineered like the 1, 2, 3, and 4-track transports...the 440 transport wasn't originally designed to handle 1" tape. Now, I've always comforted myself with the hunch that, even if the 440 wasn't designed to pull 1" tape and the 440-8 wasn't through-engineered, Ampex's engineering standards were high enough that even without receiving thorough design treatment the 440-8 is still a venerable transport. So Steve Puntollilo's perspective supports my hunch and I have to place stock in that because he has worked extensively with many machines and is intimately familiar with the 440 transport in all its variations. So the dialog was this:

Me: (in a state of awe after opening up the optional flutter filter) Things like that flutter filter ooze with laboratory precision...from 4 decades ago! You take that kind of precision and mate it with the rudimentary ruggedness and simplicity of the 440 transport, mix in the "balls" of the electronics...just cool. Nothing else like it.

SP: Nothing. Believe me, I've tried.

Me: In my mind the 440 is becoming analogous to a muscle car...they were what they were, but they were iconic, excelled at what they did and were well-designed for their purpose...and they had an unmatched flavor of power and style. They also brought innovation to the street and showcased new ideas and in many cases cutting-edge manufacturing.

SP: The electronics were 100% correct for the time and still sound better than anything else I can find. The transport could have been better. Ampex had the technology down from video and instrumentation, but they chose to go with what amounted to a bare essentials competitive upgrade with a competitor (Scully) who was trying to beat them more on price than anything else.

Still, those [440-8] transports were built to run 100% reliably, to be easily field serviceable and to last indefinitely. They met those goals in spades. [emphasis mine]

I'm consistently getting more enamoured with the 440-8 as time passes.
 
Digging into the PSU's...

Started pulling one of the PSU's apart to replace the electrolytic caps, rectifier diodes and the bleeder resistor.

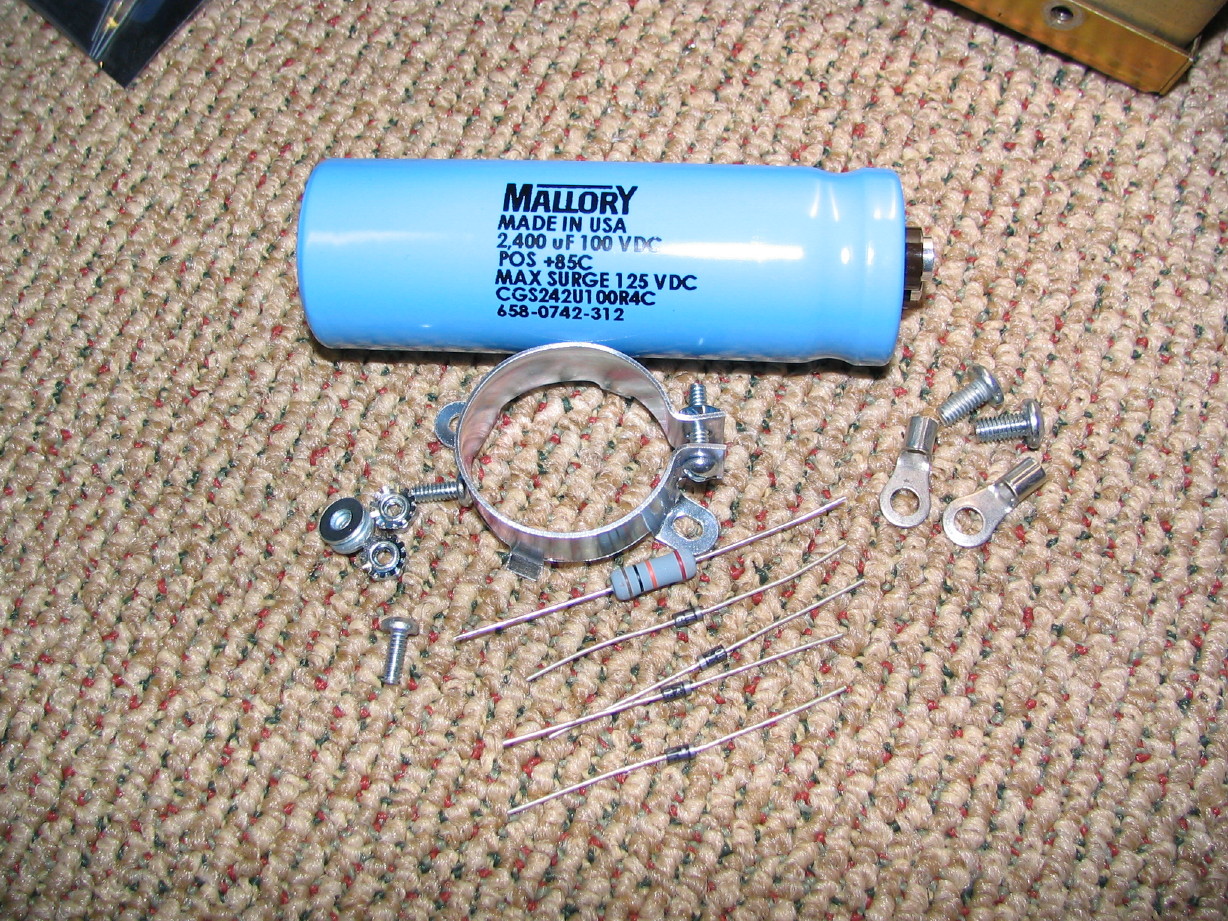
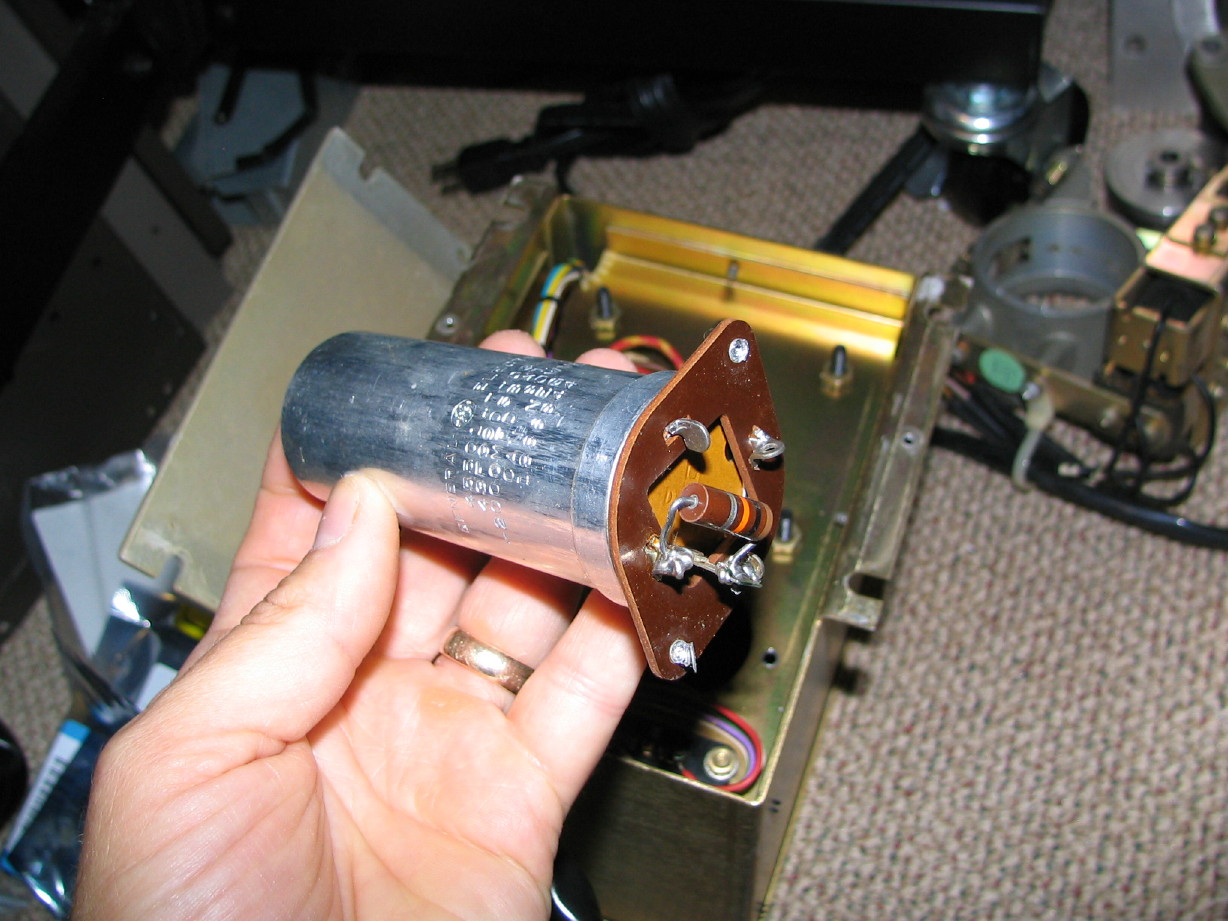
Here are most of the parts for replacing C707, the main filter cap. I got Mallory screw-terminal caps to do this one along with a clamp specified for that cap from Mouser. David Dintenfass of Full-Track Productions, who has been another great mentor in this process recommended these caps. Stock is 2000uF/80V...these are a little more stout at 2400uF/100V. So, again, here are the parts except for a bypass cap I'm going to add between the poles of C707:

IMG_1444_5_1.JPG


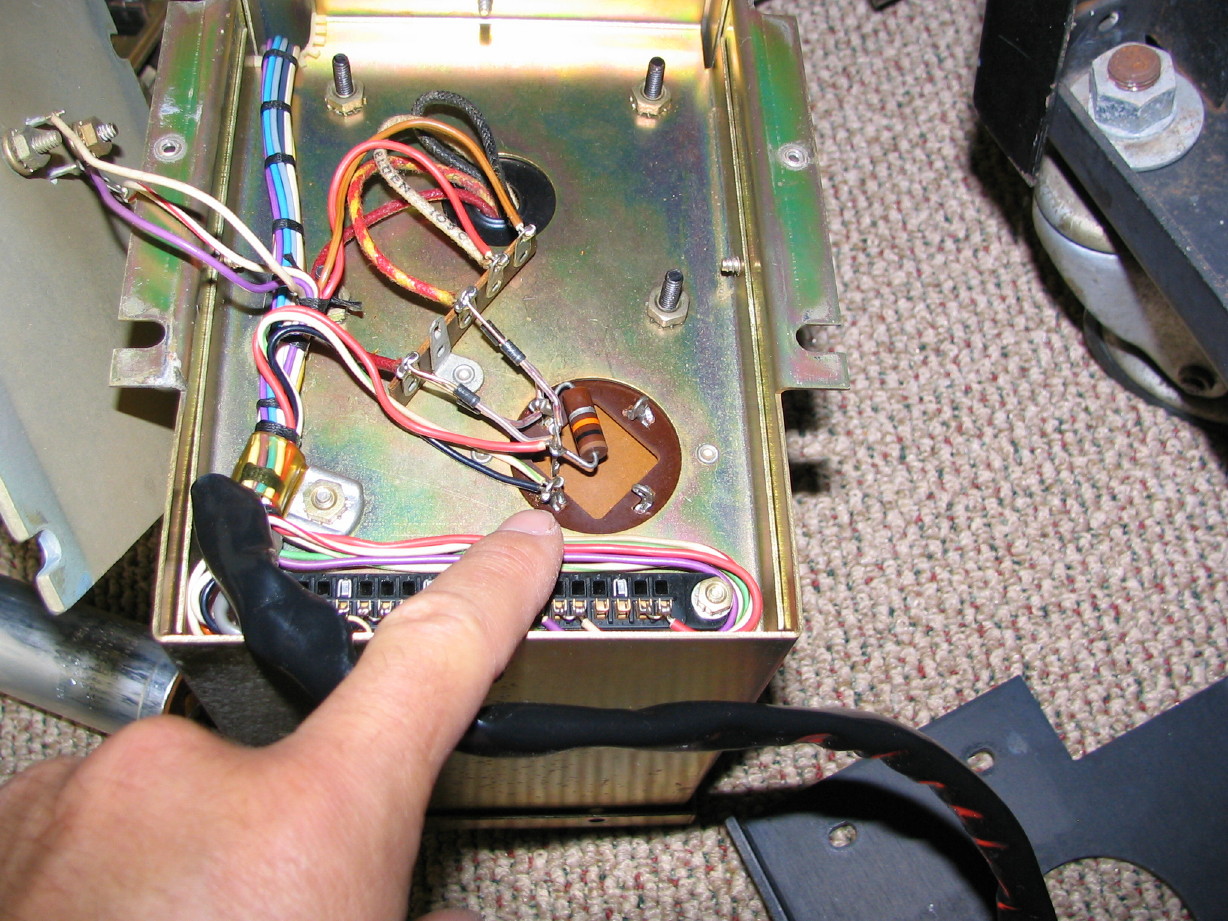
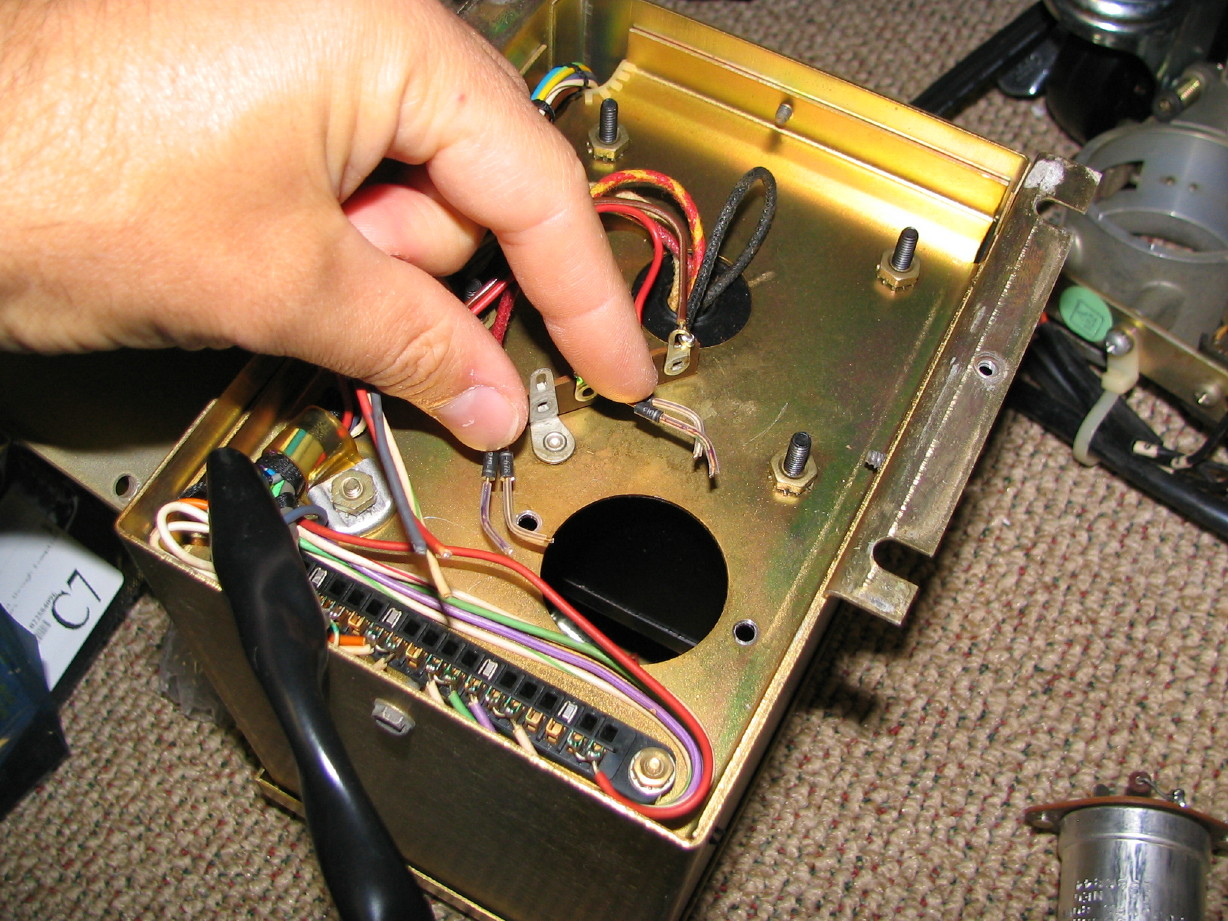
Here is the bottom side of the PSU where the terminal strip from the transformer interfaces with C707 (which is the brown thingy I'm pointing too):

IMG_1440_1_1.JPG


Here is C707 removed. Just had to drill the two rivets out:

IMG_1443_4_1.JPG


And here are the four recifier diodes due for replacement that form the bridge rectifier...the originals are IN4004 units, I'm replacing with IN4007 glass passivated Vishay units:

IMG_1442_3_1.JPG


So that's all for the moment on the PSU...
 
Last edited:
Reel Motor Adventures...

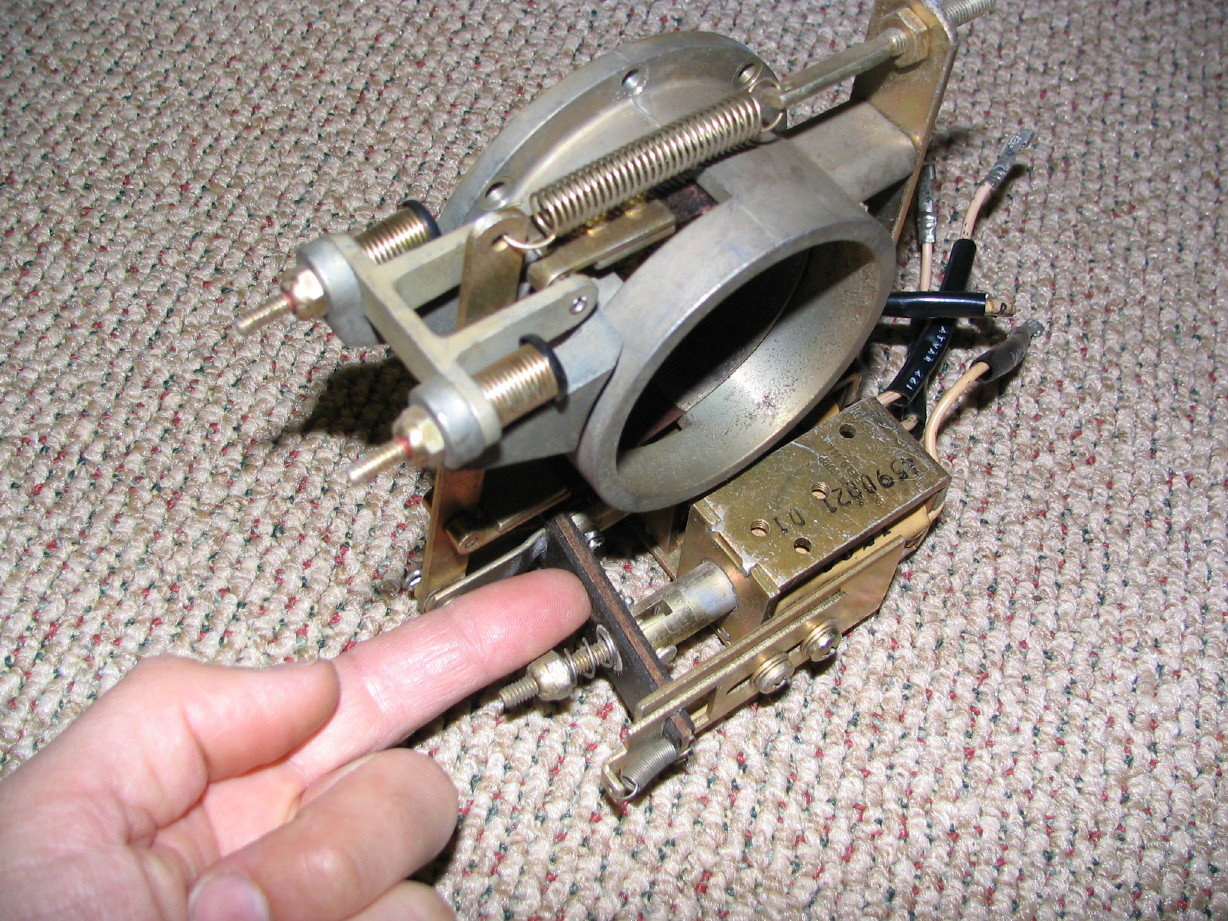
Well I'm pretty excited because the reel motor I tore apart some time ago is coming back together nicely. When I got the 440-8, for the first few weeks anyway, I was just so curious about its anatomy that I pulled stuff apart to see how it goes together. Fascinating to me. Anyway, simple logic would tell you the result of that...parts everywhere, so I'm trying to get those things cleaned up and bagged and ready for reinstallation when the transport is ready. So the reel motor assembly is completely reassembled with the exception of the brake assembley, and that's because I have a question about that for which I'm awaiting a response on the Ampex List. There are two solenoids on each brake assembly: one for EDIT mode and one for STOP mode...I think the EDIT solenoid actually holds the band away from the drum as much as possible to ensure complete freewheel...I think. It'll make more sense when I get to adjusting the brakes. Anway, on the original 440 transports (what we now call the "A" version) the linkage bar that interconnects the two solenoids was zinc-plated steel. Too noisy for some I guess so they installed a rubber-fiberboard-rubber sandwiched linkage bar for the "B" and "C" transports. Quieter, but makes adjustments much more difficult and they get soft after time...mine are actually a bit tacky which really doesn't help things. So I'm trying to source some of the metal bars. Here is the brake assembly...I'm pointing to the linkage bar:

IMG_1466_20_1.JPG


So enough about brakes but that's why the brake assembly has yet to be mated to the rest of the reel motor assembly.

So I got the rotor shaft straightened out again...the shaft wobble is now <0.0005". Unfortunately the reel table is about 0.005" out (when measured from the face of the table)...no way around that really as the reel table goes back on only one way since it is pinned in place. Hopefully it won't be a problem. Looks like my parts transport is worse and I don't believe those motor shafts are/were bent so maybe that was just the way it was.

Here is the motor with the reel table and brake drum in place:

IMG_1456_15_1.JPG


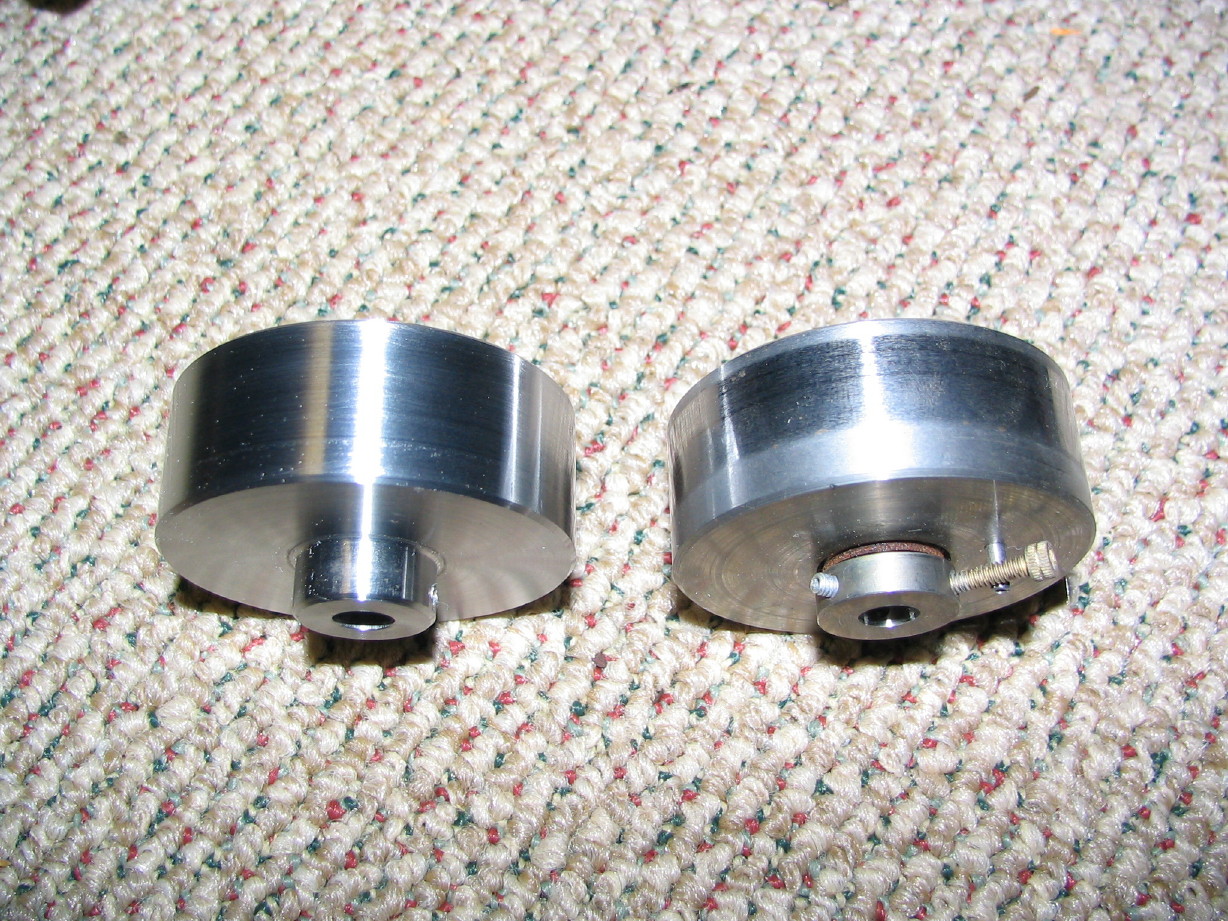
Here is an idea of what the drums used to look like...cleaned up 440-8 brake drum on the left, original unclean drum from my parts transport on the right:

IMG_1455_14_1.JPG


Reel Table Corks:

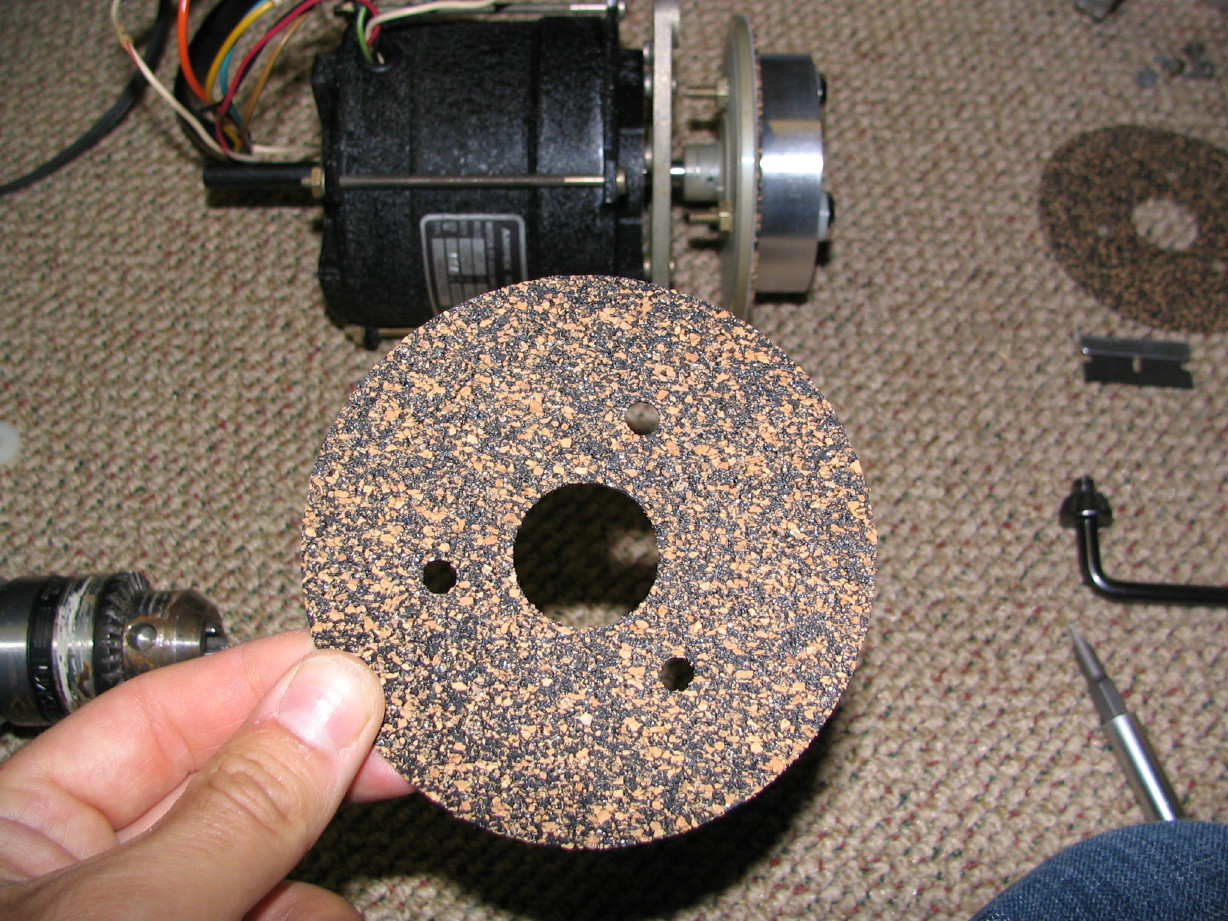
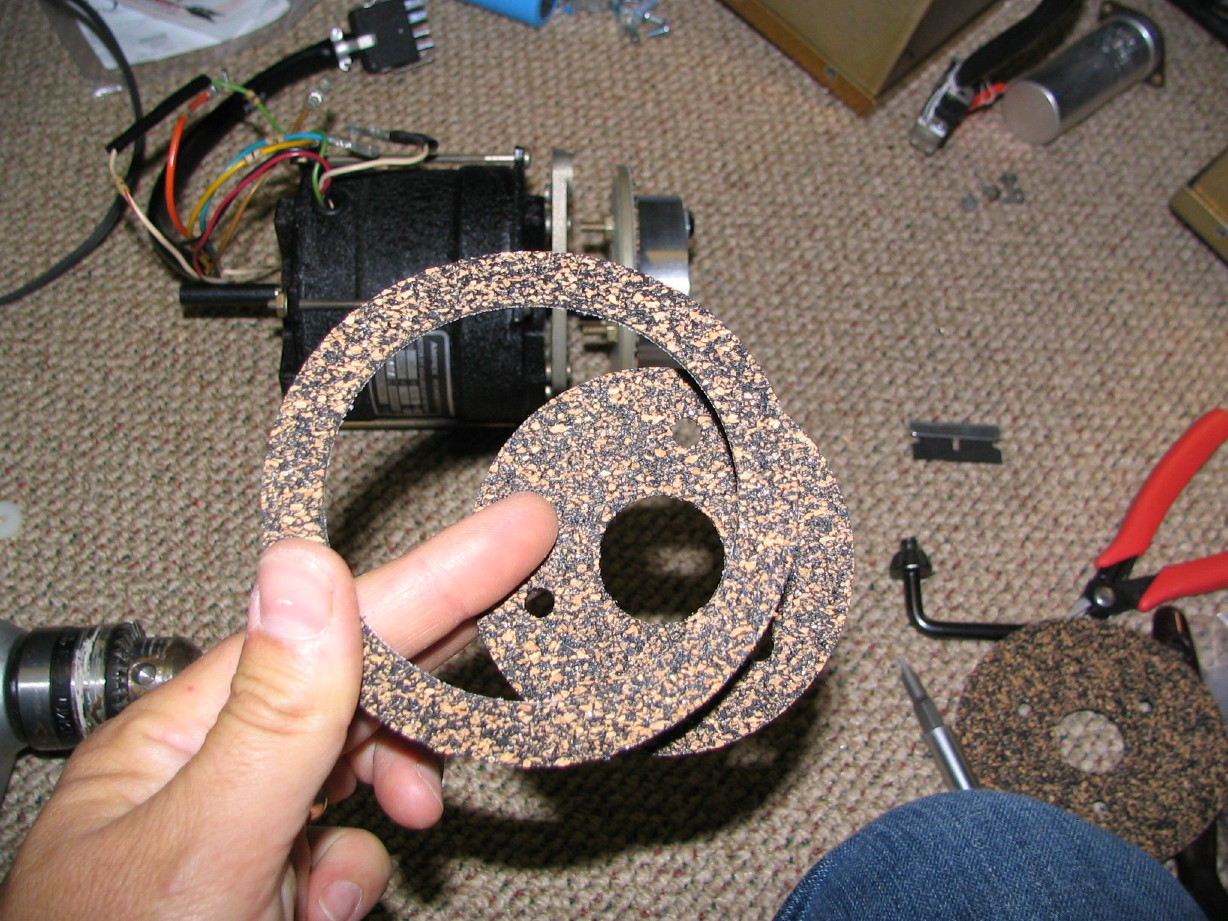
Now this was a fun little process...the 440 uses a layer of fabric-backed cork to provide the soft grippy surface on the reel table face, not rubber. The 440-8 corks are unique since the 8 uses the instrumentation reel clampers. The non-8 transports had corks that covered the whole face of the table whereas the 8 cork is just a ring. Guess what? You can't get the 8 corks new anywhere. I bought a couple sets of corks from Dave Dintenfass. His parts use the proper type of cork with the proper mesh fabric backing. So now I'm going to show you how I went from this:

IMG_1445_6_1.JPG


to this:

IMG_1446_7_1.JPG


Step 1 was to lay the standard cork on the reel table and then hold it there using part of the reel clamper, the spacer:

IMG_1447_8_1.JPG


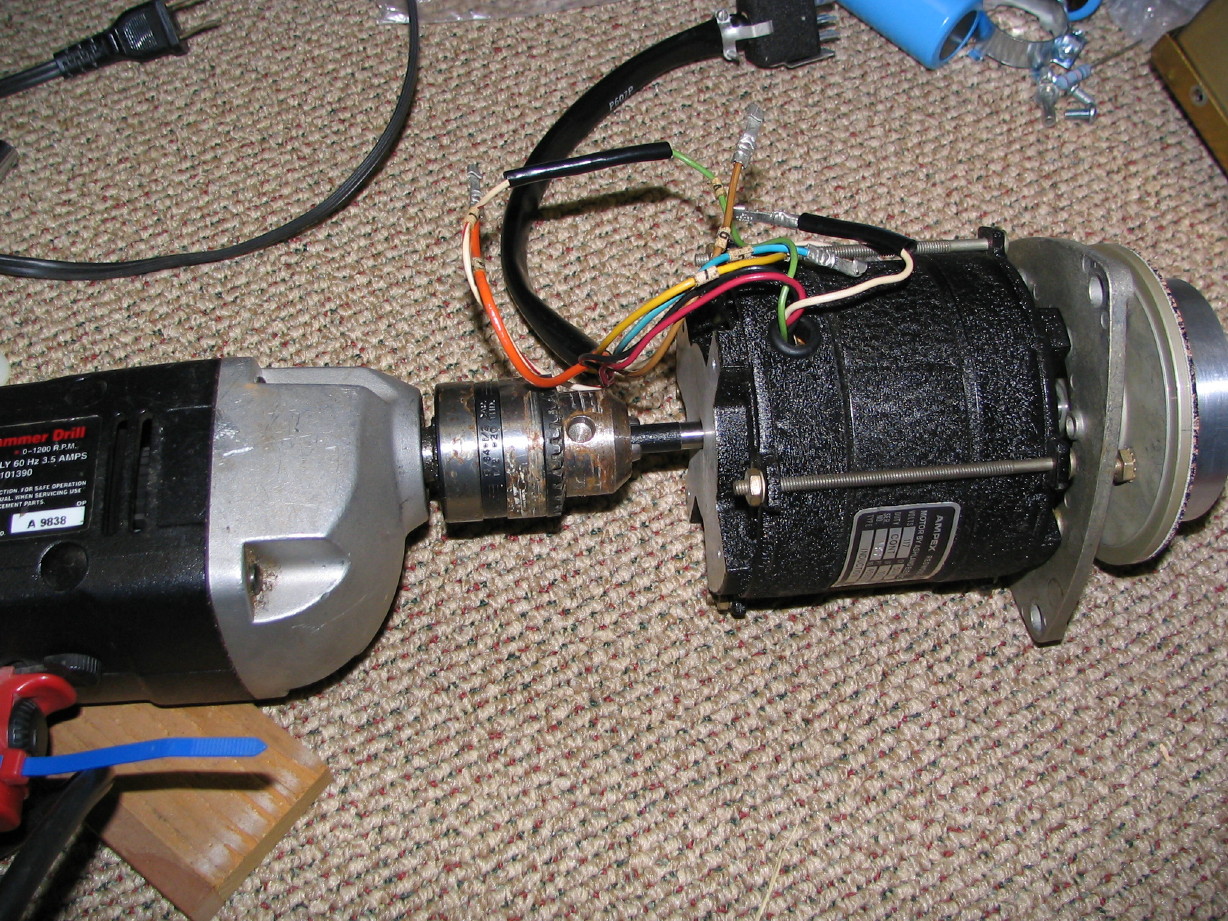
Then, step 2 was (after wrapping tape around the tail of the rotor shaft) to chuck a hand-drill on to the tail of the motor:

IMG_1448_9_1.JPG


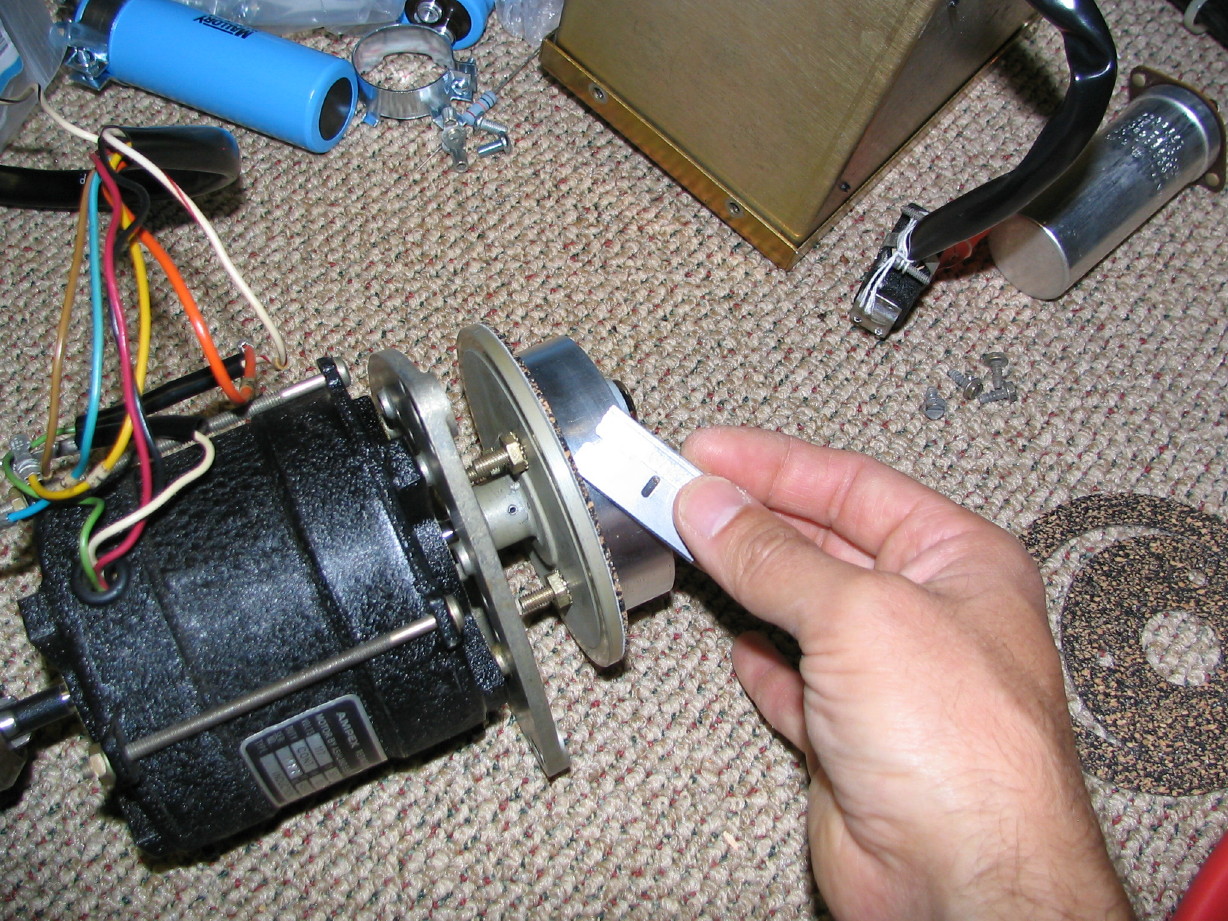
Yup. Get the drill going at a good speed and hold the trigger there with zip-ties, and then lay a razor blade on the side of the now rotating reel clamper spacer:

IMG_1449_10_1.JPG


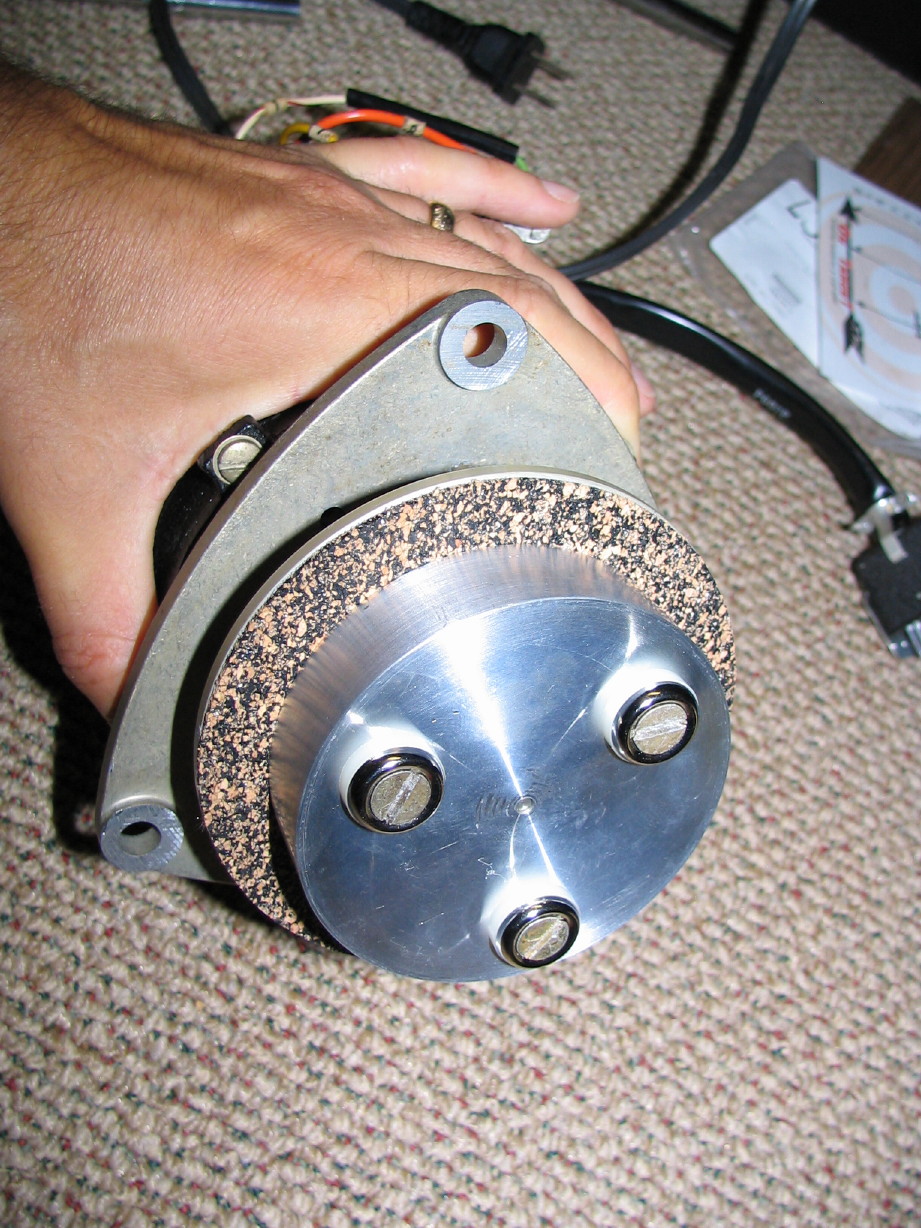
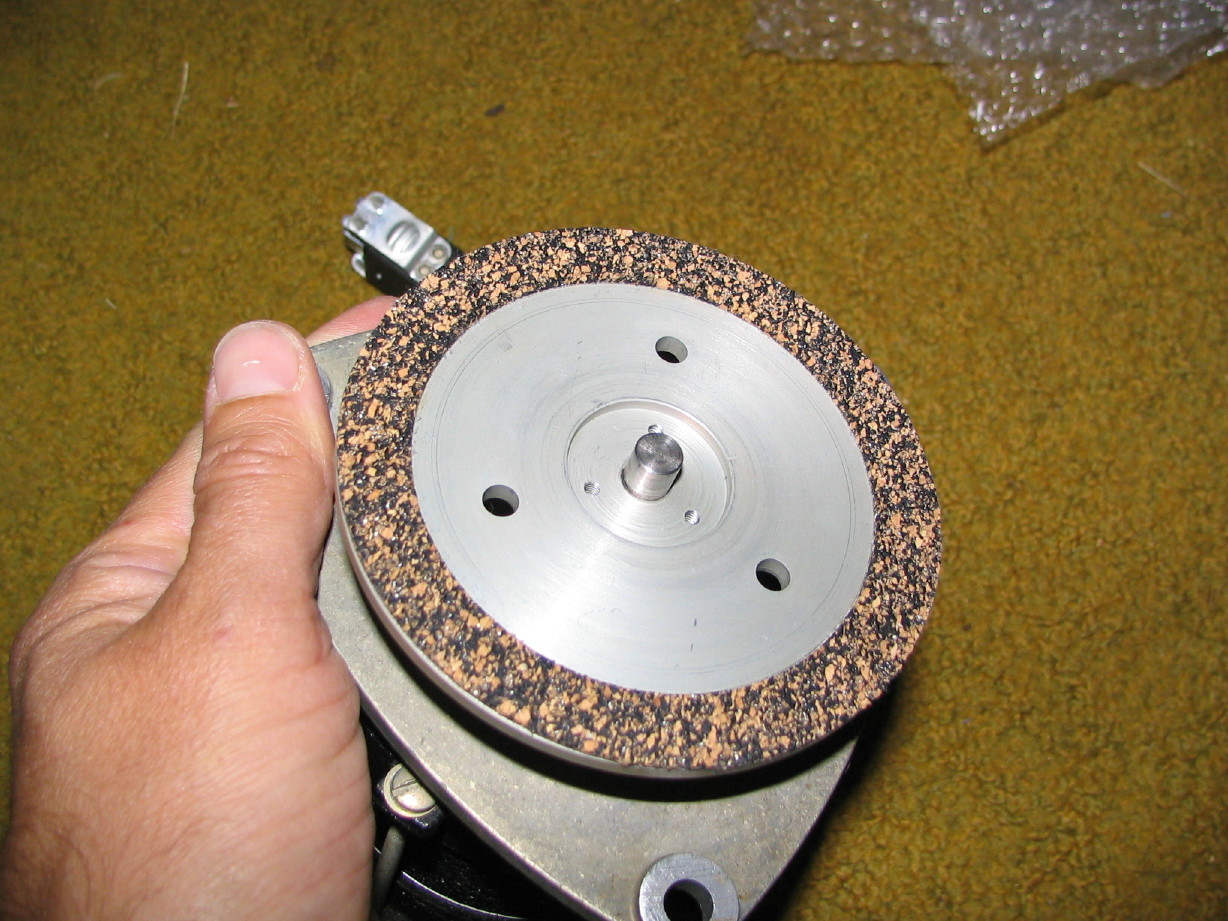
It worked very well. Here is the finished cork on the reel table (after adhering it with 3M 77 spray adhesive...I masked the reel clamper spacer and left that installed on the reel table to keep the spray limited to the surface to which the cork is to adhere):

IMG_1457_16_1.JPG


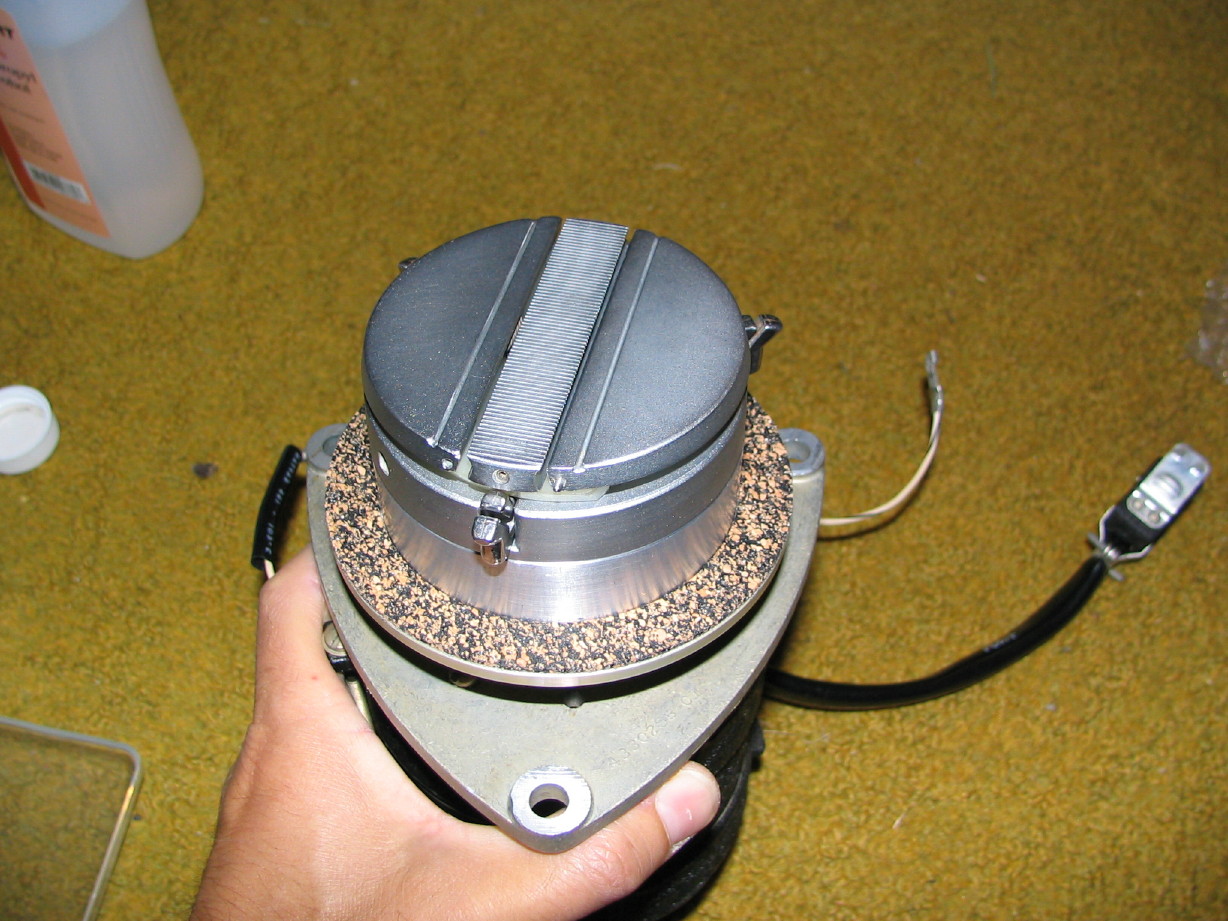
And here it is with the reel clamper installed:

IMG_1458_17_1.JPG


I really like the clamper assembly...unlike my Teac/Tascam clampers, precision reels fit like a glove onto these assemblies.

BTW, I shot a short video comparing the self-noise of the reel motors before and after bearing replacement:

YouTube
 
Last edited:
Miscellaneous Updates...

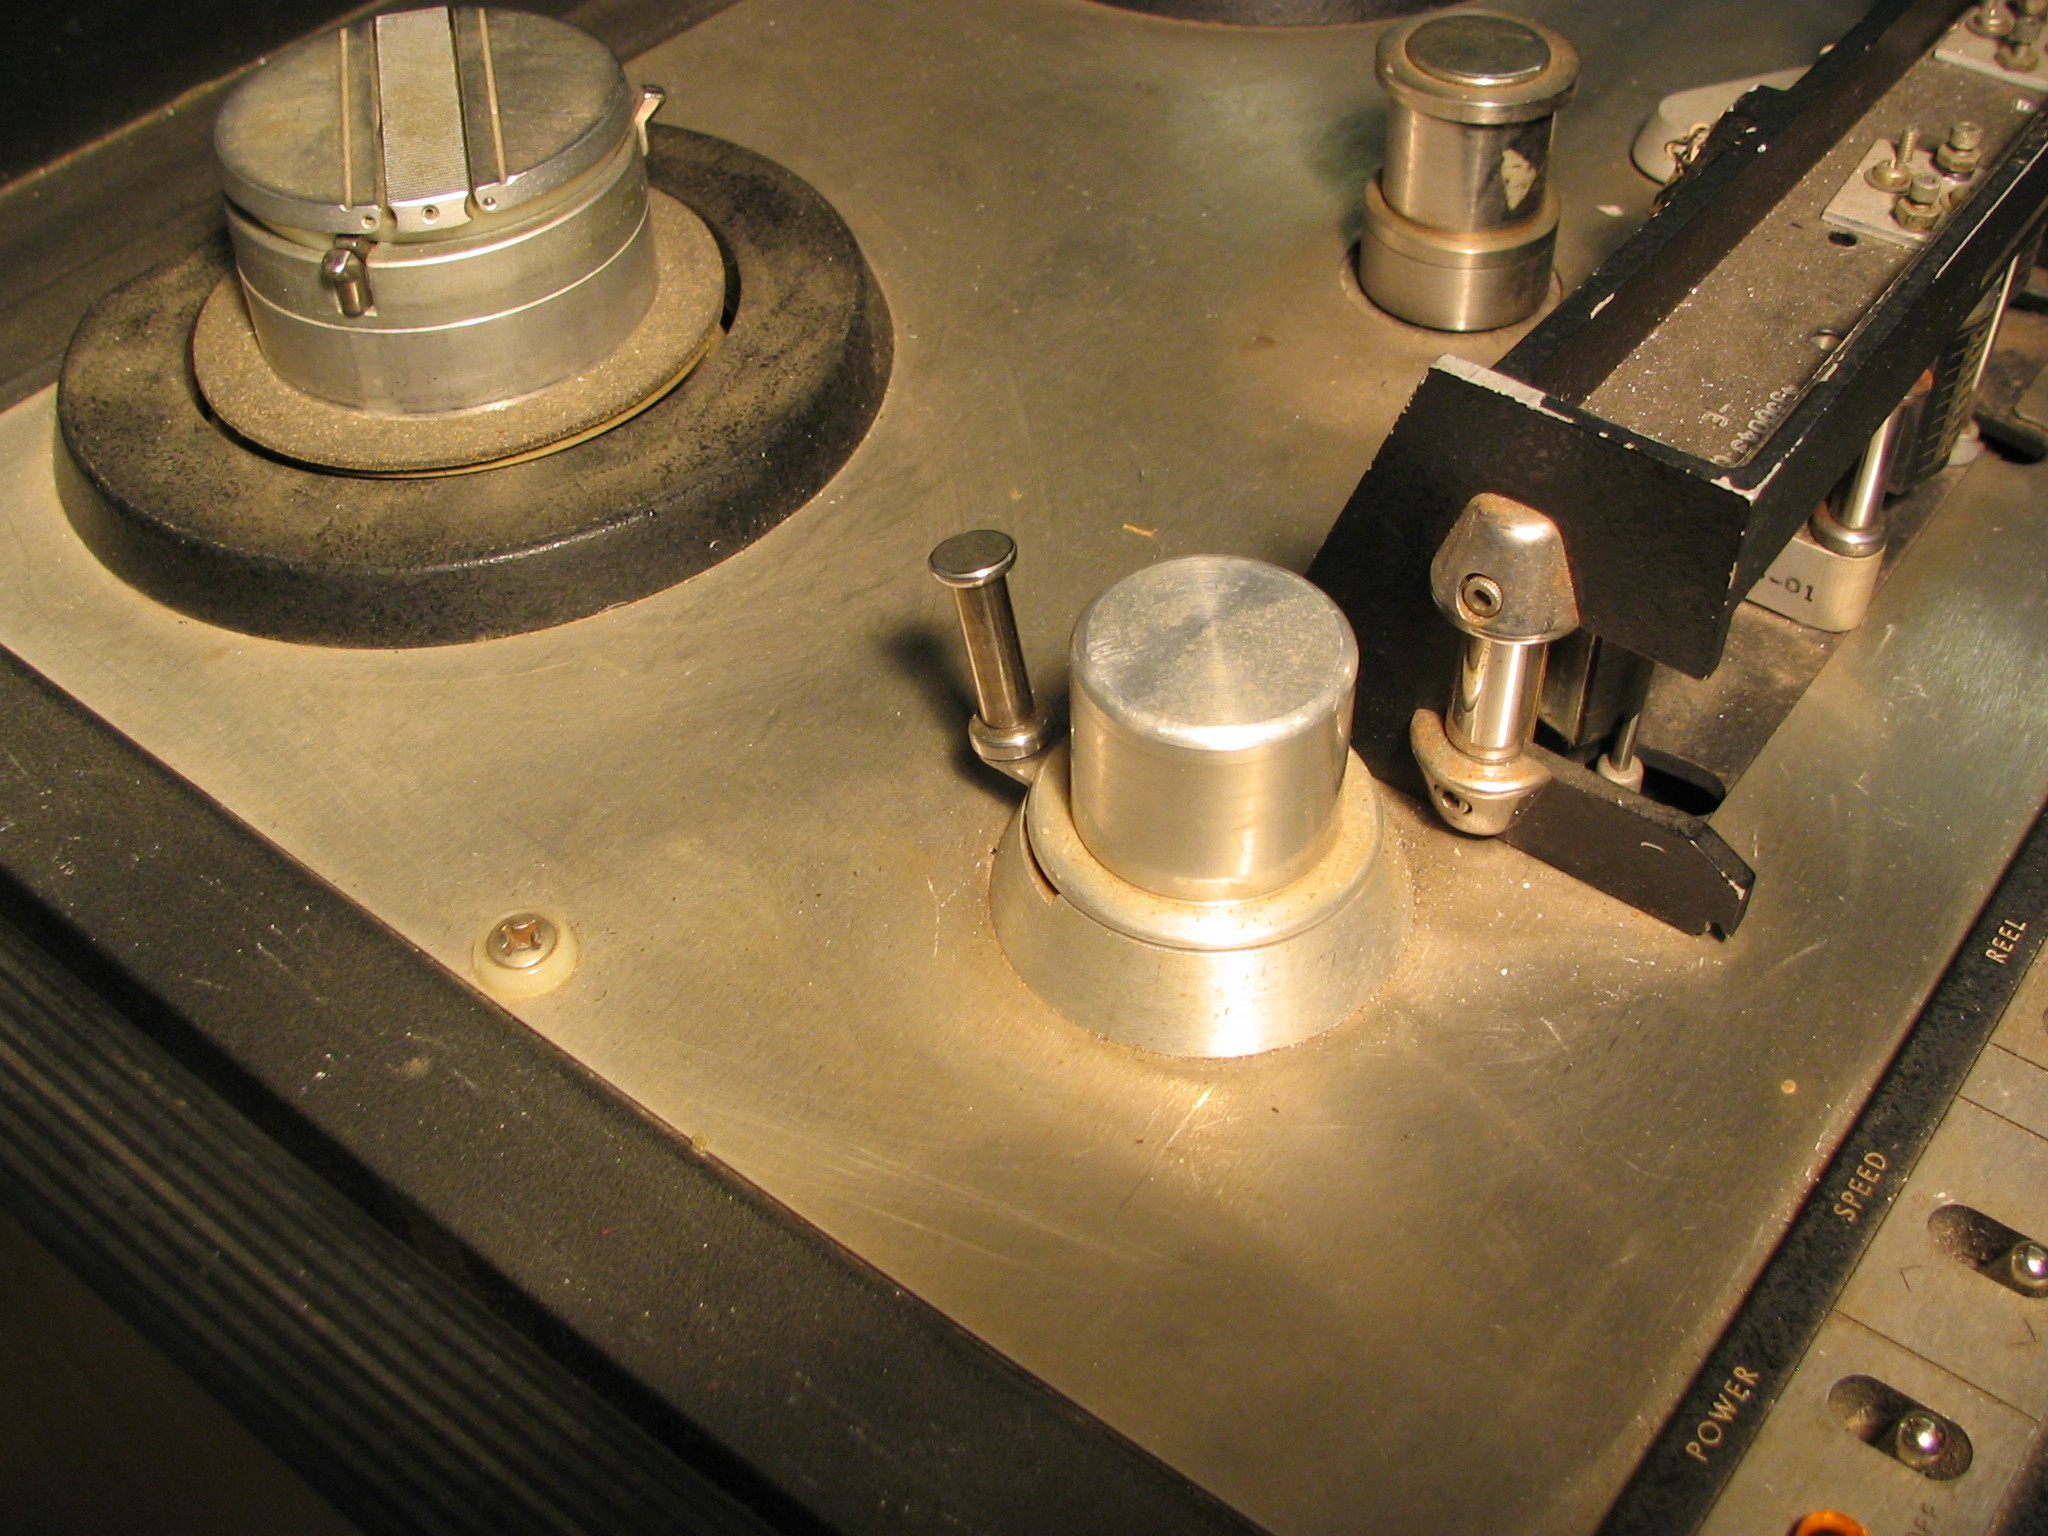
I've put this picture up a couple times already, but it is important to do it again. This picture shows the "before" state of a reel clamper and reel table, the reel idler and the rotary guide.

Compare the appearance of the reel clamper and table in this picture to the clean and reassembled version in the previous post:

Reel%20Idler.JPG


I have now also fully cleaned and reassembled the rotary guide and the reel idler.

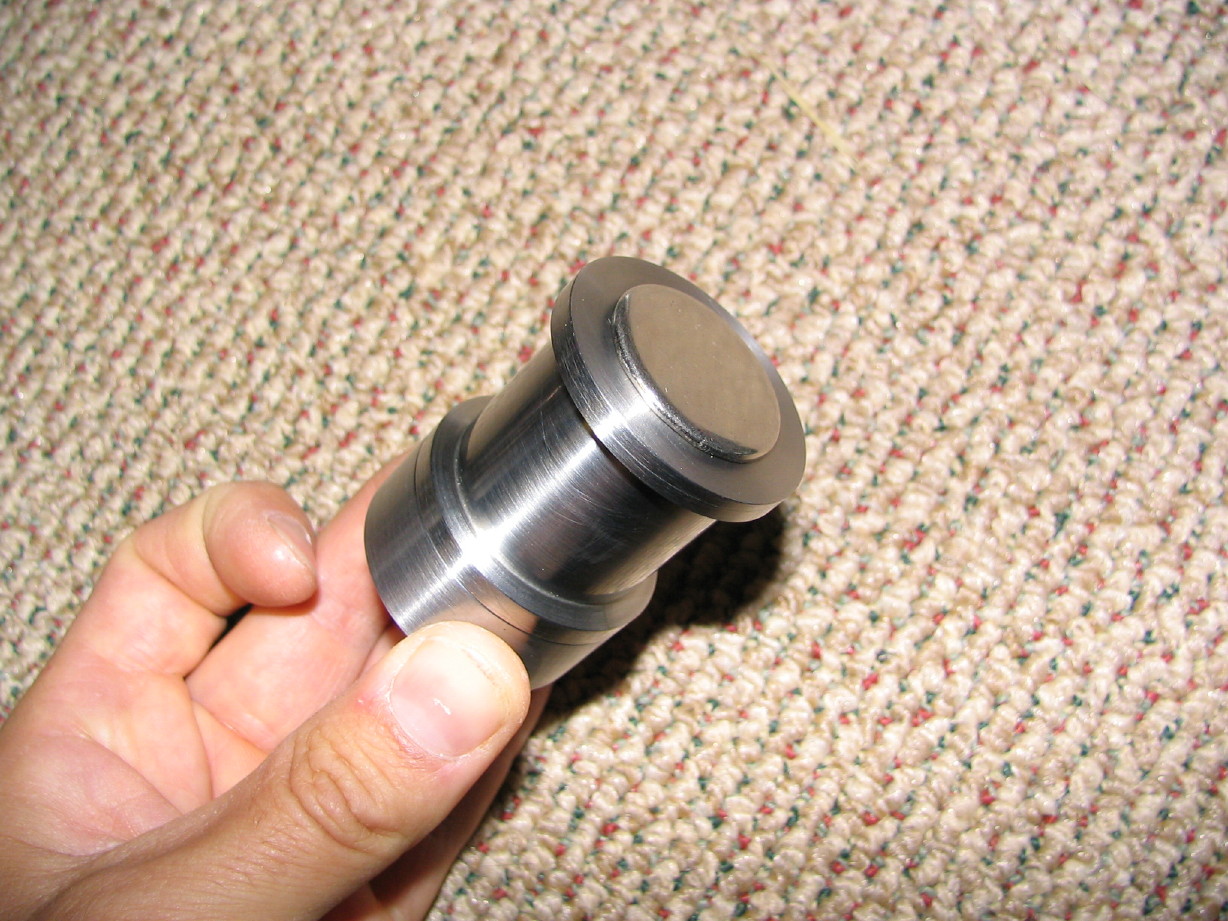
Rotary guide first...these parts were cleaned up awhile ago, but I got the bearings installed and reassembled the piece...again, compare to the "before" shot above:

IMG_1451_12_1.JPG


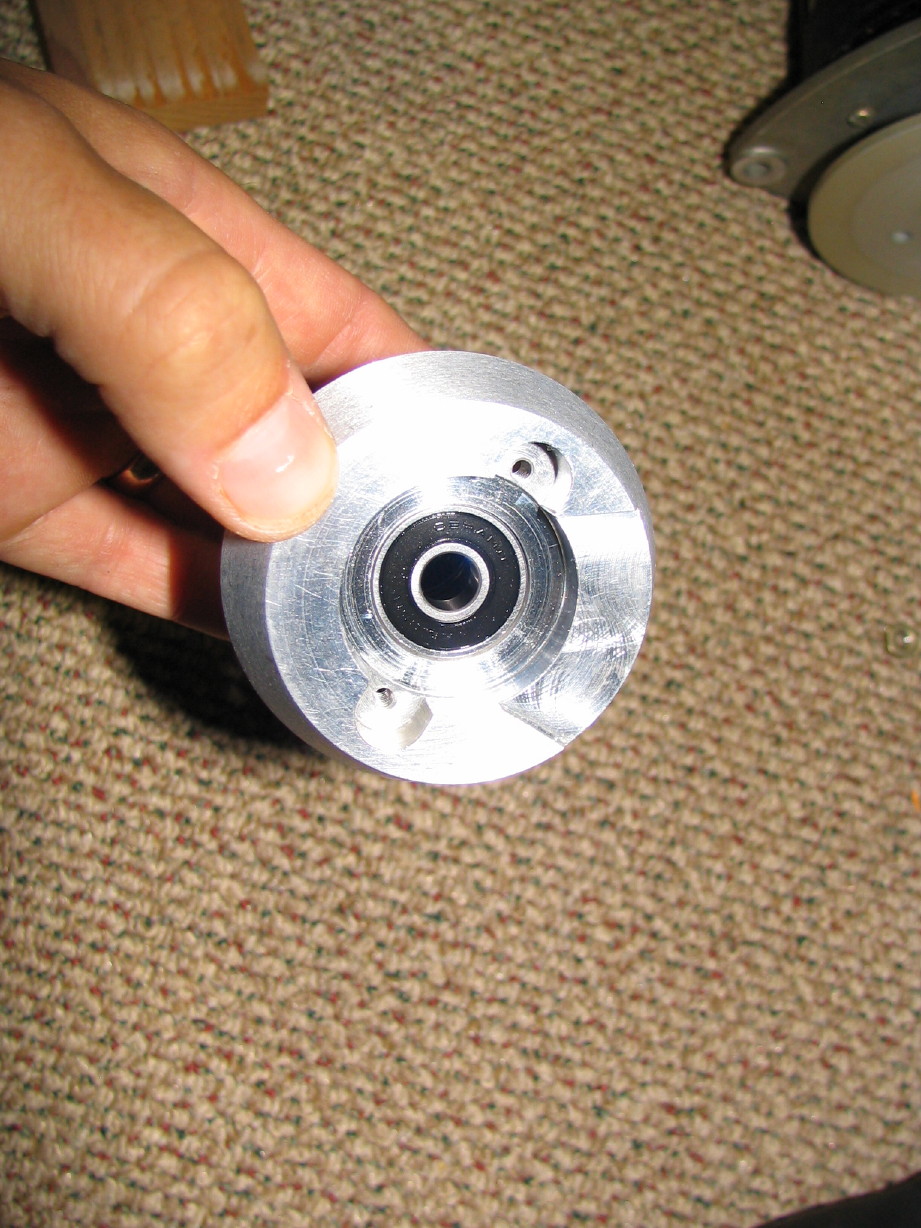
And now for the reel idler...I had cleaned the base before, but the roller and tensioner were yet to be cleaned, and the base didn't have its new bearings yet. Here's the base with the bearings:

IMG_1452_13_1.JPG


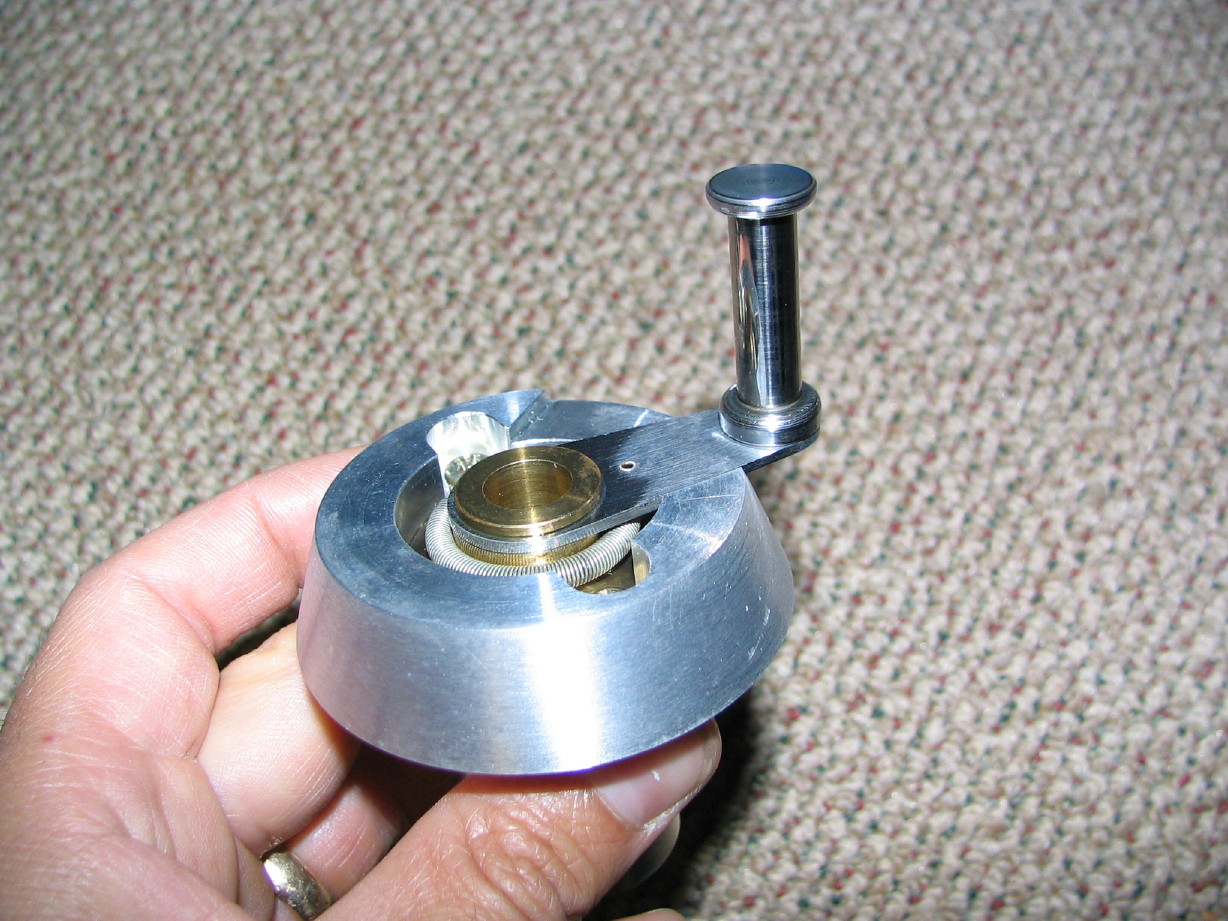
And here is the base with the cleaned up tensioner assembly:

IMG_1460_18_1.JPG


And last but not least (and, again, compare to the "before" shot), here is the idler assembly replete with the cleaned up roller:

IMG_1462_19_1.JPG


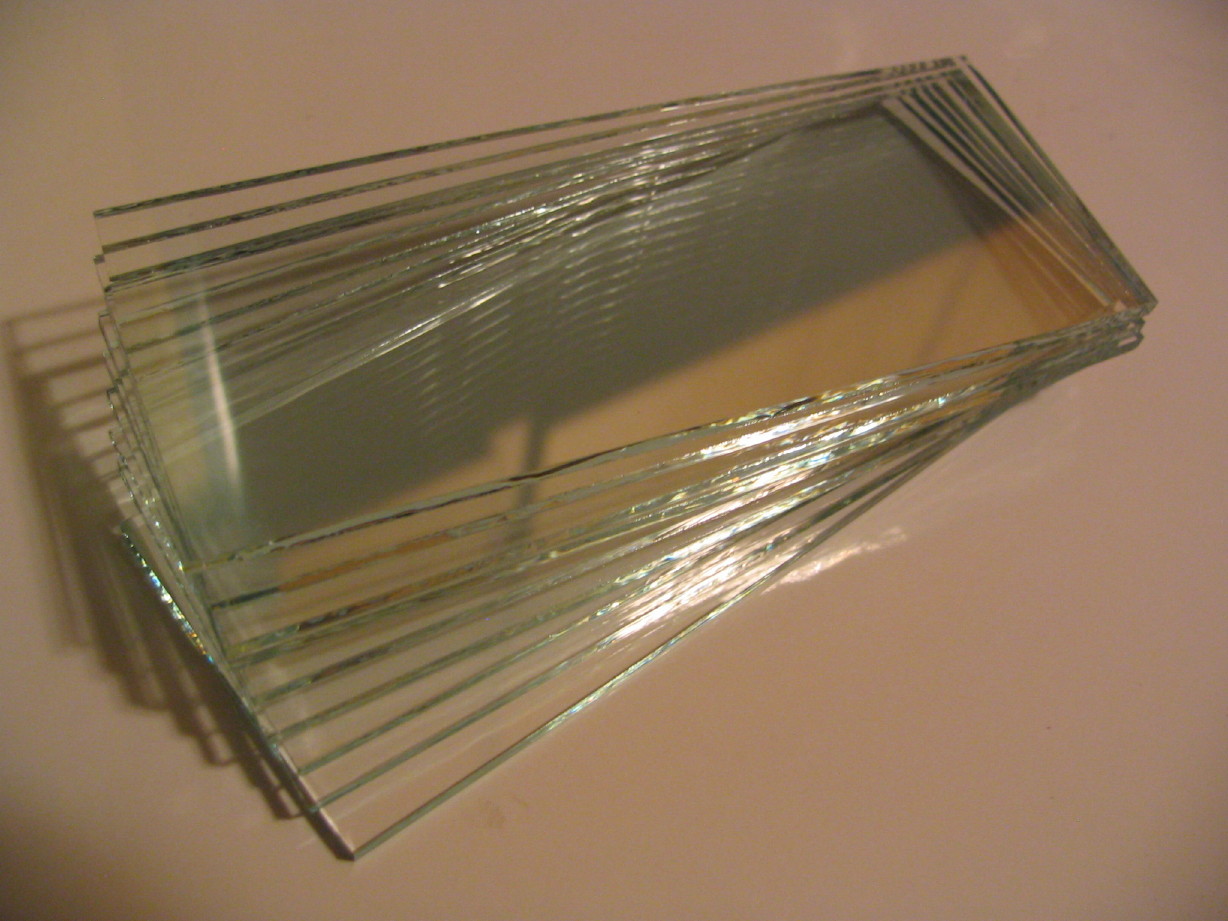
Finished cutting replacement glass for the VU meters:

IMG_1511_1_1.JPG


I mentioned this a few posts ago, but here are the proper sized screws and nylon finishing washers I sourced for mounting the electronics...the screws came from Jamestown Distributors, the washers from Small-Parts, Inc.:

IMG_1450_11_1.JPG
 
Last edited:
Awesome stuff Cory! I can't get enough of these in depth restorations you are so great at doing. Seriously, you should go into business. And you still have all of your fingers! A good sign after cutting those VU windows and doing as much work as you do period. Mine would resemble a cheese pizza with everything on it.:o

When you do get the 440 up and running you'll be able to lay down incredible analog drum and bass tracks to transfer over to your DAW. And full 8 track analog recordings on that bad boy would be amazing...congrats and keep us posted.:)
 
Cory......

I know that the "IN" thing would be to add a constructive comment or any comment for that matter but.. I'm simply in awe. Is that enough?:o
 
Seriously, you should go into business.

John, thanks for the encouragement; for the kind words! That...would...be...a dream job, but I don't think there is a market for it...at least not enough of a market to support a single-income family of 6. :D But I do really enjoy the work.

I know that the "IN" thing would be to add a constructive comment or any comment for that matter but.. I'm simply in awe. Is that enough?

Daniel, my friend, you know I'm not doing this to impress...comments or no comments I'm going to keep putting this stuff up just because its fun, and because I hope it will help and inspire. I do like getting comments every now and then just to know somebody is enjoying it along with me though...these things are more fun with more than one which is why this forum is here...so thanks for, er, being in awe. :D
 
Back
Top