Attic Studio Build / Room Remodel Documentation with Questions...

When I meant a room within a room, as a carpenter I mean clad out your existing walls and ceilings. 2" x 2"s on your existing structure with 2" acoustic rockwool then counter batten with 2" x 2" and another 2" acoustic insulation. You could put thicker on if required to give you more insulation. Then line with plasterboard/sheetrock and skim or tape, fill and paint. You would lose a minimum 4.5" off each wall. So reduce by 9" or more if required on width.

It would give you a much warmer more comfortable room exactly the same shape if you wanted. It would take about a week and if you are handy enough to do the floors you could do everything except the plastering or maybe you could do that also?

You could also tear the old plaster walls down as well but thats messy although a better job.

Good ideas, thanks! However I'm both loathe to lose the space especially since if I put a drywall cladding over insulation inside the room, I imagine I'd still need absorptive panels on top of that? I did consider ripping out the lath and plaster when I first saw the extent of the damage a previous owner had done when they ran electricity, especially since then I could have littered the walls with outlets and combo jacks. The scope of the work involved and the positive lead test on the paint on the walls took that option off the table--hazardous disposal considerations, third floor of the house + 30 steps to the curb, two young kids, etc. Anyway, that ship has sailed.
 
Newer construction in Pittsburgh is definitely insulated better than our house... we have hot water radiators on the first two floors that do a great job, but we certainly pay for the heat!

That's interesting about the 2-4k dip, and, yeah, all those ceiling angles certainly complicate things. From what I've read plaster's marginally more reflective than drywall. Anecdotally the room's echoes are heavier in the bass- and mid-range in its untreated state, but there is definitely some ring-and-ping, so I'm imagining it's going to be more a case of adding absorption than anything else.

Gonna dive into frequency analysis this week, see what I can learn.

I was taking a course on acoustical modeling software used for sound system design, where you build a virtual space and place speakers in to predict what the system would sound like. Everything, including the building has a sound transmission coefficient rating. The resonant freq of drywall was one of those factoids that stuck even after all those years. Good luck with your build. I like the angled ceiling in my studio as I tend to like spaces to sound a bit more more natural vs dead.
 
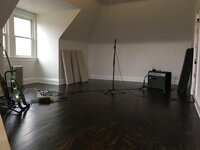
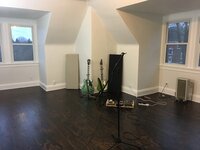
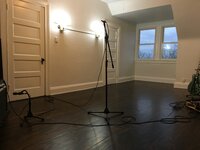
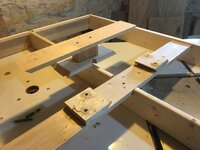
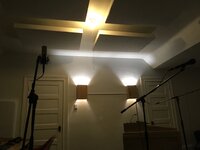
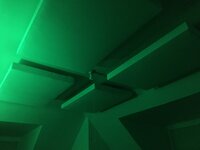
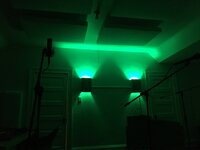
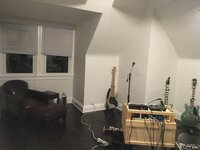
So many updates! I've been totally swamped with stuff on top of this project, so I haven't been uploading progress. Remodeling phase finished in February. For kicks we brought in my wife's guitar amp to hear it in the untreated room. So loud. Built some custom wall sconces for mood (with those fancy smart bulbs).

IMG_2957.JPGIMG_2952.JPGIMG_2951.JPG

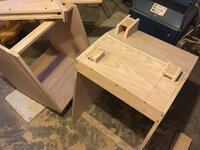
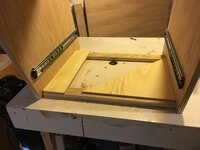
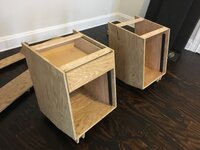
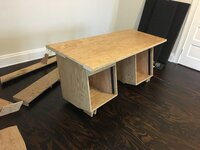
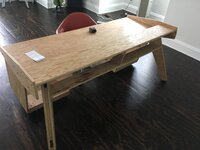
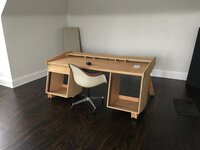
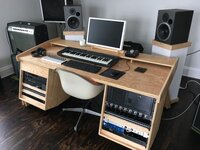
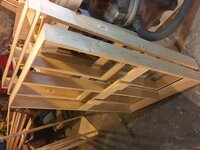
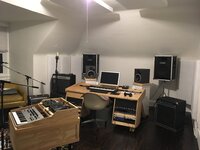
Built the desk and installed it.
IMG_2960.JPGIMG_2963.JPGIMG_2997.JPG
IMG_2998.JPGIMG_3003.JPGIMG_3004.JPG
 
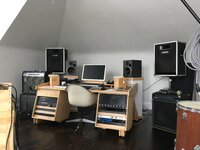
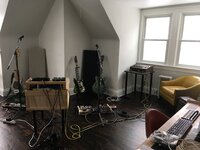
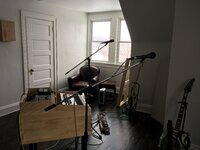
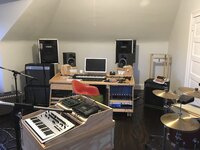
And moved in the equipment! Wish I could have installed the sound treatment before moving in the gear for awkward-ladder-and-dust-cleanup reasons, but we wanted to get a feel for how the room sounded 'filled' before moving on to treating the space...

IMG_3014.JPGIMG_3015.JPGIMG_3017.JPG
IMG_3020.JPGIMG_3061.JPGIMG_3019.JPG

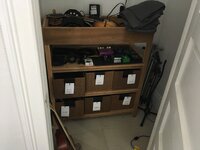
The changing table I made 12+ years ago has been repurposed (for like, the fourth time) as cable storage and a mic 'locker' in the closet.

At this point the room sounded extremely nasty. Still huge and boomy with a pingy slapback and weird resonance.
 
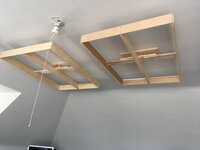
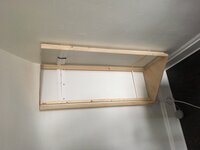
On to sound treatment! We brought in the panels we had from our previous room and tested in a variety of locations. Instant improvement, though still a long way to go. I figured treating as much of the ceiling as I could would be worthwhile. After the headache of hanging traps with wire in the last space I wanted to integrate a cleat into the frame of the new ceiling traps.

IMG_3054.JPGIMG_3073.JPGIMG_3076.JPG

I installed the cleat before filling the traps so that I could do the finicky alignment when they didn't weigh much. It still sucked, but it was better than the measure-three-times-then-still-drill-three-times method I used when hanging with wire.

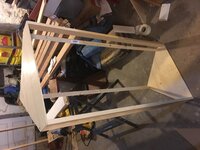
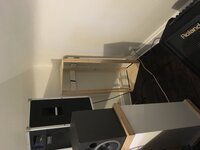
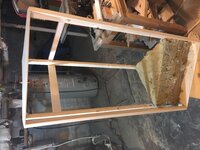
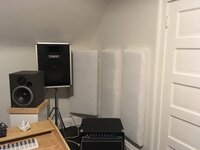
The rear-facing wall is irregular and has a window, so putting bass traps in the rear corners is a challenge. I built traps for the front corners (behind the monitors) because it was dead space otherwise. Same idea, I mounted cleats with empty traps:

IMG_3055.JPGIMG_3057.JPGIMG_3062.JPG

(Can't get these photos to rotate for some reason?)

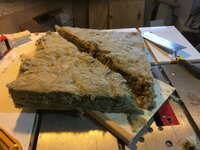
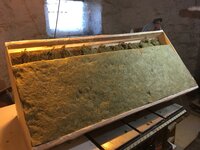
Filled the traps with Roxul Safe N' Sound. I cut triangles for the bass traps and stacked in the back, then put another panel-and-a-third on the front face. Each ceiling trap holds two panels, and there's a four inch gap between them and the ceiling.

IMG_3125.JPGIMG_3126.JPGIMG_3127.JPG
 
We wanted everything in the room as white as possible (which is in no way a political statement). This proved a bit of a challenge when looking for acoustically transparent fabric, in part because we don't like felt. We ended up ordering speaker grille cloth in white from Parts Express, which was a pretty great deal at 70" width and free shipping over $100... however, the fabric was really sheer.

I was already looking into how we could cheaply cover the wall-facing side of the traps without reducing their efficiency too much. I remembered recommendations on this forum and elsewhere that plastic wrap less than a mil thick (under 100 gauge) was close to acoustically transparent. I ordered a roll of white shrink wrap and we used that to encase traps, which helped make them more evenly white under the covering cloth as well as preventing insulation fibers from shedding into the room and dust from collecting in the insulation on the exposed tops of the traps. However, you could still see the color of the Roxul though the single layer of shrinkwrap, and everywhere the shrink wrap overlapped it was whiter than everywhere else... so, though it might not have been the best plan acoustically, I spray-painted the shrinkwrap, and finally got an opaque white background under the grill cloth fabric. I think the end result was still cheaper than Guilford of Maine, though less professional looking, not fire retardant and possibly more work. :cry:

Also, in the course of researching how bad an idea spray-painting acoustic treatment was, I came across the usual slew of flame wars between advocates and adversaries of the practice. No one had wrapped rock wool with shrinkwrap and painted that (that I could find), but I found lots of support for the position that putting an unwrapped package of rock wool or OC 703 in the corners of your room is still pretty effective. The wrap that this stuff comes in is thicker than the shrinkwrap I used, and the original packaging also has ink/paint labeling, usually covering the entire surface... so... ? Hardly scientific comparisons, I know. I also found this fun treatise from 1940: EFFECT OF PAINT ON THE SOUND ABSORPTION OF ACOUSTIC MATERIALS. In case anyone's interested in what V.L. Chrisler has to say on the subject.

In any event...

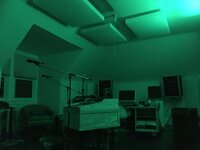
The good news is that with the traps up (including the repurposed traps from the old room at first reflection points on the walls), the room sounds incredibly different (good), and looks pretty sharp, imho:

IMG_3128.JPGIMG_3129.JPGIMG_3140.JPG
IMG_3136.JPGIMG_3138.JPGIMG_3139.JPG

It could still sound better. It's pretty focused in the mixing position, but, having put this much work into it I'd like to go the distance. I was originally planning to build two more corner traps to go behind the instruments in the shot below:

IMG_3133.JPG

But I'd also like to get back to making music at some point...
 
Last edited:
Did you do any acoustic measurements before and after? You seem to have a decent amount of space but all the angles are hard to predict. Mine, the angled ceilings gave me some added floor bounce nulls that took a lot to overcome. It has taken a lot to get to +/- 2db from 40-200Hz.
 
I got REW set up but the closest thing I have to a measurement microphone is a couple of Karma K-Micros, which I don't think qualify? I have to play around with it more... so for now we're working with anecdotal impressions. The treatment we put up has made a huge improvement, but the room is still a little to live and definitely needs more low-end taming. We moved the corner traps from behind the monitors to the corners behind the guitars in the last picture and the difference was immediately noticeable, which is kinda gratifying -- more high end (possibly too much) in the listening position, less bass. I'm currently building a bass trap disguised as a console table to put under the window behind the brown chair. Our rooms do seem similar in a lot of ways. I'm nowhere near 50% wall/ceiling coverage... pretty sure more traps are the solution.
 
Back
Top