Tascam 388 Story...

Thanks, zorf...:D

I think my camera is a 3.2mp model so I do usually compress the pictures...my camera is a Canon so it came with Zoombrowser for organizing photos and there is a really quick and easy utility to select, batch and compress photos and then I dump them over to my http directory.
 
Ok ! This post comes so handy to me ! I have the 388 opened right now in my apartment

Finally Ive opened the 388 to find the belt was ok, what I didnt like was some caps bleeding , c412 and c402 have melt specially the orange one into the blue and cylindric one, and this ones are in the control board? just above the motors from behind

Then I have some nice bleeding on the power supply boards c115, c117 and c118

Ok , finally I have like 20 small condensers bleed in the mixer, dbx boards?

Id love to recap but havent recap in my life, only messed with some guitars changing pickups and thats far more that I can do any advise from my recap guru Cory?

Do you think the c 412 + c 402 bleeding can make the machine stop, it does not playback anymore.
 
HomeGos...:(

Gotcher PM. Glad you found a pinch roller.

Yes, it is time to recap. That is surely causing some or all of your problems and we won't know what is what until those leaky caps are replaced. Don';t turn your 388 on anymore and unplug it.

I'll be away from the list for a few days. I'll help you when I can if others don't first. You can do it if you know how to use a soldering iron.

I'll offer more info soon.
 
ThaNKS Sweetbeats!

It does not seem that serious , I think is the same bleeding you showed in your old caps photos... maybe a little bit more but not bleeding all the board, just beneath the caps ... then theres two mistery caps for me ... one blue and one orange that are in contact... in your photo they look the same ... I think they are in the control board, one has melt a little into the other.. that looks strange, but it looks the same in yours, did u recap them?
 
The blue and orange "caps"...can you point me to which post you see the picture of mine that are "the same"?

Also, none of my caps hae been leaking. The only thing I can think of that might look like that is on the power supply board...all the larger caps are stuck o the board with glue. That was just to make assembly easier. That's not a leaky cap.

Can you put up a photo of your "blue and orange" caps?

This webpage has some great info on bad caps and how to replace.
 
One point to remember is that when you have dbx engaged, it doesn't go into "saturation" and pushing the levels and almost pinning the needles is not a good idea, because it'll introduce encode / decode errors. If you want to really push it, turn OFF the dbx.

I allways turn it off , the dbx, cause it lacks high freq response with my dbx turned on , and I get a thinner sound with the dbx turned on, so a little bit of hiss does not annoy me... its kind of retro....if I would want a sterile sound I would go down the protools way, like everybody else, but I have to record more to see the main differences beetwen dbx and not dbx

thanks cjacek

That doesn't sound right. Is there any way to calibrate the dbx NR on a 388?

If you're lacking high-end on playback, I suggest boosting the high mids (8k-12k) a little when recording. I do this sometimes when I'm recording something "sparkly" so that the shine doesn't get lost in the process.
 
If caps are leaking there may very well be issues, and certainly the dbx cards can be calibrated. My guess is that the instructions in the service manual for the DX-4D would apply as the schematics for the dbx components of different Tascam gear look very similar (i.e. 388, 234, DX-4D). I'll be having a closer look at it at some point. Other things could effect this too though...levels, how the deck was calibrated...All those things can throw the dbx tracking off.
 
Also...um...about 3 weeks ago...

It seems that everything was about 3 weeks ago, but mind you time is marching on so I really didn't do all of this at once. :D

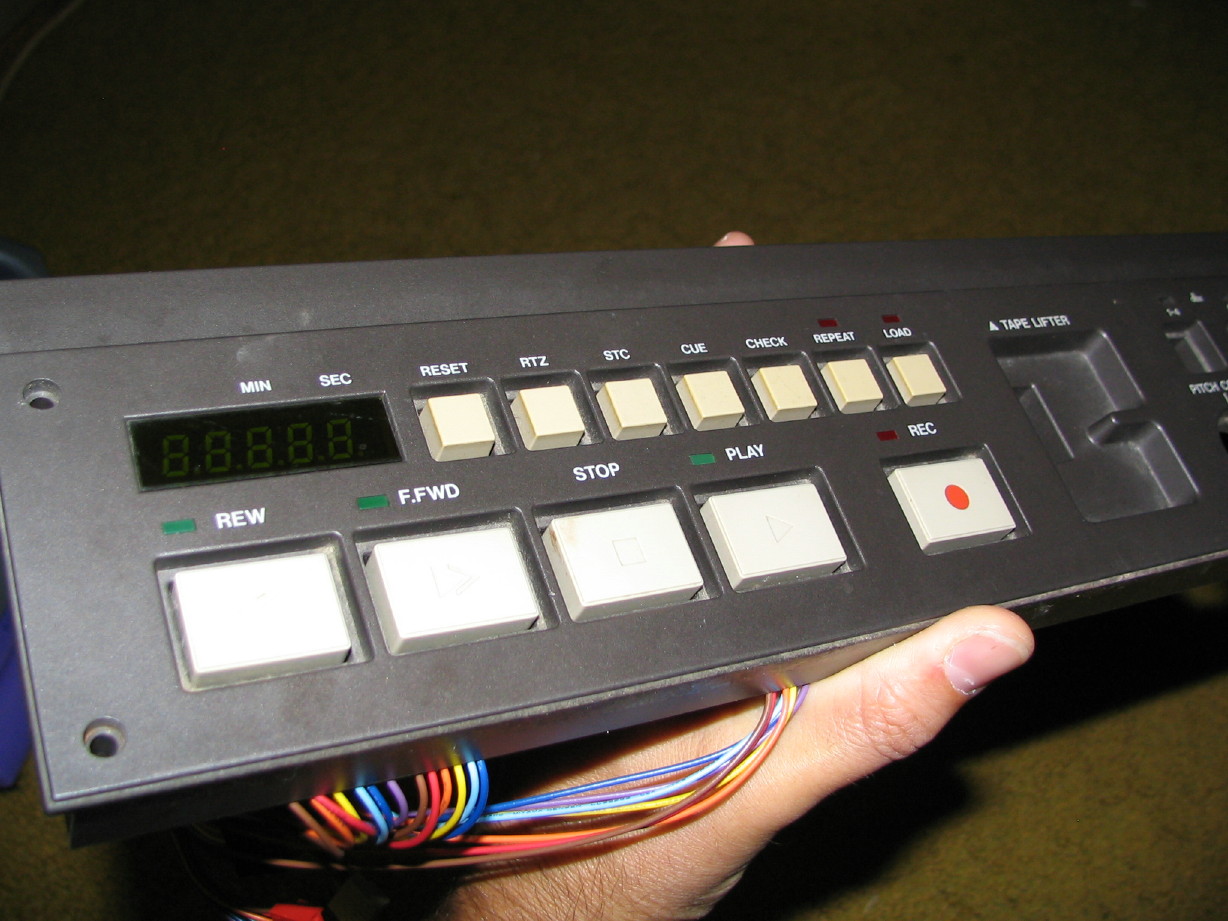
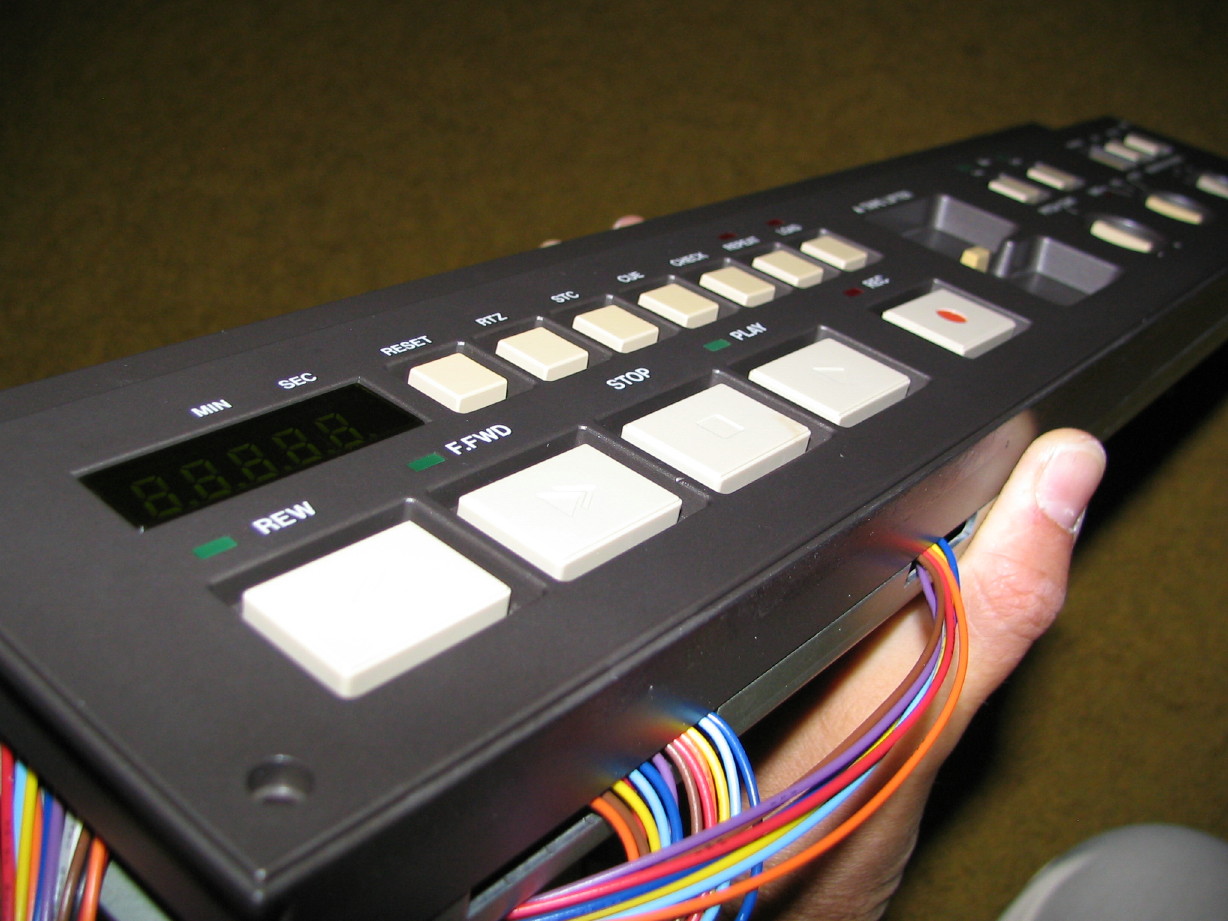
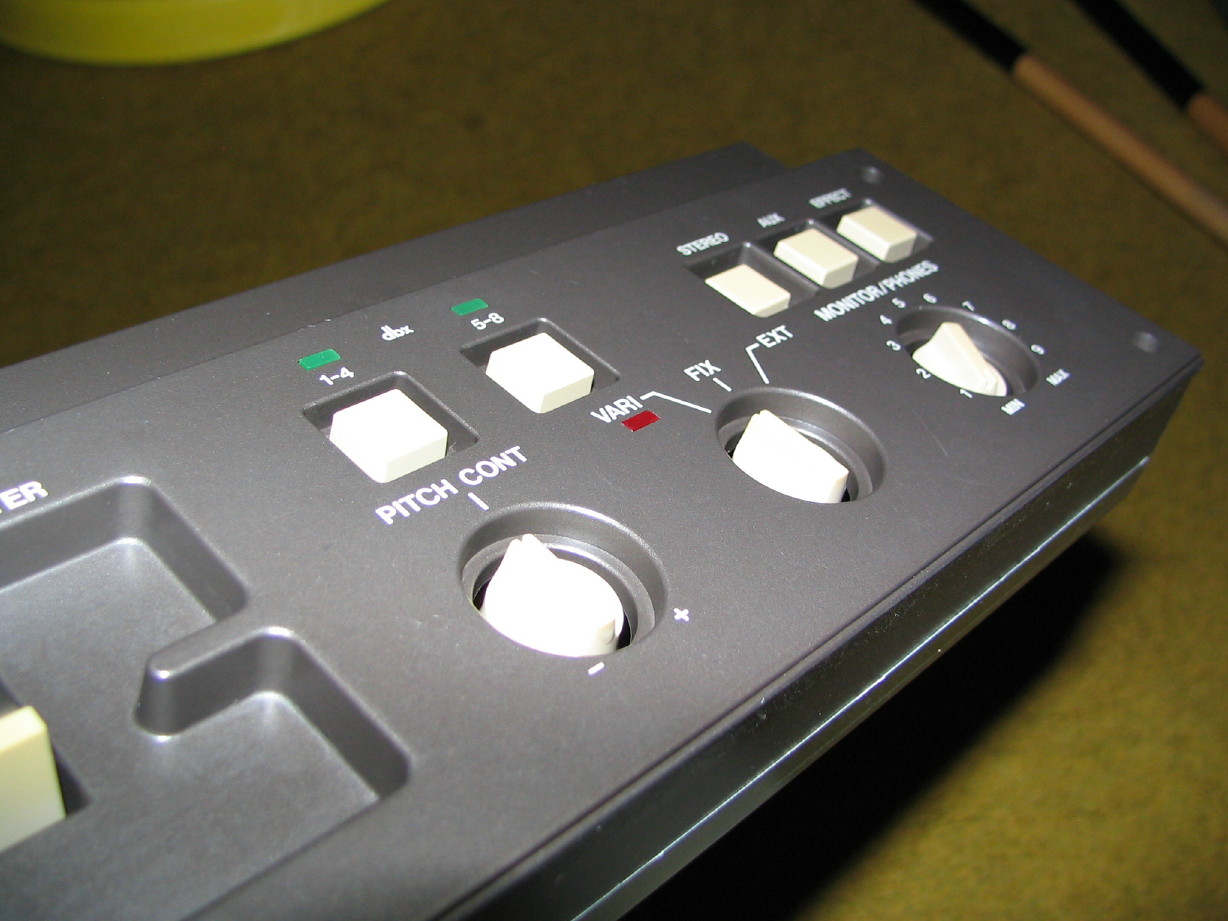
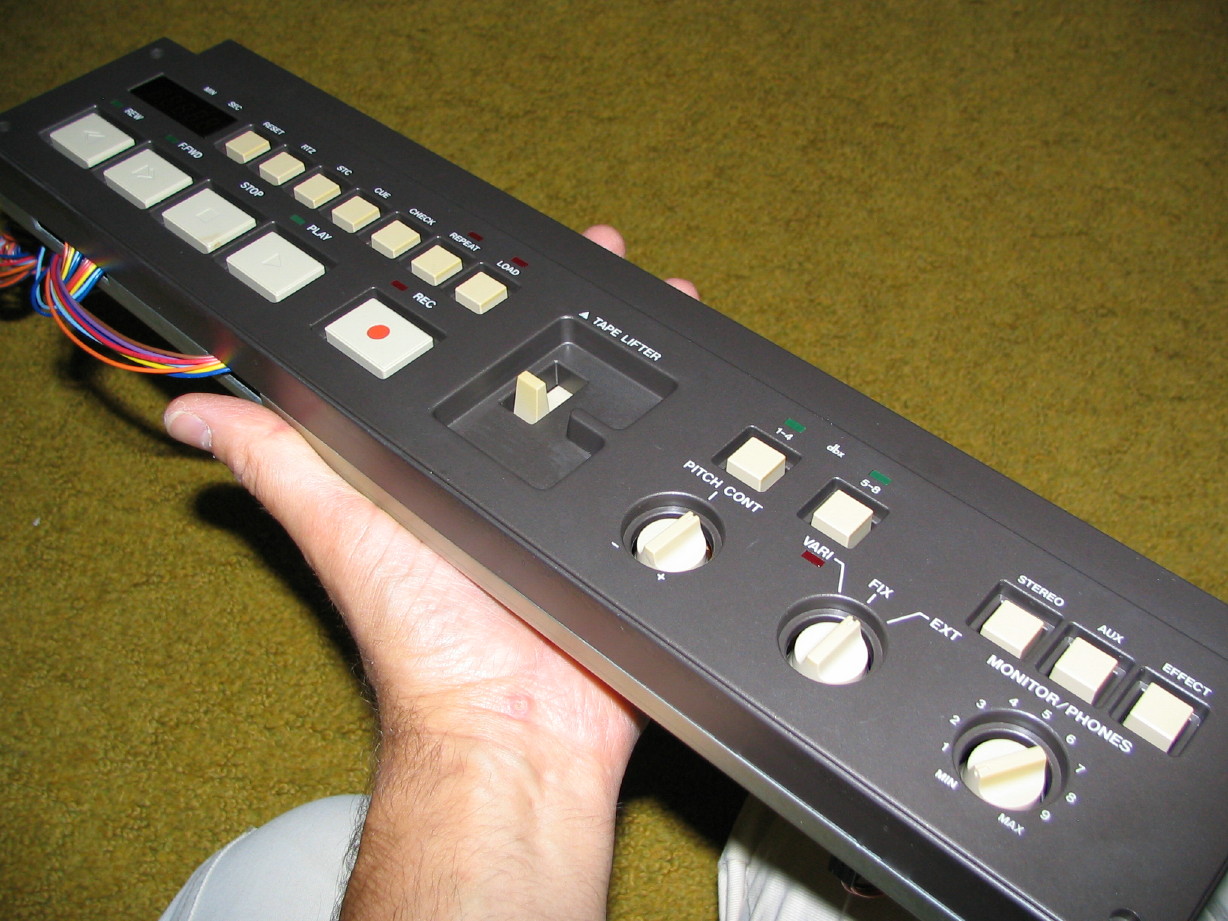
Removed the transport control assembly which includes the transport, autolocator, dbx and monitor controls as well as the tape counter. Just wanted to get the thing cleaned up good, clean and lube the lifter linkage and recap the headphone amp PCB which does some other things as well (has the line amps for the monitor out jacks, pitch control stuff...)

A before shot (it looked dustier than in this pic...or maybe I'm just picky...nahhhhhhh.):

IMG_1191_1_1.JPG


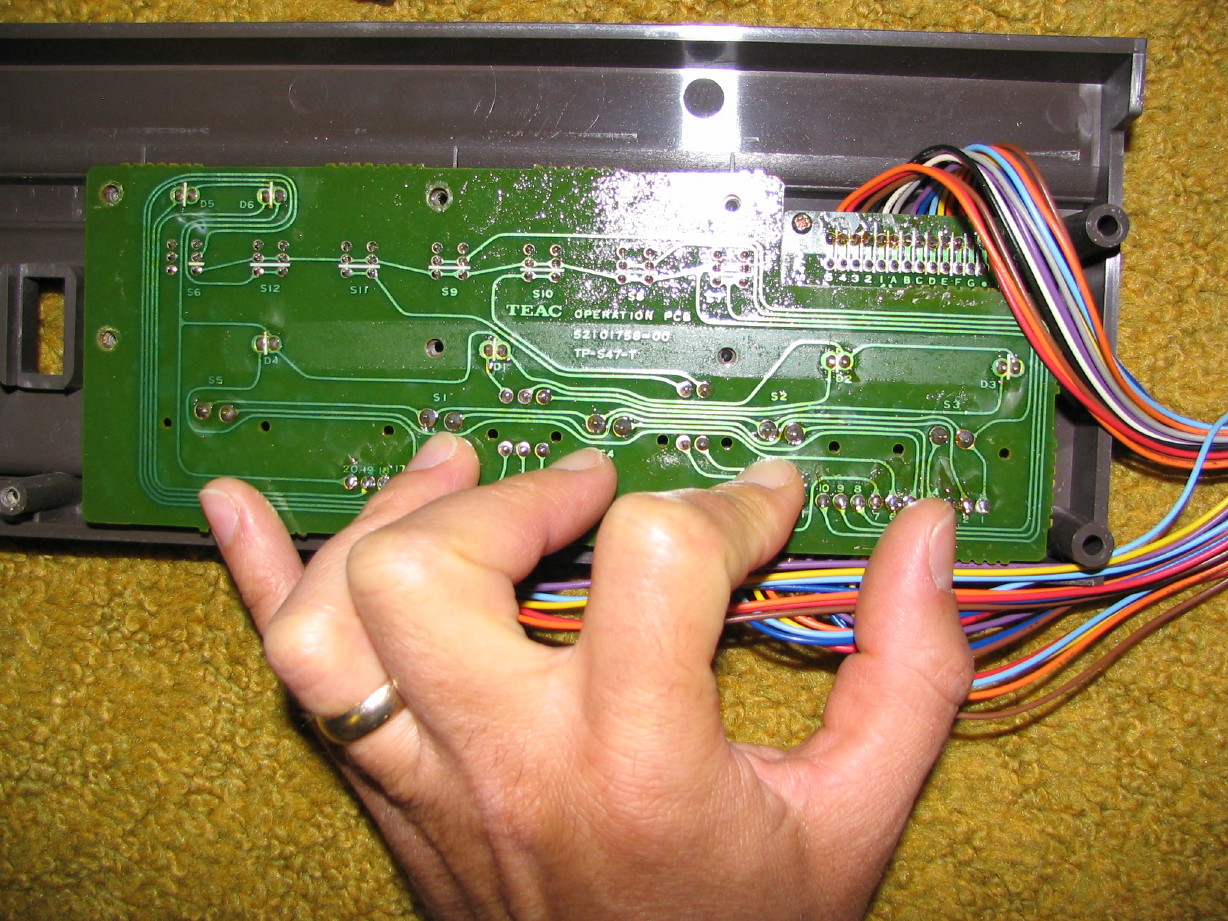
If you really want to take this thing apart you have to desolder the transport control buttons from their PCB...I, of course, did want to take it all apart because somebody had spilled something on the assembly at some point and I wanted to make certain all was well and clean. In this picture my thumb and each finger is directly below a pair of solder joints that had to be desoldered...each pair goes to a transport control button:

IMG_1195_4_1.JPG


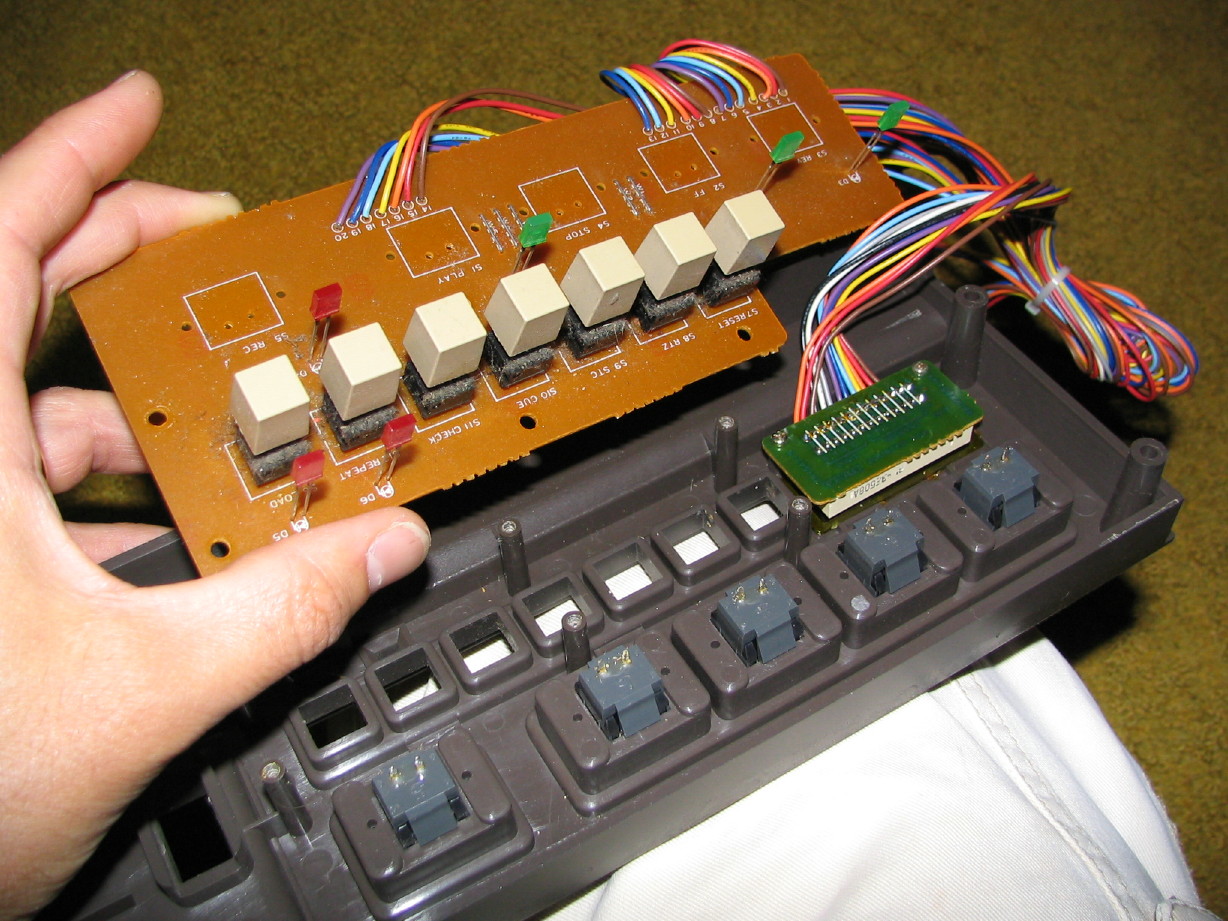
Okay...so no spillage, but I was glad anyway because there was yucky dust in there:

IMG_1197_5_1.JPG


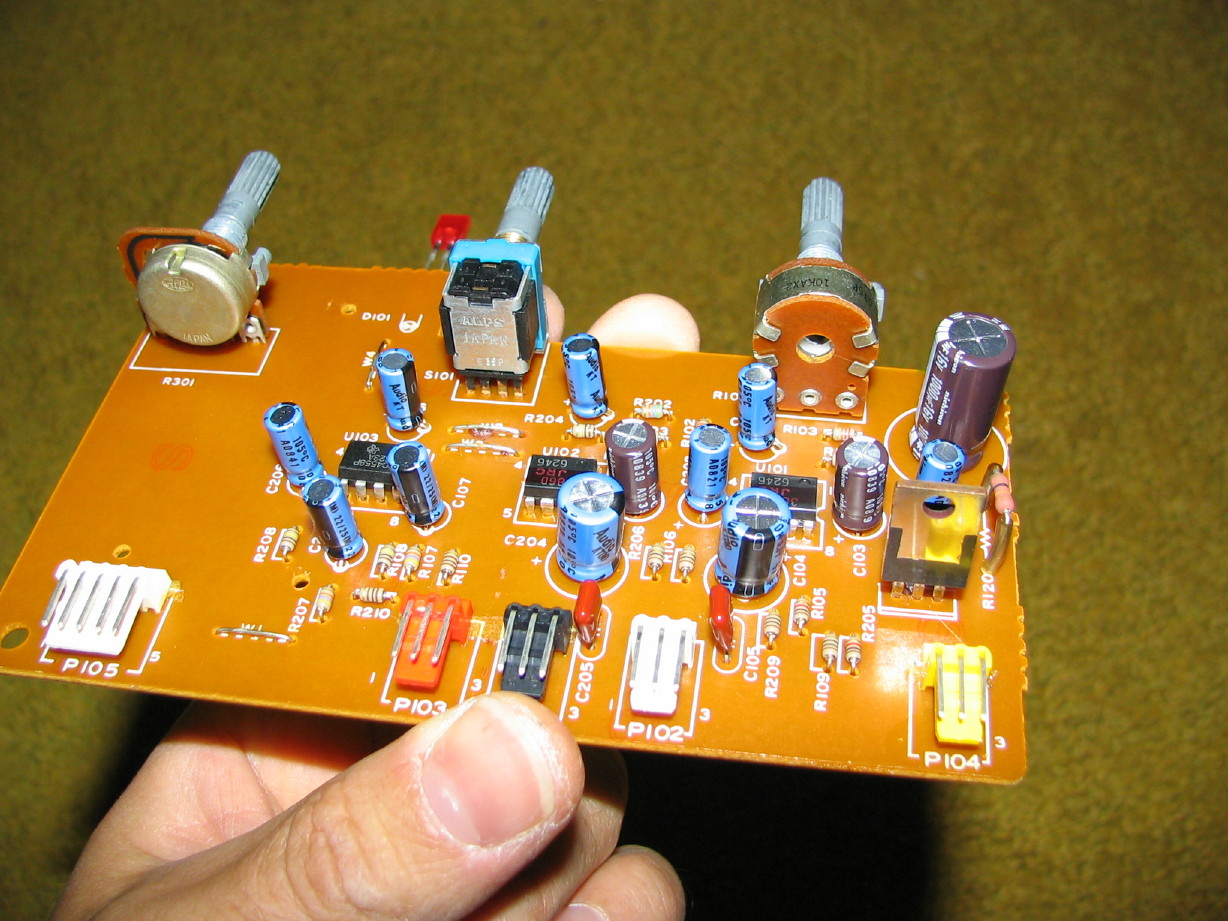
Did the usual treatment and recapped the Phone Amp PCB...cleaned pots and such:

IMG_1198_6_1.JPG


All cleaned up and back together:

IMG_1199_7_1.JPG


IMG_1201_9_1.JPG


IMG_1202_10_1.JPG
 
A day later...

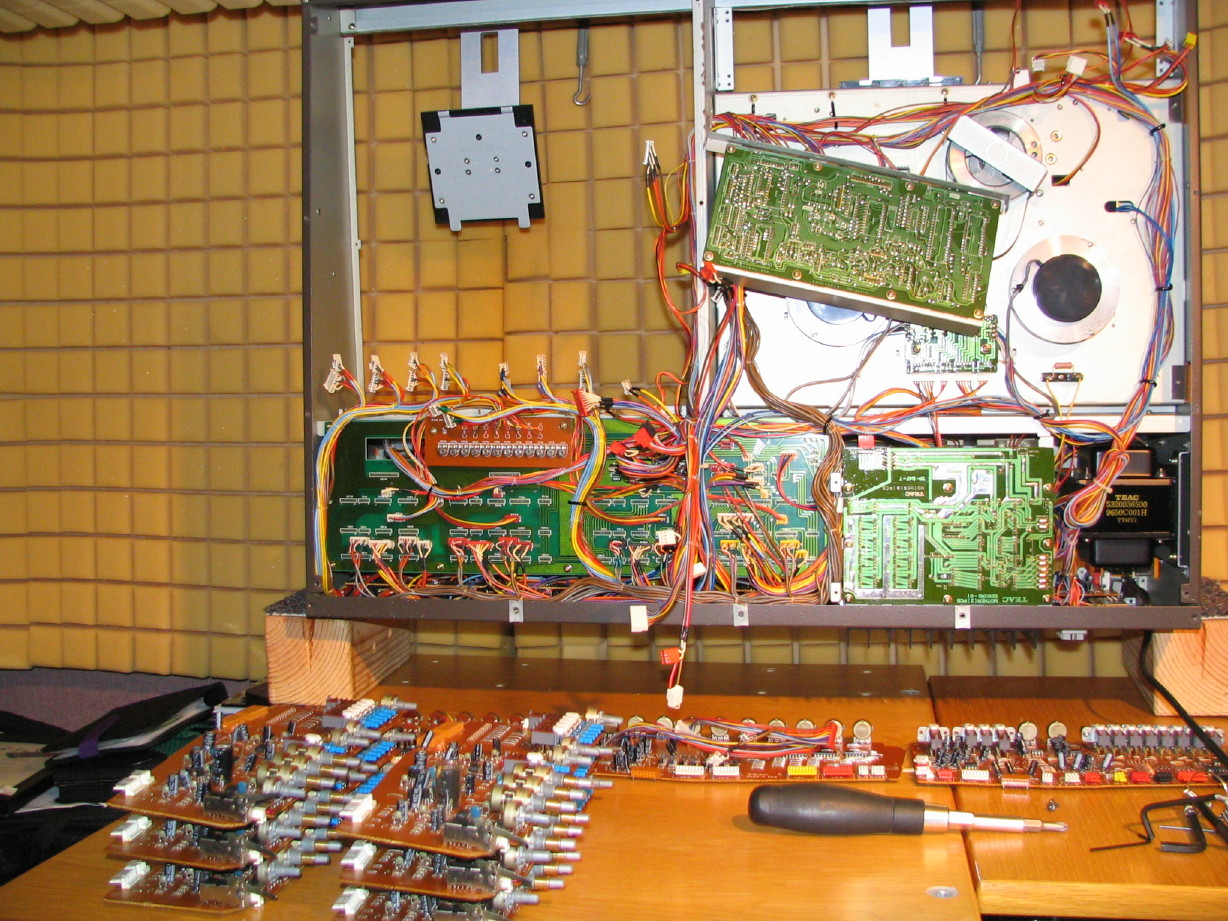
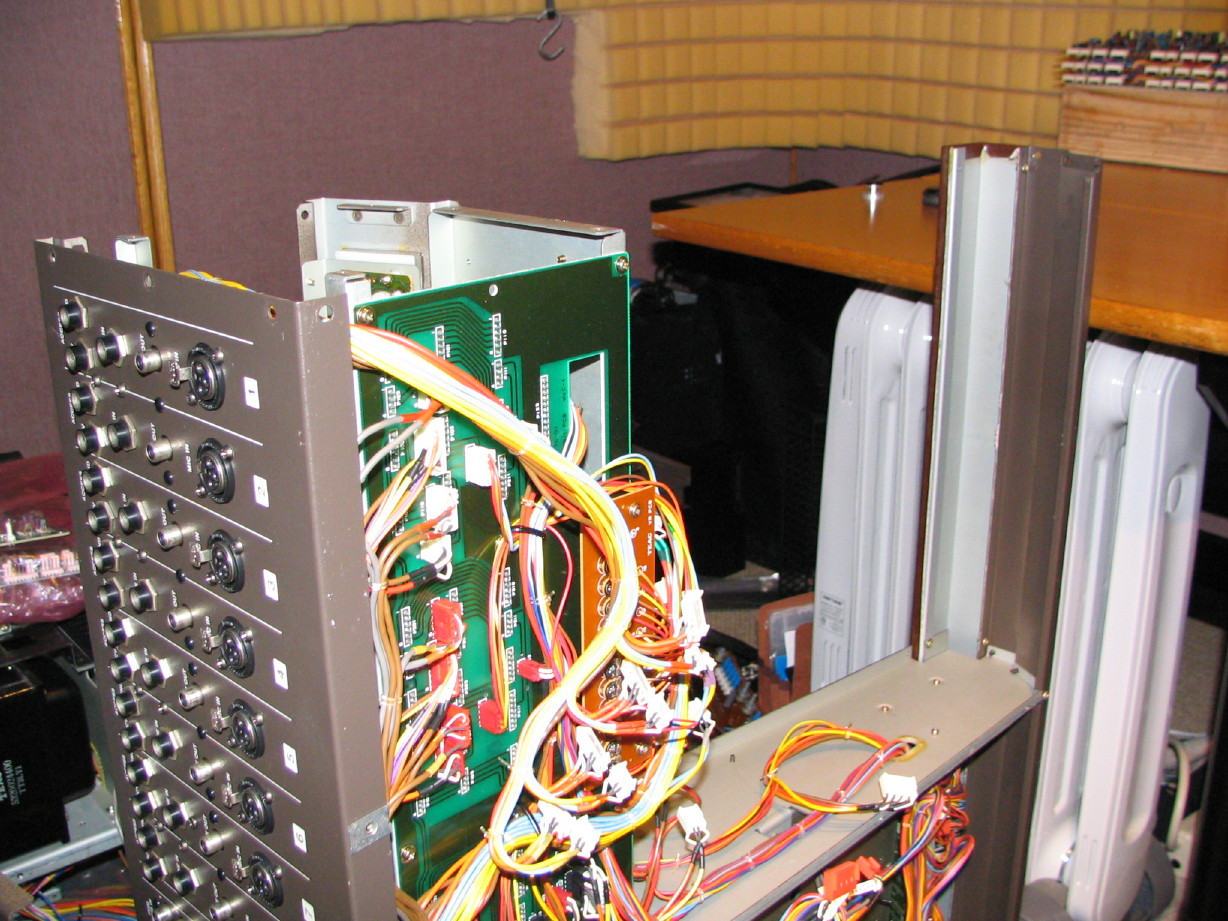
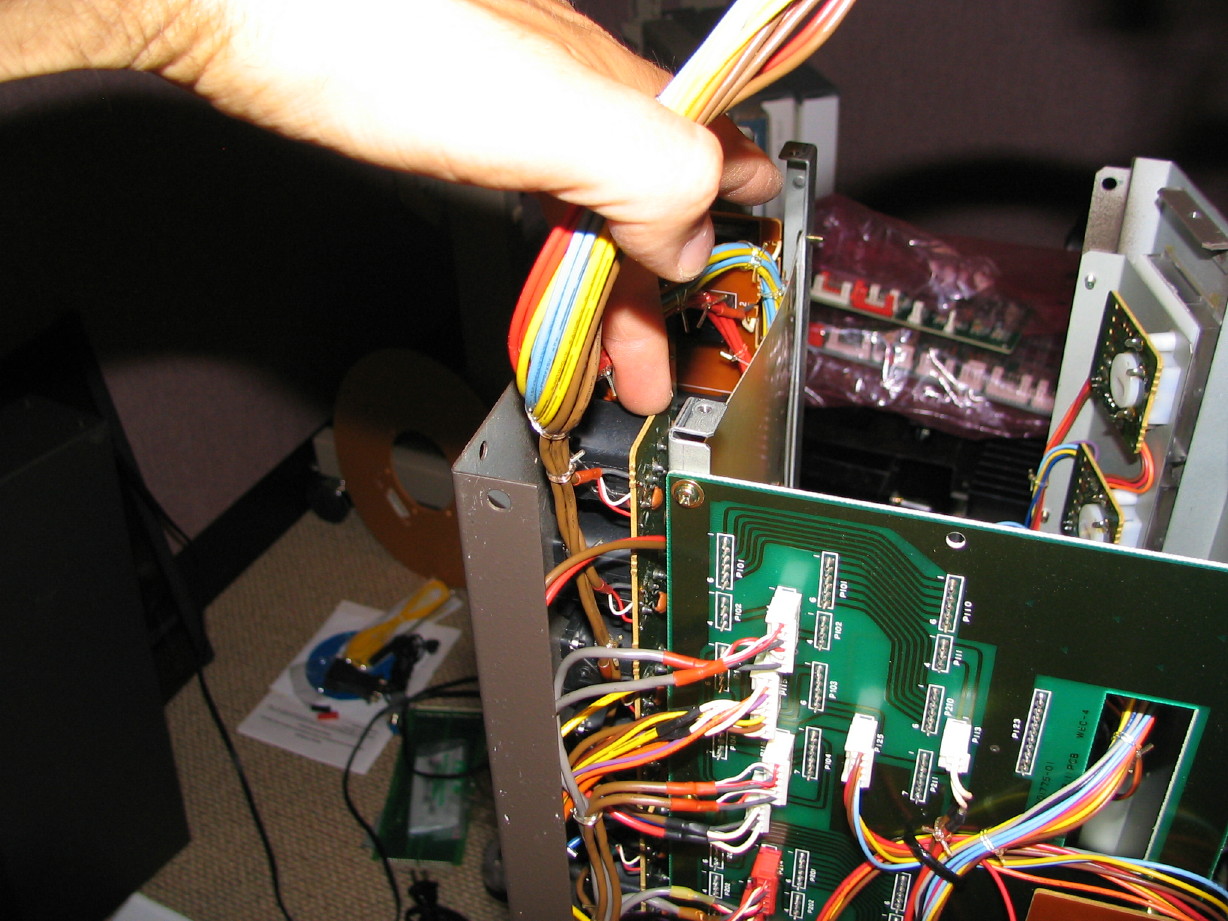
Here is what it looks like today...pulled all the mixer cards out...cleaning the chassis and getting ready to recap the rest of the cards...that's the Control PCB hanging down:

IMG_1223_21_1.JPG


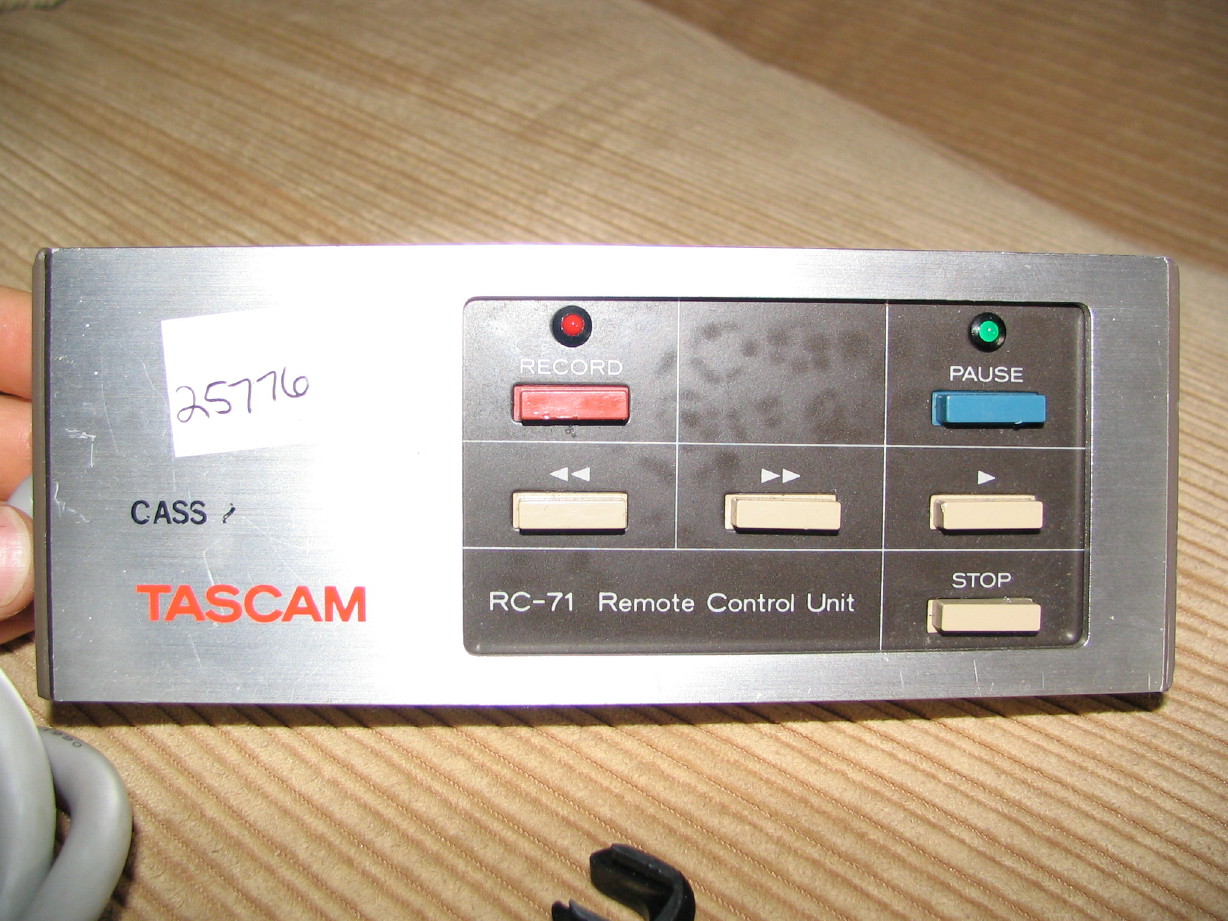
Found an RC-71 for $40!

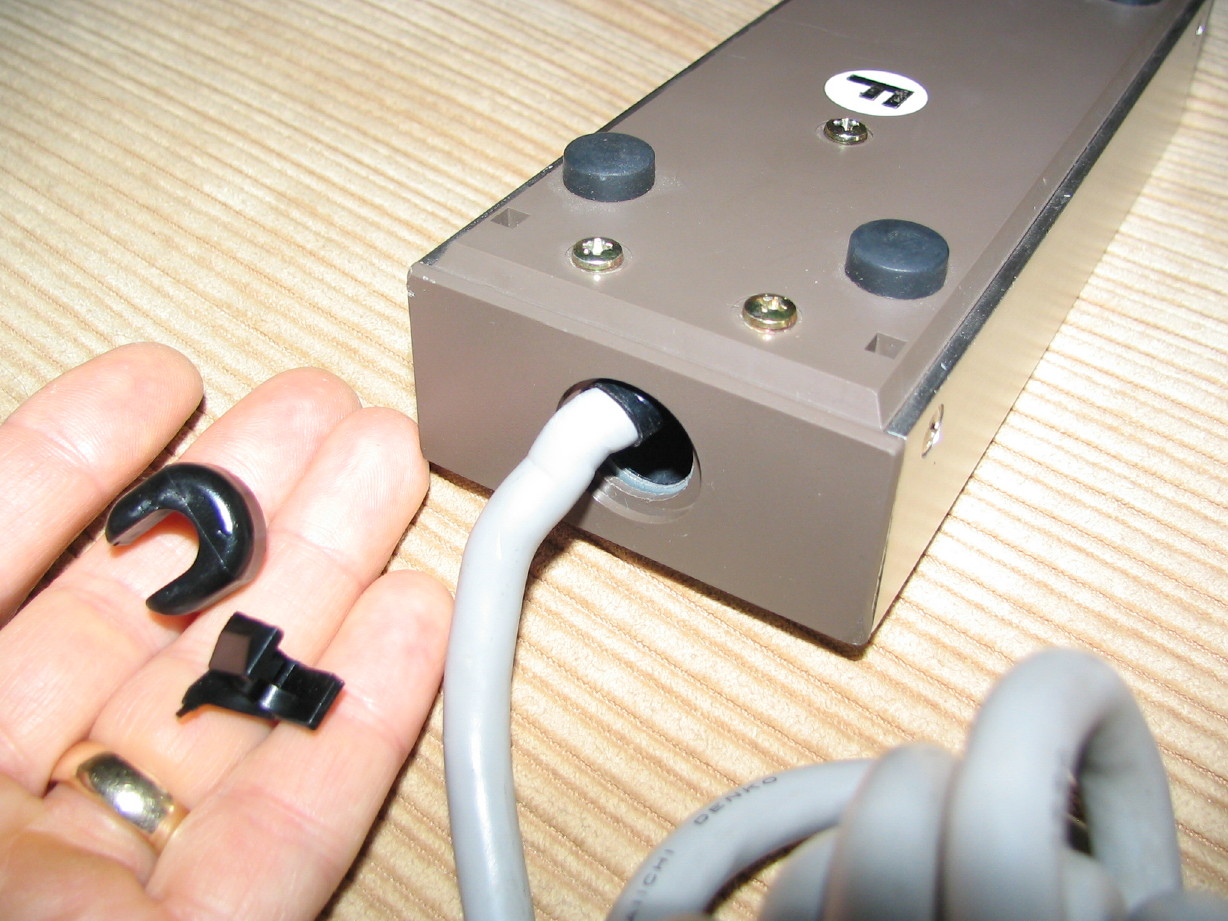
It said "untested, parts or repair only". Just up my alley. The strain relief grommet for the cable is busted. Already have a replacement for that so that's no prob:

IMG_1230_5_1.JPG


Face is pretty clean...stickers to remove, REC button beat up a little, scratch here and there but overall solid:

IMG_1226_3_1.JPG


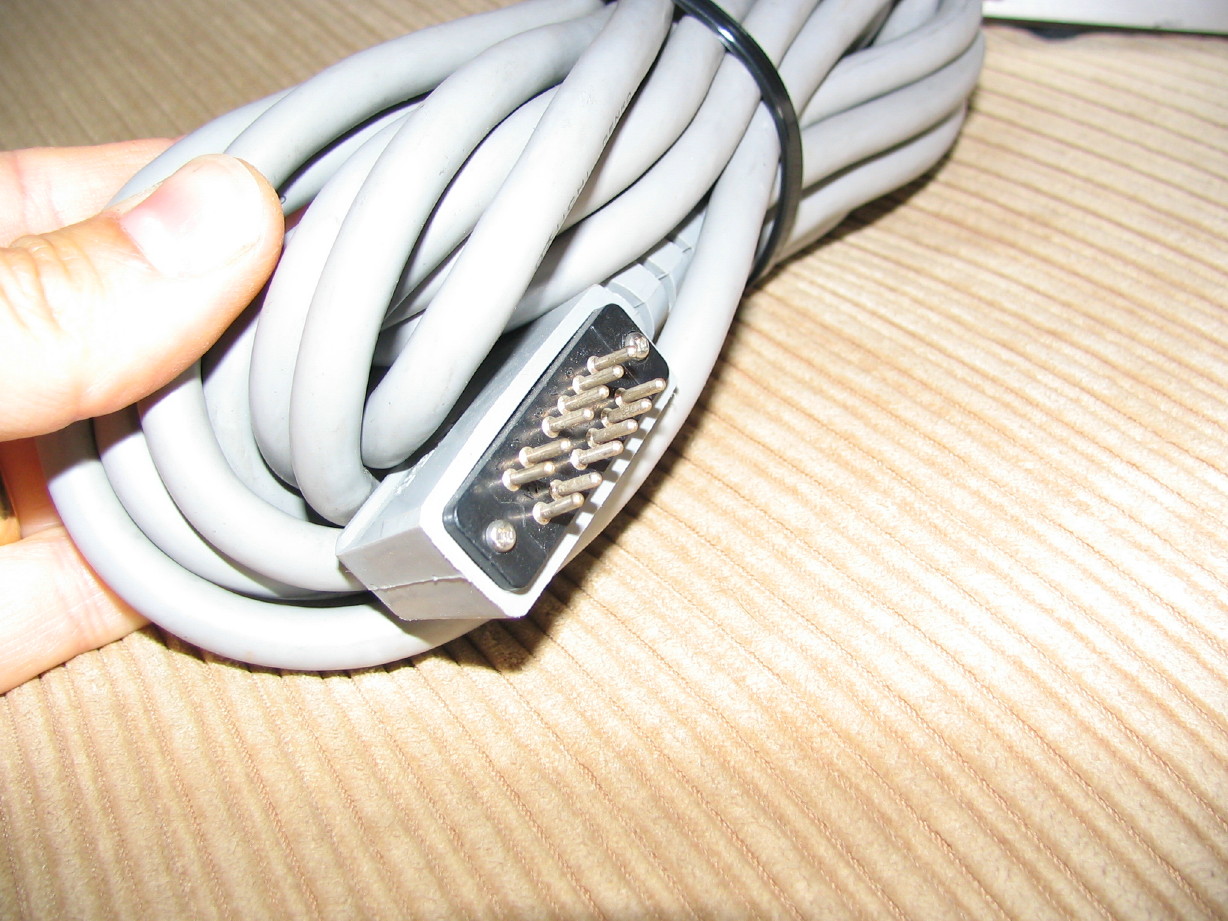
The plug and its pins look great which is pretty key for these things:

IMG_1225_2_1.JPG


Overall pretty good for $40 and it looks clean inside. I'll probably do some schematic back-tracking to test it (since I don't have a schematic for the RC-71, but schematics from any unit that uses the RC-71 will tell me what I need to know and I have schematics for the 48, 234 and 388.)
 
About 2 weeks ago...

Getting ready to pull the dress panel off the transport:

IMG_1239_1_1.JPG


Lookit these cute tension arms and rollers!

IMG_1241_3_1.JPG


IMG_1240_2_1.JPG


When I say "cute", I'm not trying to be demeaning...I'm just used to handling 1/2" stuff and now 1" stuff, but the parts are so well made! And the design leaves the 1/4" tape with nothing less than what so many 1/2" and up transports employ. I guess that's what get's me...I have an old Sony consumer 1/4-track deck onsite and the transport on the 388 is super-slick and advanced comparitively speaking. Not a fair comparison I know, but the 388 transport is clearly designed to effectively and consistently handle tape in a precise and reliable way. I guess this is another way to think about it...the 388 is smack-dab in the middle of Tascam's 8-track cassette transports (at about 1/8" tape at 3 3/4ips) and their 1/2" 8-track transports (at 15ips). The 388 transports look a whole lot more like the 1/2" transport than the cassette transports.

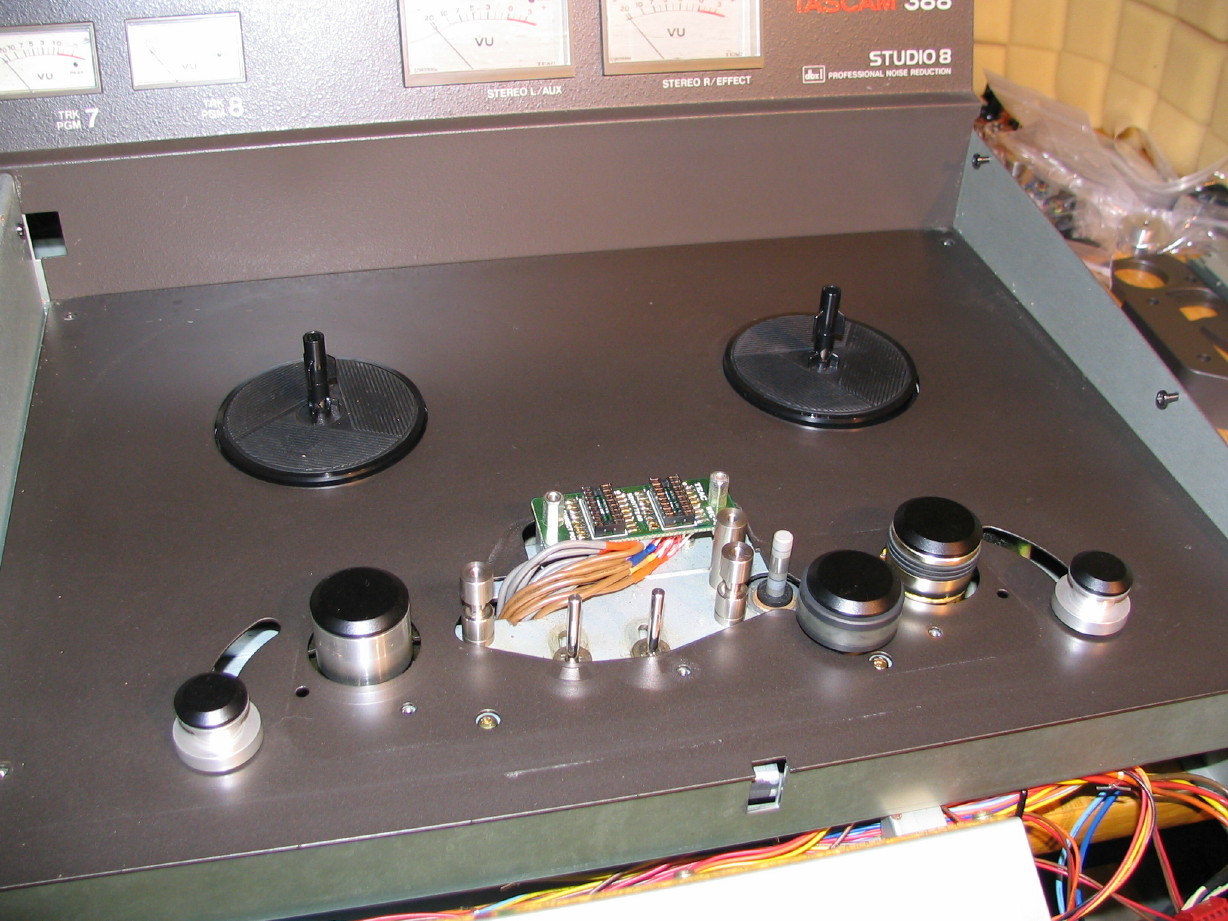
Dress panel off...see? I think the lifter and pinch roller solenoids are nearly identical in size to Tascam's 1/2" transports...and the brake linkage design is like the 48 which is great because that was really easy to setup. Nice clean design and overbuilt for what the transport is handling IMHO:

IMG_1248_10_1.JPG


Emptied the cardbay, mainly to inspect, clean and in general familiarize myself with the cards...also want to access the two caps on the Mother PCB...now is the time to replace those otherwise they'll be even harder to get to later than they are now:

IMG_1247_9_1.JPG
 
About a week ago...

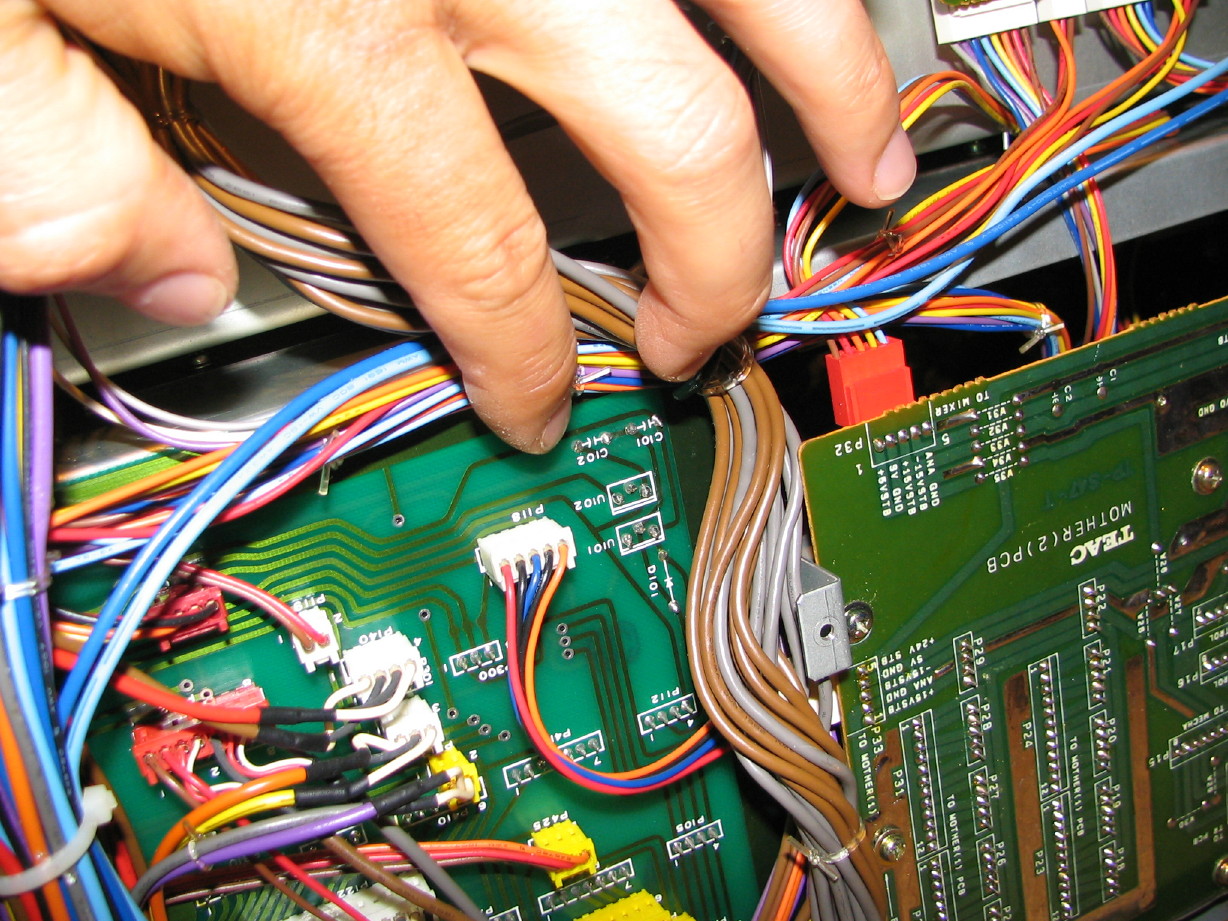
Here are the solder joints for those two caps on the Mother PCB...my index and middle fingers are pointing to them...they are kinda crammed up at the edge of the board and there's lotsa wires. I got them replaced but it was a little hairy:

IMG_1315_1_1.JPG


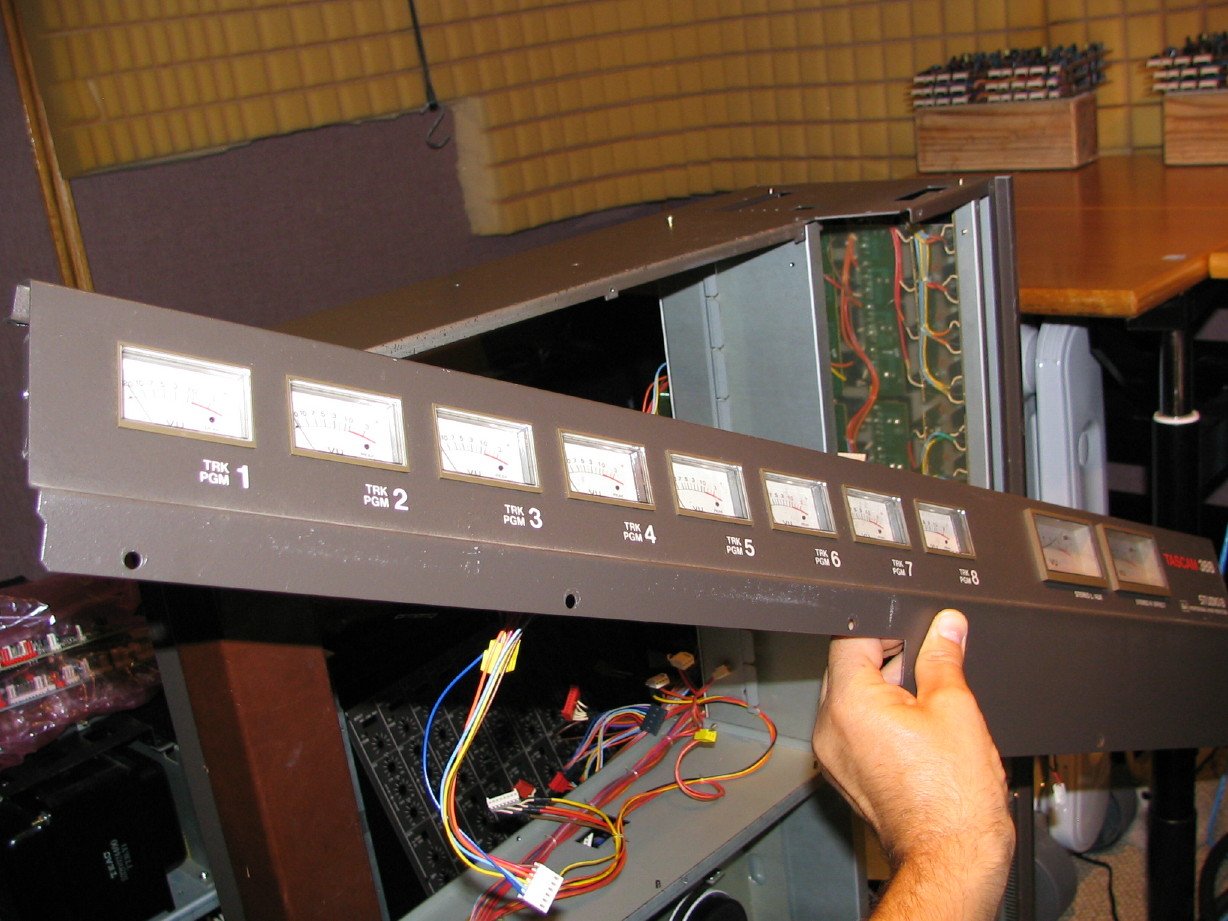
I'm working at getting the meter bridge removed to do some minor repairs (cracked or badly scratched meter lenses, burned out meter bulbs...) and to clean it up really good...there are three screws sort of behind the transport assembly...a bit bearish to get to, but I got them:

IMG_1326_12_1.JPG


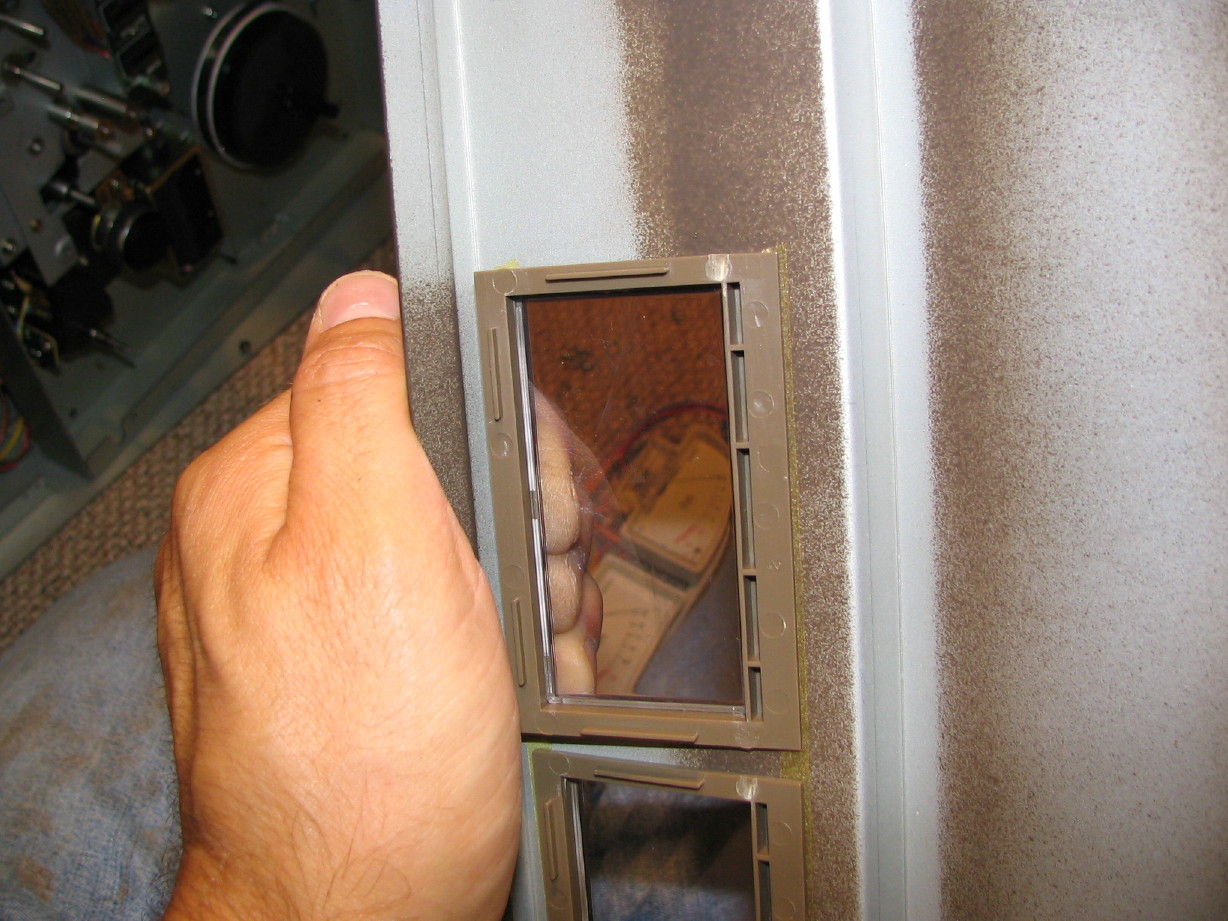
This made it possible to get to the master meter lenses and bezels. They are badly scratched and I didn't want to try to repair those with the lenses mounted in the meter housing. The bezels are held to the housing with double-stick tape...good stuff too as they are still held in very well after 20-or-so years. I just started at one corner pushing carefully but firmly and continued on until it was free:

IMG_1328_14_1.JPG


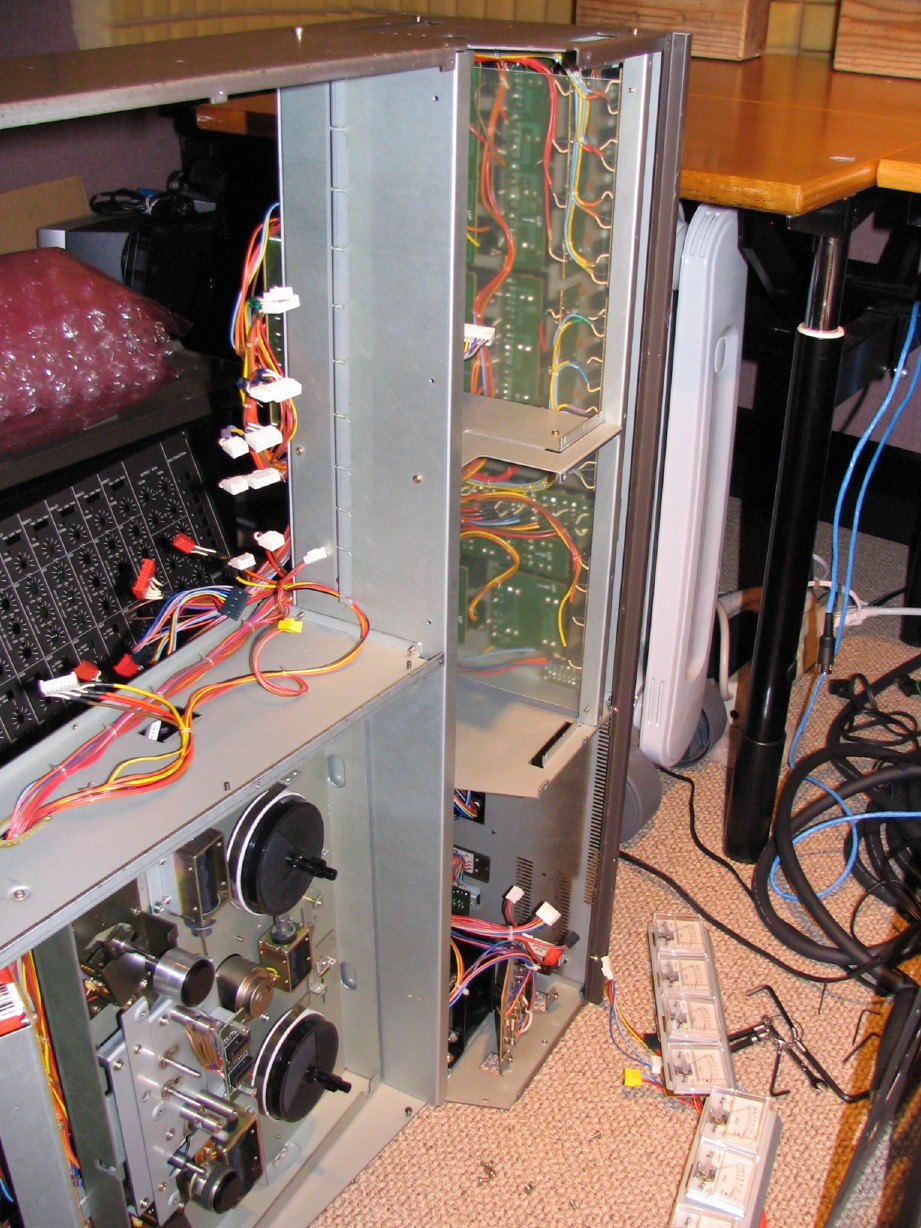
This is what a 388 looks like without a bunch of its, um, stuff. MAN there's a lot to a 388! :eek:

IMG_1331_17_1.JPG


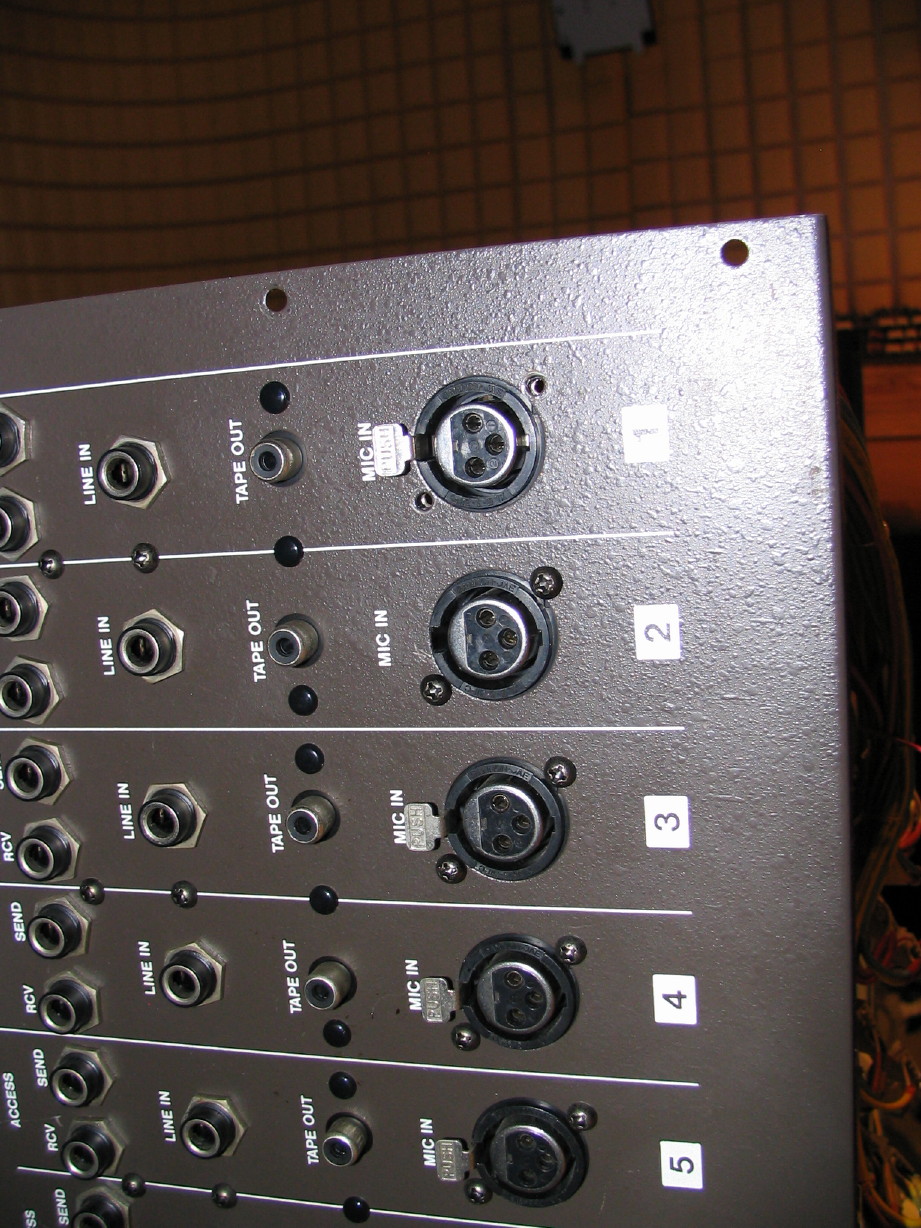
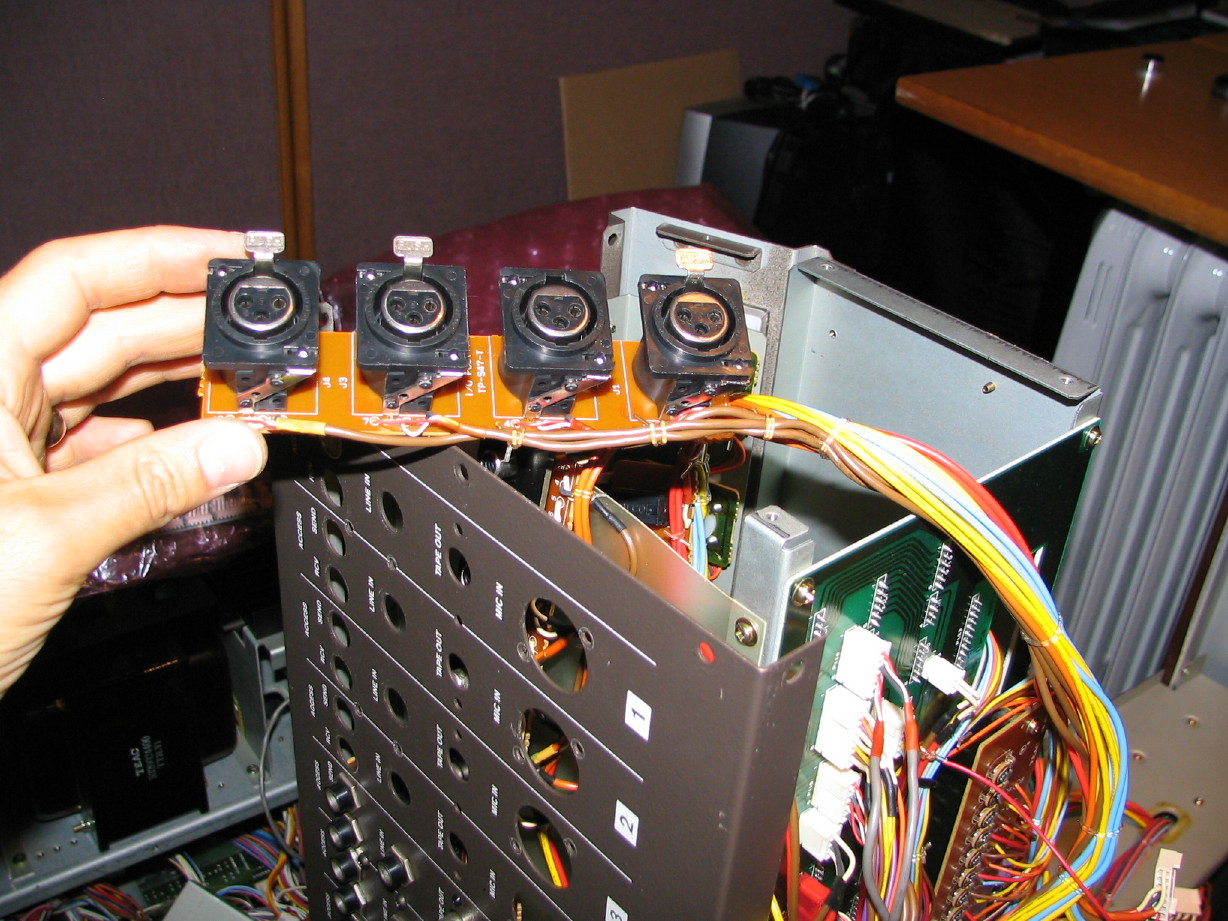
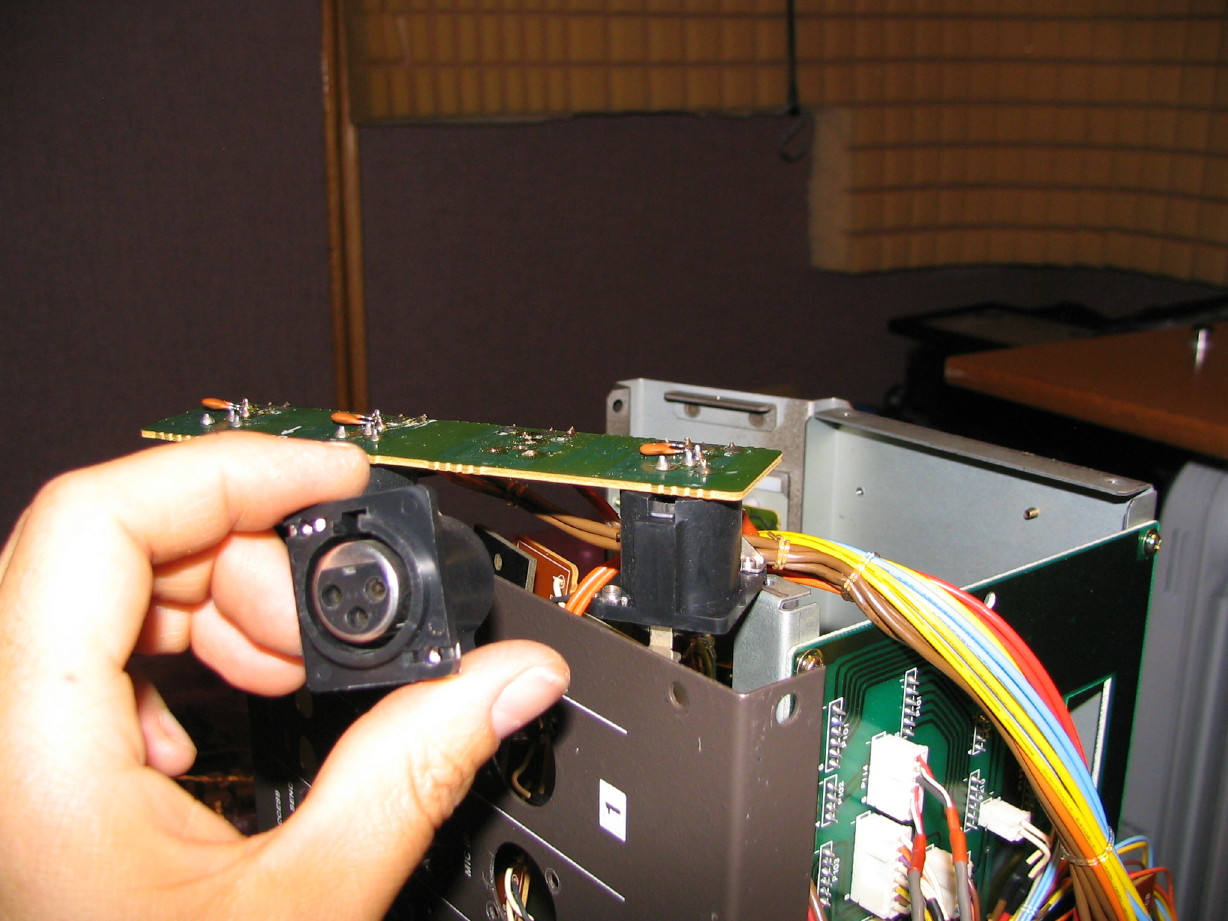
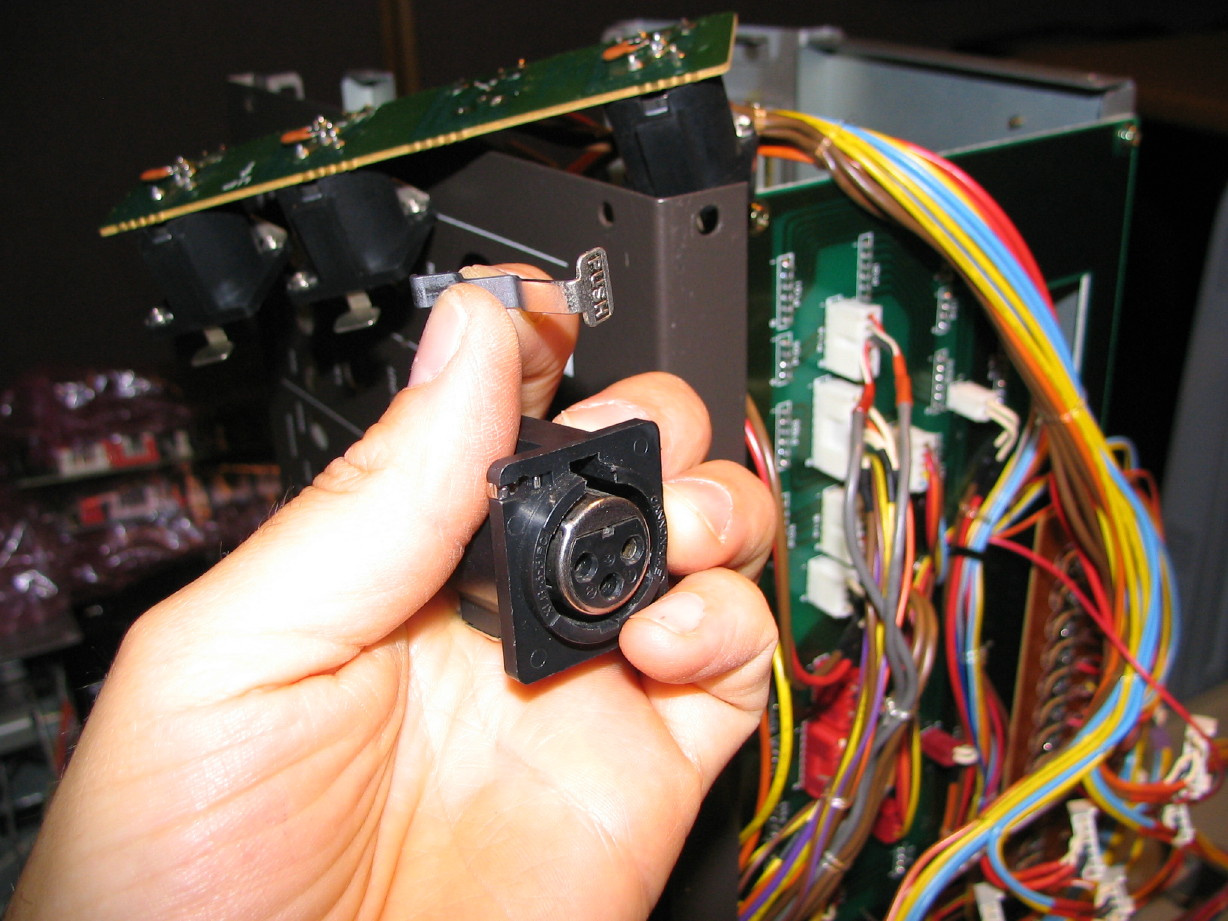
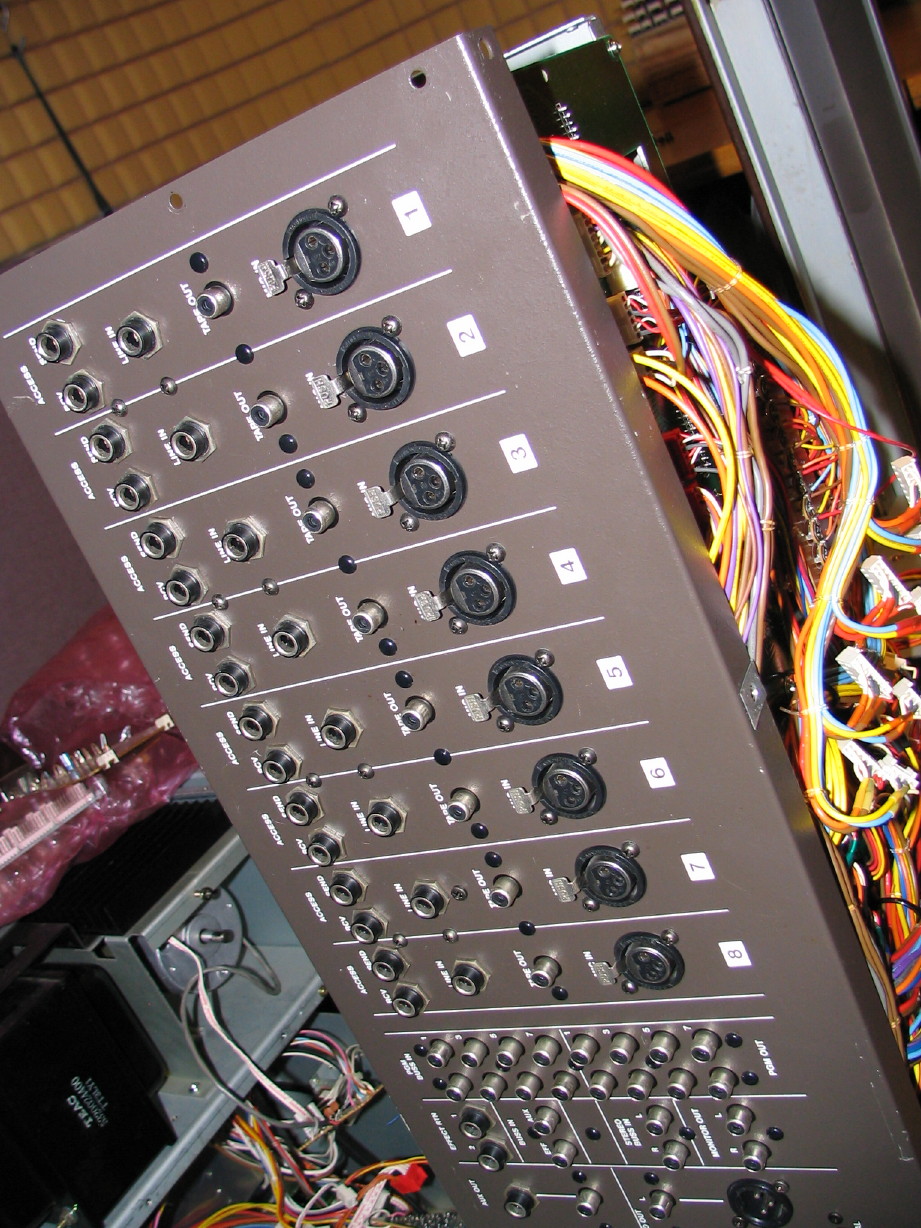
Now for one of the dumbest things ever...Remember that busted lock-release tab on XLR #2? I was bound and determined to get that fixed. My plan was to get access to the jack, disassemble and pull a tab from spares. Well, there is a heavy plastic shield between all the jack PCB's and the cardbay. You can see them in the last picture there in front of all the green PCB's (which are the jack PCB's). I of course have no issue with the shields being there, but they really make it a PITA to repair jacks! And the way the jacks are wired you pretty much have to pull all the jacks for channels 1 ~ 4 to wrangle the channel 1 ~ 4 mic input PCB out so you can get to it...unless you want to remove the whole rear panel, which I did not. So here goes...

Here's the patient...in process of removing all the screws for channel 1 ~ 4 jacks:

IMG_1318_4_1.JPG


Because of the shields and the Mother PCB I had to take the left sash off...that's the side panel of the 388:

IMG_1316_2_1.JPG


This may give you a better idea of the struggle at-hand...You are looking at the 388 from underneath and from the left side. My index finger is pointing to the channel 1 ~ 4 MIC jack PCB...that's got to come out, along with the direct out jacks and insert jacks...

IMG_1317_3_1.JPG


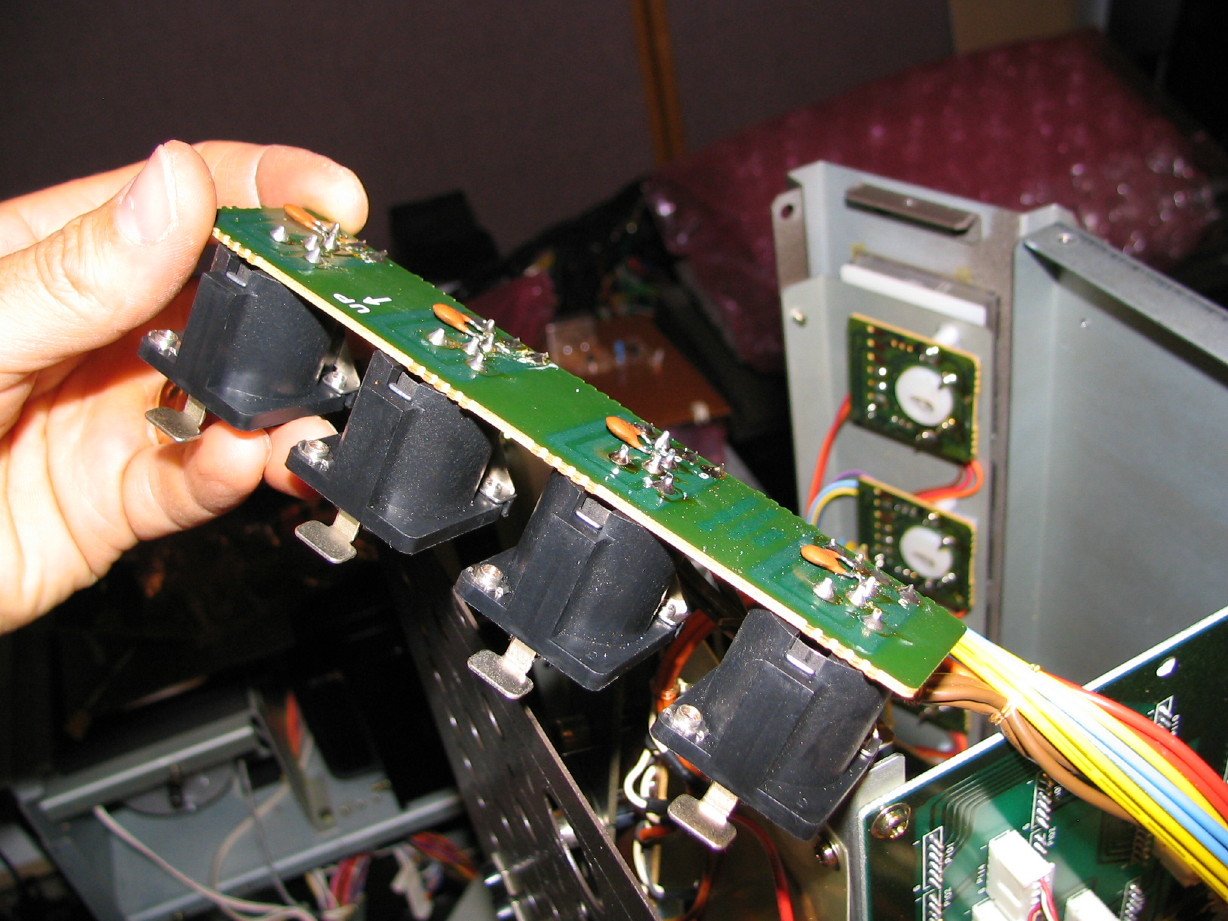
Finally got it out:

IMG_1319_5_1.JPG


Ugh...can't find anywhere to open the jack housing up, so I desolder the jack only to find you can't open them up...nothing against the 388...good quality jacks, just can't take them apart like the Switchcraft or old Cannon type jacks:

IMG_1320_6_1.JPG


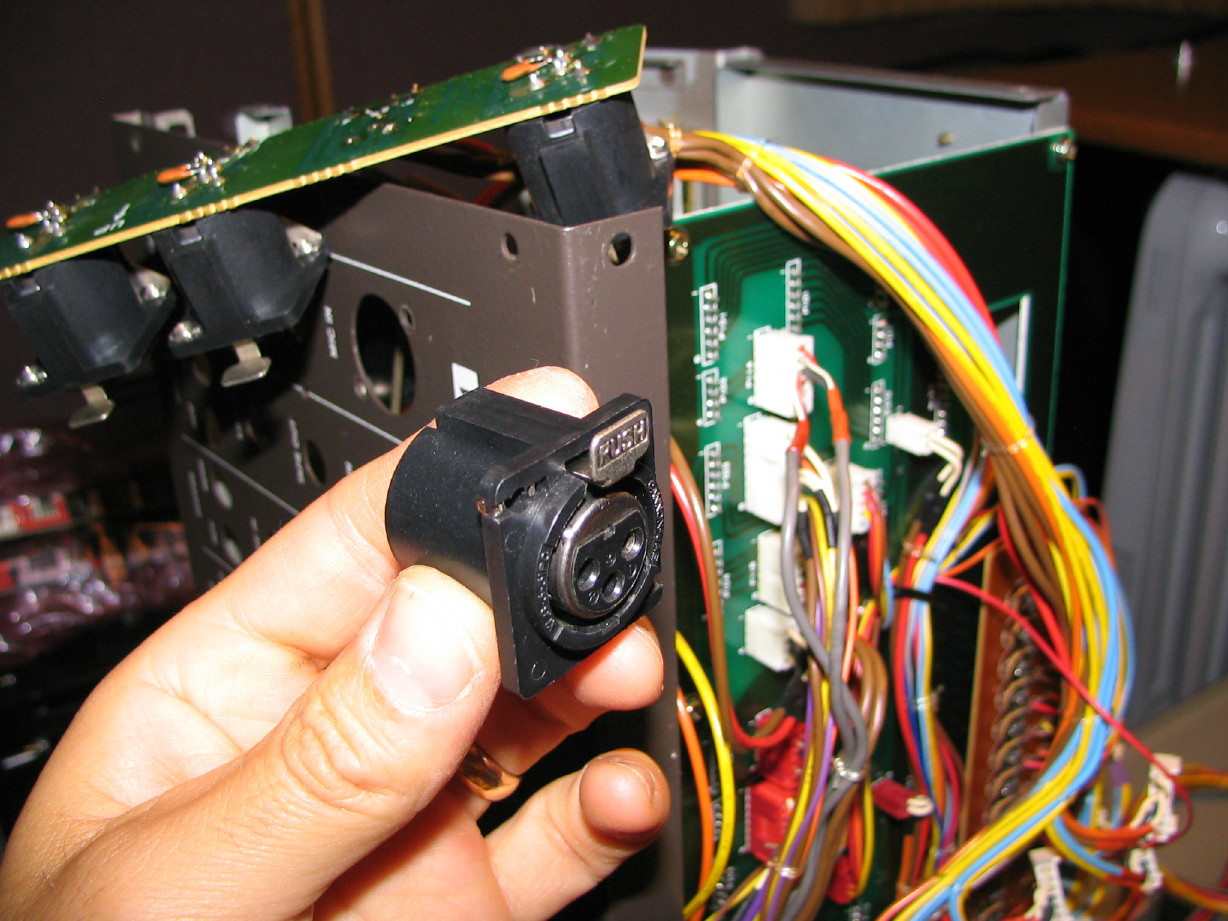
Then it hits me as I more closely inspect the jack and the issue...the lock-release tab isn't broken...its just gone and after looking at the others the tab can be removed and replaced quite easily. Got a replacement cleaned up...

IMG_1321_7_1.JPG


And simply slid it into the slot with a satisfying *click*:

IMG_1322_8_1.JPG


Soldered it back onto the jack PCB...

IMG_1323_9_1.JPG


Annnnnd put the whole mess back together:

IMG_1324_10_1.JPG


If you don't get the significance of all this, the point is that I could've popped the new release tab into place without disassembling a thing. Oh well, I now know a lot more than I did before, and it only took about an hour of my life...and its fixed. :rolleyes:


Also recapped the Reel Servo PCB...3 caps. quick! Satisfying after the jack ordeal:

IMG_1325_11_1.JPG


And that along with the PSU and Capstan Servo PCB post earlier brings us up-to-date! ;)
 
Okay...this is fun...

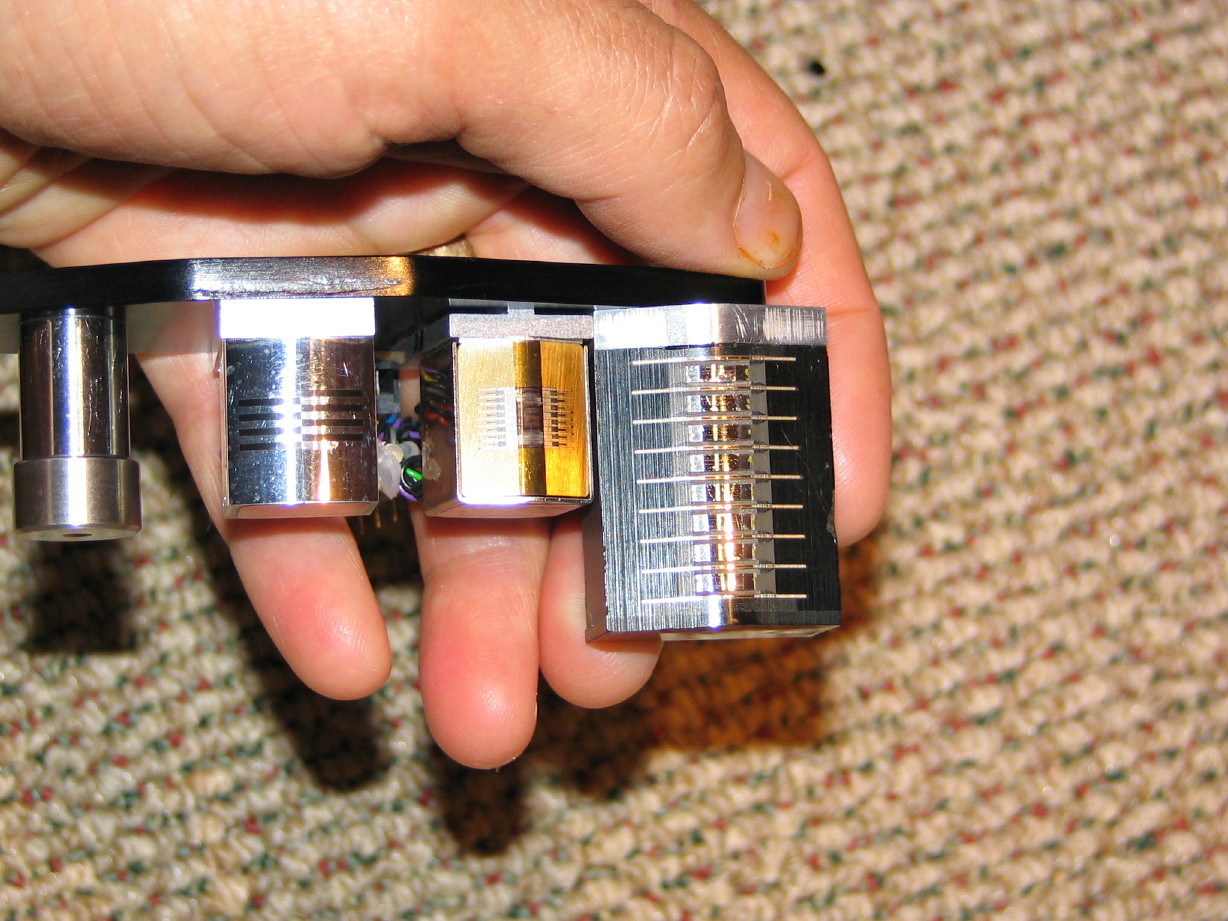
I decided to do a side-by-side shot of an Ampex 440 1" 8-track record/reproduce head and the 388 record/reproduce head. Picture tells a 1000 words blahblahblah:

IMG_1381_1_1.JPG


ISN'T THAT NEAT?!?

Seriously I'm not trying to be geeky but I think that is cool to see the two next to each other. It will be really interesting to get to know how the two systems compare in use once they are up and running.

Spec-wise here's how the 440-8 and 388 stack up in a few areas (440-8 specs are relative to 15ips, 388 specs are relative to dbx n/r bypassed):

Wow and flutter:
388 0.05%
440-8 <0.08%

Frequency Response:
388 30Hz ~ 16kHz +/-3dB
440-8 30Hz ~ 18kHz +/-2dB

Signal-To-Noise Ratio (unweighted):
388 56dB (20Hz ~ 20kHz)
440-8 60dB (30Hz ~ 18kHz)

Crosstalk:
388 55dB
440-8 >60dB

I am not trying to start a pissing contest between the Ampex and the Tascam. That would be silly. What little experience I have with my Ampex at this point has clearly demonstrated for me that the two are very much in different arenas. I just appreciate them both for what they are, and I'm marveling at the advances that analog technology went through. There are well over 20 years between the Ampex head design and the Tascam head design and its just neat to see them next to each other and to look at some snapshot data between the two. They will sound very different, but considering that the specs for the Tascam head are at 7.5ips and the Ampex at 15ips I'd say the Tascam head holds its own from a specification standpoint considering what it is.
 
Last edited:
Making lots of progress...

I have:

  • Cleaned and polished the transport dress panel and meter bridge housing
  • Cleaned and conducted some minor repairs to the meter bridge trim panels
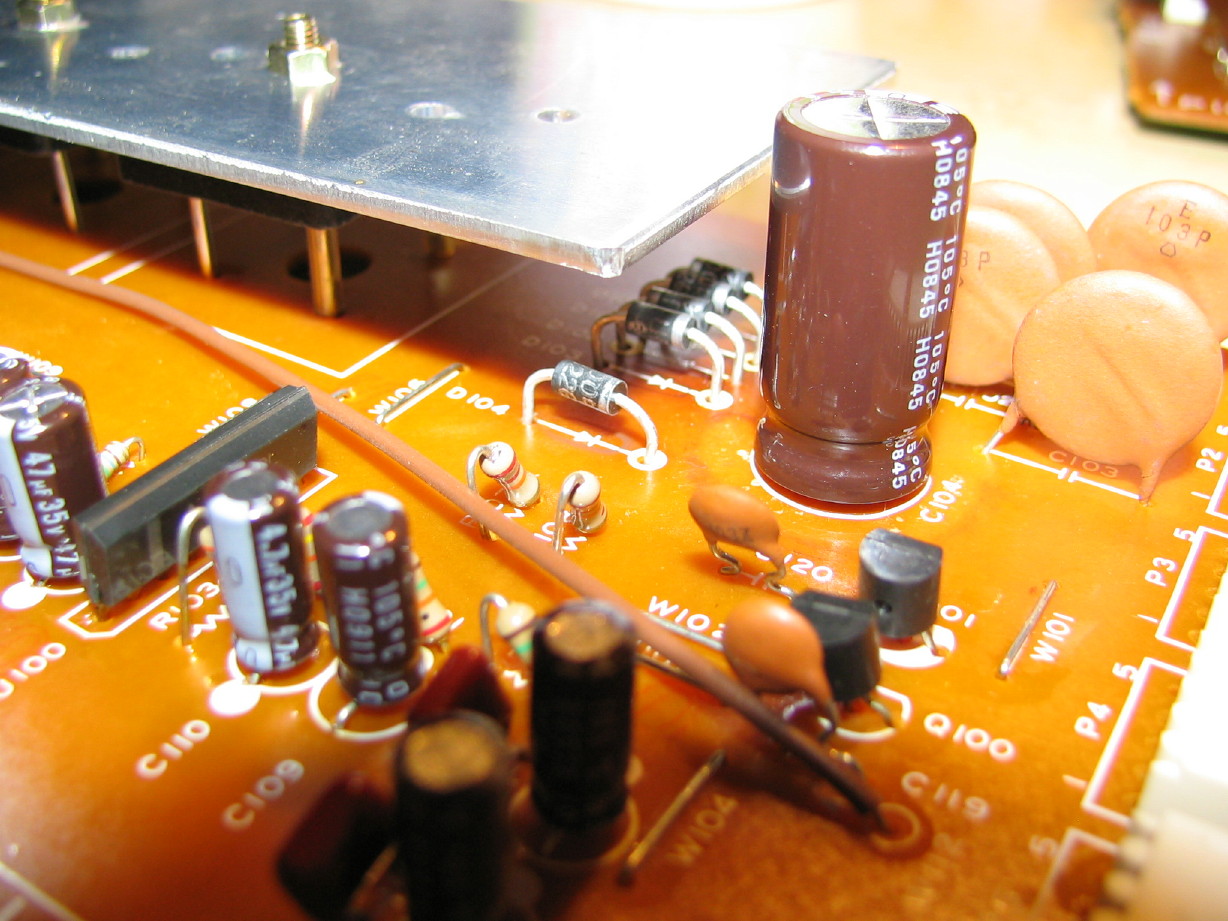
  • Mounted new diodes on the PSU PCB...It was easy to just space them from the PCB to enhance cooling (pic below)
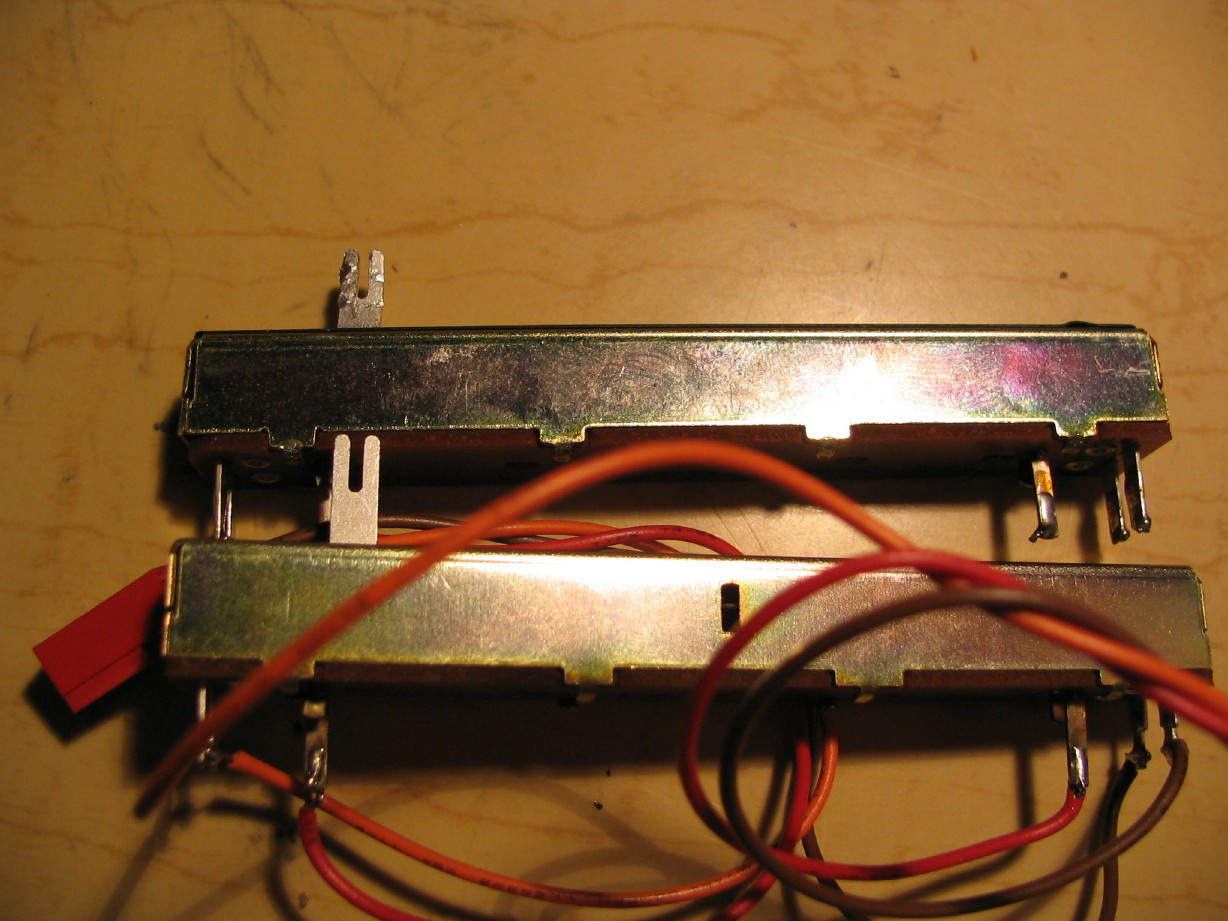
  • Transferred wiring from the old STEREO buss fader to a replacement fader I got from Teac...the original had sustained some damage at some point...the wiper carriage was cracked and the knob shaft looked all chewed up...It might have been fine but the seller had mentioned trouble with the STEREO buss so I decided to just put a new fader in there at $8, but of course it came sans wiring so I had to transfer that from the old to the new (pic below of chewed up knob shaft)
  • Cleaned all the pot washers and nuts
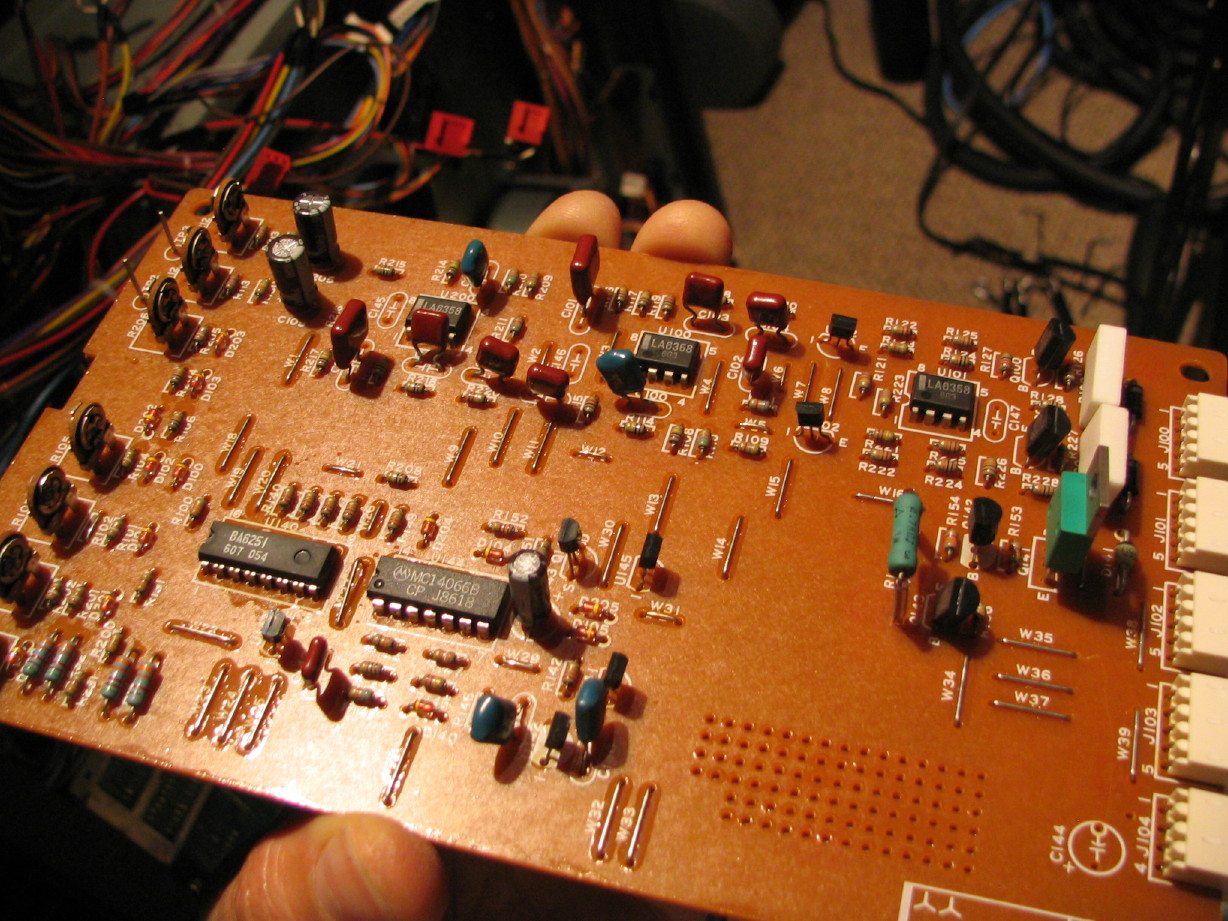
  • Finished recapping and cleaning the rest of the mixer input PCB's (pic below)
  • Repaired the scratched master meter lenses

Here are the new diodes on the PSU PCB:

IMG_1521_1_1.JPG


Here are the old and new STEREO faders...guess which one is the old one?

IMG_1522_2_1.JPG


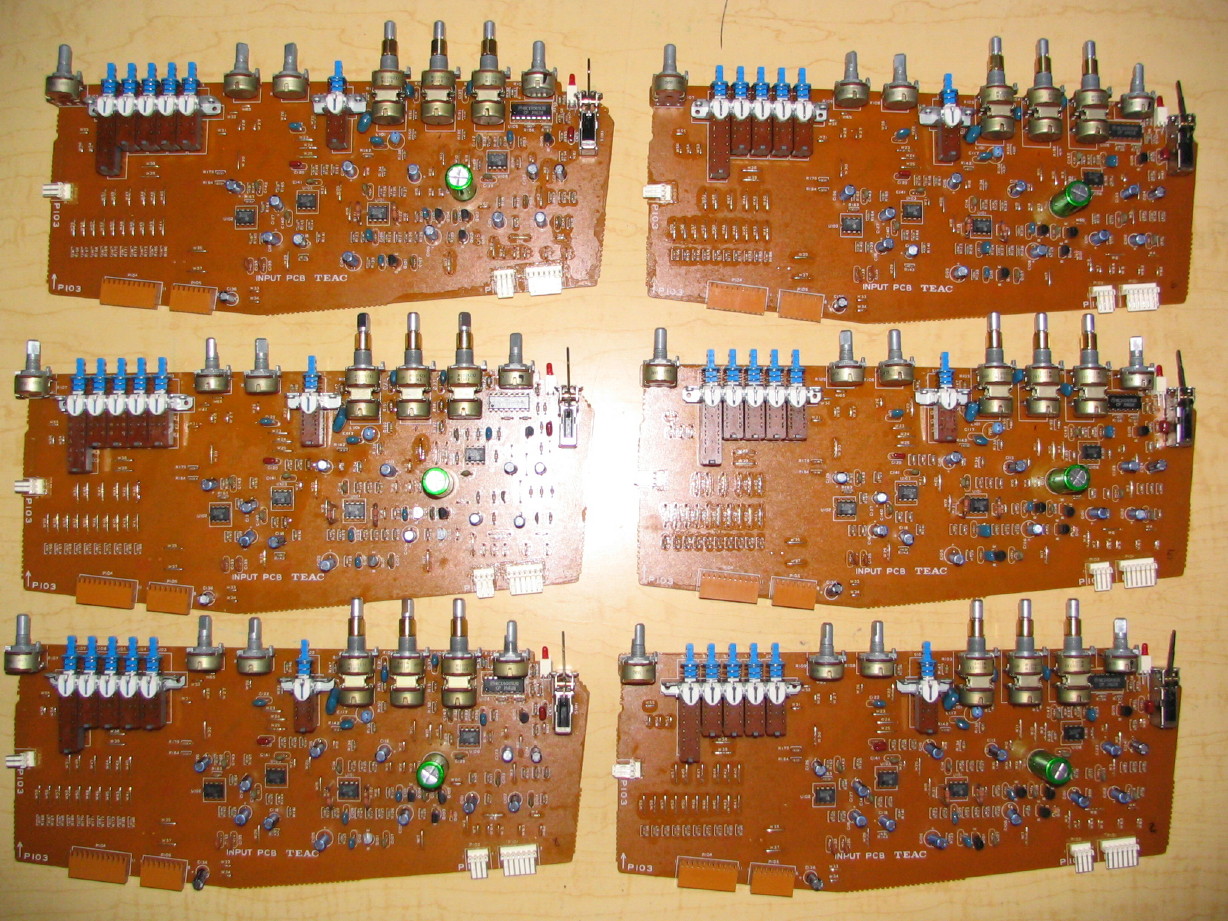
And here are the rest of the input PCB's ready to re-mount to the mixer dress panel:

IMG_1534_9_1.JPG


Next up:

  • Replace master meter lamps
  • Replace cracked buss meter lense (can't recall which channel...5?)
  • Recap the Control PCB (4 caps there...a bit of a bear to get to once things get put back together so I'd rather do that now than later)
  • Finish cleaning the faders (I'm disassembling them and cleaning them from the inside out and re-lubing them)
  • Reupholster the wrist rest
  • Clean the rest of the trim panels
  • Put it back together and start adjusting/aligning/calibrating the transport!

Down the road I'll be recapping the rest of the PCB's (BUSS Left, BUSS Right, Monitor, dbx, amp cards, bias cards) and calibrating the dbx cards.
 
Last edited:
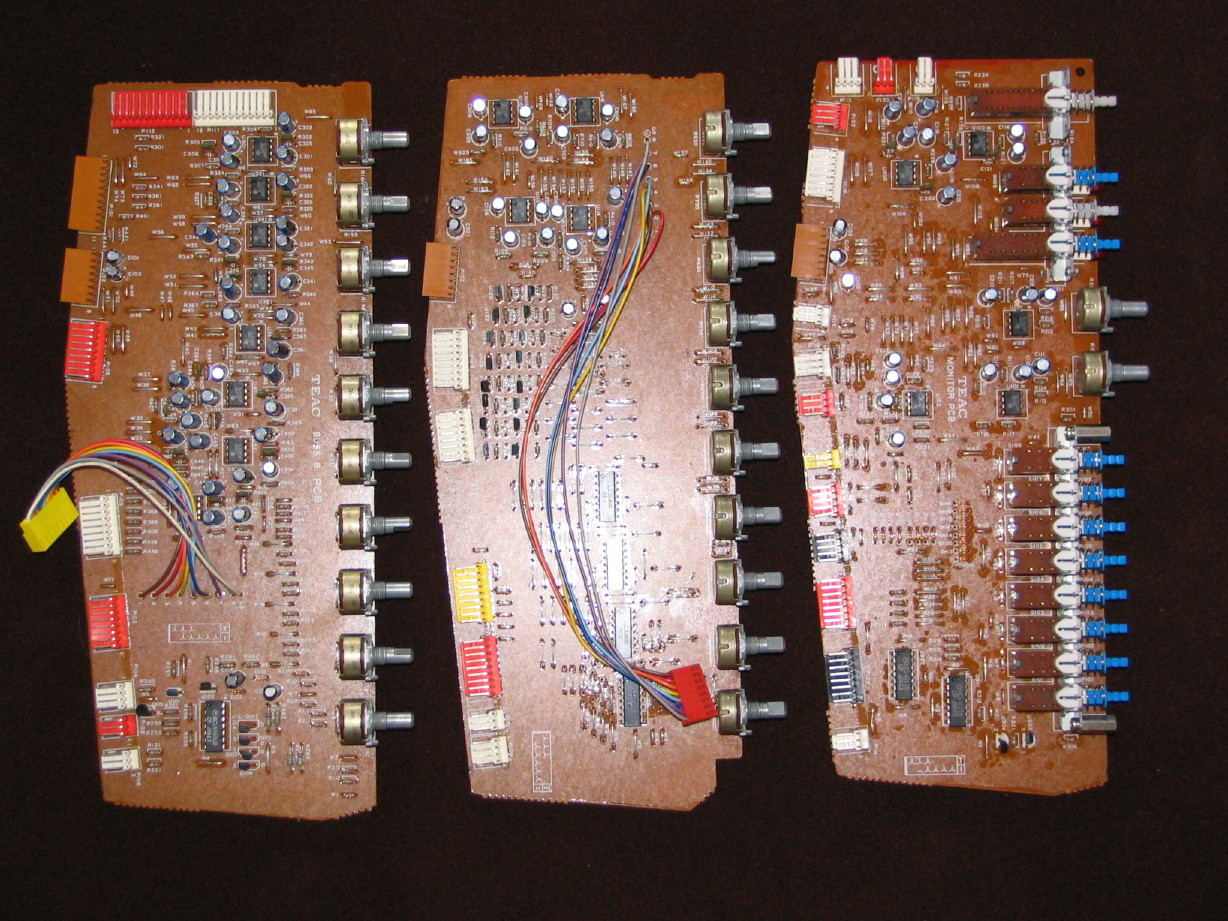
Leave it to me to tackle something that wasn't even on the "list"...I recapped and cleaned up the BUSS PCB's and MONITOR PCB last night...I didn't think I had the caps to do it but, thanks to evm1024 got confirmation on some perfectly acceptable substitutes for one of the cap values I didn't have on-hand.

So now this is good because with those three PCB's recapped and cleaned along with all the input cards I won't need to go back in and remove mixer cards later for recapping. I'll get the rest of the faders cleaned up and recap the Control PCB (4 caps) and, save for a capstan belt replacement, I won't have a need to go back in through the bottom of the unit; all the rest of the recapping and such will be related to cards that pull out of the cardbay...GET IT BACK TOGETHER! :eek:

Recapped BUSS B, BUSS A, and MONITOR PCB's:

IMG_1537_1_1.JPG
 
Man, Cory, you ain't playing around and that's fer sure! The term "restoration" may not do your work justice. How about a total rebuilt, with no less than old Swiss craftsmanship! :)
Someone mentioned that you could do good business restoring those things. Why not? Several persons do it all the time, are making money but you are light years ahead of the pack. These types of "Story...." threads could be a springboard for a future business, with people sending you their machines, for total restoration / upgrades, with prices to match, of course. I wouldn't scoff at the possibilities. ;)
 
Thanks, Daniel. :)

If I could make a living doing it I would. The gate is open if people wanted sweetbeats treatment on their gear but it would naturally need to be off-list because this is not the place to peddle wares...just really boggles my mind to think that people would pay somebody to fix up their gear like I tend to do simply because most people aren't as concerned (read obsessive-compulsive) about such things, but hey if something were to drift that way I'm game...you know how to PM me, folks. :rolleyes::p

Okay...back to the business at-hand!
 
Cory I don't think you give yourself enough credit. You have so much knowledge and experience built up, and a lot coming in such a short time from your current projects. Most of us, me included, just don't have the patience, resolve or know how to tear apart a piece of equipment and completely restore it.

That 388 that went on the Bay recently that was fully douched and recapped by a guy on the TapeOp board just scratches the surface. I can't see selling a unit for the "going rate" if it's been restored and made like new (or better) by a dedicated previous owner like yourself. And those in the know would gladly pay a premium for a unit they know has been completely restored.

I know the economy sucks and a business venture restoring studio equipment would be risky, but as a part time deal to friends and board members...why not? Get your projects done, keep showing the tremendous results and you'll get people coming to you. I know if I came across an old 388 in my area for chump change, first I'd buy it, and second I'd PM you. Keep up the fantastic work man...you have some fans here no doubt.
 
Hey Cory, It's been some time since I've talked to you and came across your thread with all the info and picks. Awesome job man. Take care.
 
Pluggin' away at the list...

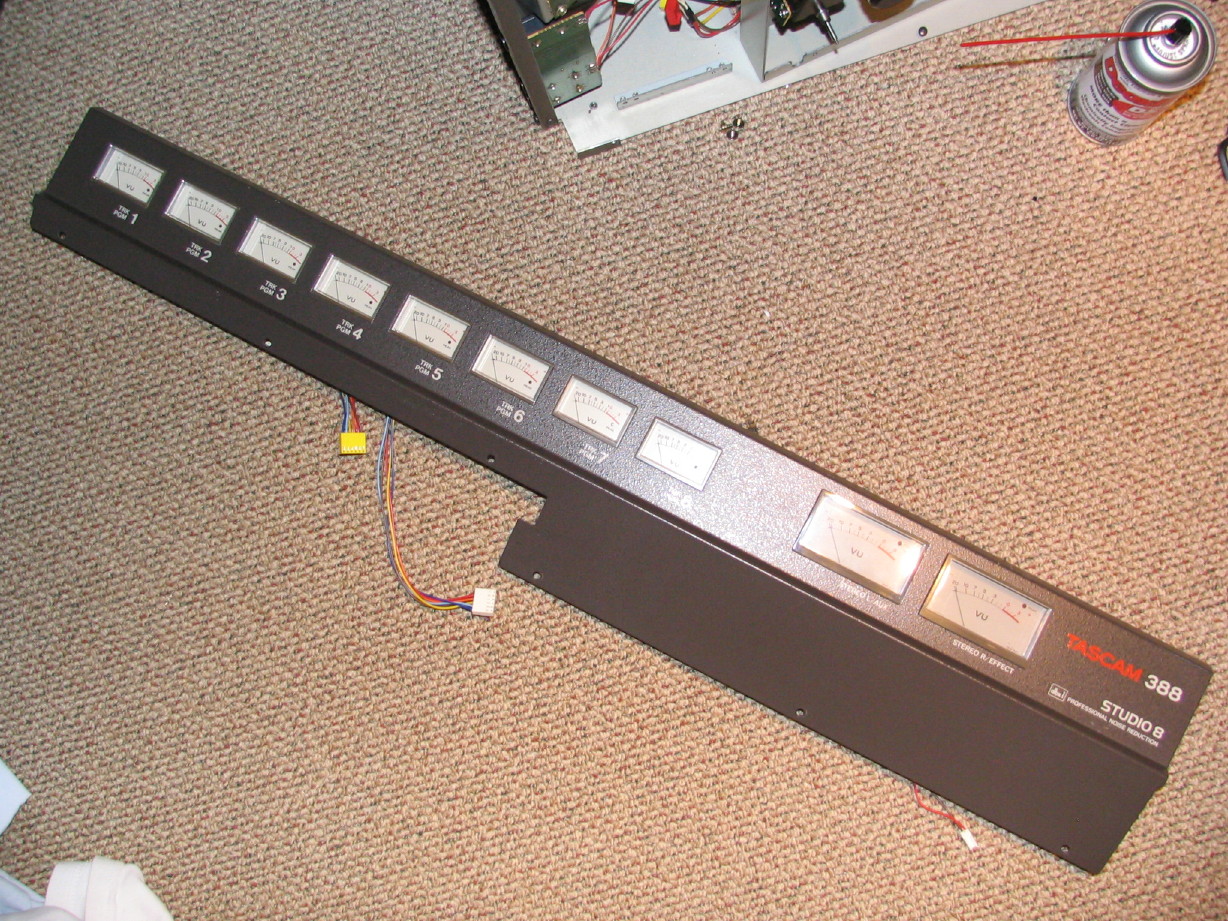
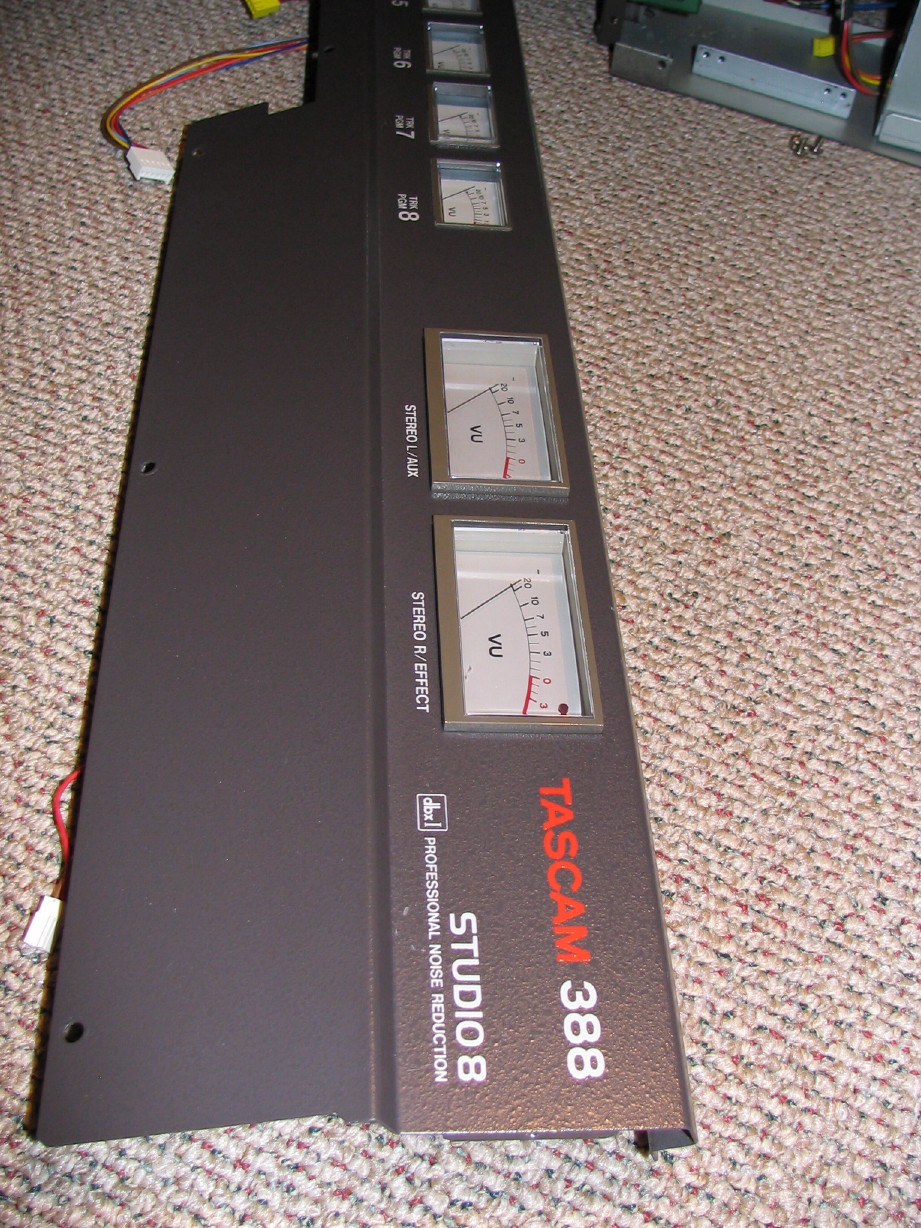
Got the meter bridge assembly put back together which included polishing the master meter lenses (there are actually two sets of lenses...the set that is fixed to the bridge housing, and a set over the meters themselves...the ones in the housing were really scuffed and scratched including a gouged scratch in one of them...better now), replacing the master meter lamps with new solder-in lamps from Parts Express, and replacing one of the buss meter lenses that was cracked (used a replacement lense from my parts 234). Also cleaned up the housing. I'll be doing a little touch-up painting on it when I pick up the cardbay cover from the autobody shop this week which is being returned to me with some touch-up paint.

Here are a couple pics of the assembly ready to reinstall:

IMG_1646_5_1.JPG


IMG_1647_2_1.JPG


Recapped the Control PCB, so now all the PCB's that have to be accessed from underneath have been recapped so once I put this thing back together I won't have to tear it open like this again, at least not for recapping.

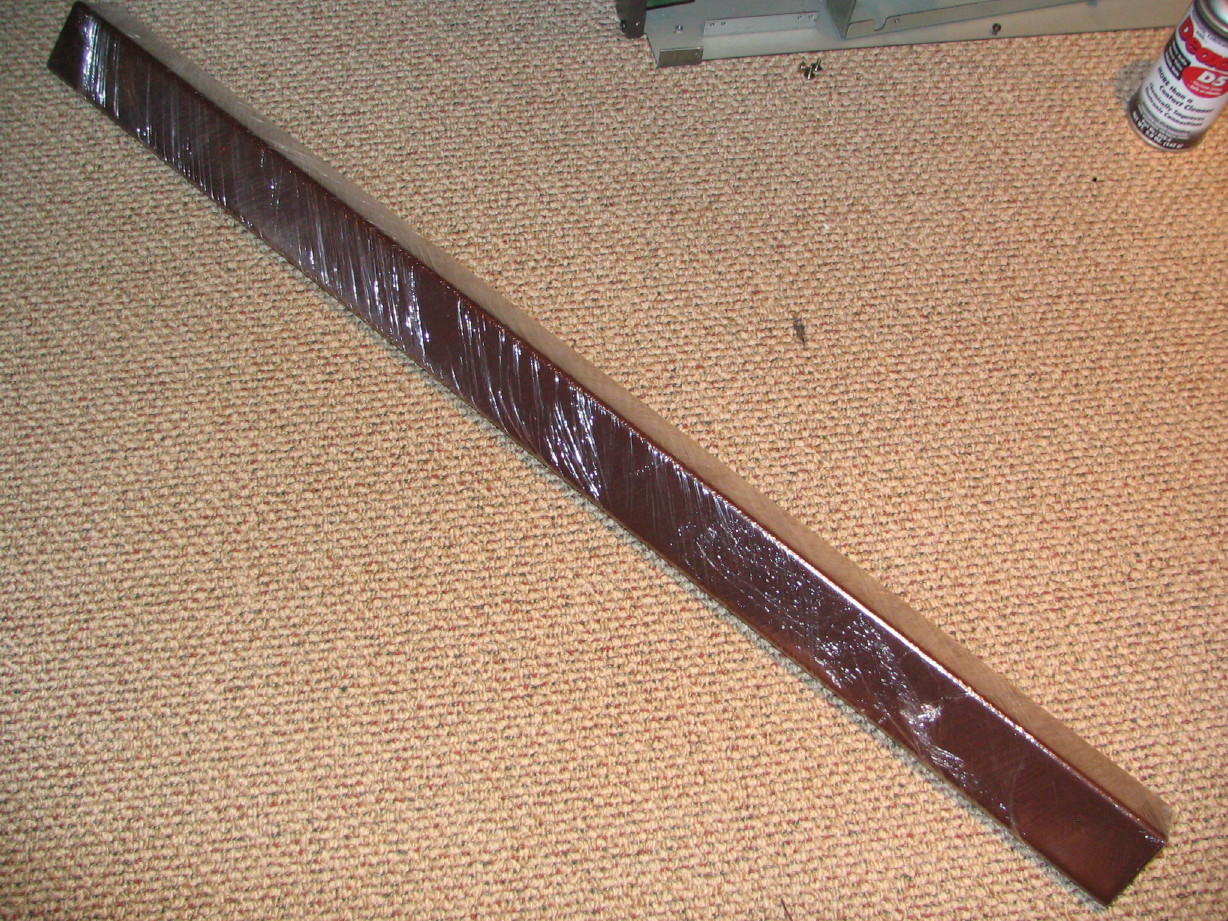
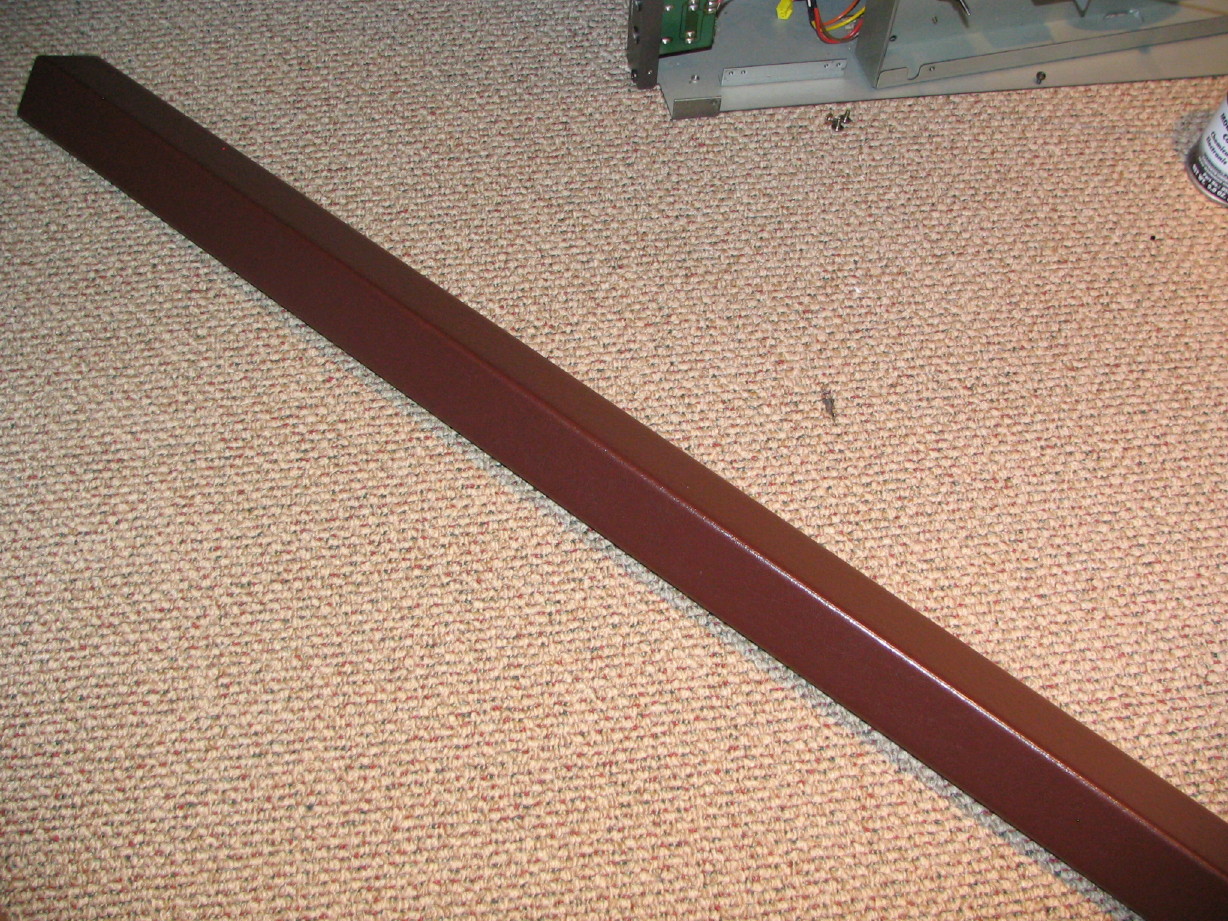
Also recovered the wrist-rest. I used the same vinyl material I got to recover both my M-520 and the M-___ mixer wrist-rests. I didn't have hardly any trouble with adhesion on the M-520, except for a little bubbling which I was eventually able to get settled down. The M-___ hasn't gone so well and I'm thinking of redoing that one as I've found a new technique with the 388...I used 3M 77 spray adhesive for all of them but it really does help to keep pressure on until the adhesive has time to cure, so I wrapped the 388 and newly adhered material tightly in plastic wrap and left it that way for a couple days and so far so good. First pic is the wrapped rest, second is unwrapped:

IMG_1643_3_1.JPG


IMG_1644_4_1.JPG


Still need to finish cleaning up the faders and there are some more trim panels and such to clean up but it is moving along really nicely.

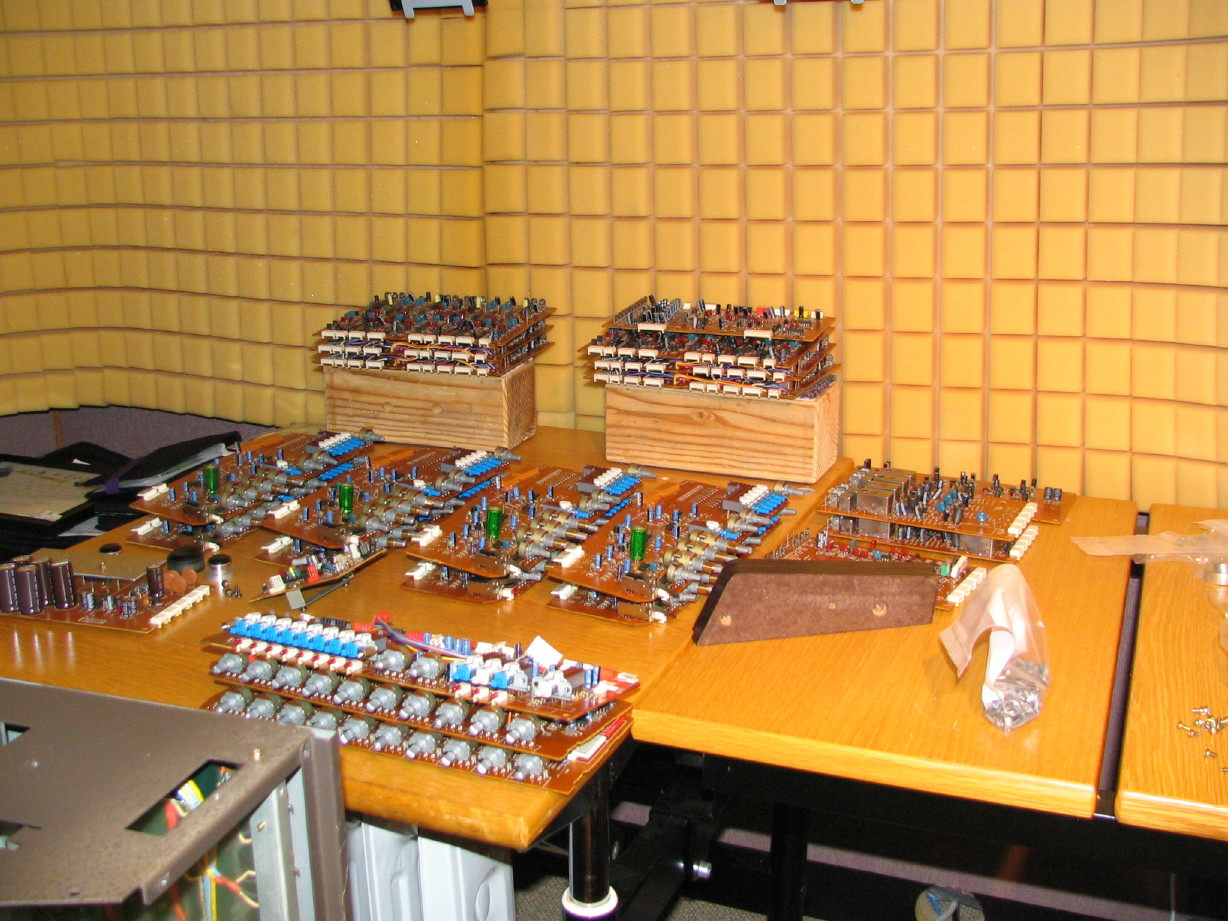
I leave you with a pic of a pile-o-388-parts ready to go back in:

IMG_1648_1_1.JPG
 
Back
Top